

Renovate Your House in Phases Without Losing the Bigger Picture
Choosing to renovate a house in phases is a practical strategy for managing costs while remaining in your home. The biggest challenge isn't the construction work itself—it's maintaining a consistent design direction over months or years.
Look closer.
When homeowners tackle rooms as independent projects without an overarching vision, the result often resembles a patchwork quilt. A modern kitchen might open into a dark, untouched hallway, or flooring transitions might look awkward at room thresholds.
A successful phased home renovation relies on three core rules:
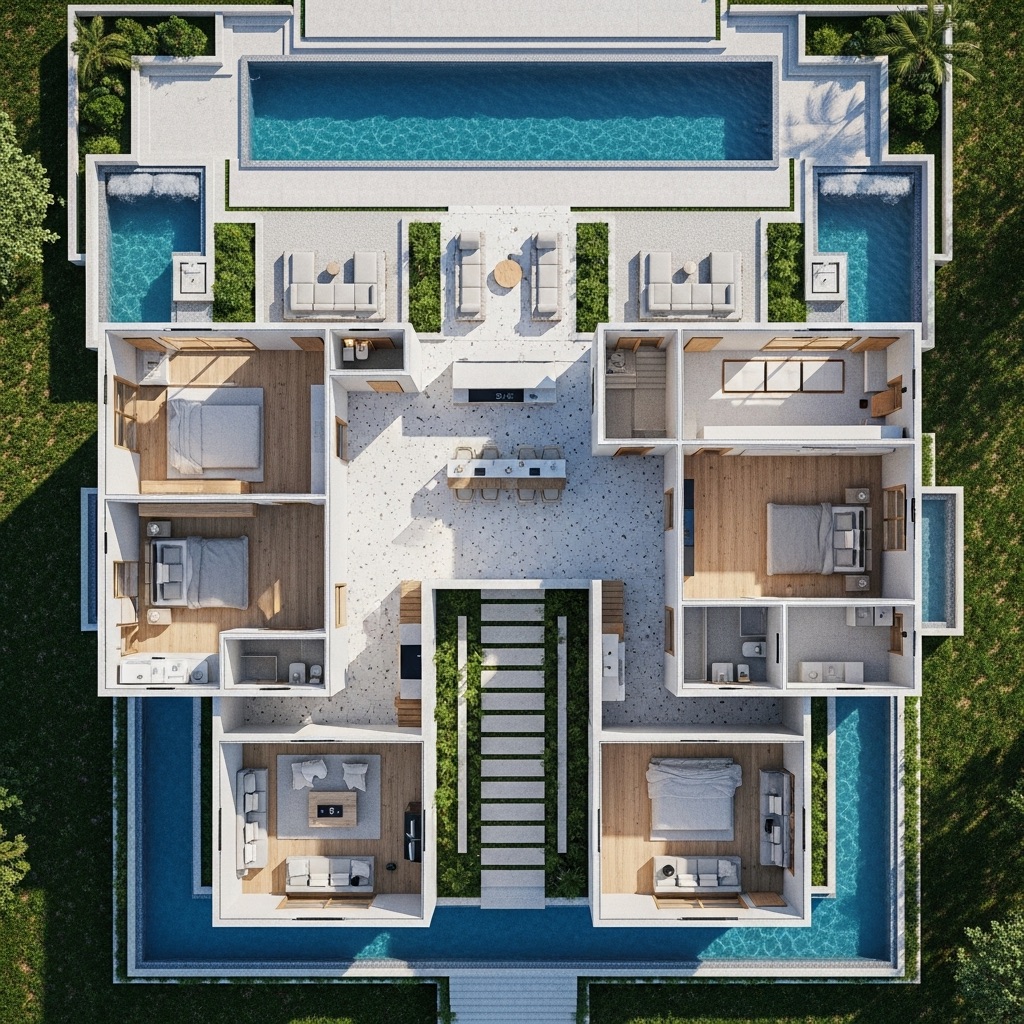
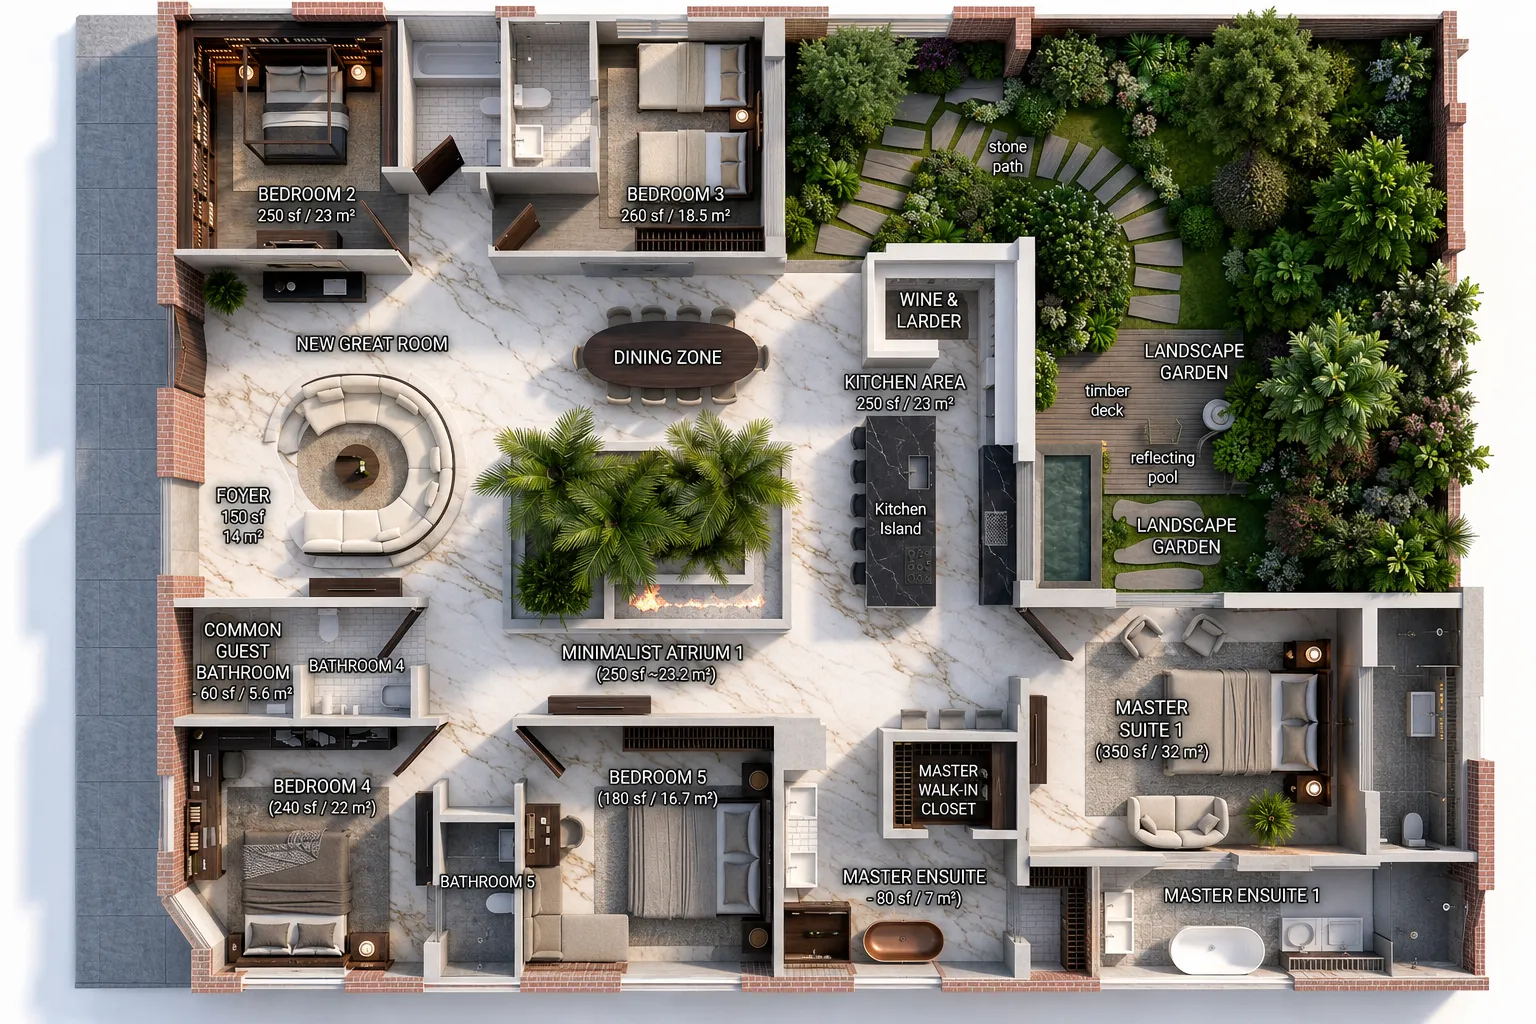
- Locking in the Master Layout First: Finalizing wall placements, doorway headers, and traffic paths for the entire house before starting Phase 1.
- Standardizing Core Finishes: Pre-selecting primary flooring, trim profiles, door hardware, and paint undertones that will apply across all future stages.
- Consolidating Trade Work: Running main plumbing lines or electrical sub-panels for future phases during early rough-in work to avoid reopening walls later.
Decide What Needs to Be Done First
Deciding which room to renovate first can be confusing when multiple rooms require attention. To establish clear renovation priorities, evaluate every project based on structural urgency, functional ROI, and everyday livability.
Use this decision framework to categorize your project list:
| Priority Rank | Project Focus | Typical Work Scope | Rationale & Trade Impact |
|---|---|---|---|
| Rank 1: Critical | Building Envelope & Utilities | Roof repairs, panel upgrades, foundation moisture control | Prevents ongoing damage to future interior finishes |
| Rank 2: High Impact | Daily Living Hubs | Kitchen overhaul, main bathroom, primary living zone | Delivers immediate improvements to daily family routines |
| Rank 3: Secondary | Private & Auxiliary Zones | Guest bedrooms, home office, basement build-outs | Can be easily isolated and completed without disrupting daily life |
Addressing your renovation checklist in this sequence prevents costly rework and protects your investment as you move through future stages.
Separate Essential Repairs From Cosmetic Changes
It is easy to get excited about new quartz countertops or custom tile backsplashes, but applying cosmetic upgrades over compromised infrastructure is a major financial risk.
Here's the reality:
Installing high-end kitchen cabinets below an aging plumbing stack or laying expensive hardwood over a settling subfloor almost guarantees you will have to tear those finishes out later to fix underlying issues.
During home renovation planning to separate foundational repairs from cosmetic upgrades, group every task into two clear buckets:
- Essential Home Repairs (Non-Negotiable): Fixing roof leaks, updating outdated knob-and-tube or aluminum wiring, replacing rusted galvanized drain lines, and leveling joists.
- Cosmetic Upgrades (Deferrable): Upgrading lighting fixtures, replacing interior doors, painting accent walls, and installing custom millwork.
Fixing underlying structural and utility issues before investing in decorative surfaces protects your renovation budget over time.
Plan the Renovation Around Your Budget
Managing a phased renovation budget around your actual cash flow requires matching your scope of work to available capital without relying on high-interest credit lines.
MILESTONE-BASED CASH FLOW ALLOCATION +-----------------------------------------------------------+ | PHASE 1: Structural Health & Main Utilities (35% Budget) | +-----------------------------------------------------------+ | v +-----------------------------------------------------------+ | PHASE 2: High-Value Core Living Spaces (40% Budget) | +-----------------------------------------------------------+ | v +-----------------------------------------------------------+ | PHASE 3: Bedrooms, Trim & Accent Finishes (25% Budget) | +-----------------------------------------------------------+
To maintain control over your home renovation budget:
- Quote the Master Project Upfront: Get estimated material and trade costs for the whole house to understand total renovation costs before starting Phase 1.
- Assign Independent Contingencies: Reserve a 15% contingency fund specifically for each phase rather than drawing from a single pool.
- Finish Before Moving On: Complete one stage fully—including baseboards, paint touch-ups, and switch plates—before funding the next.
This milestone-driven approach protects your finances while keeping work moving forward steadily.
Start With Structural and Hidden Problems
Every durable house renovation plan starts behind the drywall. Addressing hidden mechanical networks first creates a reliable foundation for all visible finishes.
Prioritize these hidden structural systems early:
- Electrical Capacity: Upgrade your main service panel to 200 amps during Phase 1 so it can handle modern kitchen appliances, EV chargers, or HVAC units added in later phases.
- Plumbing Stacks & Drains: Replace old cast iron or galvanized stack pipes back to the main sewer line before tiling bathroom floors or fitting custom vanities.
- Subfloor Integrity: Inspect, screw down, or replace damaged subfloor panels before laying tile or hardwood in any room.
Starting with structural health ensures your new interior finishes stay protected for decades.
Choose the Right Order for Each Renovation Phase
Executing a house renovation in stages requires following a logical trade sequence. Skipping steps or doing work out of order leads to damaged materials and duplicated labor.
Follow this proven renovation order:
OPTIMAL CONSTRUCTION SEQUENCE +-----------------------------------------------------------+ | STEP 1: Structural Demolition & Subfloor Leveling | +-----------------------------------------------------------+ | v +-----------------------------------------------------------+ | STEP 2: Utility Rough-Ins (Plumbing, Electrical, HVAC) | +-----------------------------------------------------------+ | v +-----------------------------------------------------------+ | STEP 3: Insulation, Drywall, Mudding & Prime Painting | +-----------------------------------------------------------+ | v +-----------------------------------------------------------+ | STEP 4: Hardwood/Tile Installation & Trim Millwork | +-----------------------------------------------------------+ | v +-----------------------------------------------------------+ | STEP 5: Cabinetry, Fixture Hookups & Final Paint Coats | +-----------------------------------------------------------+
Adhering to correct house renovation stages minimizes dust contamination, protects finished surfaces, and keeps trades working efficiently.
Renovate One Room at a Time
Tackling a project when you renovate house room by room requires clear boundaries between active work zones and daily living space.
Think about it:
Living inside an active construction zone creates constant physical and mental fatigue. Protecting your daily routine requires controlling dust and maintaining a clean refuge within your home.
Key practices for room-by-room living:
- Install Heavy Dust Barriers: Seal off active doorways using heavy zip-up plastic sheeting and floor-to-ceiling pressure poles to contain drywall dust.
- Maintain One Functioning Kitchen/Bath: If remodeling a kitchen, set up a temporary station in an adjacent room with a microwave, compact fridge, and toaster oven before tearing out cabinets.
- Establish a No-Work Zone: Keep bedrooms clean, quiet, and completely free of tools or material storage so your family has a restful retreat.
Maintaining clear physical boundaries preserves your daily peace of mind during extended construction timelines. Learning to live in a house during a long-term renovation requires strict isolation of dust and debris.
Plan for Work That Affects Multiple Rooms
Certain architectural elements span across the entire floor plan. Addressing these items piecemeal often leads to mismatched materials and awkward seams.
When conducting whole house renovation planning, coordinate these cross-room elements early:
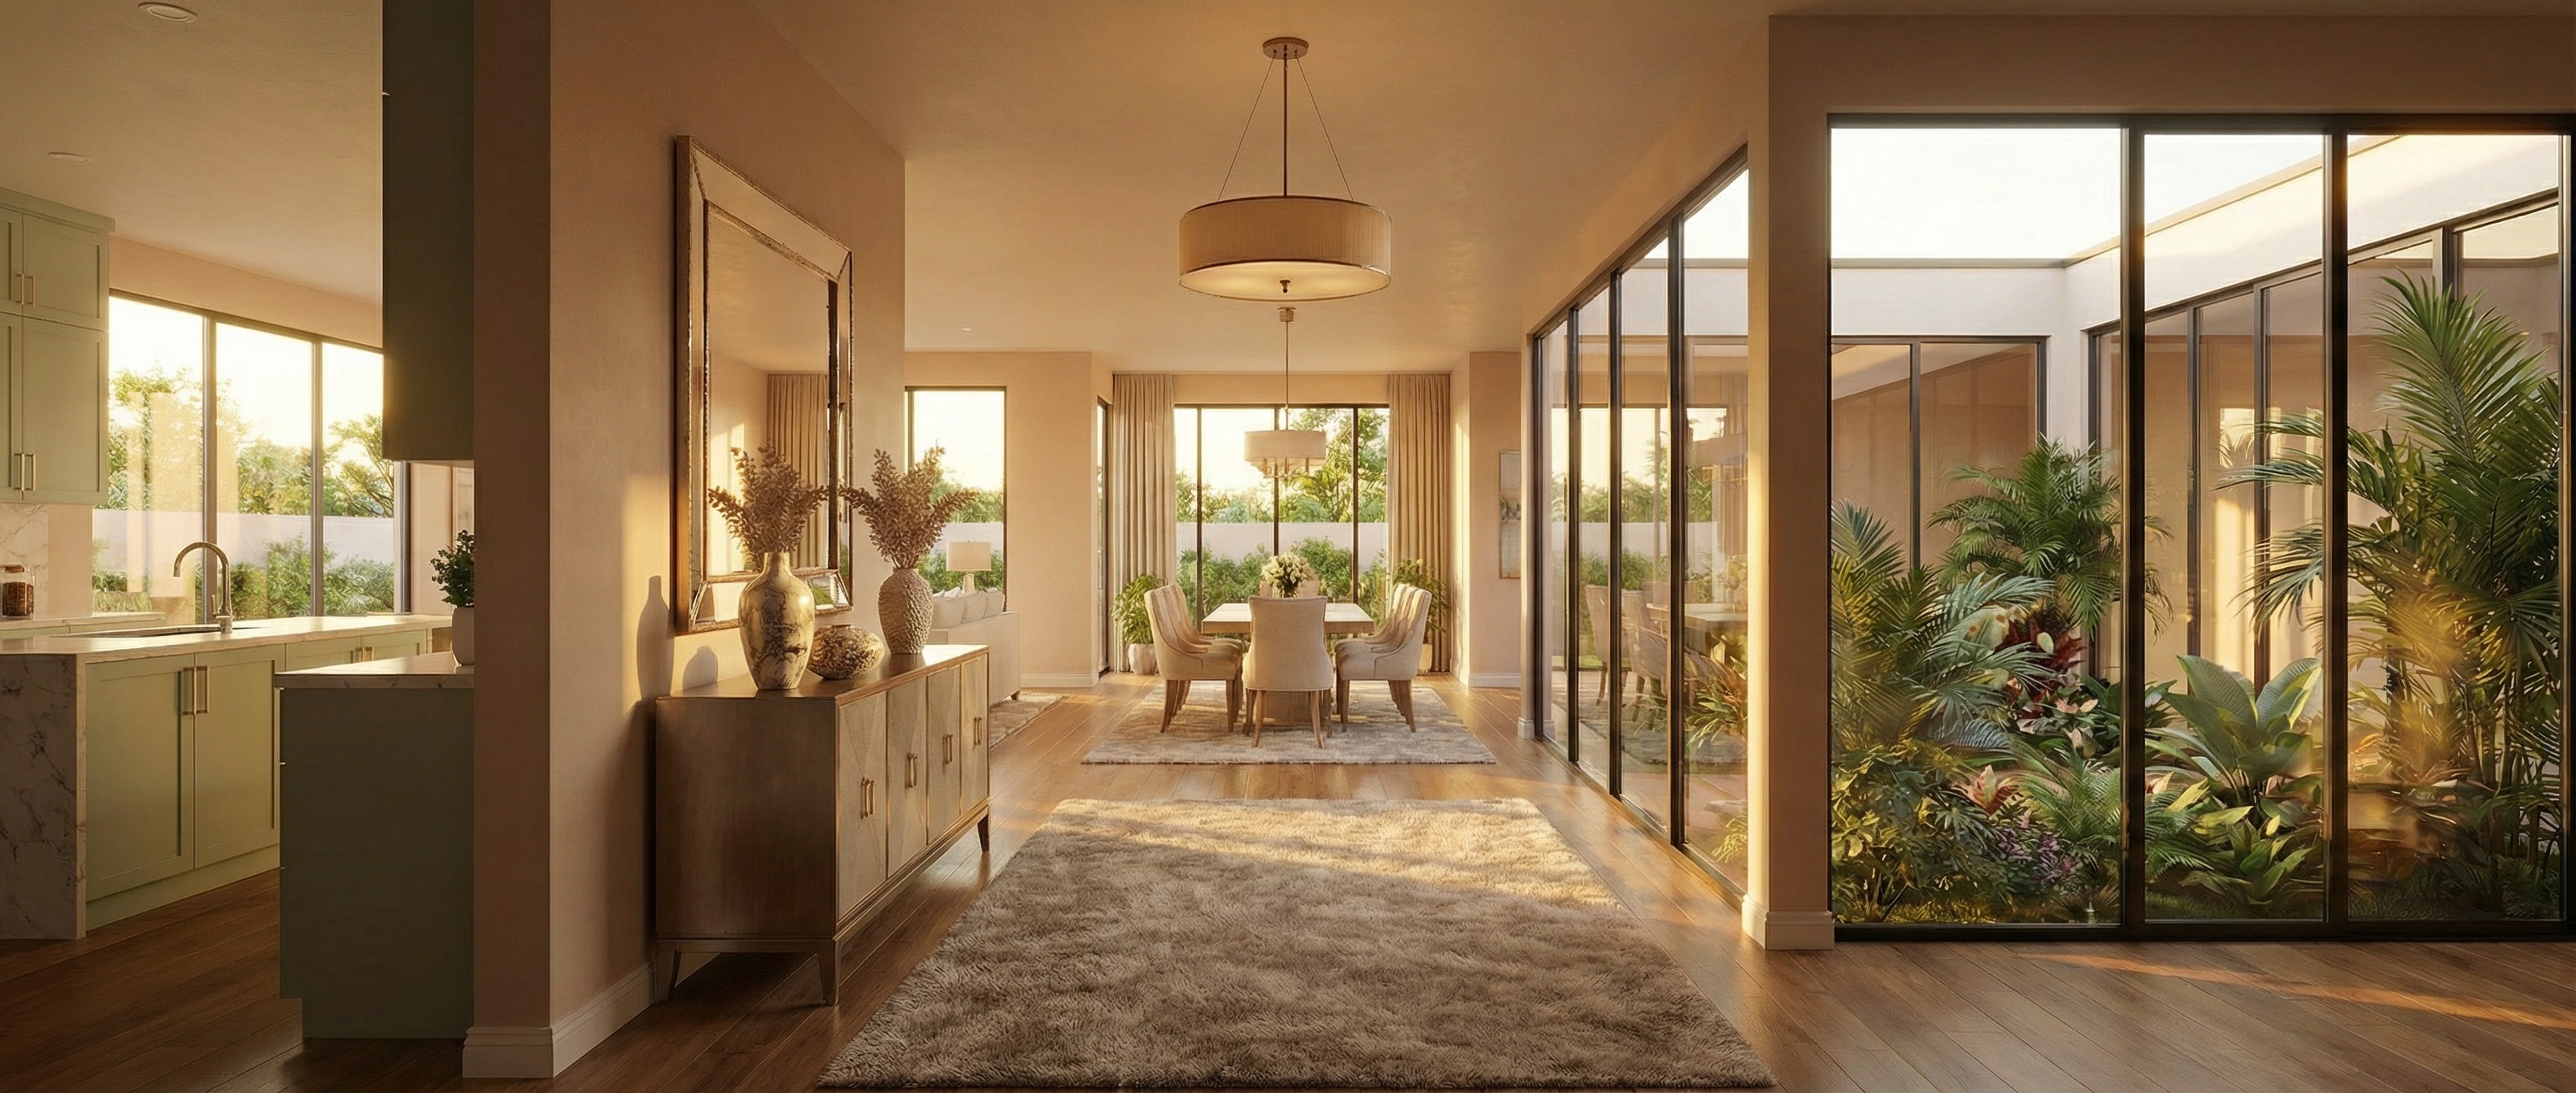
- Continuous Flooring Run: Select an in-stock, widely available hardwood, engineered plank, or tile line. Buy enough material for future phases up front, or verify that the product line will remain in production to avoid discontinued styles. You can bridge future room transitions to avoid mismatched flooring gaps by planning ahead.
- Main Electrical Trunks: Have your electrician run home-run wiring conduits or junction boxes to central locations during Phase 1 to simplify future connections.
- Central HVAC Ducting: Balance supply and return registers across adjacent rooms before closing up ceiling cavities.
Planning cross-room connections ahead of time ensures that when you renovate a house over time, the final transitions look intentional and seamless.
Make Each Phase Feel Finished
Pausing a project between stages can leave your home looking like an active job site if transitions are not handled thoughtfully.
To keep your home looking polished between stages:
- Use Temporary Transition Strips: Install clean T-molding or threshold reducers where new hardwood or tile meets old flooring in adjacent rooms.
- Cap Drywall Cleanly: Finish and paint wall corners where new construction connects to untouched rooms rather than leaving exposed tape or joint compound.
- Install Temporary Trim: Fasten inexpensive baseboards over new drywall edges to keep rooms looking tidy until the next phase begins.
CLEAN FLOORING THRESHOLD TRANSITION [ COMPLETED PHASE ] [ FUTURE PHASE ] +------------------+ +------------------+ | New Hardwood | | Existing Tile | | Plank Floor | [T-MOLDING] | Subfloor | +------------------+==============+ +------------------+ ^ |--- Clean, safe threshold bridge
Completing these simple transition details makes your living space feel comfortable and attractive between stages.
Create a Renovation Plan You Can Actually Follow
A practical home renovation plan breaks big ideas down into clear, actionable phases tied directly to your budget and schedule. It helps to execute a clear phased house renovation strategy so you know exactly what to expect.
Structure your house renovation plan into three operational phases:
- NOW (Phase 1 - Months 1 to 3): Repair roof leaks, upgrade main electrical panel, reconfigure primary kitchen layout, install continuous main floor hardwood.
- NEXT (Phase 2 - Months 6 to 12): Remodel primary bathroom, build out recessed storage alcoves, install matching interior doors and trim.
- LATER (Phase 3 - Year 2): Finish guest bedrooms, convert under-stair cavity into built-in storage, update exterior entry lighting.
Establishing clear timeframes gives your build team a simple roadmap to follow.
Visualize the Finished Home Before You Start
Executing a project in stages makes it easy to lose sight of your original design goals. Relying on physical material swatches or mental guesswork across a multi-year project often leads to clashing styles.
Visualizing the finished home before construction begins using a modern home renovation design tool resolves this challenge:
- Preview how kitchen island finishes will align with future living room millwork before placing orders.
- Test lighting placements and color palettes under consistent, realistic rendering conditions.
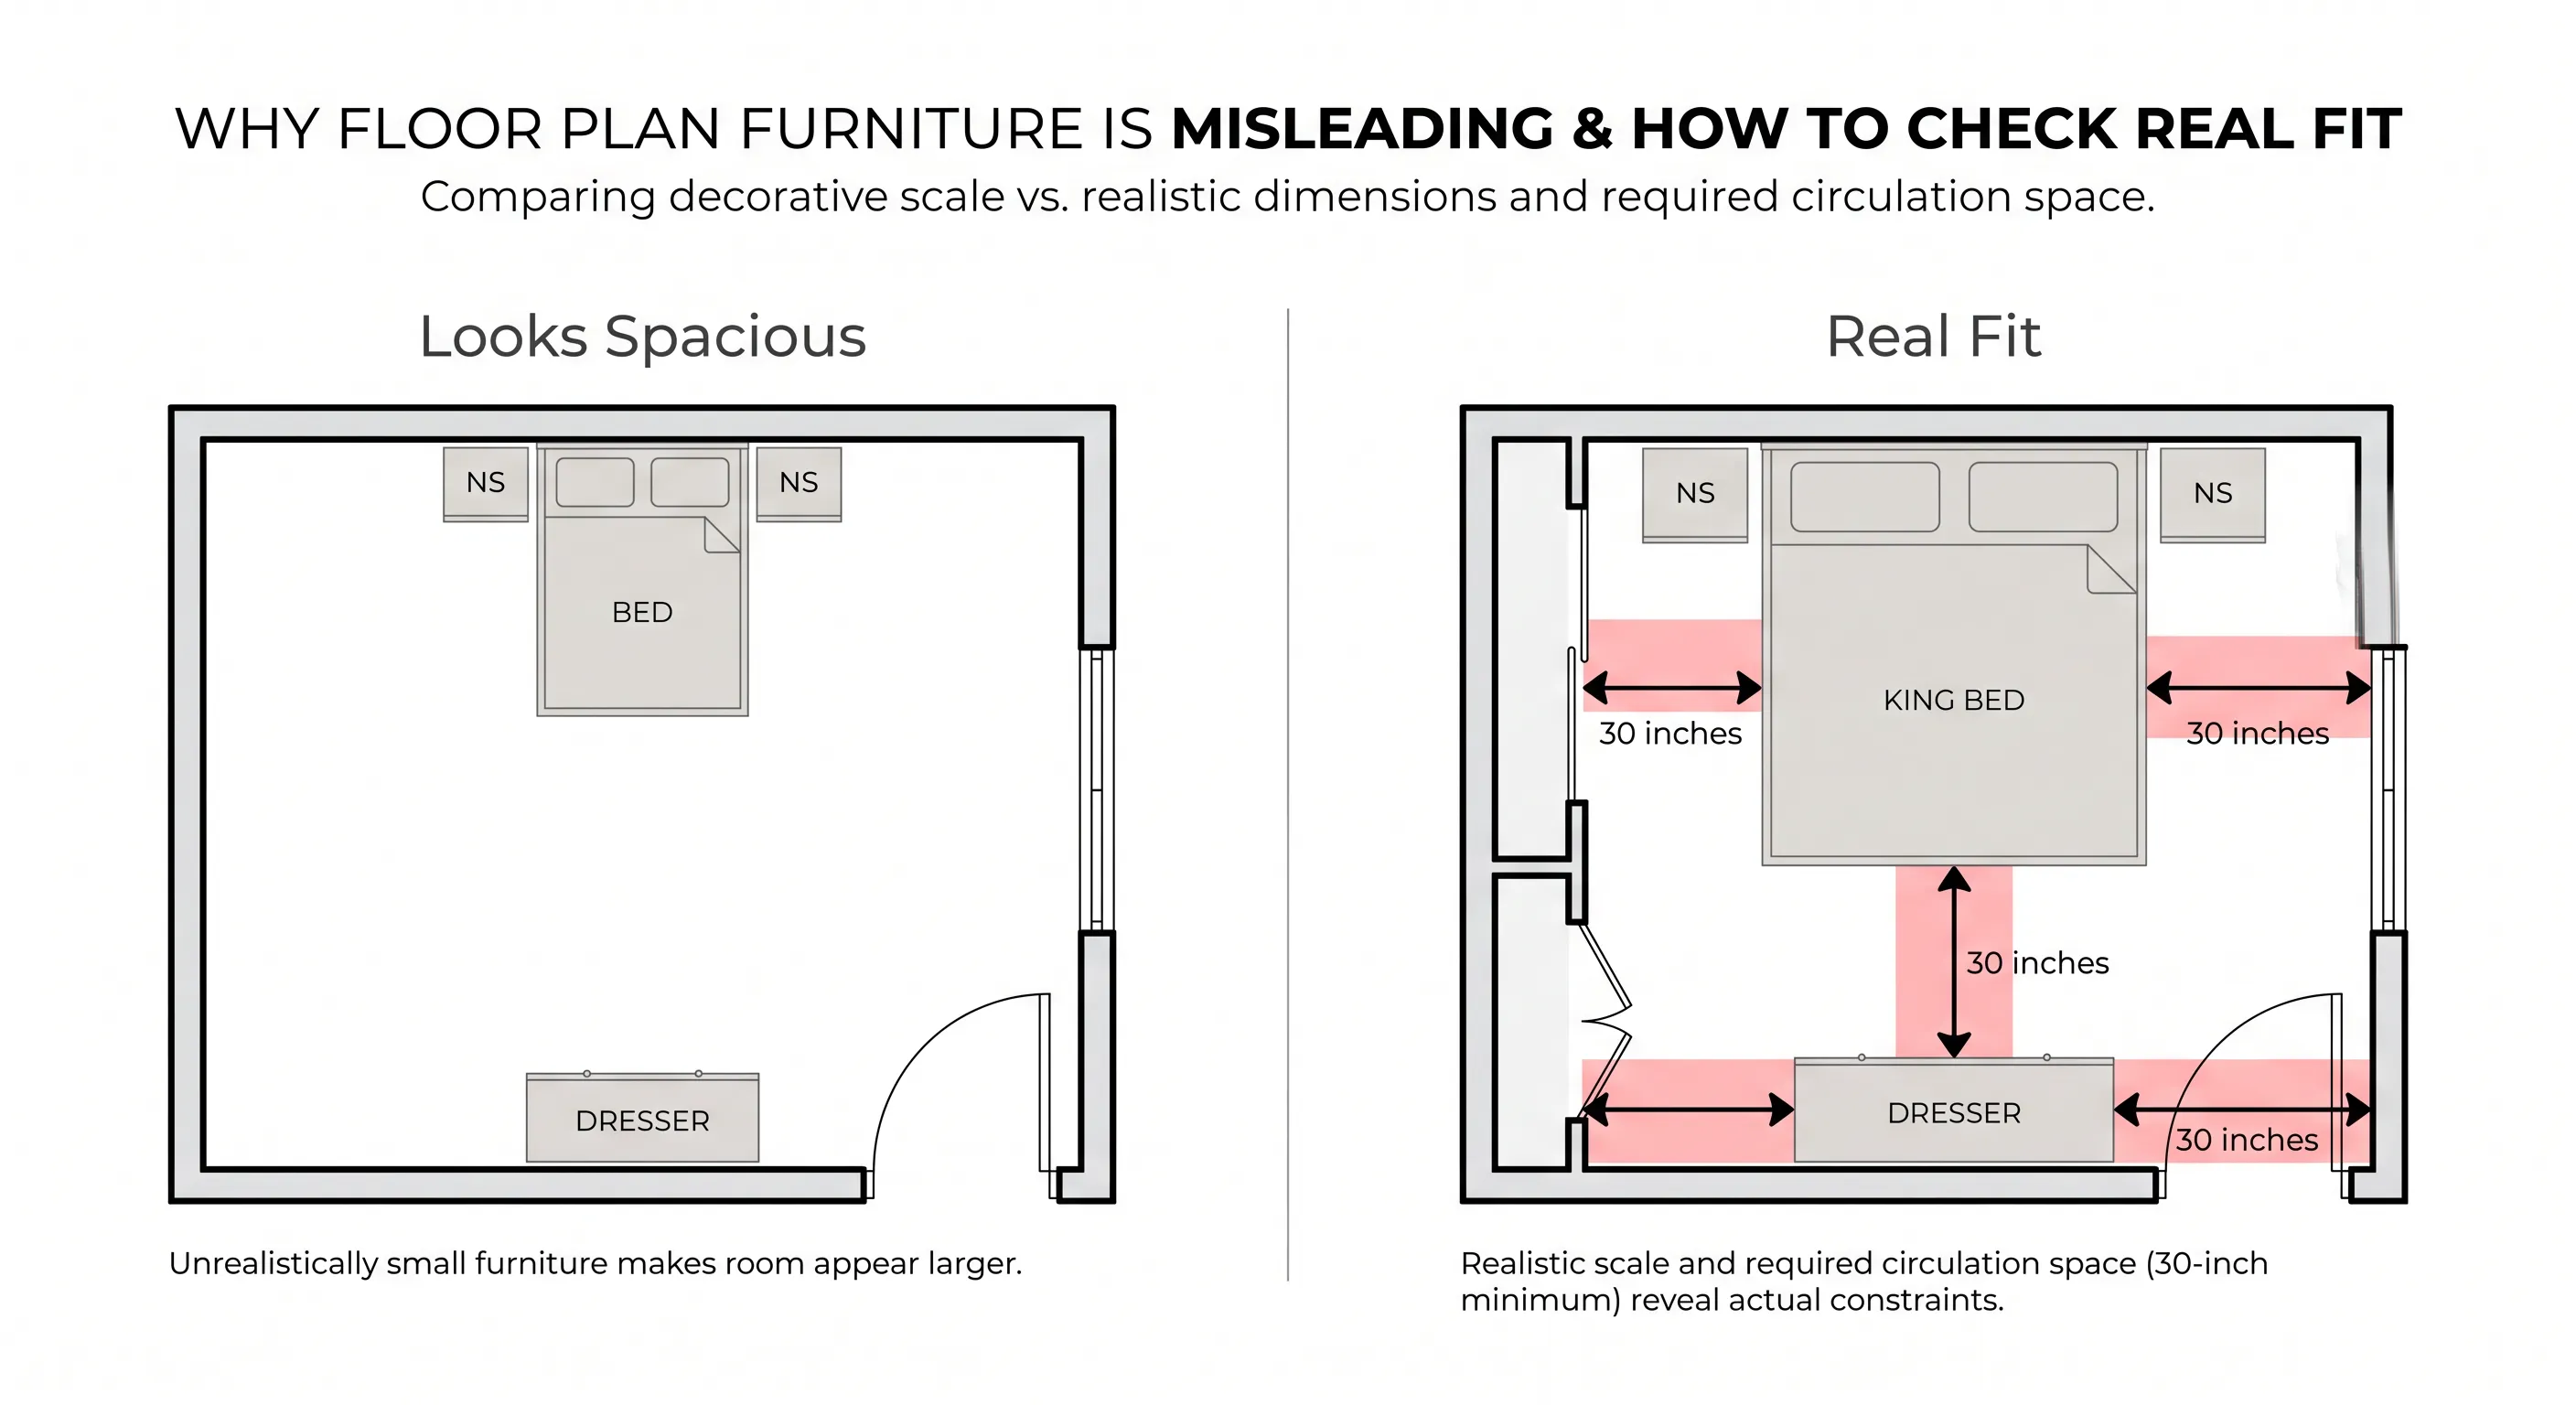
- Verify furniture scale and traffic paths across adjoining rooms before knocking down walls.
Using specialized renovation design software gives you the visual clarity needed to ensure every stage contributes to a cohesive end result.
Plan the Whole House Before Renovating It in Stages
A successful phased transformation requires an accurate design roadmap. Traditional planning methods—such as hiring separate drafting technicians, interior designers, and contractors for each phase—can be slow, expensive, and difficult to coordinate.
Now, you can test your master floor plan using our spatial intelligence system. DesignHome Synthesis™ streamlines this process into an intuitive digital experience.
DESIGNHOME SYNTHESIS™ GENERATIVE FLOW +-----------------------------------------------------------+ | STEP 1: Input Plot Dimensions & Set Room Requirements | | (Define lot footprint, square feet & rooms needed)| +-----------------------------------------------------------+ | v +-----------------------------------------------------------+ | STEP 2: Generative Intelligence System Optimizes Layout | | - Resolves Spatial Flow & Phased Trade Paths | | - Coordinates Sightlines & Built-In Storage | +-----------------------------------------------------------+ | v +-----------------------------------------------------------+ | STEP 3: Review Full 3D Floor Plans, Exterior & Interiors | | - Experience High-Level Photorealistic Renders | +-----------------------------------------------------------+
Our spatial intelligence system acts as your digital architect. Simply input your lot dimensions, specify your household requirements, and describe your bold layout ideas. In just minutes, DesignHome Synthesis™ generates a unified floor plan and produces photorealistic 3D visualizations for both interior and exterior spaces.
You can review traffic clearances, evaluate multi-room flooring transitions, test built-in storage options, and confirm your complete design direction before breaking ground on Phase 1.
Build each stage of your home with clarity, confidence, and total peace of mind.

Phased House Renovation FAQ
How do I decide which room or phase to renovate first?
The correct sequence for a phased renovation starts with structural integrity and mechanical infrastructure before moving to cosmetic spaces. Phase 1 must always tackle the building envelope—fixing roof leaks, addressing foundation issues, updating outdated electrical panels, and replacing failing plumbing stacks. Once the structure is dry and safe, prioritize "wet spaces" like the primary kitchen and main bathroom, as these require the heaviest trade work and impact your daily quality of life the most. Save dry cosmetic zones, such as bedrooms, living rooms, and decorative landscaping, for final phases since they are easy to isolate and suffer minimal damage if construction dust travels through the house.
Is renovating in phases more expensive than doing the whole house at once?
Renovating in phases typically costs 15% to 25% more overall than completing a full-house remodel in a single continuous push. The added expense comes from repeated contractor mobilization fees, multiple permit application charges, rising material prices over time, and losing the bulk-purchasing discounts that come with ordering trade materials all at once. However, a phased approach trades maximum efficiency for financial control and flexibility. Spreading out construction allows you to pay for improvements using ongoing cash flow rather than taking on massive upfront high-interest loans, eliminating the expense of renting alternative housing during a long, full-home displacement.
How do I survive living in a house during a multi-year, multi-phase renovation?
Surviving a phased live-in renovation requires establishing strict physical boundaries between active construction zones and clean living areas before demolition begins. Seal off active work areas using floor-to-ceiling heavy plastic dust barriers equipped with zippered entryways, and install portable air scrubbers to trap fine drywall dust. Set up a fully functional, isolated temporary kitchen equipped with a microwave, toaster oven, induction hot plate, and mini-fridge in a room untouched by Phase 1 construction. Most importantly, schedule mandatory "rest periods" between major phases—taking 3 to 6 months off between project milestones lets your household recover financially and mentally from construction noise and daily trade traffic.
Do I need to pull new building permits for every single phase?
Building permit requirements depend on the timeline between your project phases and local municipal rules. If your phased renovation runs continuously with only short breaks between rooms, your local building department may permit the entire scope under a single master permit, keeping it open through milestone inspections. However, if your phases are separated by several months or years, building inspectors will require you to close out completed permits and apply for fresh permits for subsequent phases. Always confirm permit structures with your local authority beforehand; unpermitted trade work in early phases will freeze progress and trigger fines when inspectors arrive for later phases.
Should I hire the same general contractor for every phase or re-bid the work each time?
Working with the same general contractor across all phases creates immense efficiency because they already understand your home's structural quirks, hidden mechanical routing, and personal communication preferences. To maintain price transparency without re-bidding every phase from scratch, negotiate a master agreement early on that locks in fixed subcontractor markup percentages and labor rates for future phases. However, if a contractor's communication breaks down, timelines slip continuously, or material estimates jump unreasonably between Phase 1 and Phase 2, you hold full freedom to request competitive bids from new contractors for subsequent phases.
How do I budget for future phases when material and labor costs keep rising?
To protect a phased renovation budget against inflation, factor an annual 5% to 8% cost escalation rate into every future phase projection. Keep your future phase funds in liquid, yield-bearing accounts so your capital grows alongside construction inflation. Another effective strategy is pre-purchasing long-lead, inflation-sensitive materials—such as custom cabinetry, tile, hardwood flooring, and plumbing fixtures—during Phase 1 and storing them safely on-site or in a climate-controlled storage unit. Buying finish materials up front locks in current market pricing and eliminates future supply-chain delays. You can prevent material cost inflation for future phases by taking these proactive financial steps.
How do I prepare mechanical, electrical, and plumbing systems in Phase 1 for future phases?
The most critical technical rule of phased renovating is "roughing-in" for the future. During Phase 1, instruct your tradespeople to run capacity-rated electrical subpanels, capped plumbing supply lines, drain lines, and HVAC duct trunks to the edges of future project zones before drywall goes back up. For example, if you plan to convert an attic or finish a basement in Phase 3, run the necessary heavy electrical lines and plumbing stacks through Phase 1 walls while they are completely opened up. Spending a few hundred dollars on extra wiring and capped pipes during early phases saves thousands of dollars in destructive tear-outs later. Always prepare mechanical, electrical, and plumbing systems for future phases before closing up walls.
How do I make sure paint colors, flooring, and finishes match across phases years apart?
Achieving visual continuity across multi-year phases requires ordering core architectural materials from the same dye lots and manufacturing runs during Phase 1. Manufacturers frequently update color formulas, alter wood plank click-lock systems, or discontinue tile lines every few years. Purchase 100% of the hardwood flooring, main wall tile, and architectural trim moldings needed for the entire home during your initial order, storing the surplus for future phases. For paint and cabinetry, keep exact manufacturer specification cards, color codes, and sheen details documented in a digital home binder so future trades can match wood stains and wall finishes seamlessly.
Should I fix the roof, siding, and foundation before starting interior phases?
Exterior envelope repairs must strictly precede any interior cosmetic renovations. Installing high-end kitchen cabinets, fresh drywall, or finished hardwood floors while your roof is aging, gutters are failing, or foundation walls are seeping moisture risks total destruction of your new investment during heavy rainstorms. Securing the roof, flashing, windows, siding, and foundation drainage guarantees that your home stays water-tight, protecting the expensive materials and labor you pour into interior living spaces during subsequent phases.
Which wet space should I renovate first—the kitchen or the primary bathroom?
Renovate the kitchen first if your primary goal is maximizing daily household functionality and living space. The kitchen serves as the social and operational heart of the home, and finishing it eliminates the heavy daily friction of cooking in makeshift setups. However, if your budget is tight, renovating a secondary bathroom first offers a strategic advantage: it serves as a smaller, lower-risk test run for working with your contractor, selecting tile suppliers, and establishing trade workflows before taking on the higher financial complexity and custom millwork of a full kitchen remodel.
How do I finance a phased renovation without paying repeated loan closing costs?
The most cost-effective financing vehicle for a phased renovation is a Home Equity Line of Credit (HELOC) or a flexible construction-draw loan. Unlike traditional personal loans or cash-out refinances that incur heavy fixed closing costs and force you to pay interest on a full lump sum from day one, a HELOC operates like a credit card secured by your home's equity. You draw only the exact capital needed for Phase 1, pay interest exclusively on that drawn balance, and pay down the principal before drawing new funds for Phase 2—saving thousands in interest charges and loan origination fees over time.
How can I test my master floor plan to ensure early phases don't ruin future layouts?
Before driving a single nail in Phase 1, create a complete, fully unified master floor plan for the entire home's final state. Attempting to design phase-by-phase without an overarching master blueprint leads to major layout mistakes—such as placing a new doorway in Phase 1 where a support post or kitchen pantry needs to go in Phase 3. Utilizing advanced 3D spatial design software allows you to map out your home's total final footprint, test removing non-load-bearing walls, verify furniture traffic paths, and validate mechanical routes virtually. Locking in a master 3D model ensures every early wall alteration and plumbing rough-in directly supports your end vision.


