

Mixing Flooring Between Rooms Without Making Your Home Look Disjointed
Imagine stepping out of your warm oak living room into a hallway, only to land on cold, dark blue tile. Then you open the bathroom door, and suddenly you are standing on light gray vinyl plank.
In less than ten paces, your home feels like three different houses chopped together and glued back at the edges.
This is the central trap when mixing flooring between rooms. You want tile in wet areas, plush comfort in bedrooms, and durable wood where guests gather. But without a clear strategy, your ground floor quickly looks like a bargain outlet showroom.
Here is the truth:
You do not need to install the exact same material in every single corner of your house to make it feel connected. You can successfully use different flooring between rooms—provided you know how to build visual bridges between them.
When you get these connections right, mixing flooring in a house does not look like an accident. It looks like a deliberate design choice that makes every room feel distinct yet unified.
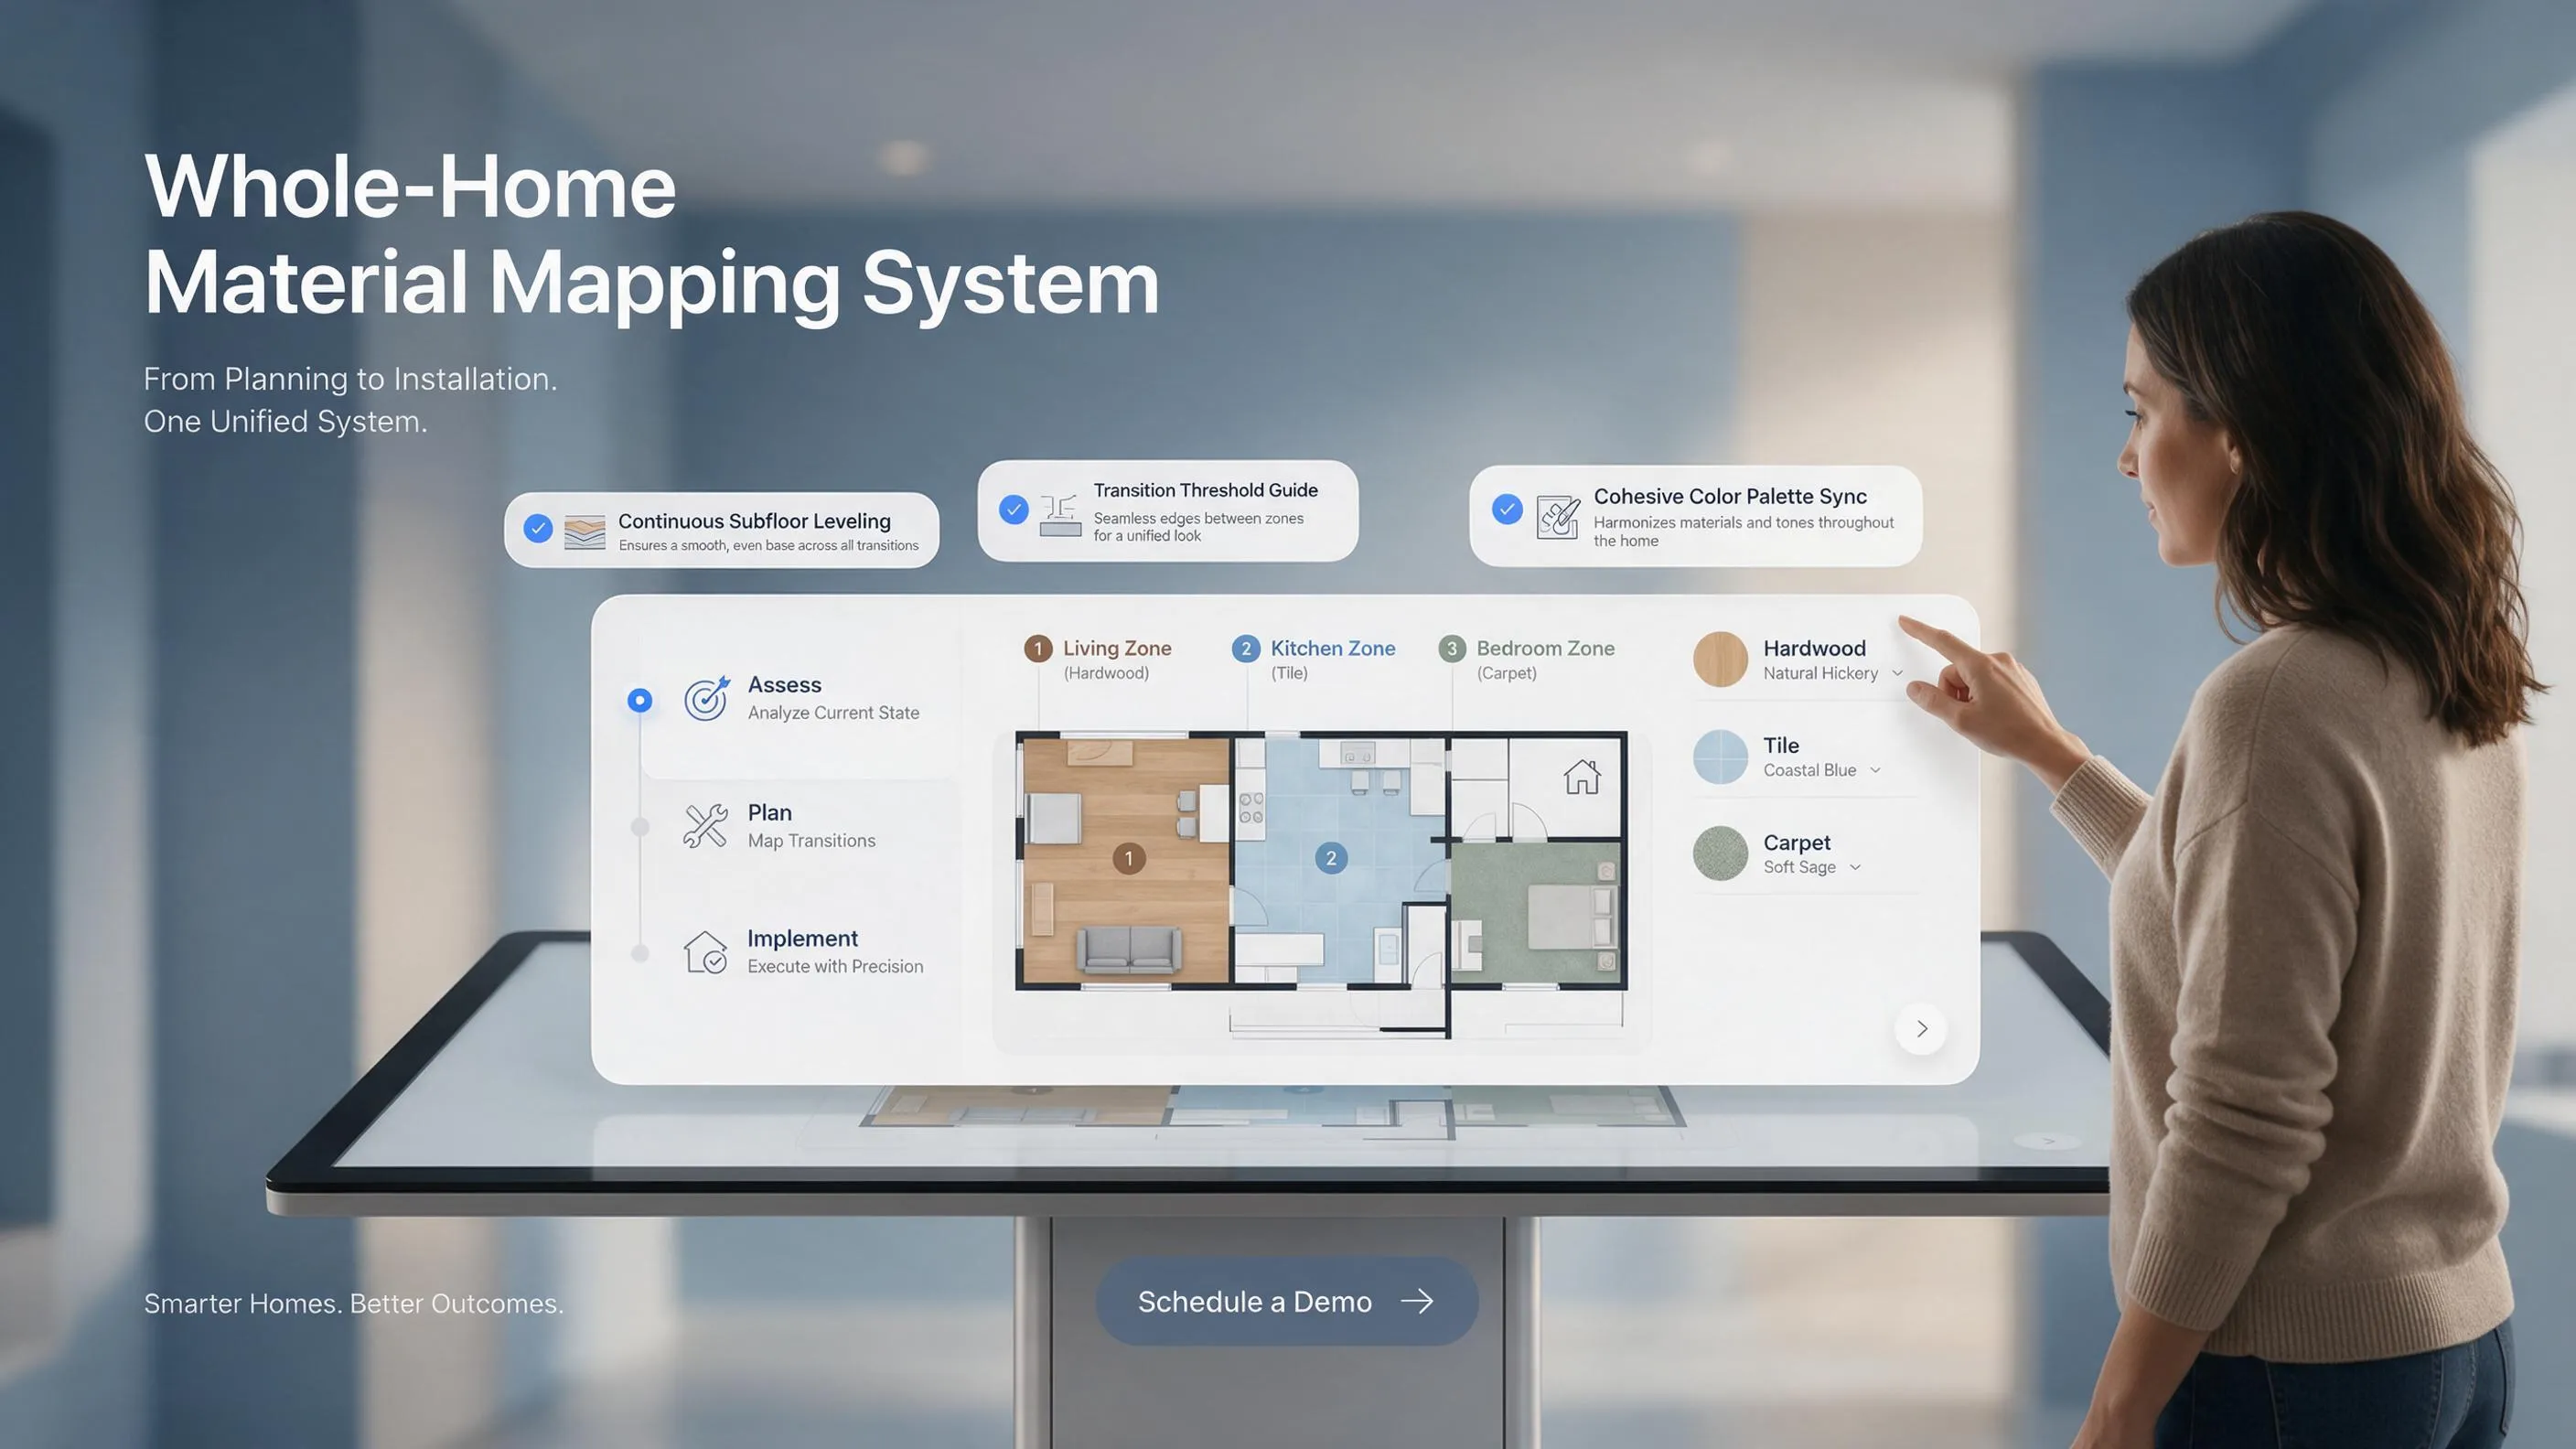
2. Where Should One Floor End and Another Begin?
The biggest mistake homeowners make is changing floor materials in the middle of a room or across an open stretch of wall.
If a floor material changes on a flat, unbroken wall, your brain immediately flags it as a mistake.
To avoid that awkward look, change materials only where architectural boundaries naturally split your view.
The Door Center Rule
When you are deciding where to change flooring between rooms, look at the door frame.
Always place the physical seam directly beneath the door panel when the door is closed.
Why? Because when you close the bedroom or bathroom door, you should only see one floor material from inside the room, and only one floor material from the hallway. Neither floor should bleed under the door into the adjacent space.
3. Open Doorways, Hallways, and Sightlines Change Everything
Rooms do not exist in isolation. When you stand in a central hallway, your eyes take in three or four room entrances at the exact same time.
This is why a flooring transition open doorway can ruin the flow of your home if it is planned blindly.
If you stand in your main corridor and look down the hall, every floor visible in your peripheral vision should share a common thread.
When managing flooring between connected rooms, stand at your primary entryways and take a photo. If two adjacent floors clash violently in your camera view, they will clash every single day when you walk through your home.
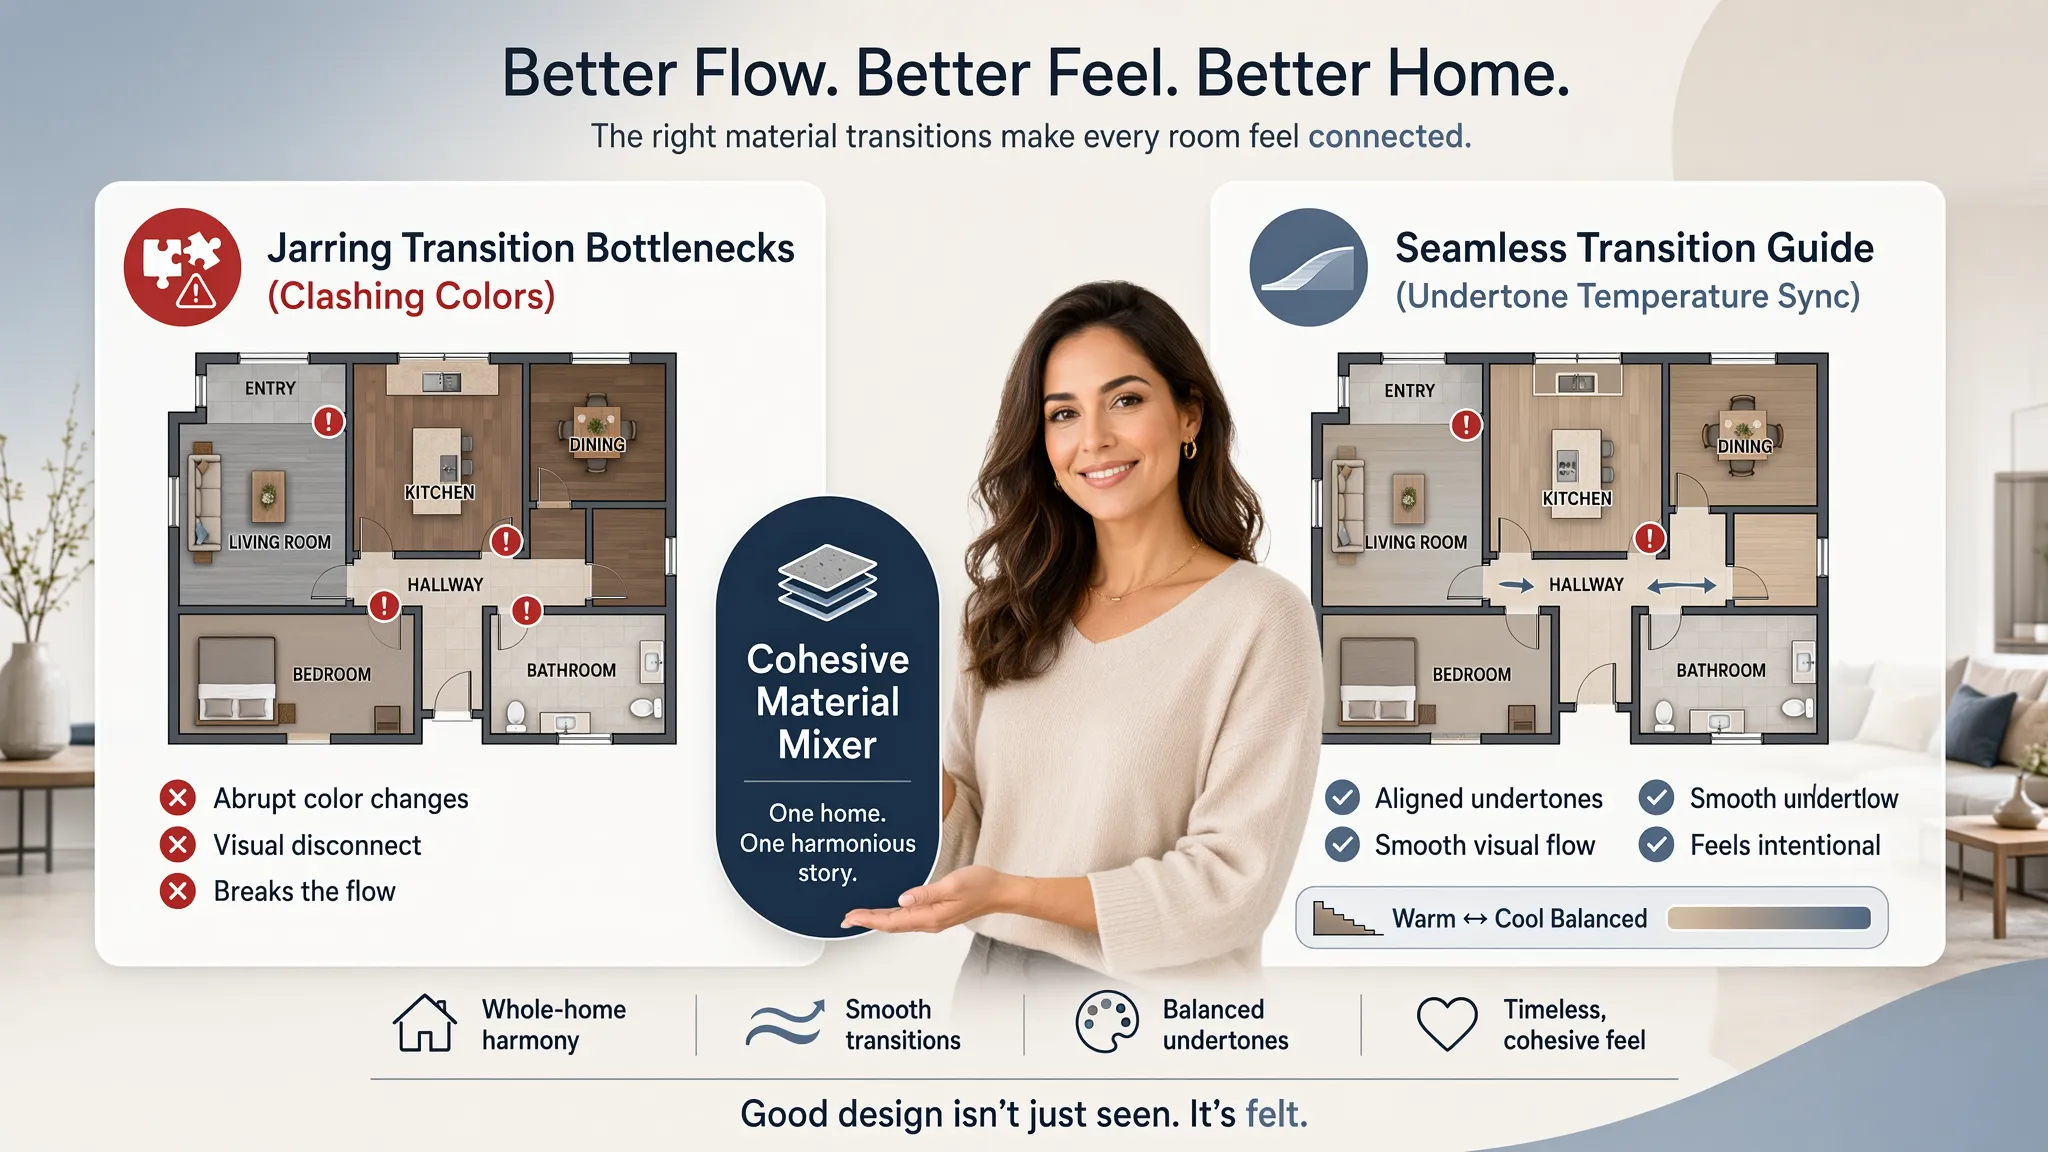
4. Match Flooring by Color, Not by Exact Material
One of the worst design traps is trying to match a wood floor with a fake wood floor.
If you have real oak hardwood in your living room and try to lay an oak-look vinyl plank in the adjacent kitchen, they will clash. Even if the samples look close in the store, the slight difference in sheen, grain depth, and plank width will make one of them look like a cheap imitation.
Instead of guessing, use one of these two proven strategies for matching flooring colors:
- Match Tone, Change Material Completely: Pair real hardwood with stone, slate, or ceramic tile. The material change is obvious and intentional, but the shared undertones tie them together.
- Match Color Exactly across Materials: If you must use different flooring same color, choose materials that carry the exact same color name from the same manufacturer line.
When coordinating flooring between rooms, matching the temperature (warm versus cool) matters far more than matching the pattern.
5. Mix Wood Floors, Tile, Vinyl, and Laminate Without the Clash
Can you mix entirely different floor categories under one roof? Absolutely.
Understanding how different mixing flooring types behave together keeps your home looking balanced:
Wood and Tile Flooring
This is the gold standard for mixing wood and tile flooring. Wood brings warmth to living areas, while tile delivers total water protection in bath and laundry zones. Because wood and stone are both natural elements, they sit side-by-side easily. You can explore stone and porcelain options at Floor & Decor to find styles that complement natural wood grains.
Wood and Vinyl Flooring
Be careful here. Wood and vinyl flooring combinations only work if the vinyl is a stone or concrete look. Never place fake wood vinyl directly up against real hardwood.
Tile and Laminate
This pairing works well in high-traffic homes. High-density laminate provides scratch protection in hallways, while tile handles kitchen spills. Check water-rated tile options at The Home Depot to find kitchen-ready surfaces that sit flush next to laminate corridors.
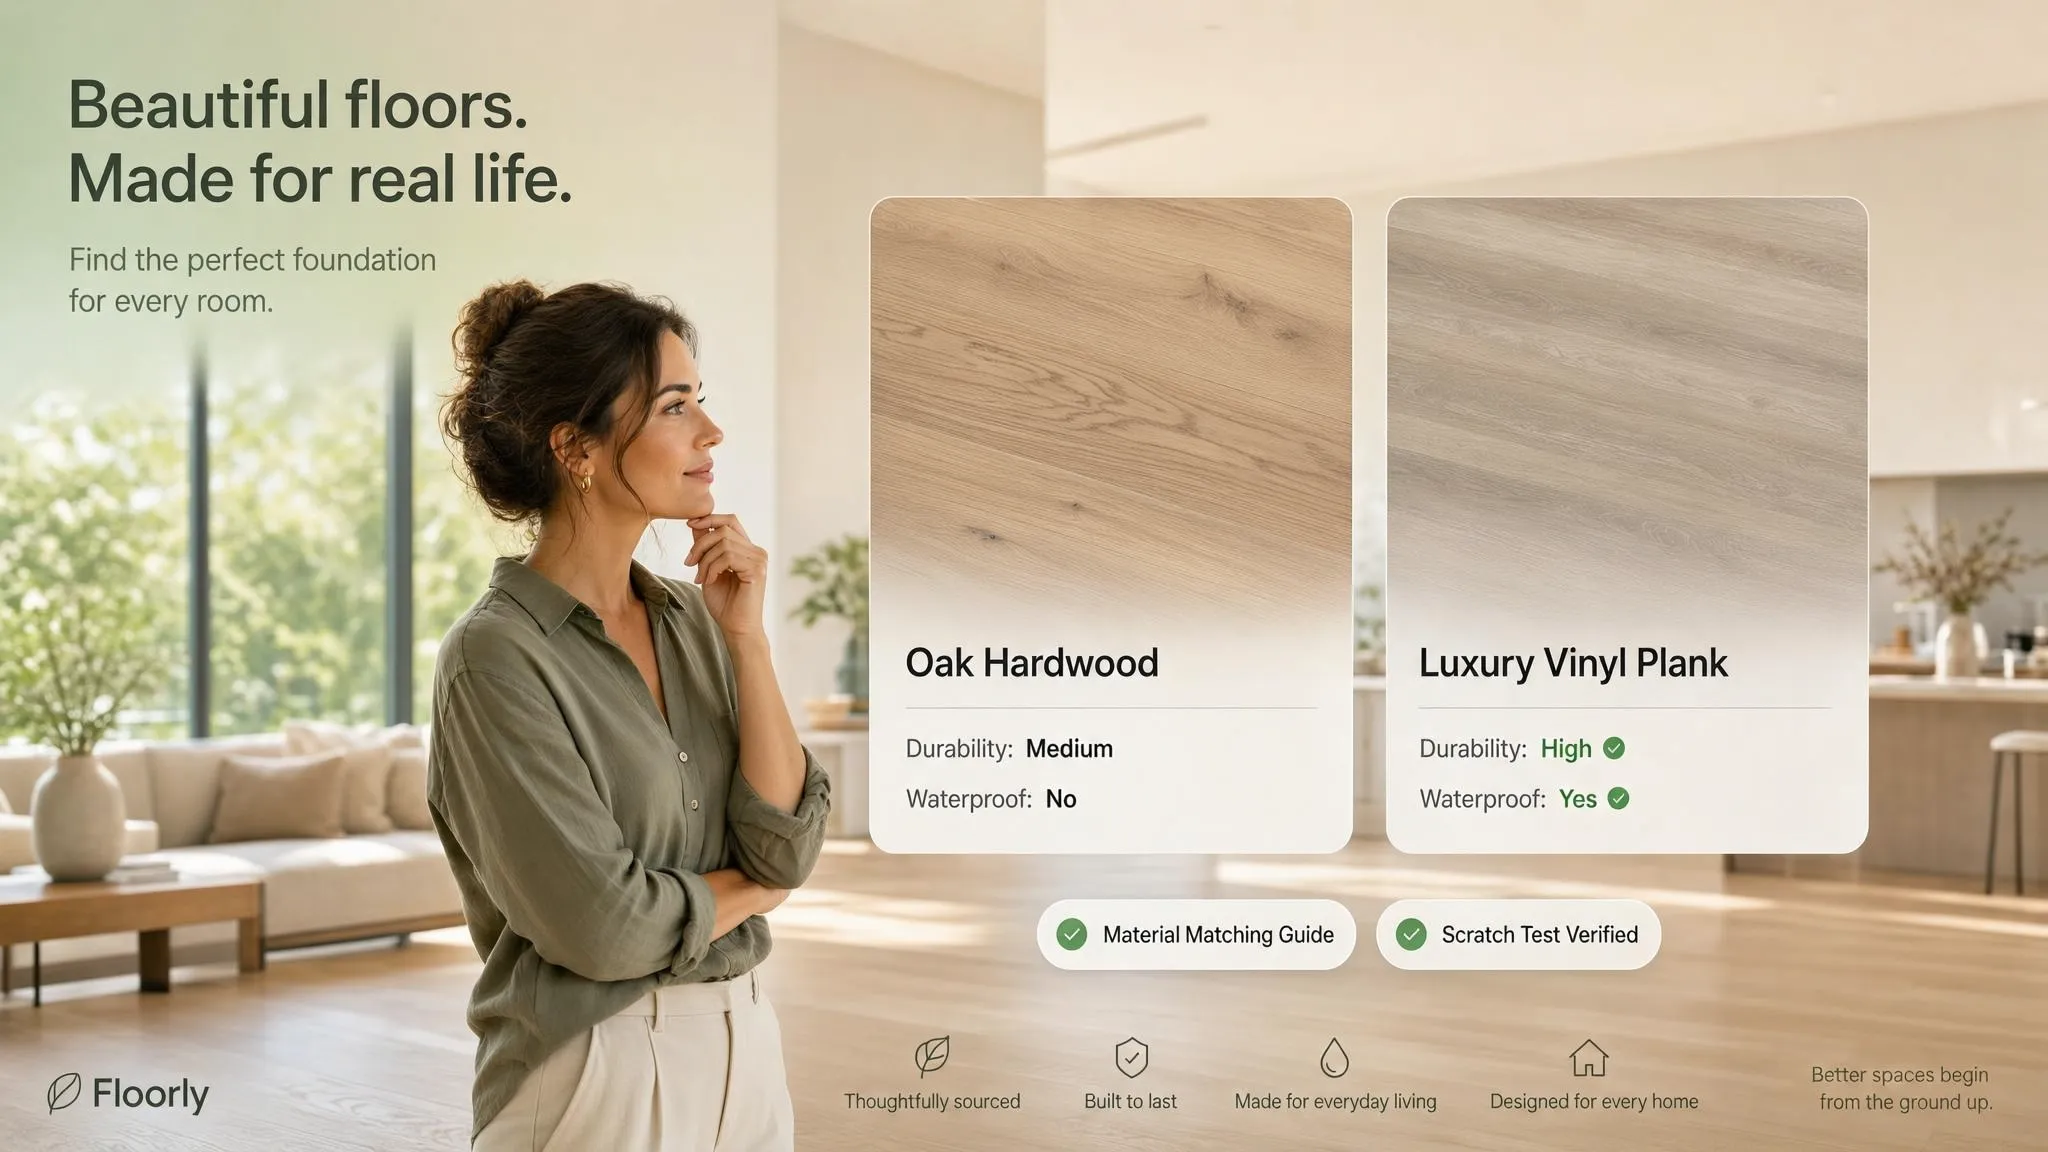
6. Use Flooring Direction to Make the Transition Feel Natural
When two wood-look or plank-style floors meet at a doorway, the angle of the planks dictates how smooth the transition feels.
If planks in both rooms run in the exact same direction across a doorway, your eye treats the seam like an accidental crack.
|  |  |  |  ||  |  |  |
|  |  |  |  ||  |  |  |
|  |  |  |  ||  |  |  |
   (Awkward line clash)
|  |  |  |  || ==================
|  |  |  |  || ==================
|  |  |  |  || ==================
(Clear architectural shift)
To master your flooring direction between rooms:
- Run Planks Perpendicular at Doorways: Turn the planks in the smaller room 90 degrees so they run perpendicular to the hallway floor. This signals a clear change in space.
- Add a Border Plank: Install a single horizontal "threshold plank" directly inside the door frame. This creates an intentional frame that separates the two plank patterns.
7. The Right Flooring Transition Strips Can Make or Break the Look
Bulky, raised metal strips that stick up half an inch off the floor are trip hazards that instantly degrade the appearance of your home.
Selecting modern flooring transition strips keeps your floor profiles slim and clean.
If your wood and tile sit at different heights, pick up low-profile wood or metal reducer strips from Lowe's. Matching your transition strip color to the darker of the two floors helps the seam blend naturally into the door frame.
8. How Many Flooring Changes Are Too Many?
Every time you change floor materials, you ask your eyes to adjust to a new texture and color.
If you have five different floor types on a single main level, your house will feel noisy and smaller than it actually is.
To avoid having different flooring in each room, follow the Rule of Three:
The Rule of Three: Limit your home to a maximum of three total floor materials across any single floor level.
Keeping to this simple framework prevents mixing flooring types in a home from spiraling into visual chaos.
9. Keep Connected Rooms Cohesive With Walls, Trim, and Furniture
When your floors change from room to room, your walls, baseboards, and furniture have to do the heavy lifting to tie the house together.
Here is how to connect adjacent spaces when the floors are different:
- Keep Baseboards Uniform: Use the exact same baseboard trim profile and white paint finish across every room, regardless of what floor lies beneath it.
- Coordinate Walls with Floors: Pair your flooring with wall color by using a warm neutral paint backdrop that balances both floor tones.
- Tie Floors to Furniture: If your bedroom carpet is gray and your hallway floor is oak, bring a warm oak nightstand into the bedroom. Aligning your flooring with furniture brings the floor color up into the room's decor.
You can browse cohesive furniture collections on Wayfair to find accent pieces that bridge the gap between different floor materials.
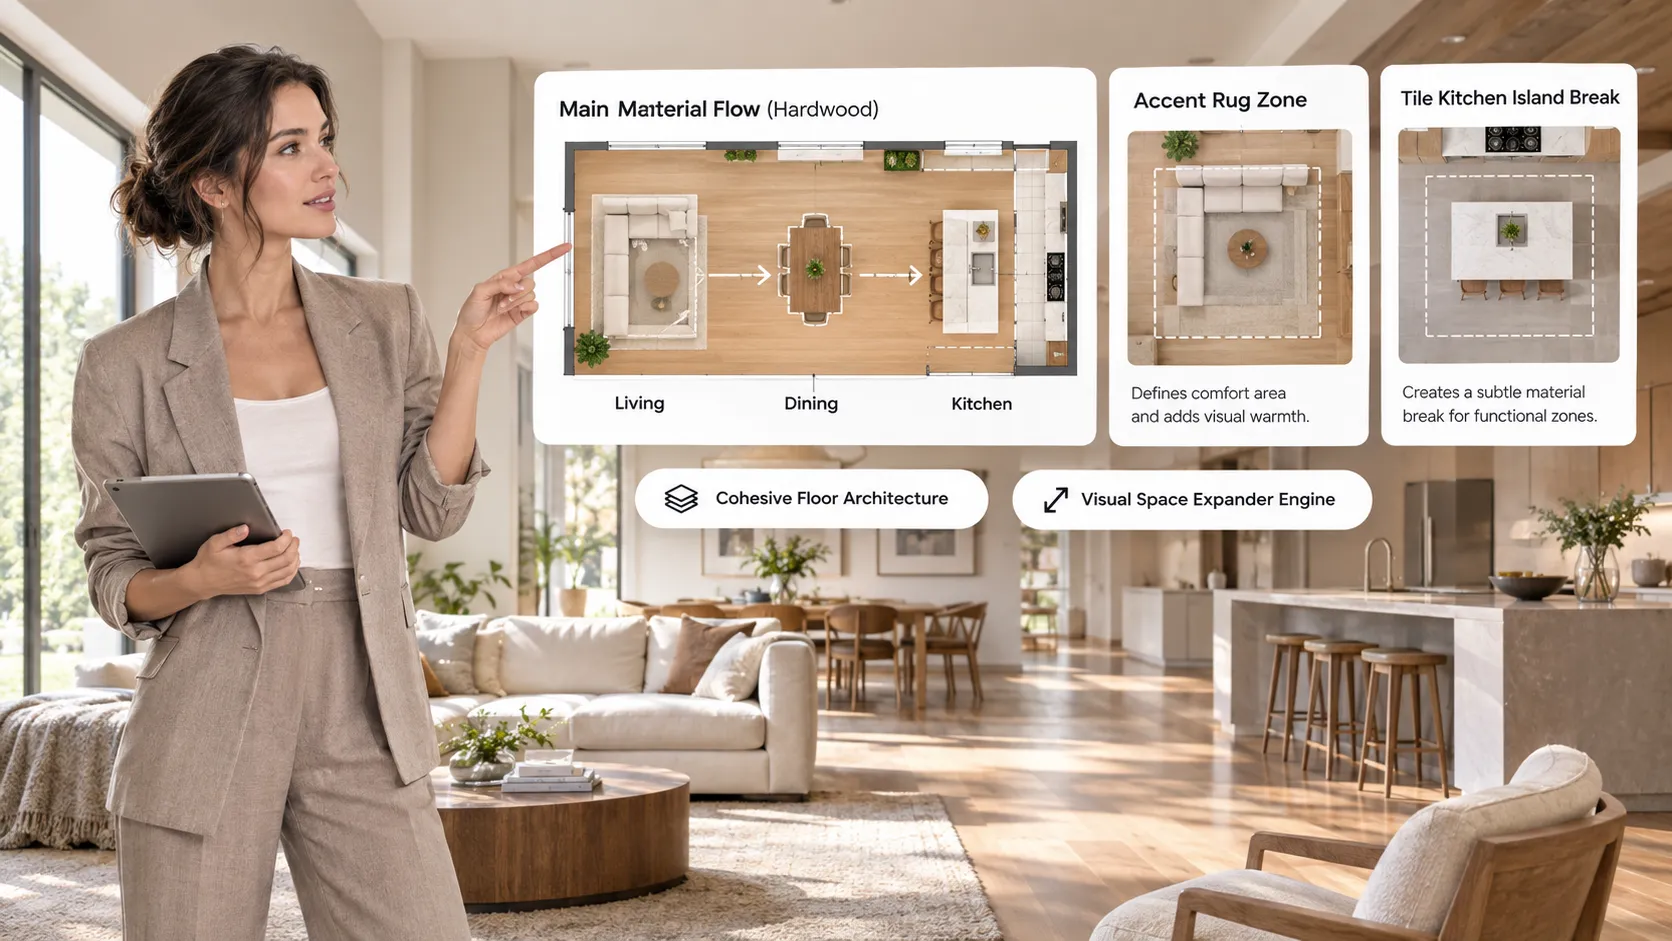
10. Mixing Flooring in Open-Plan Living, Dining, and Kitchen Areas
An open layout is the hardest place to mix floors because there are no door frames or walls to hide the seam.
If you are mixing flooring in open plan spaces, you need structural anchor points.
Ends precisely along
the kitchen island edge
Extends through seating areas
and dining space
When building living dining kitchen flooring schemes:
- Use the Kitchen Island as a Boundary: End kitchen tile flush along the outer edge of the kitchen island or breakfast bar.
- Try Hexagon Bleed Transitions: Let hexagon tiles interlock with hardwood planks across an open boundary line for a modern, creative transition.
- Explore Engineered Wood Options: If you prefer one floor across the entire open area, check durable engineered wood lines on LL Flooring that handle kitchen humidity while keeping living spaces cozy.
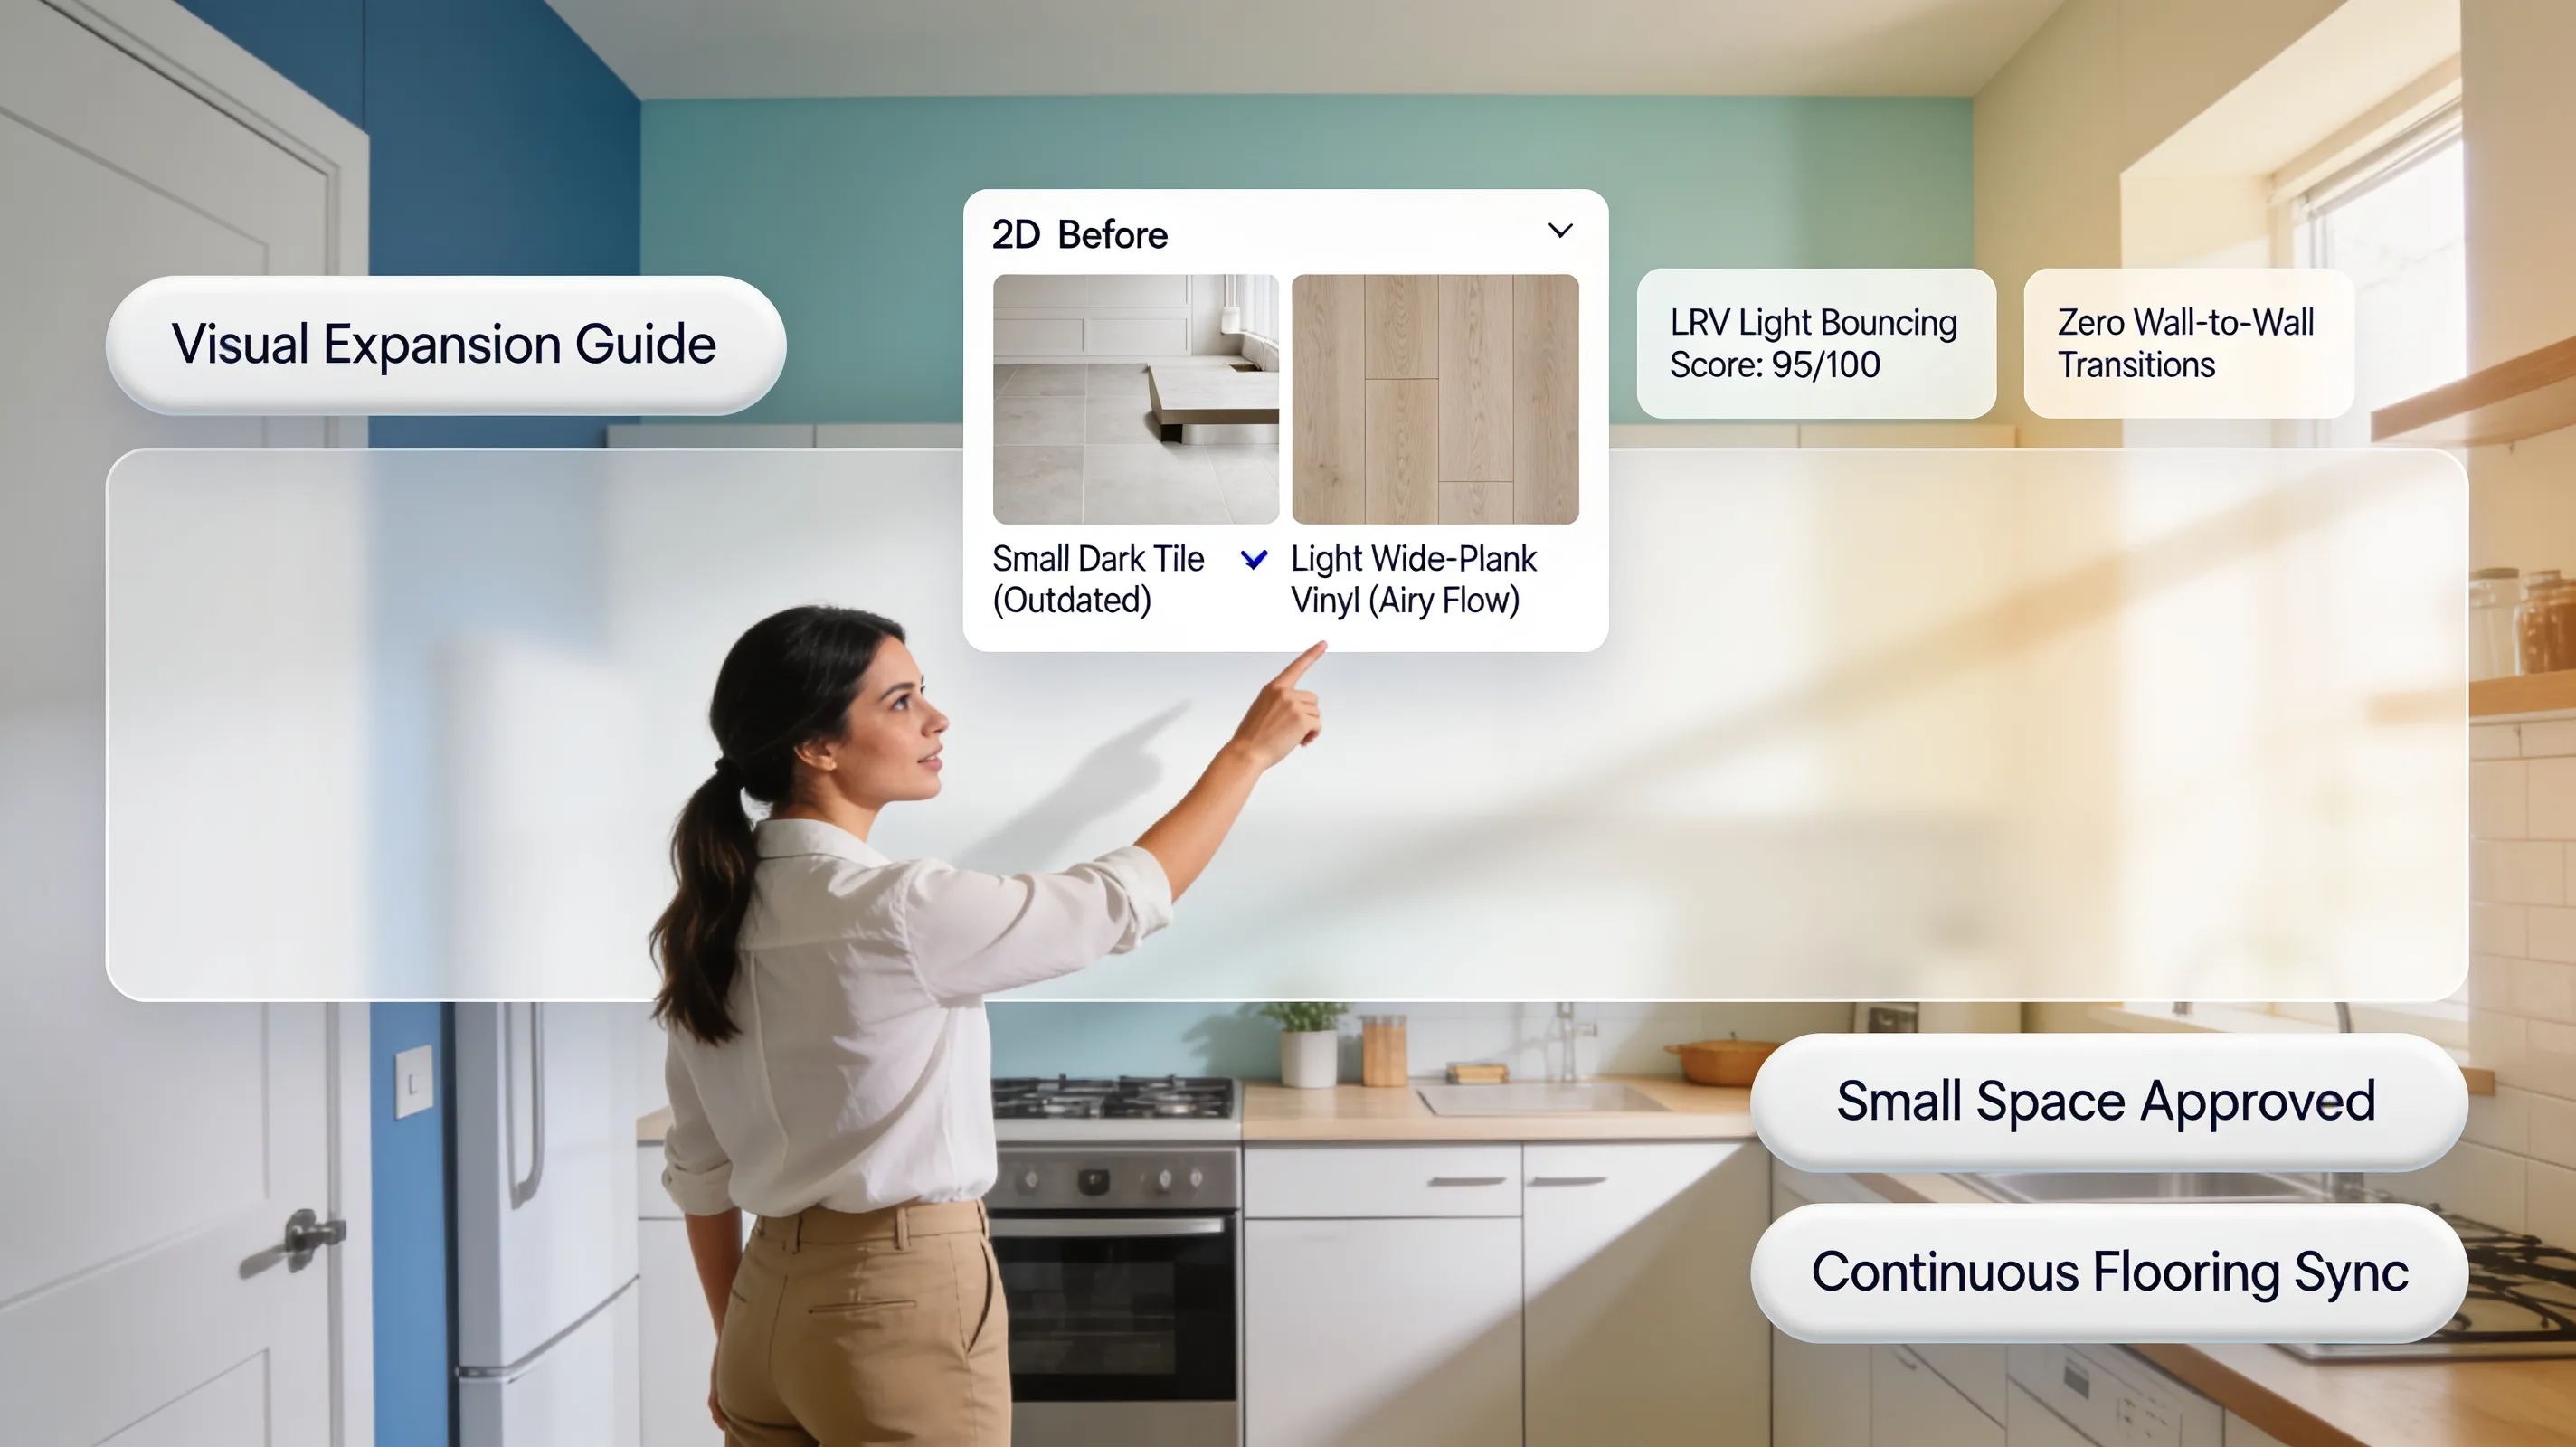
11. See Your Flooring Combinations Before You Install Them
It is nerve-wracking to buy thousands of dollars in flooring without knowing how two distinct materials will look side-by-side in your home.
Samples resting on a store display table tell you nothing about how they will look across your actual floor plan.
↓
Uncertain guess work
↓
Real-time visual confirmation
Take the anxiety out of the decision by testing your floor pairings before buying. Using home visualizer tools like DesignHome lets you test different plank directions, tile shapes, and wood stains across your connected floor plan.
Previewing your space digitally lets you spot clashing undertones instantly—long before any contractor opens a box of flooring.
12. Create a Whole-Home Flooring Combination That Feels Intentional
Ready to build a connected floor plan that flows from front door to back porch?
Use this step-by-step checklist to finalize your decisions:
By following this simple plan, your home will feel connected, stylish, and comfortable underfoot for years to come.
Frequently Asked Questions: Mixing Flooring Between Rooms
1. Will using different flooring between rooms make my home look smaller or chopped up?
It can—if you change materials without a clear plan. When your eyes catch three different textures in a single doorway, your brain reads every room as an isolated box, which shrinks the felt size of your whole house.
Here is the secret:
You do not need identical floors in every room to keep your home feeling spacious. Having different flooring between rooms works brilliantly when you keep the color undertones connected. If your living room hardwood and kitchen tile share warm honey undertones, your eyes glide across the doorway without stopping.
When mixing flooring in a house, sticking to warm or cool tone families across every room keeps your square footage feeling open and continuous.
2. Where is the exact spot to transition from one floor to another in a doorway?
Changing floor materials right in the middle of a hallway or across an open wall looks like an accidental mistake.
To keep your design clean, follow the door center rule.
Always place the physical seam directly beneath the center of the door panel when the door is closed.
Why does this matter?
Because when the door is shut, you see only hallway flooring from the hall, and only bedroom flooring from inside the room. Neither material spills past the threshold, giving you a clean break every time.
3. Can I mix real hardwood in the hallway with luxury vinyl plank in the kitchen?
This is one of the trickiest design combinations homeowners face. Putting wood-look vinyl plank right up against real hardwood almost always ends in disappointment.
Here's why:
Even if the samples look similar under store lights, subtle shifts in sheen, plank width, and grain texture will make the vinyl look like an imitation right next to authentic timber.
If you want wood and vinyl flooring side-by-side, choose a vinyl plank that looks like natural slate, concrete, or stone. The clear shift from natural wood to stone-look vinyl feels deliberate, stylish, and durable.
4. How do you mix flooring in an open floor plan with no walls or doorways?
If you try to split an open room in half with a straight line across the middle, it cuts your living space awkwardly in two.
Instead, use natural room boundaries when mixing flooring in open plan spaces:
- Align with Kitchen Islands: End your kitchen tile flush along the outer edge of your island counter or breakfast bar.
- Anchor Seating with Area Rugs: Run one single floor material across the entire open area, then use a large area rug to define the living room zone.
- Try Hexagon Bleed Tiles: Let hexagonal kitchen tiles interlock naturally into wood planks across the boundary line for a modern, custom transition.
5. How many different types of flooring are too many for one home?
Every time you switch flooring materials, you force your brain to adjust to a new texture, pattern, and color tone.
If you have five or six different floor types on a single main floor, your house quickly starts feeling noisy, cluttered, and chaotic.
To avoid having different flooring in each room, follow the Rule of Three:
Limiting your home to three total surface materials keeps your interior design looking intentional, balanced, and serene.
6. What is the best way to handle flooring direction changes between connected rooms?
When plank-style floors in two adjacent rooms run in the exact same direction across a doorway, your eyes notice every minor seam misalignment.
Think about it this way:
If the planks run parallel across a threshold, the seam looks like an awkward split in the floor.
|  |  |  |  ||  |  |  |
|  |  |  |  ||  |  |  |
|  |  |  |  ||  |  |  |
|  |  |  |  || ==================
|  |  |  |  || ==================
|  |  |  |  || ==================
To control your flooring direction between rooms, turn the planks in the smaller room 90 degrees so they run perpendicular to the hallway floor. You can also place a single horizontal threshold plank inside the door frame to create a clean border between the two rooms.
7. How do I choose transition strips that don't look cheap or create trip hazards?
Bulky, raised plastic or metal strips stick out like sore thumbs and trip people up as they walk between rooms.
Picking the right flooring transition strips keeps your doorway profile slim, flush, and safe:
- Use T-Mouldings for Equal Heights: If both floors sit at the exact same level, choose a slim T-moulding in a finish that matches your floor.
- Use Reducer Strips for Height Differences: If tile sits higher than vinyl, use a gently sloped reducer strip so shoes glide smoothly across the seam.
- Match the Darker Floor Color: Selecting a transition strip that matches the darker of the two materials helps the seam blend naturally into the door frame.
8. Should carpet in bedrooms match the color of wood flooring in the hallway?
You don't need an exact color match between bedroom carpet and hallway wood, but their undertones must work together.
Let's be honest:
Putting a cool, icy-gray carpet right next to a warm golden oak hallway creates an uncomfortable color clash every time a bedroom door sits open.
When coordinating flooring between rooms, match the temperature of both surfaces:
- Warm Hallway Floors (Oak, Honey, Chestnut): Pair with warm beige, oatmeal, or cream carpets.
- Cool Hallway Floors (Ash, Light Gray, Driftwood): Pair with soft cool gray, slate, or off-white carpets.
Matching temperature undertones ensures your sightlines remain soothing from every angle.
9. How do I make different flooring types feel cohesive across my whole home?
When your floors change from tile to wood to carpet, your walls, baseboards, and furniture have to do the heavy lifting to tie your home together.
Here is how to create immediate visual continuity:
- Keep Baseboard Trim Uniform: Run the exact same white baseboard profile through every room, regardless of what surface lies on the floor.
- Repeat Wood Furniture Tones: If your hallway has warm oak floors and your bedroom has cream carpet, place a warm oak nightstand or dresser in the bedroom to pull the hallway tone inside.
- Use Neutral Wall Paint: A soft, neutral wall color creates a calm backdrop that balances both floor surfaces easily.
10. How can I test my flooring choices together before buying materials?
Buying thousands of dollars in flooring based on a tiny sample board inside a brightly lit showroom is nerve-wracking. A color that looks great under store fluorescent lights can look completely different under your home's natural daylight.
Before spending a dime:
- Get Large Swatches: Place physical sample planks flat on your subfloor directly inside your doorway openings.
- Check Light Shifts: Observe your samples at 8 AM, 1 PM, and under evening lamps to see how light shifts their undertones.
- Use Digital Visualizers: Upload photos of your doorways into interactive visualizers to preview plank directions, tile patterns, and wood tones across your layout before buying.
Using these simple tools helps you mix flooring materials with total confidence, giving you a connected, stylish home underfoot for years to come.


