

Tackling a fixer-upper or updating a dated property without a structured plan leads to wasted capital, repeated labor, and frustrating delays. When faced with dozens of competing repairs, knowing what to renovate first preserves your structural budget and prevents new cosmetic work from being ruined by underlying mechanical failures.
What Should You Renovate First? Start With What Matters Most
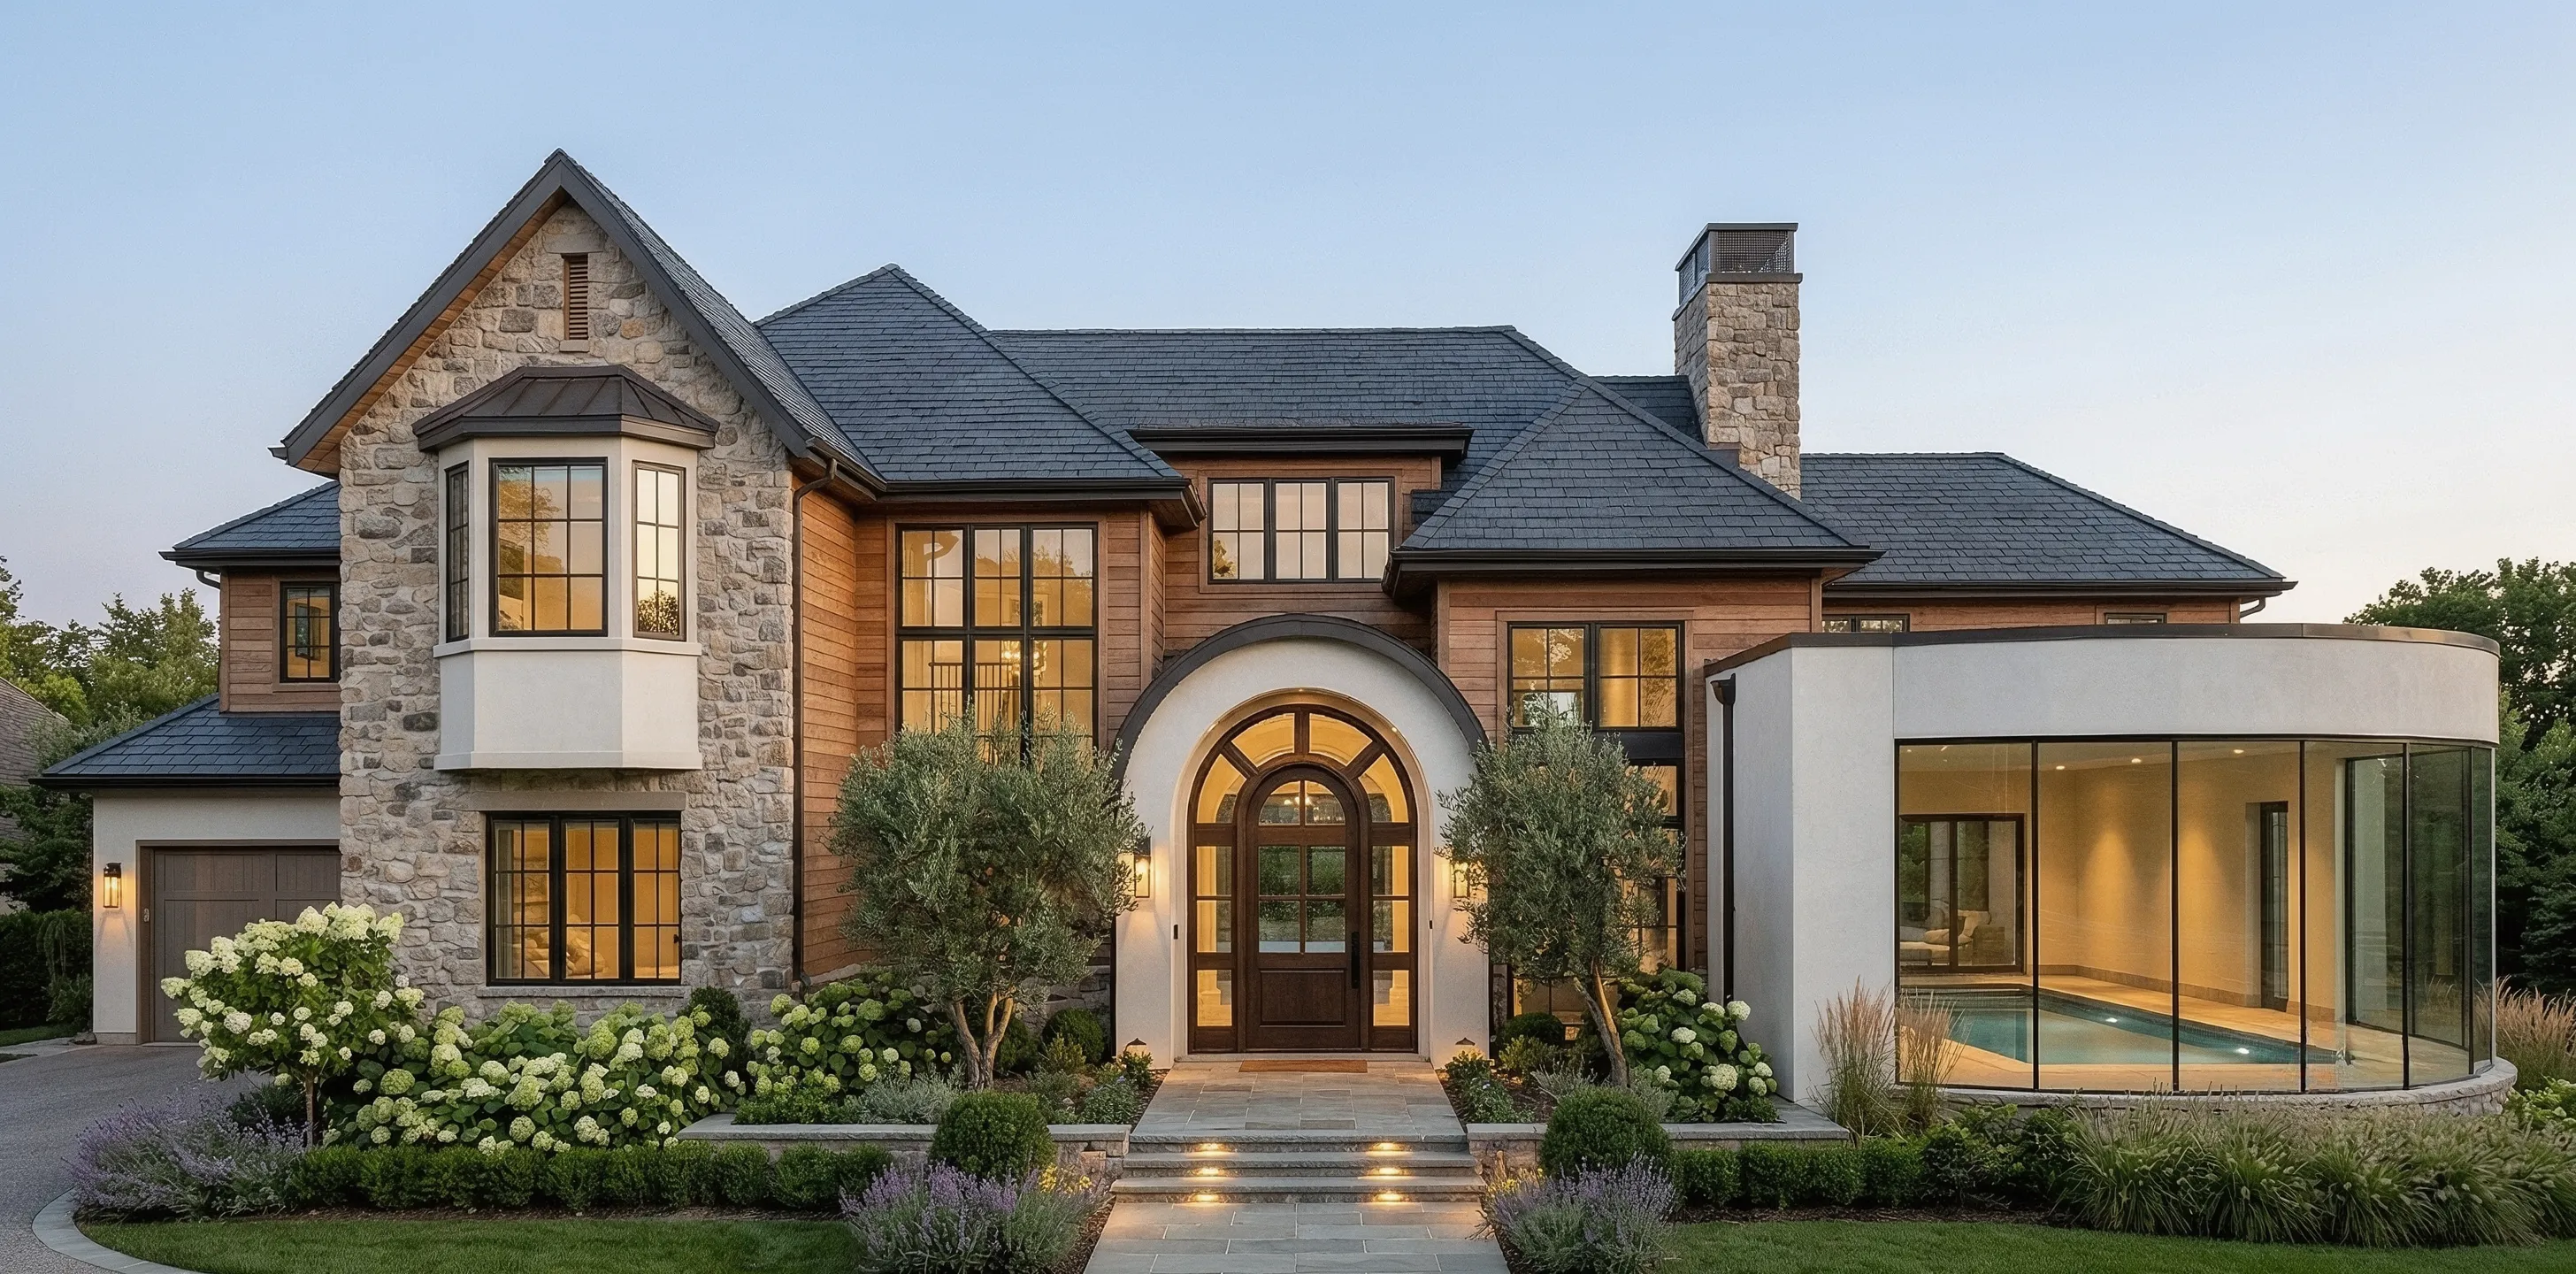
When asking what should I renovate first, the golden rule of construction management is simple: work from the outside in, and from the structural foundation upward. Installing custom hardwood floors or luxury quartz countertops while the roof leaks or the foundation settles guarantees costly rework.
OPTIMAL RENOVATION SEQUENCE FLOW [ PHASE 1: ENVELOPE & STRUCTURE ] ---> Roof, foundation, exterior drainage & weatherproofing +-------------------------------+ | | [ PHASE 2: MECH / ELEC / PLUMBING ] ---> Rough-in wiring, pipe upgrades & HVAC ducting | +-----------------------------------+ | | | | [ PHASE 3: HIGH-IMPACT INTERIORS ] ---> Layout changes, kitchen & bathroom drywall | | +---------------------------------+ | | | v v v [ PHASE 4: FINISHES & COSMETICS ] ---> Cabinetry, paint, trim & floor installation
Establishing your home renovation priorities around this four-phase sequence protects your investment. Securing the building envelope first ensures every dollar spent on interior finishes stays protected for decades.
Fix Problems That Can Cause Bigger Damage First
Prioritizing luxury finishes over active structural decay is the most expensive mistake a property owner can make. Evaluating your renovation priorities requires separating cosmetic flaws from destructive issues that worsen every month.
| Repair Category | Examples | Risk Level if Delayed |
|---|---|---|
| Urgent Structural & Safety | Active roof leaks, foundation cracks, outdated knob-and-tube wiring | Critical: Causes compounding water damage, mold, or fire hazard |
| Mechanical & Drainage | Sewer line back-ups, leaking supply lines, poor yard grading | High: Destructive to subfloors, drywall, and slab foundations |
| Cosmetic & Surface | Peeling paint, dated cabinetry, worn carpet, old lighting fixtures | Low: Aesthetic only; causes zero ongoing structural degradation |
Addressing urgent home repairs before cosmetic updates isolates your living space from active deterioration, giving you a stable base for aesthetic upgrades.
Check the Roof, Foundation, and Structure Before Cosmetic Work
Before knocking down interior walls or finalizing interior decorating schemes, perform a rigorous structural assessment. Your house renovation order must account for the physical skeleton of the home.
Include these critical structural checkpoints on your home renovation checklist:
- Roofing & Flashings: Inspect for missing shingles, rusted valley flashings, and sagging rafters. A compromised roof allows rainwater to ruin insulation and ceiling drywall.
- Foundation & Grading: Check for stepped cracks in masonry walls, sticking doors, or uneven floors that indicate settlement requiring foundation piers.
- Load-Bearing Walls: If open-plan living is part of your design, consult a structural engineer before removing walls to size necessary steel or LVL support beams.
Completing necessary structural repairs early avoids tearing down newly finished drywall later to install forgotten support posts.

Deal With Plumbing, Electrical, and Water Problems Early
Once the outer building envelope is secure, turn your attention to the systems hidden behind your walls. Establishing a correct renovation order means completing all rough-in trades before closing up wall cavities.
ROUGH-IN VS. FINISH WORK SEQUENCE [ ROUGH-IN PHASE (Walls Open) ] ---> Copper/PEX pipes, sub-panel upgrades & copper wire +--------------------------------+ | | [ INSULATION & DRYWALL ] ---> Tape, mud, sand & prime wall surfaces | +--------------------------------+ v [ FINISH PHASE (Walls Closed) ] ---> Faucets, vanity hookups, light fixtures & switch plates
Key trade priorities:
- Plumbing Renovation: Replace aging galvanized or polybutylene pipes with PEX or copper before installing tile backsplashes or custom vanities.
- Electrical Renovation: Upgrade outdated 100-amp electrical panels to 200 amps to support modern kitchen appliances, EV chargers, and HVAC systems.
- Water Damage Repair: Remediate hidden subfloor moisture and replace rotted joists before laying down new tile or hardwood floors.
Decide Whether the Kitchen or Bathroom Should Come Next
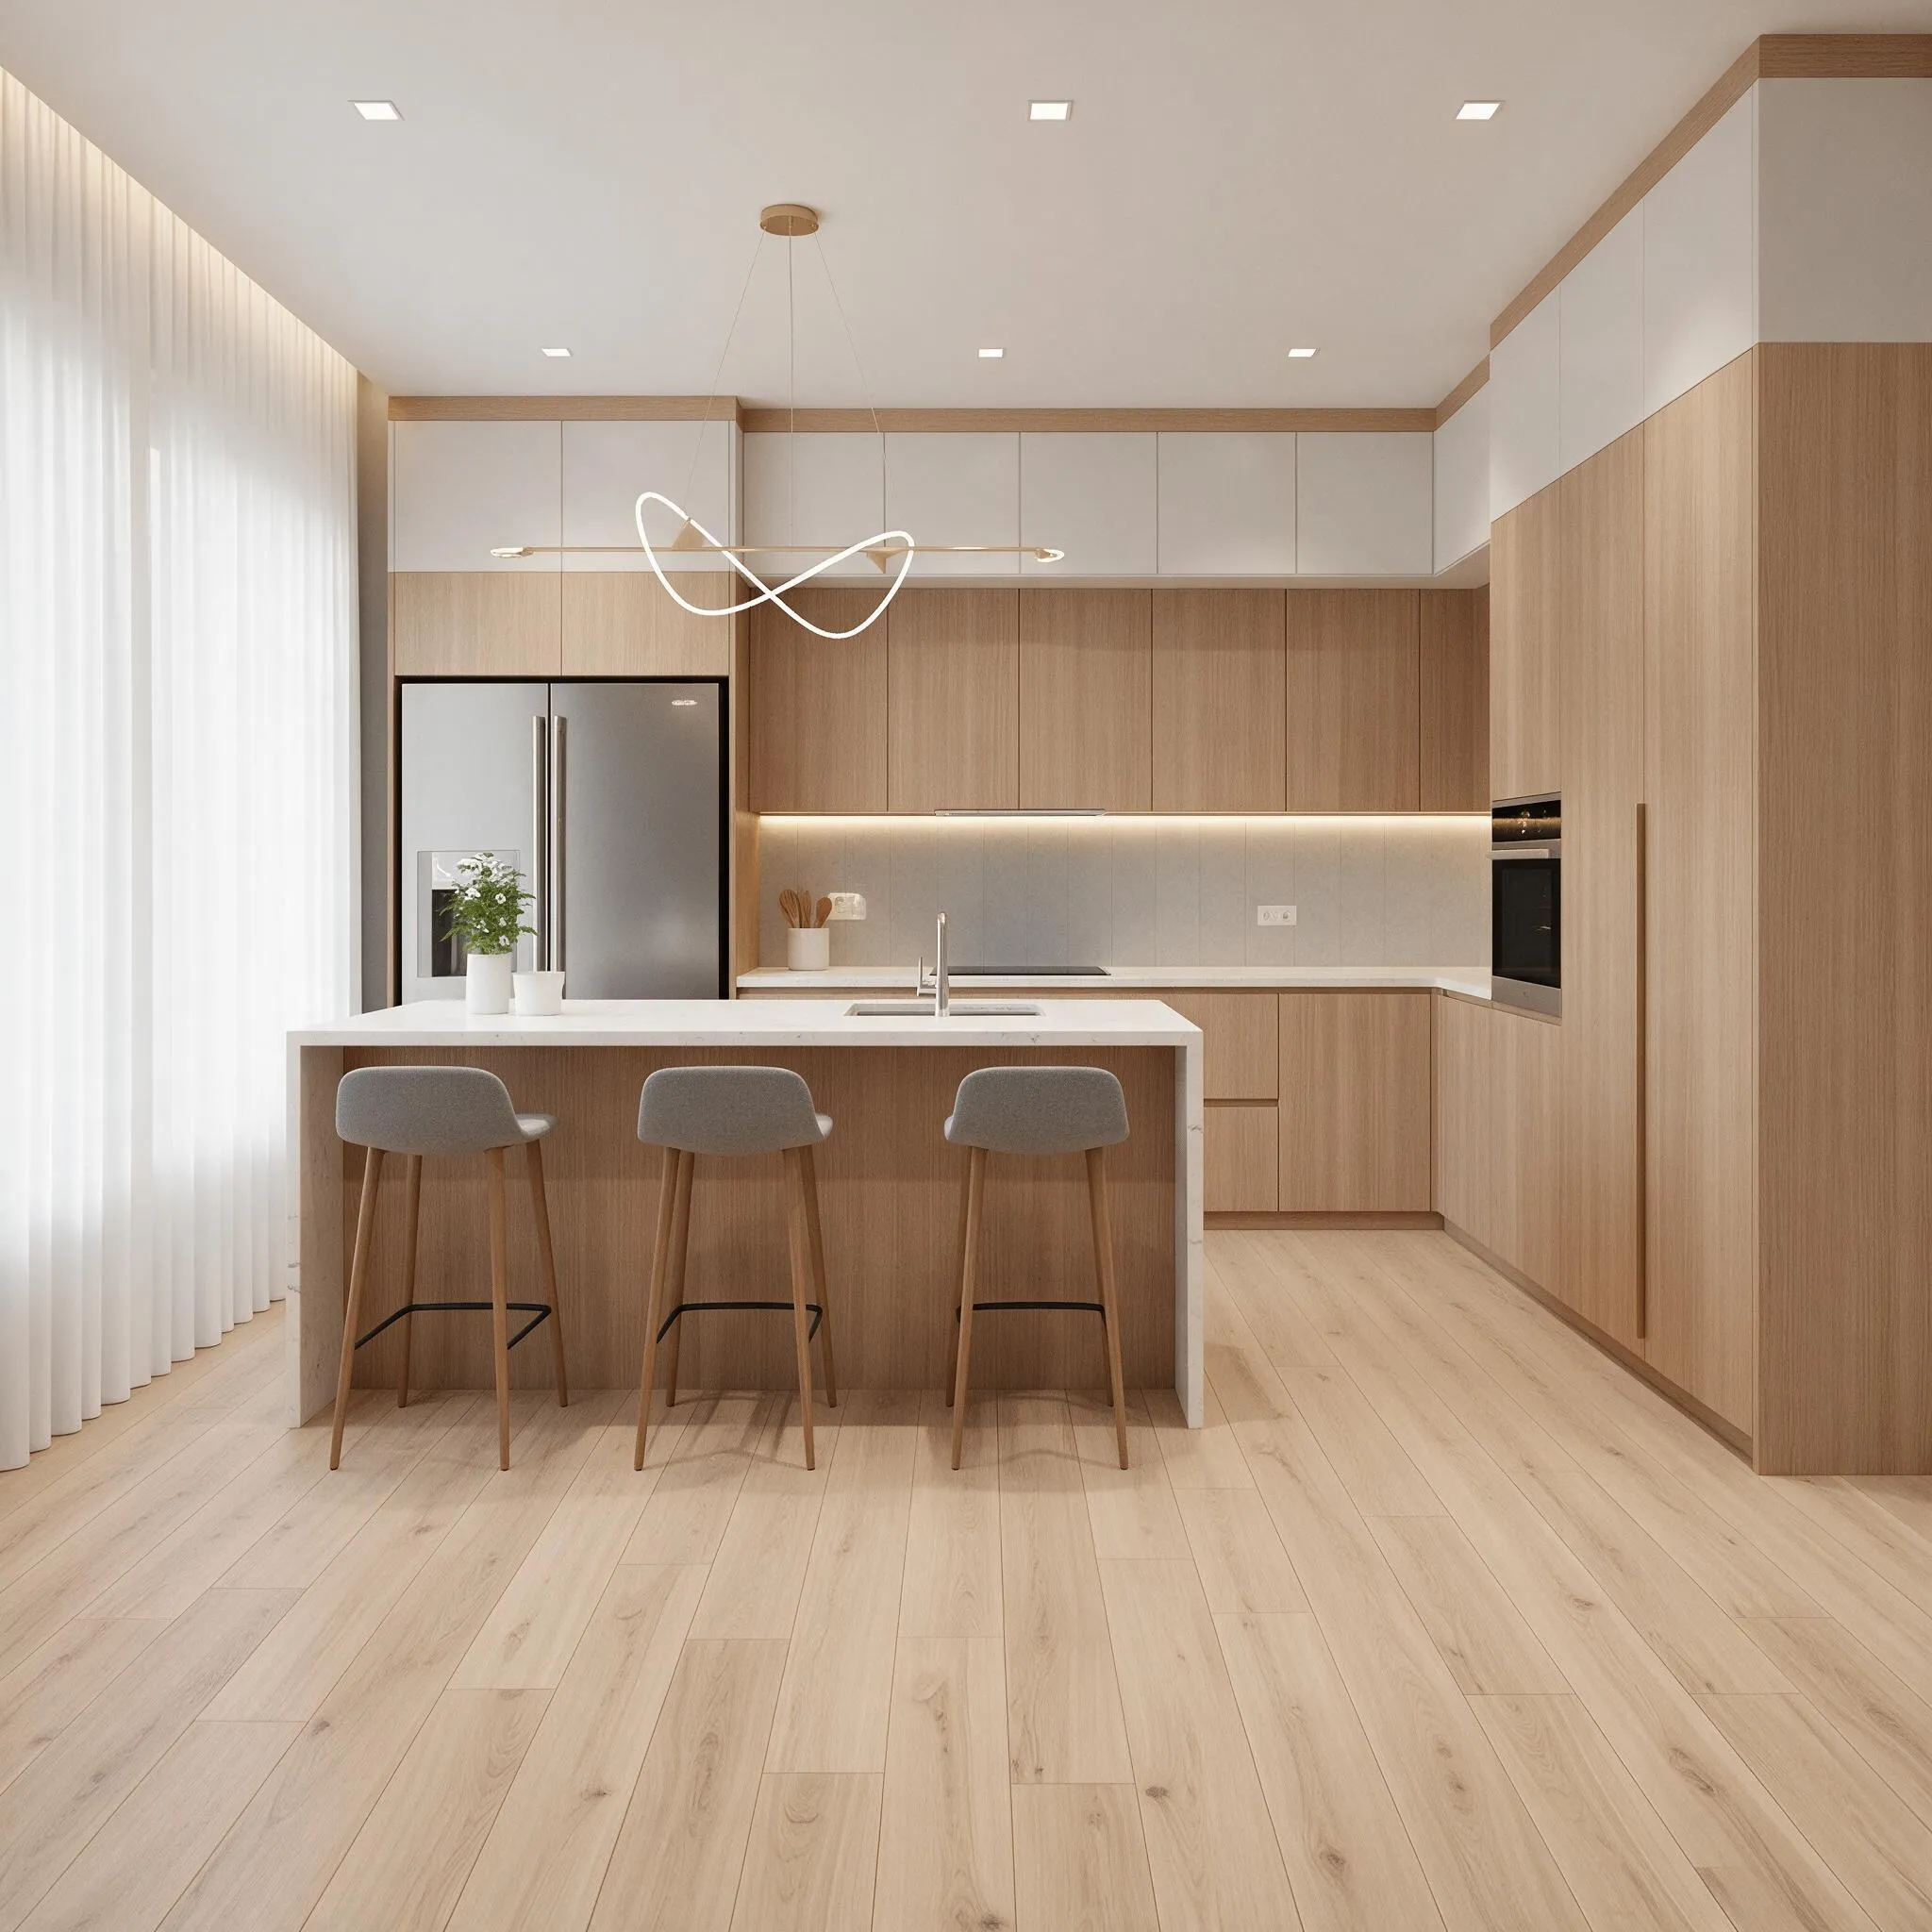
After structural and utility systems are updated, determining which room to renovate first usually comes down to a choice between the kitchen and the primary bathroom. Both spaces yield high equity returns, but they impact daily life differently.
ROOM PRIORITIZATION MATRIX KITCHEN RENOVATION BATHROOM RENOVATION - High equity return (70-80% ROI) - Moderate equity return (60-75% ROI) - Core social hub of the home - High daily disruption (plumbing shut-offs) - High material & cabinet lead times - Lower overall footprint & total cost
Choose a kitchen renovation first if your primary goal is increasing overall property value and creating a central social layout for family life.
Choose a bathroom renovation first if you have an active plumbing leak, only one functioning bath, or a lower initial cash reserve.
Renovate Before Replacing Things You'll Have to Remove Later
Execution mistakes often occur when trades overlap out of order. Establishing a clear logical order of home renovation keeps you from purchasing materials or paying for labor twice.
Follow this sequence to protect finished surfaces:
- Demolition & Framing: Clear old fixtures, frame new walls, and alter door openings.
- Rough Trades: Run electrical lines, plumbing supply/waste pipes, and HVAC ducts through open studs.
- Insulation & Drywall: Close walls, mud joints, sand smooth, and apply primer.
- Flooring Installation: Lay hard-surface flooring across the entire layout before setting cabinets or interior doors over top.
- Millwork & Trim: Install baseboards, door casings, custom built-ins, and kitchen cabinetry.
- Paint & Final Fixtures: Apply topcoat wall paint, hang decorative lighting, and install plumbing trims.
Adhering to these strict renovation steps prevents heavy tools or wet drywall joint compound from damaging new flooring or painted surfaces.
Choose Renovations Based on Your Budget
Aligning your scope with realistic financial constraints keeps your project moving. Defining your renovation budget priorities requires balancing mandatory structural costs against discretionary finish upgrades.
RENOVATION BUDGET ALLOCATION (50/30/20) [ 50% CORE TRADES & INFRASTRUCTURE ] ---> Roofing, plumbing, electrical, framing & drywall [ 30% VISUAL FINISHES & FIXTURES ] ---> Cabinetry, tile, countertops, paint & flooring [ 20% CONTINGENCY RESERVE ] ---> Unforeseen structural repairs & material price shifts
When managing your home renovation budget:
- Allocate capital to structural elements and built-in fixtures first, as these are difficult and expensive to alter later.
- Save on flexible cosmetic details like lighting fixtures, cabinet hardware, or accent wall paint, which can easily be swapped over time.
- Keep a firm contingency fund to absorb unexpected discoveries behind aging walls without stalling work.
Targeted allocation of your renovation cost priorities keeps your project financially stable from tear-out to final polish.

Prioritize Improvements That Change How You Live
Beyond property value, the best updates improve how your home functions daily. Brainstorming home renovation ideas should focus on solving spatial friction points in your daily routine.
High-impact functional upgrades include:
- Removing Non-Load-Bearing Partition Walls: Create an effortless flow between dark, compartmentalized kitchens and living rooms.
- Adding Dedicated Storage Built-Ins: Transform cluttered entryways and mudrooms into organized transition zones.
- Improving Spatial Circulation: Reconfigure awkward door swings or cramped hallway access paths to expand usable floor space.
Focusing on functional home improvement priorities and practical home remodeling ideas ensures your renovated layout actively supports your lifestyle.
Know When to Renovate for Appearance vs. Function
Balancing aesthetic goals against functional needs requires clear decision-making. Confusing cosmetic appeal with structural health often leads homeowners to spend money on decorative items while ignoring systemic flaws.
COSMETIC VS. FUNCTIONAL COMPARISON COSMETIC RENOVATION FUNCTIONAL HOME IMPROVEMENT - Focuses on surface appearance - Focuses on spatial performance - Quick turnarounds & lower disruption- Requires trade labor & sub-surface work - Examples: Paint, backsplash tile - Examples: Wall removal, HVAC, insulation
Functional Home Improvements: Address floor plan layout, energy efficiency, acoustic separation, and natural light penetration.
Cosmetic Renovation: Focuses on color schemes, surface textures, decorative lighting, and tile trim details.
Always complete functional improvements while walls are open before applying final cosmetic finishes.
Plan the Renovation Around the Whole House
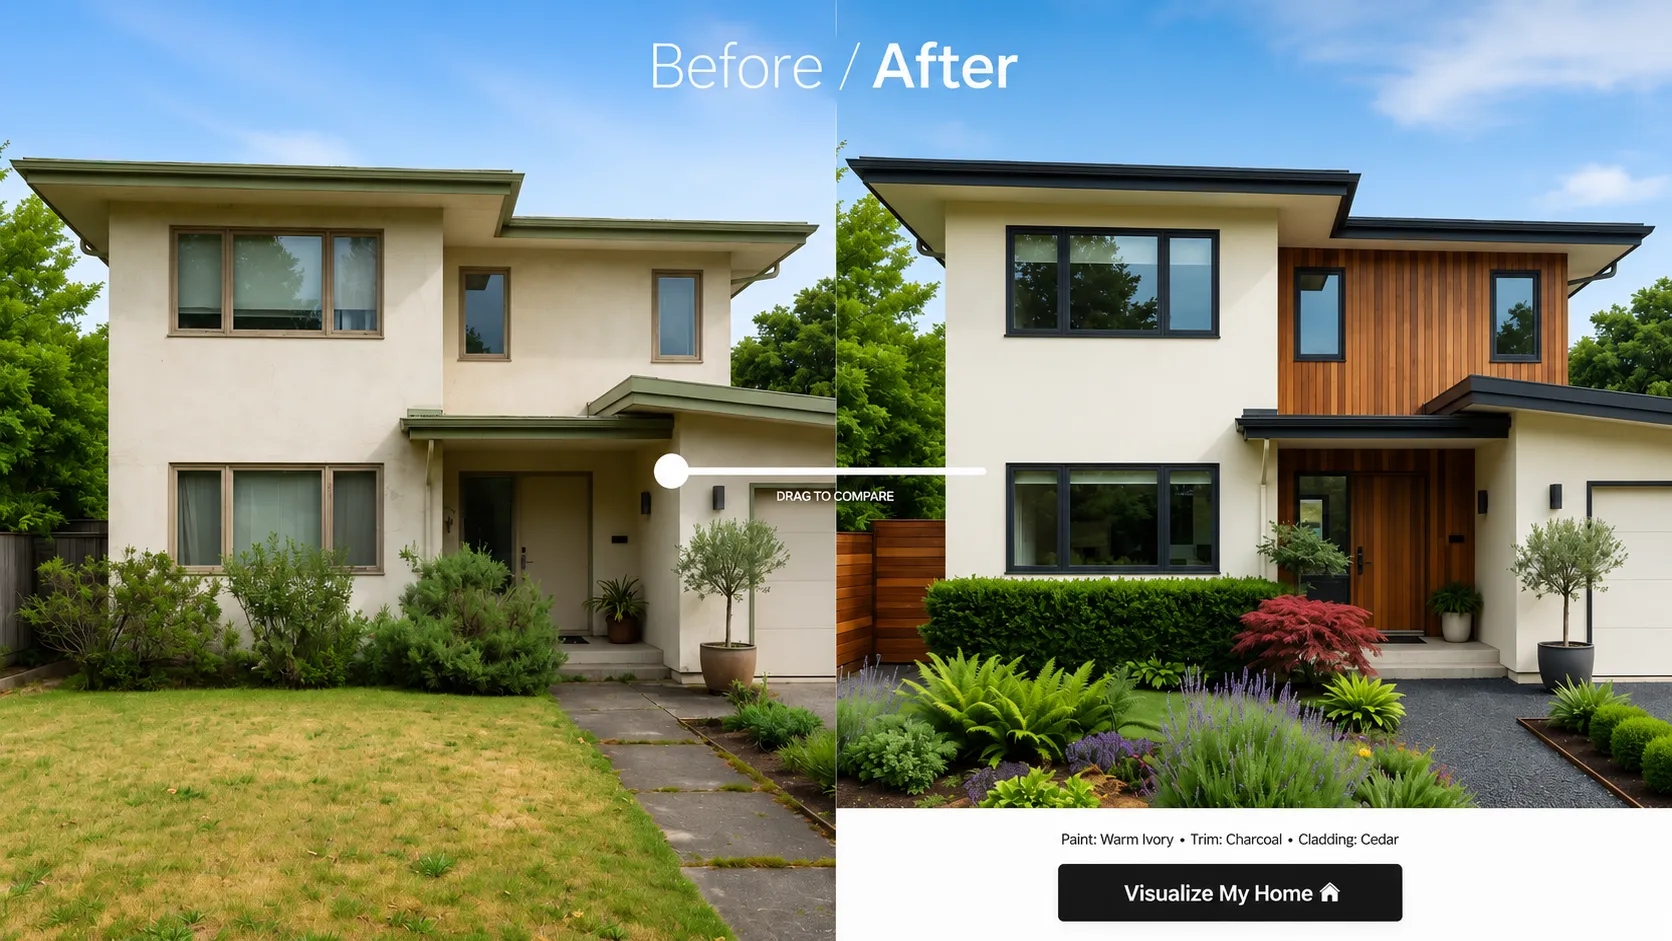
Executing remodeling projects room by room without an overarching design vision creates a disjointed interior. Developing a whole house renovation plan ensures material transitions, color palettes, and flooring height profiles stay consistent across rooms.
Key steps for comprehensive home renovation planning:
- Unify Spatial Flow: Use DesignHome Synthesis™ to map spatial transitions across adjacent rooms and eliminate awkward traffic chokepoints.
- Standardize Finishes: Leverage DesignHome Craft™ to preview cabinet profiles, quartz counter surfaces, and wood species across different rooms for a cohesive look.
- Align Architectural Styles: Ensure trim profiles, hardware finishes, and lighting styles match across every living area.
A thoughtful whole house renovation ties separate living areas into one intentional, well-proportioned architectural landscape.
Visualize Changes Before You Start Renovating
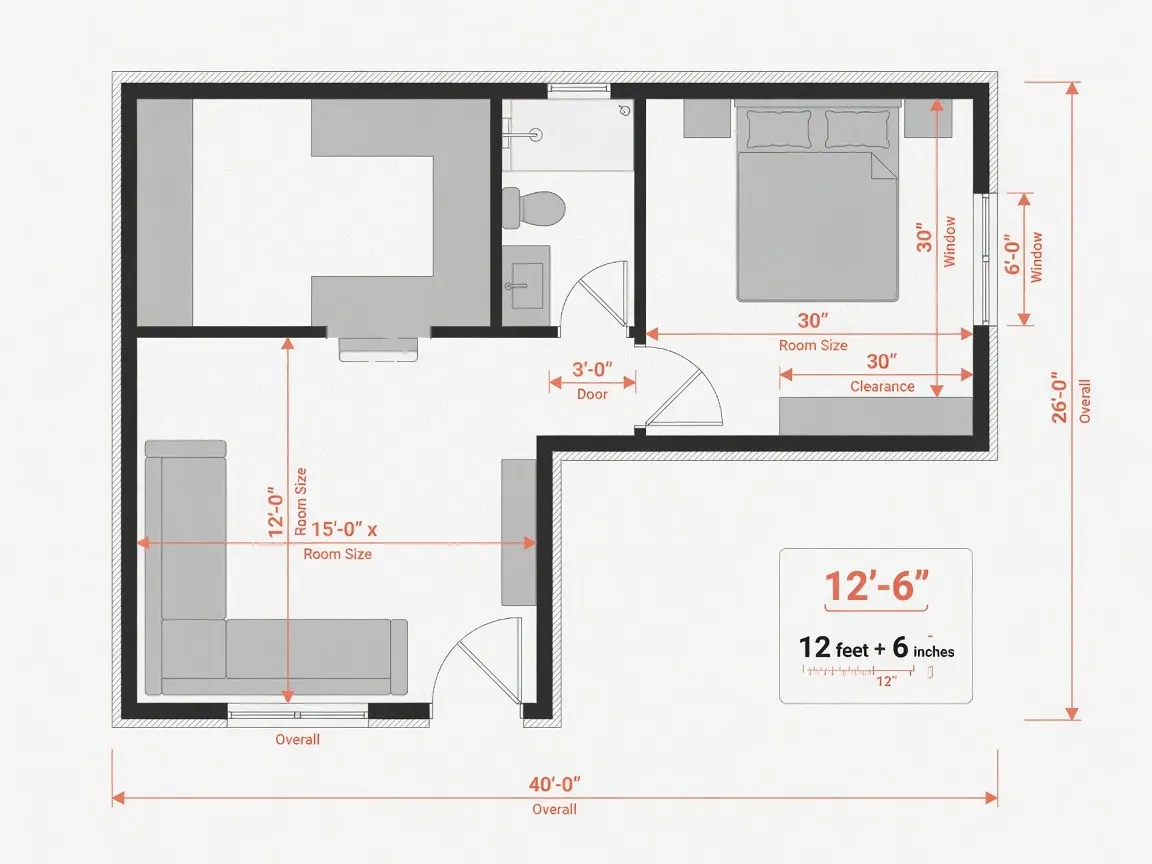
Committing capital to demolition, framing, or custom cabinetry without previewing spatial layouts carries high financial risk. Attempting to interpret 2D floor plans or small material swatches often leads to awkward traffic flow and scale mismatches.
This is where pairing an intuitive home renovation visualizer with dedicated finish modeling software changes how you plan.
DESIGNHOME SYNTHESIS™ & CRAFT™ WORKFLOW +-----------------------------------------------------------+ | STEP 1: Upload Floor Plan & Room Dimensions | | (Define structural walls, utilities & spatial flow)| +-----------------------------------------------------------+ | v +-----------------------------------------------------------+ | STEP 2: Generative Intelligence System Tests Layouts | | - DesignHome Synthesis™ simulates wall removals | | - Calculates traffic clearance & light flow | +-----------------------------------------------------------+ | v +-----------------------------------------------------------+ | STEP 3: Customize Finishes in DesignHome Craft™ | | - Render custom cabinetry, countertops & tile | | - Preview photorealistic 3D lighting & textures | +-----------------------------------------------------------+
Using DesignHome Synthesis™ as your primary digital architectural visualizer alongside DesignHome Craft™, you can explore floor plan alterations, test surface combinations, and verify spatial flow before hiring contractors or buying supplies.
Our proprietary spatial intelligence system turns raw room measurements into accurate 3D architectural environments. You can evaluate open-concept wall removals, compare kitchen layout options, and refine finish details with complete clarity using advanced renovation design software and home design software.
Create a Renovation Plan You Can Actually Follow
Transforming renovation priorities into a finished project requires an actionable, step-by-step roadmap. A structured home renovation plan keeps your contractors aligned, prevents budget overruns, and keeps your project moving smoothly on schedule.
Follow this final roadmap for your home remodeling plan:
- Verify Structural Integrity: Complete all roof, foundation, and mechanical repairs before starting cosmetic work.
- Lock In Layouts with DesignHome : Model your room boundaries digitally to verify clearance, lighting, and spatial flow.
- Spec Surfaces with DesignHome Select cabinetry styles, countertop slabs, and flooring materials to build precise material specs.
- Execute Trade Contracts: Secure fixed bids from licensed trades based on verified 3D plans.
- Manage Construction Phasing: Complete rough-ins, drywall, and hard surface flooring in exact sequence before setting millwork and final trims.
FAQs About What to Renovate First
What should I renovate first in an old home or fixer-upper?
Always start with the exterior building envelope and primary structural elements before moving inside. Fixing a leaking roof, stabilizing foundation settlement, and securing exterior drainage must take priority over any interior work. Once the envelope is weatherproof and structurally sound, update the mechanical, electrical, and plumbing infrastructure hidden inside the walls. Completing structural and utility repairs first guarantees that your investment in drywall, luxury quartz countertops, and custom hardwood floors remains completely safe from unexpected water leaks or structural movement.
Should I renovate the kitchen or bathroom first?
Deciding whether to tackle the kitchen or primary bathroom first depends on your immediate functional needs and overall budget reserves. Renovating the kitchen generally yields a higher return on equity and transforms the central social hub of your home, but it often requires longer material lead times and a larger upfront capital commitment. Renovating a primary bathroom makes more sense if you are dealing with active plumbing leaks, have only one functional bath, or want to complete a high-impact project with a smaller overall financial footprint. If both rooms are in decent working condition, prioritizing the kitchen establishes the core aesthetic direction for the rest of your home's main floor.
Why is it dangerous to start with cosmetic upgrades like paint or flooring?
Starting a remodel with cosmetic updates like fresh paint, new trim, or custom tile while ignoring underlying structural systems exposes your capital to immediate risk. Unaddressed roof leaks, active plumbing leaks inside wall cavities, or un-remediated subfloor moisture will quickly ruin new drywall, warp fresh hardwood, and breed hidden mold behind custom cabinetry. Cosmetic finishes represent the final protective and aesthetic layer of a home, so applying them over deteriorating infrastructure guarantees expensive teardowns and repeated labor fees later.
What is the correct trade sequencing order for a major interior renovation?
A successful interior overhaul follows a strict linear sequence to keep trades from damaging each other's work. You begin with complete demolition and structural framing, allowing contractors to open up walls and alter door openings. Next comes the rough-in trade phase, where electricians, plumbers, and HVAC technicians run wires, pipes, and ductwork through exposed studs. Once city inspections clear the rough work, insulation and drywall are installed, taped, mudded, and primed. Hard-surface flooring or subfloor preparation happens next, followed closely by trim millwork and cabinet installation. Finally, painters apply topcoat colors, and electricians and plumbers return to install finished lighting fixtures, faucets, and switch plates.
How should I allocate my renovation budget across structural repairs and surface finishes?
A balanced renovation budget allocates 50 percent of total capital to core infrastructure and structural systems, 30 percent to visual finishes and surface fixtures, and 20 percent to a mandatory contingency reserve. Setting aside half your budget for roofing, plumbing upgrades, electrical panel expansions, structural framing, and drywall ensures the skeleton of your home remains healthy. Restricting finish spending on items like light fixtures, cabinet hardware, or tile allows you to stay flexible if unexpected structural flaws emerge behind opened walls during demolition.
Should floor installation happen before or after setting kitchen cabinets?
Hard surface flooring like solid hardwood, engineered wood, or porcelain tile should ideally be installed across the entire room layout before setting kitchen cabinets and interior doors over top. Running flooring wall-to-wall creates a continuous level surface, makes future layout modifications easier, and ensures appliances sit at the correct height relative to countertops. Floating floor systems like click-lock vinyl or laminate are the main exception, as heavy cabinetry must be installed directly on the subfloor first to allow the floating floor room to expand and contract naturally along the cabinet baseboards.
How do I distinguish an urgent home repair from a planned cosmetic update?
Distinguishing between urgent repairs and optional updates comes down to evaluating ongoing structural risk and family safety. Active roof leaks, sewer line backups, foundation settlement cracks, and outdated knob-and-tube electrical wiring represent critical hazards that compound in cost every month they are ignored. In contrast, peeling paint, outdated kitchen cabinet styles, worn carpet, and retro lighting fixtures carry zero ongoing structural risk. Urgent safety and water issues must always jump to the front of your renovation timeline regardless of visual preference.
Is it better to renovate room by room or tackle the entire house at once?
Renovating the entire house in a single comprehensive pass is generally more cost-effective because contractors can schedule sub-trades efficiently and buy materials in bulk. However, living on-site often makes a phased room-by-room approach necessary to preserve usable living zones. If you must weigh a single comprehensive pass against a phased renovation, complete rear zones like primary suites and secondary bathrooms first, move into those completed spaces, and then finish public areas like the kitchen and living room in the final phase.
At what stage of the remodel should non-load-bearing walls be removed?
Non-load-bearing partition walls should always be removed during the initial demolition and structural framing phase before any rough trade work begins. Removing unwanted interior walls early opens up space for electricians and plumbers to run continuous wiring and piping through the newly configured layout. Attempting to remove walls later in the process destroys finished drywall, requires rerouting active utility lines, and forces you to re-do subfloor preparation work.
How can I protect completed areas while renovation continues in adjacent rooms?
Protecting finished spaces while construction continues elsewhere requires creating airtight physical containment barriers and managed floor pathways. Install heavy-duty plastic sheeting sealed with commercial zipper doors across doorways connecting active job sites to clean rooms. Cover high-traffic hardwood or tile corridors with rigid masonite boards or heavy neoprene runners rather than thin plastic films that tear under boot friction. Additionally, running dedicated HEPA air purifiers continuously inside finished rooms prevents fine drywall dust from settling into soft furnishings.
How do I prevent paying for labor twice when sequencing multi-room updates?
Paying for labor twice happens when homeowners jump straight into surface upgrades without establishing a comprehensive whole-house master plan. For instance, tiling a bathroom floor before replacing aging galvanized water pipes forces plumbers to break through new tile work later to repair a leak. Locking in a complete trade roadmap early guarantees that subsurface utility work, wall structural changes, and subfloor remediation are fully completed across all connected rooms before finished materials are installed.
How can I preview layout changes and material choices before starting renovation work?
Previewing room transitions, wall removals, and finish choices digitally removes layout uncertainty and prevents expensive real-world rework. Using DesignHome Synthesis™ allows you to input your exact floor plan measurements and evaluate open-concept wall removals, spatial clearances, and traffic flow in clear 3D architectural environments. You can then pair those structural layouts with DesignHome Craft™ to preview custom cabinetry, tile textures, and quartz countertop finishes under photorealistic lighting conditions, giving your general contractor a clear visual blueprint to execute without guesswork.


