

You stand in the middle of your raw kitchen space, holding a tape measure in one hand and a stack of cabinet brochures in the other.
The possibilities feel exciting, but a subtle anxiety creeps in. You picture ordering custom cabinets, installing high-end quartz countertops, and hooking up brand-new appliances—only to realize six months later that opening the dishwasher blocks the primary entry doorway, or that your prep counter sits ten feet away from the refrigerator.
Undertaking a kitchen renovation without a detailed floor plan is a gamble that leads to costly contractor change orders, awkward trade delays, and daily frustration.
Designing a high-performance culinary hub isn't about jumping straight into door styles and backsplashes. By following a step-by-step kitchen layout planning guide, verifying physical clearance arcs, and mapping structural work zones, you can build a kitchen that functions effortlessly for decades. Here is how to measure, map, and execute your complete kitchen floor plan before spending a single dollar.
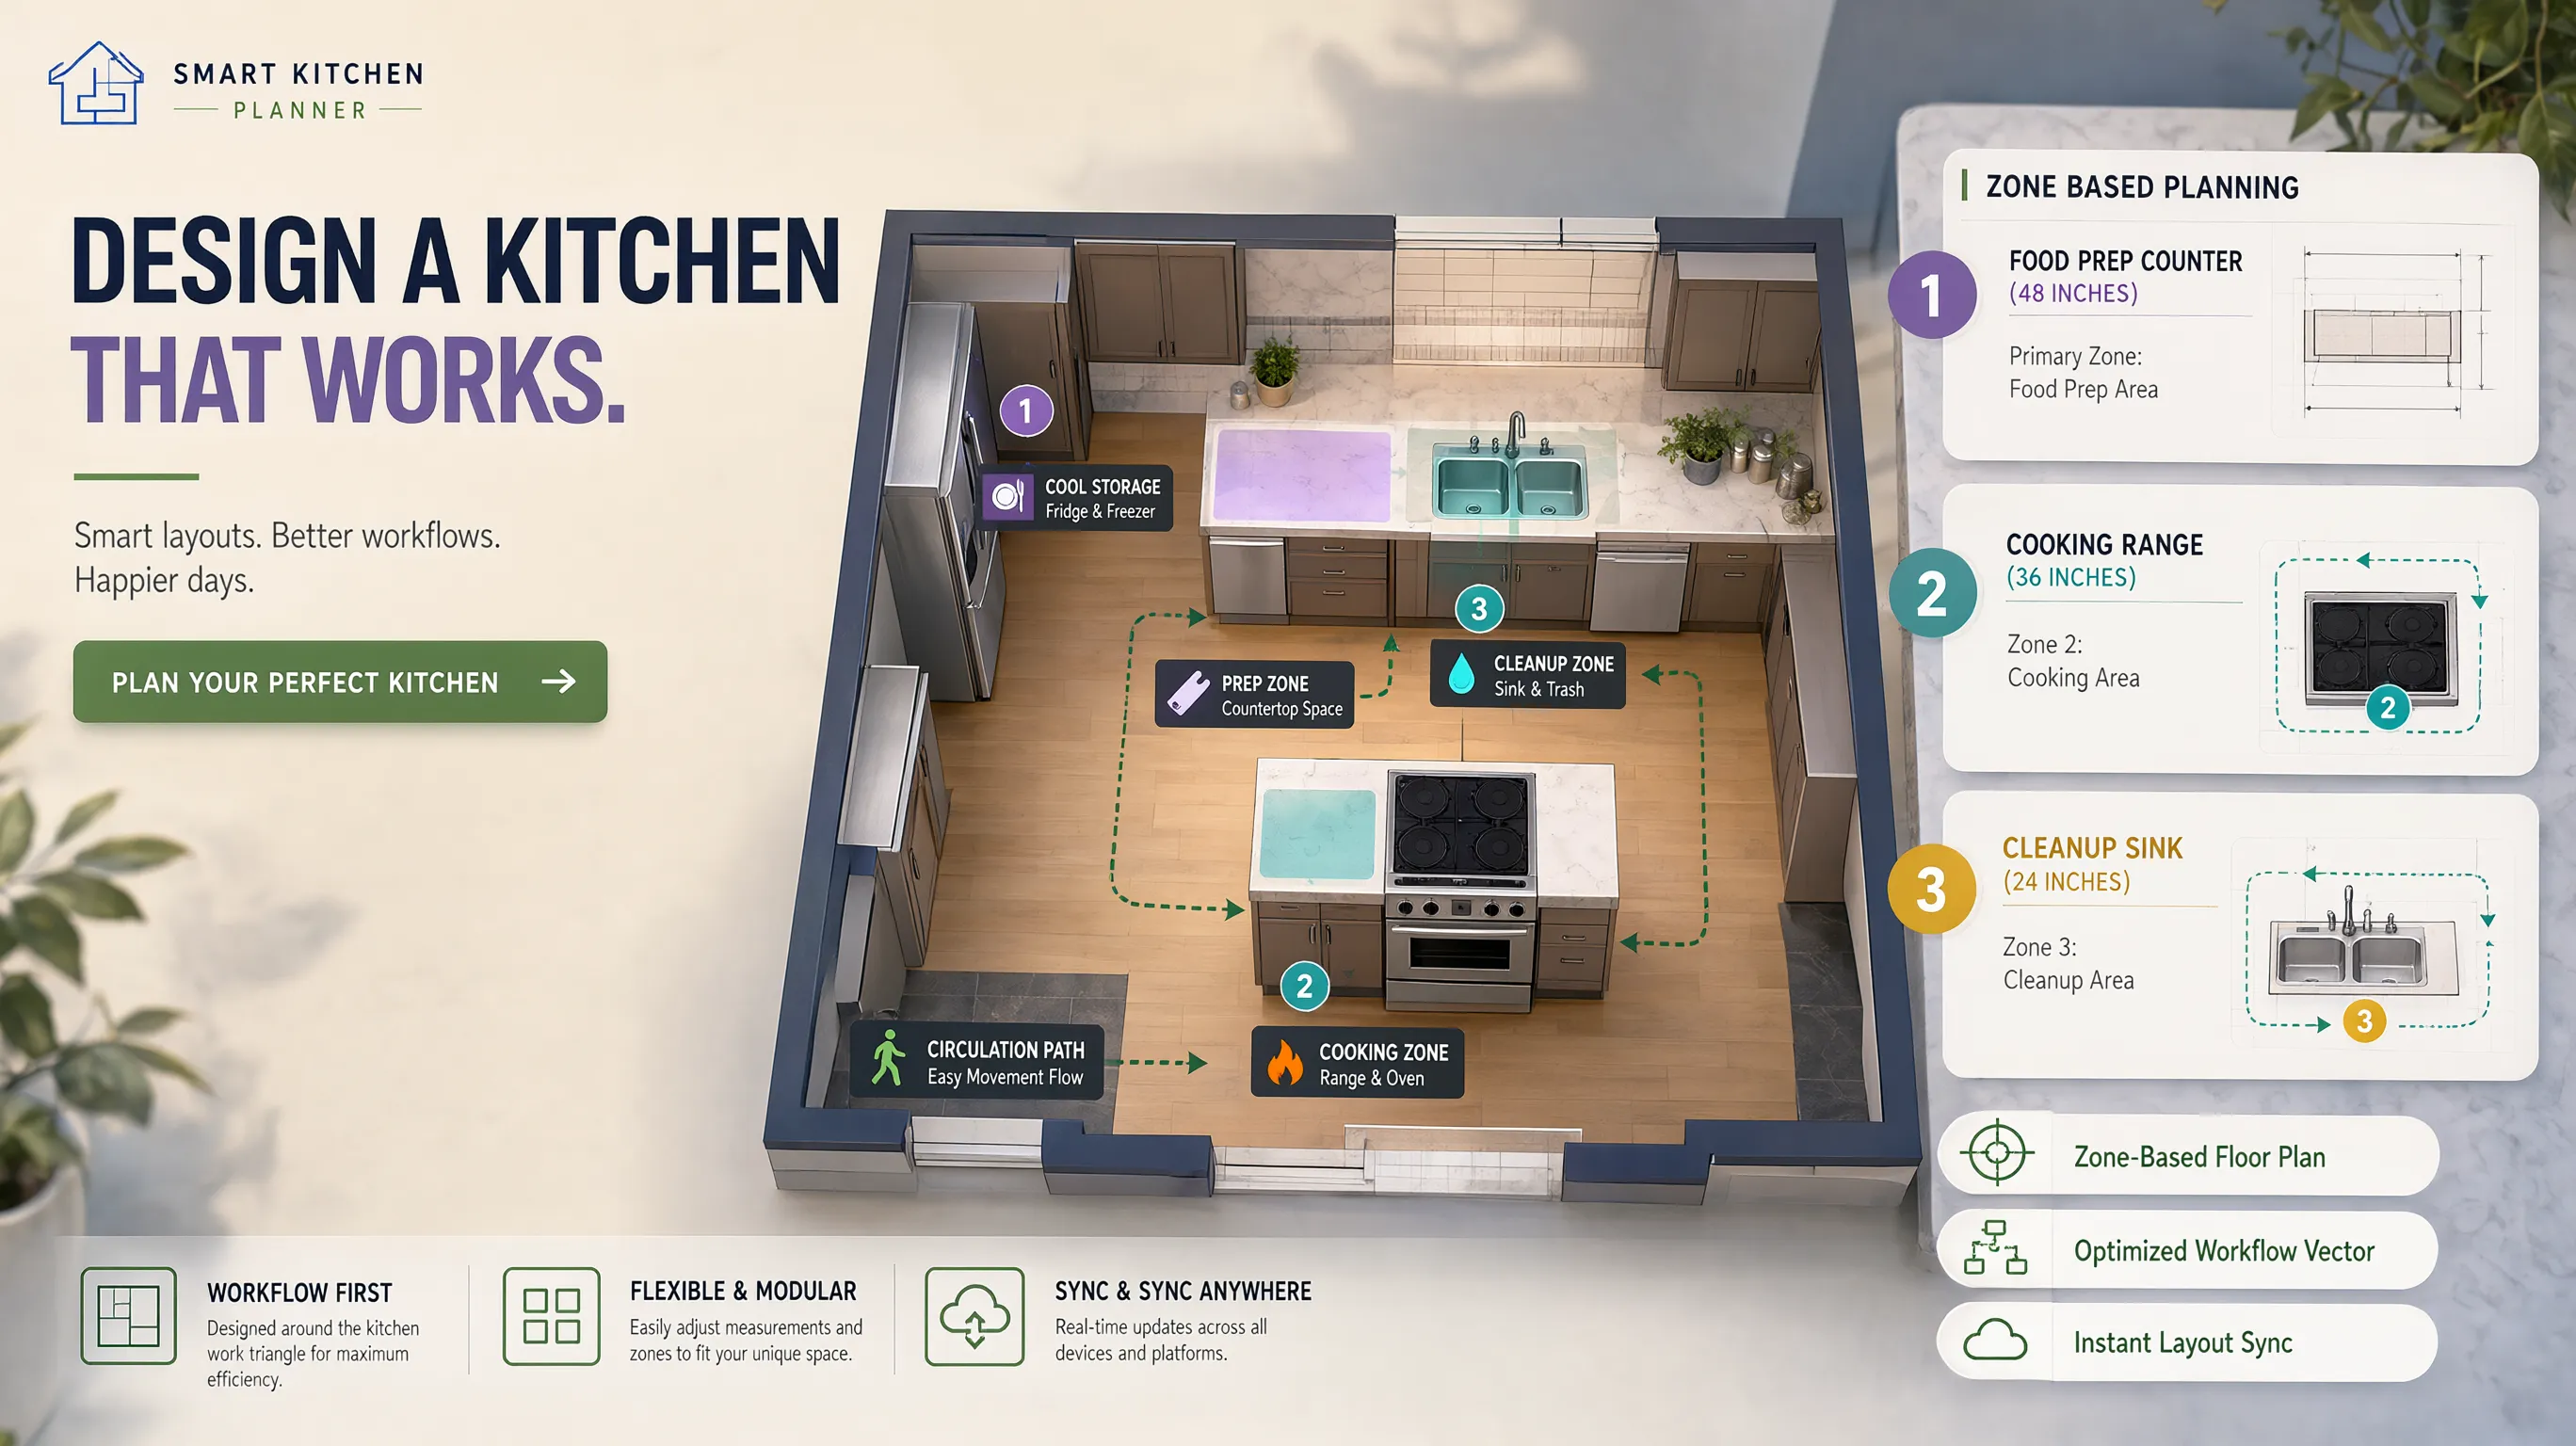
1. Kitchen Layout Planning Guide: Get the Layout Right Before You Build
The biggest trap when starting a kitchen project is falling in love with surface finishes before verifying structural spatial flow.
A gorgeous kitchen with high-end marble slabs and custom millwork will still feel infuriating to use if your foot traffic cuts across hot cooking zones or your main prep counters lack adequate lighting.
[ Phase 1: Spatial & Architectural Layout ] ===> Measure room, map utilities & verify clearances
                                                       |
[ Phase 2: Work Zone & Appliance Integration ] => Align work triangle & point-of-use storage
                                                       |
[ Phase 3: Cabinetry & Finish Selection     ] => Pick door styles, hardware & counter slabs
Before committing to any cabinet deposits, establish these foundational rules:
- Structure Precedes Aesthetics: Never select cabinet fronts or countertop materials until your physical appliance placements, door swings, and walking pathways are fully validated on paper.
- Design for Real Routines: Plan your layout around how your household actually lives—whether you need a single-cook prep station, a multi-cook family space, or an open layout built for entertaining guests.
- Protect Structural Clearances: Adhere strictly to national building codes for walkway widths, appliance clearances, and landing zones to prevent physical safety hazards.
2. Measure Your Kitchen and Find Out What Space You're Working With
Before opening design software or visiting kitchen showrooms, take a 25-foot steel tape measure and map out your room's exact physical architecture.
Relying on rough estimates leads to spatial bottlenecks that ruin daily kitchen usability.
[ Step 1: Measure Wall Spans ] =====> Record corner-to-corner length at baseboards & counter height
[ Step 2: Map Architectural Obstacles ] => Locate windows, door frames, sloped ceilings & soffits
[ Step 3: Plot Fixed Service Lines ] ===> Mark gas lines, main plumbing stacks & 220V electrical outlets
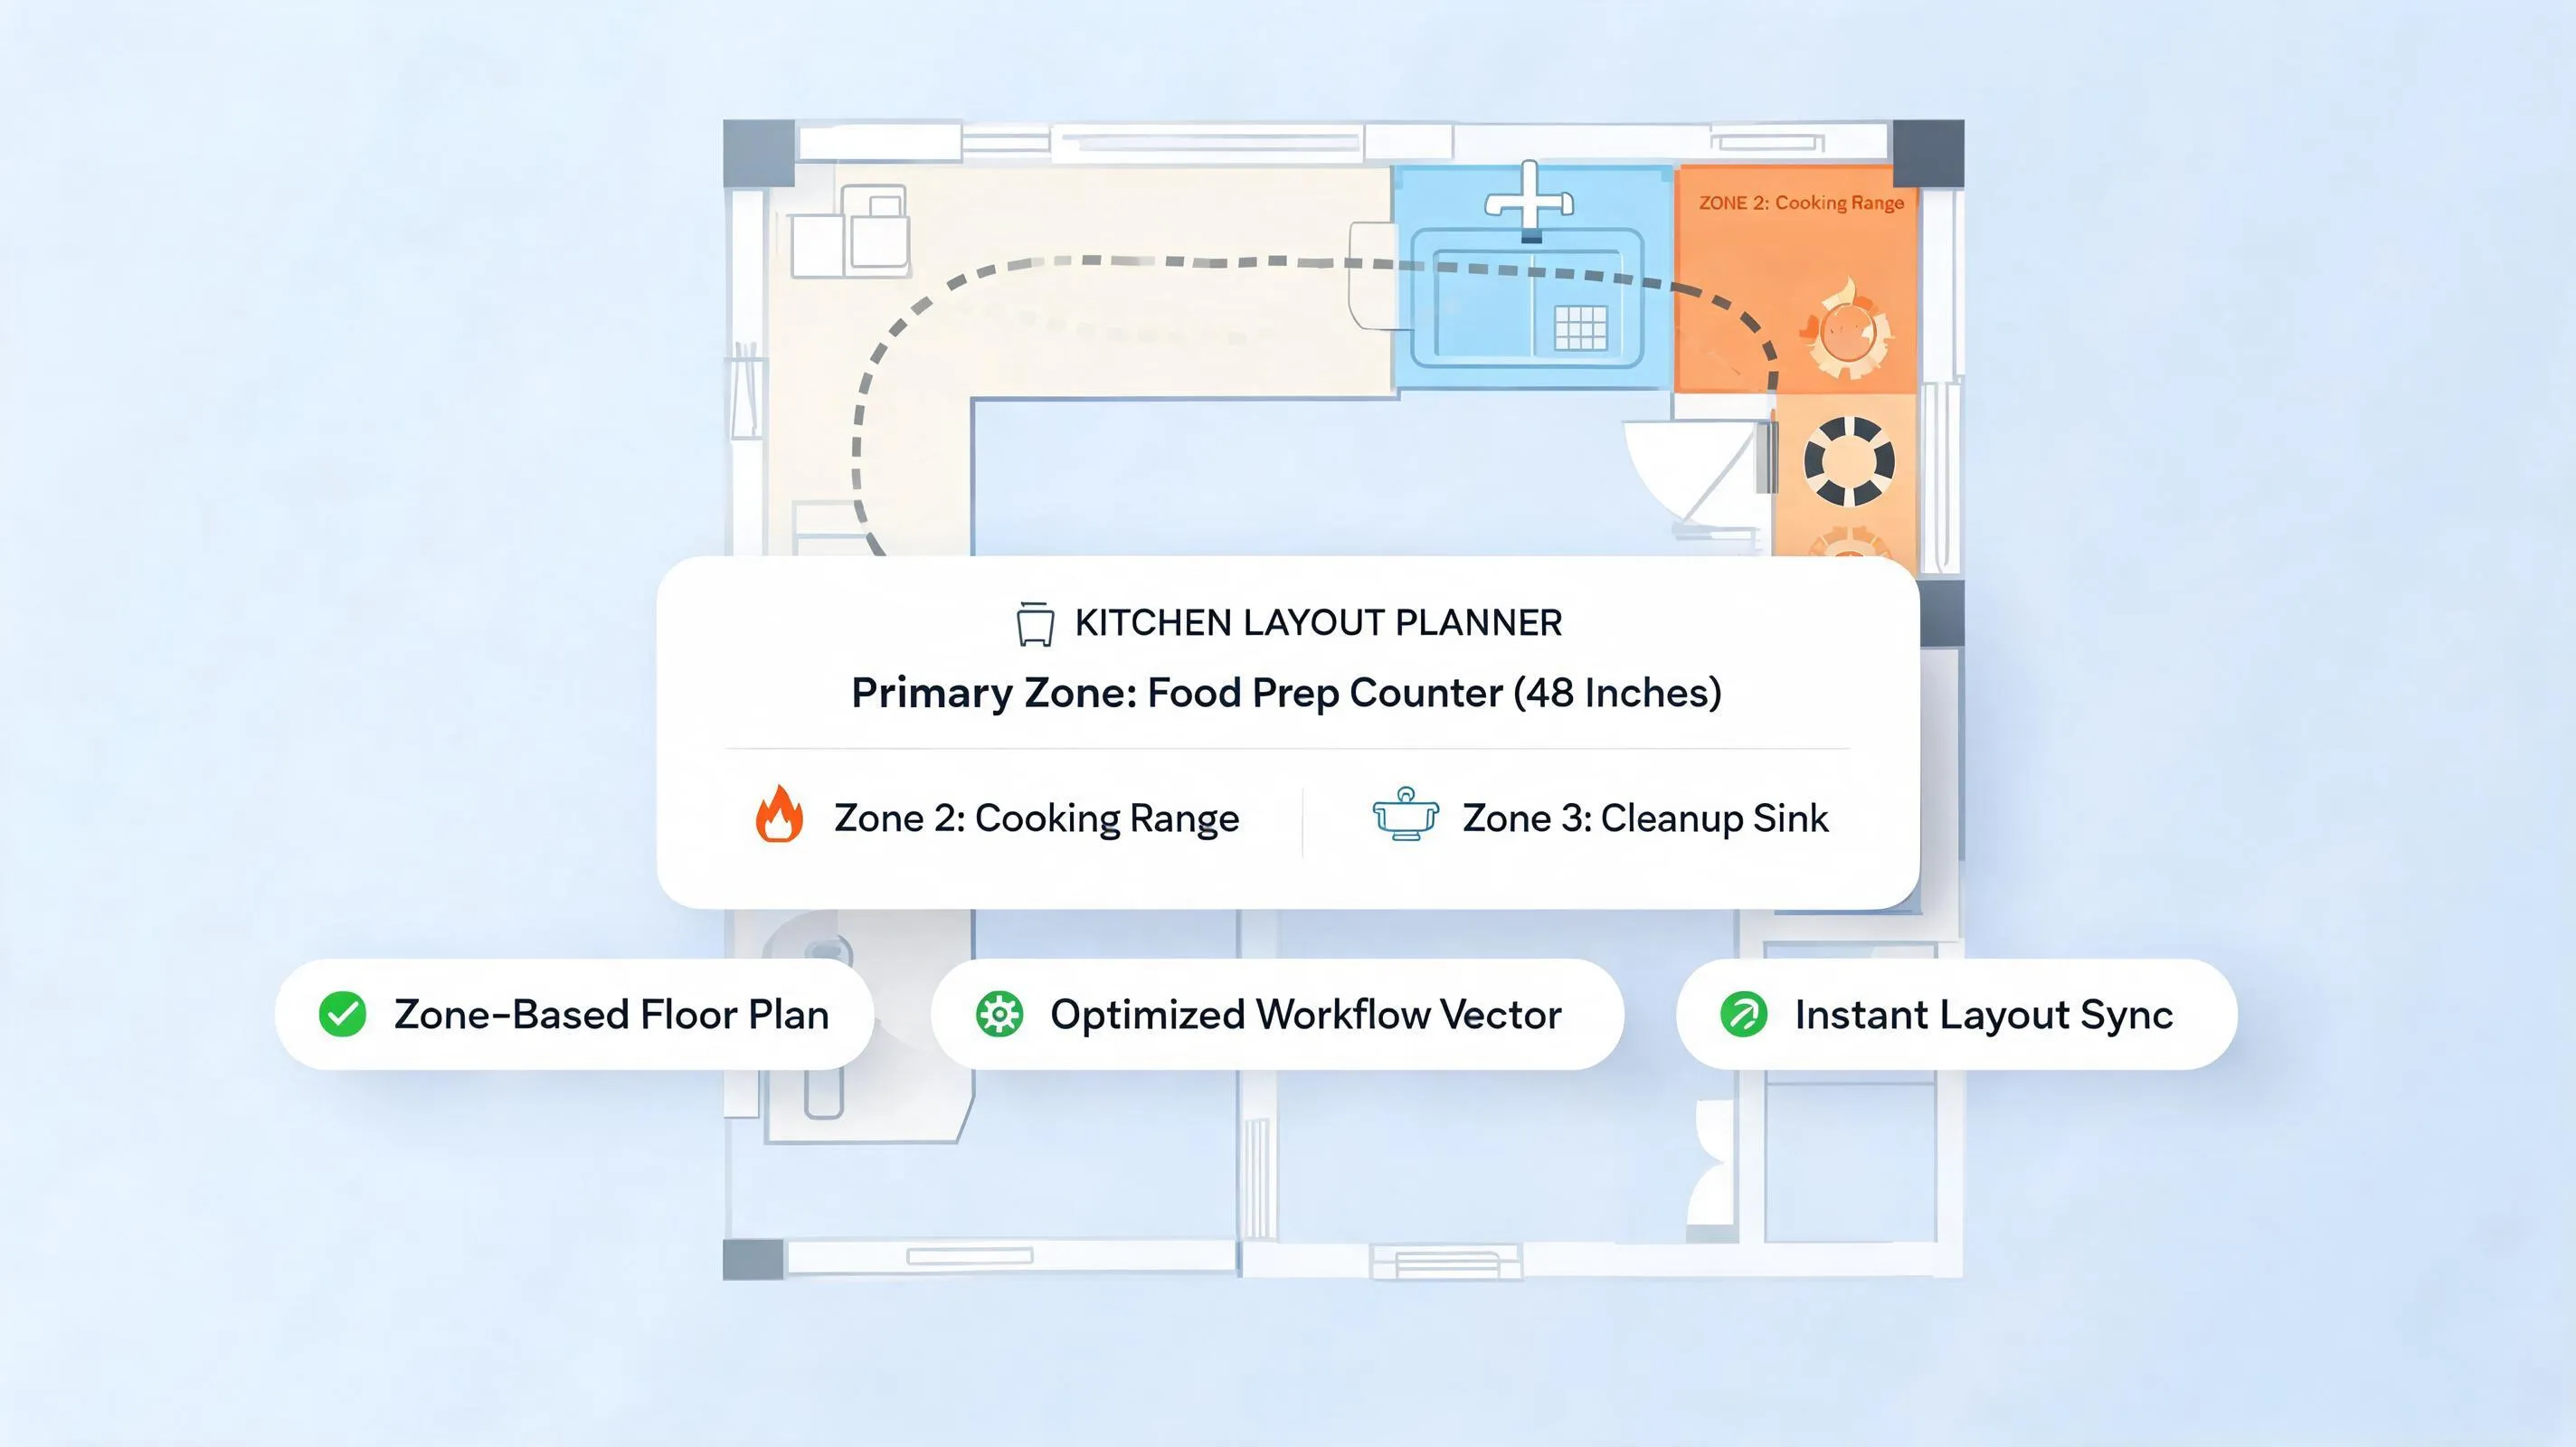
Follow this 5-step spatial measurement protocol:
- Measure Baseboards Corner-to-Corner: Record total wall lengths at floor level, checking for out-of-square corners.
- Locate Window Casings & Sill Heights: Measure from room corners to the outer edges of window trim, and record the exact height from the bare floor to the bottom of the window sill.
- Identify Door Swing Arcs: Measure doorway frame widths (standard entry doors are 30 to 36 inches wide) and draw a 90-degree swing arc on your base plan to mark restricted zones.
- Mark Fixed Utility Lines: Note the precise location of water supply valves, waste drain stacks, gas connection lines, and high-voltage 220V appliance outlets.
- Check Ceiling Heights: Measure floor-to-ceiling heights at four different corners to identify sagging joists or uneven soffits before ordering tall upper cabinets.
3. Choose the Kitchen Layout That Fits Your Room: L-Shaped, U-Shaped, or Galley
Your room's physical shape and square footage determine which structural floor plan will deliver optimal efficiency.
Selecting the right layout requires matching classic architectural shapes to your room's dimensions.
Layout evaluation criteria:
- L-Shaped Kitchen Layout: Extremely versatile for open-plan homes. Running cabinets along two adjoining perpendicular walls keeps the central floor space open for a dining table or central island.
- U-Shaped Kitchen Layout: The ultimate layout for heavy cooking and maximum storage. Spanning three continuous walls creates an enclosed, highly efficient work zone with zero crossover traffic.
- Galley Kitchen Layout: Highly favored by professional chefs for long, narrow spaces. Running two parallel cabinet banks maintains short step distances between opposite prep counters.
For detailed advice on adapting spatial layouts for entertaining, explore our guide on connecting open kitchen sightlines with adjacent living zones.
4. Place the Sink, Stove, and Refrigerator Where Cooking Feels Natural
Once your overall layout shape is selected, position your three major appliances—the sink, stovetop range, and refrigerator—to establish an ergonomic workflow.
Applying the classic kitchen work triangle principle ensures your daily food preparation flows smoothly without unnecessary backtracking.
                  [ Cooking Apex: STOVE ]
                           /  \
                          /    \
                         /      \
   [ Prep Apex: SINK ] -------------------- [ Storage Apex: REFRIGERATOR ]
Follow these official spatial standards established by the National Kitchen & Bath Association (NKBA):
- Individual Leg Distances: The distance between any two points of the triangle should measure no less than 4 feet (48 inches) and no more than 9 feet (108 inches).
- Total Perimeter Sum: The combined total of all three legs should sum between 13 feet and 26 feet.
- Zero Traffic Interruption: Major circulation routes, kitchen islands, or tall pantry cabinets should not cut through any leg of the triangle by more than 12 inches.
If you are optimizing appliance distances in an active kitchen, read our complete appliance distance workflow optimization guide to refine your spatial workflow.
5. Plan Kitchen Counter Space Around How You Actually Cook
A common mistake in kitchen design is spreading counter space into small, fragmented gaps rather than providing large, continuous work surfaces where tasks actually happen.
Executing effective kitchen counter space planning requires allocating dedicated landing zones adjacent to every major appliance.
Counter planning rules:
- Protect the "Hero Prep Zone": Ensure you have at least 36 inches of uninterrupted continuous counter space directly between your primary sink and cooktop. This is where 70% of meal preparation occurs.
- Use Heat-Resistant Surfaces near Ranges: Use durable quartz, granite, or butcher block materials near heat zones to accommodate hot pans safely.
6. Get Cabinet Sizes and Storage Positions Right From the Start
Designing a high-capacity kitchen isn't just about hanging upper cupboards—it's about matching cabinet dimensions and internal configurations to your actual inventory.
Planning an organized kitchen cabinet layout requires aligning cabinet profiles with ergonomics.
   HIGH FREQUENCY (Waist to Eye Level)   ===> Everyday Plates, Glasses, Spices & Oils
   MEDIUM FREQUENCY (Base Drawers)       ===> Heavy Skillets, Pots, Pans & Baking Sheets
   LOW FREQUENCY (Top Upper Cabinets)    ===> Holiday Platters, Turkey Roasters & Appliances
Cabinet dimension standards:
- Base Cabinet Dimensions: Standard base cabinets stand 36 inches high (including countertop thickness) and measure 24 inches deep externally.
- Upper Cabinet Dimensions: Standard upper wall cabinets measure 12 to 15 inches deep and are mounted 18 inches above the finished countertop.
- Prioritize Deep Base Drawers: Swap traditional lower cabinets with fixed shelves for full-extension deep drawers. Deep drawers allow you to file heavy pots and pans vertically without crawling on your hands and knees.
If you want to maximize internal cabinet capacity, review our detailed guide on adding roll-out hardware and vertical dividers inside cabinets.
7. Leave Enough Room for Kitchen Walkways, Drawers, and Appliance Doors
A floor plan may look spacious on paper, but if open oven doors block walkways or two people can't pass each other comfortably, the kitchen breaks down during daily use.
Checking kitchen walkway clearance and door swing arcs before ordering cabinets prevents physical collisions.
Clearance guidelines:
- Opposing Door Clearances: Maintain at least 48 inches of clearance between opposite cabinet runs if an oven or dishwasher opens directly toward a central island.
- Corner Drawer Clearances: Ensure hardware pulls on corner drawers don't collide with adjoining cabinet handles when pulled open simultaneously.
For official building safety standards, plumbing permit guidelines, and electrical clearance codes, consult the International Code Council (ICC).
8. Plan Kitchen Islands and Peninsulas Without Blocking the Room
Adding a central island is a high priority for many homeowners, but forcing a wide island into a space that lacks proper clearances makes the room feel cramped and restrictive.
Executing a functional kitchen island layout requires balancing extra counter space with surrounding floor circulation.
- Open dishwasher hits island edge
- Causes physical daily bottlenecks
- Overhanging 12" seating overhang
- Smooth traffic flow around island
Island planning rules:
- Minimum Room Width for an Island: A room must measure at least 13 feet wide to accommodate a standard 3-foot deep island while maintaining 42 to 48-inch walkways on both sides.
- Seating Overhang Clearances: Allow at least 12 inches of clear knee overhang for standard counter-height (36-inch) seating, and assign 24 inches of horizontal width per barstool to prevent elbow bumping.
- Consider a Peninsula for Narrow Rooms: If your room is under 12 feet wide, attach a peninsula to an exterior wall instead of a floating island to gain counter space without choking traffic.
9. Make a Small Kitchen Work Harder Without Cramming in More Cabinets
When designing a compact footprint, adding more upper cabinets to solve storage problems often backfires, making the room feel dark, heavy, and claustrophobic.
Developing smart small kitchen layout ideas is about expanding visual depth and using vertical real estate efficiently.
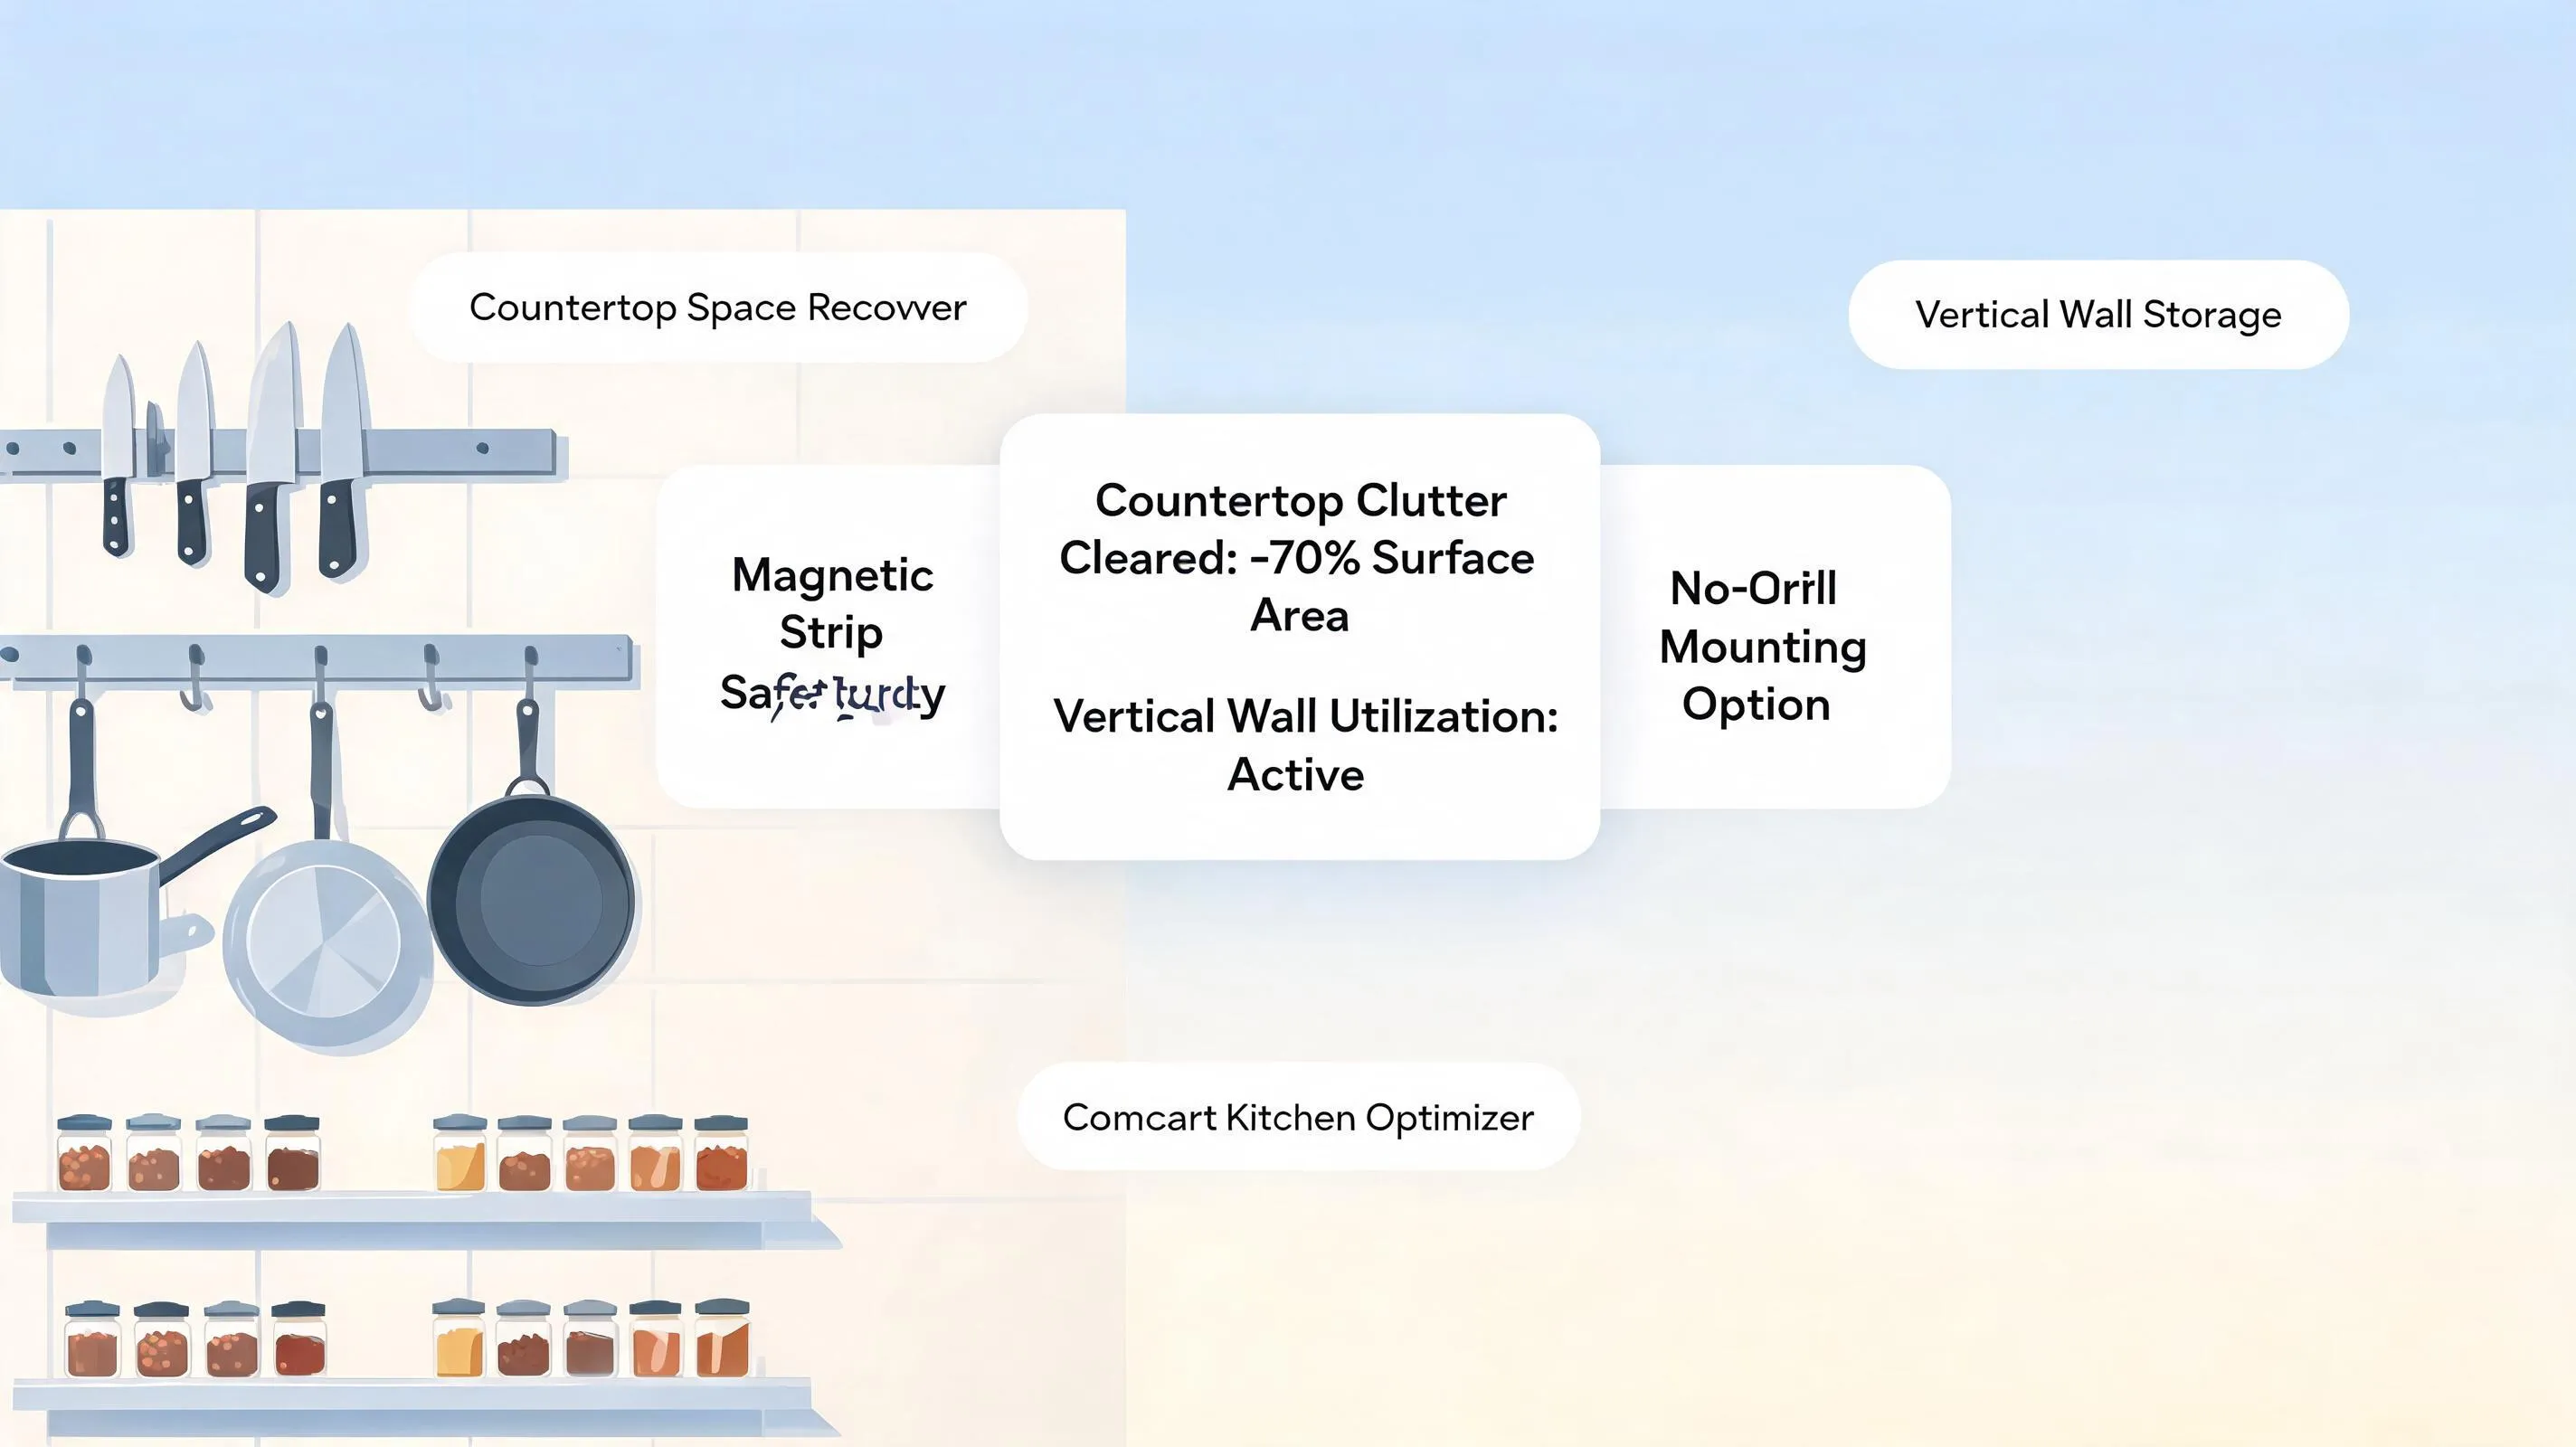
Small kitchen strategies:
- Use Light Neutral Wall Paint: Paint walls and cabinets in warm off-whites, light greiges, or pale sage to reflect daylight and make narrow walls recede visually.
- Run Upper Cabinets to the Ceiling: Extend upper wall cabinets all the way to the ceiling line (or add ceiling crown molding) to eliminate dust-collecting dead space and highlight vertical height.
If you are organizing a compact footprint, explore our step-by-step guide on clearing counters and maximizing internal cabinet space.
10. Fit Lighting, Outlets, and Ventilation Into the Layout—not After It
A common remodeling mistake is treating electrical outlets, task lighting, and range hoods as secondary additions after cabinets are already installed.
Coordinating mechanical services during your initial layout phase prevents unsightly surface conduits and dangerous cord traps.
  [ Overhead Ambient Lighting Layer ] ===> Recessed ceiling cans / Flush-mount drum lights
                 |
  [ Task Counter Lighting Layer     ] ===> Continuous under-cabinet LED tape (2700K-3000K)
                 |
  [ Dedicated Power Outlet Outlets  ] ===> Outlets placed every 24" along backsplash runs
Service planning rules:
- Under-Cabinet Task Lighting: Plan hardwired electrical connections beneath upper wall cabinets for continuous warm LED tape lights (2700K to 3000K). This eliminates shadows on your primary prep counters.
- Backsplash Outlet Spacing: Adhere to national electrical codes by placing GFI-protected outlets no more than 48 inches apart along kitchen counter runs so small appliances don't require stretched cords.
- Venting Range Hoods Externally: Plan range hood ductwork to vent cooking fumes directly to the exterior building envelope rather than using unvented ductless recirculating filters.
For technical guidelines on electrical safety codes, cord management, and fire safety standards, consult the National Fire Protection Association (NFPA).
11. Compare Kitchen Layouts Before Choosing Cabinets and Finishes
Before placing non-refundable orders for custom cabinetry, test multiple layout variations digitally to compare spatial clearances and workflow.
Using a kitchen layout planner lets you test spatial arrangements, island sizes, and door swings before demolition day.
  [ Step 1: Measure Baseboard Boundaries & Utility Locations ]
                               |
  [ Step 2: Compare L-Shape, U-Shape & Galley Floor Plans ]
                               |
  [ Step 3: Verify 42"-48" Walkways & Work Triangle Distances ]
                               |
  [ Step 4: Preview 3D Digital Layouts with Real Furniture Sizes ]
                               |
  [ Step 5: Finalize Cabinet & Trade Orders with Total Confidence ]
Pre-construction comparison checklist:
- Test Multiple Island Sizes: Verify how a 4-foot versus a 6-foot island impacts surrounding walkway clearances.
- Simulate Cooking Sequences: Walk through a virtual dinner prep routine to ensure moving from fridge to sink to stove feels seamless.
- Verify Counter Landing Clearances: Ensure every appliance has adequate adjacent counter space before freezing your cabinet order.
12. Turn Your Measurements Into a Kitchen Floor Plan Ready for the Next Step
Ready to transform your vision into an actionable, contractor-ready kitchen floor plan?
Follow this sign-off checklist to finalize your spatial layout before ordering materials or hiring trade contractors.
  [ Step 1: Validate Wall-to-Wall Baseboard Measurements ]
                               |
  [ Step 2: Confirm 4'-9' Individual Work Triangle Legs ]
                               |
  [ Step 3: Verify 42"-48" Unobstructed Walkway Clearances ]
                               |
  [ Step 4: Align Point-of-Use Storage & Task Lighting ]
                               |
  [ Step 5: Execute Construction Plan with Complete Confidence ]
The Ultimate Kitchen Layout Sign-Off Checklist:
- [ ] Validate Room Dimensions: Confirm corner-to-corner lengths, door swing arcs, and window casing offsets.
- [ ] Check Work Triangle Rules: Verify each leg measures between 4 and 9 feet, with a total perimeter between 13 and 26 feet.
- [ ] Verify Walkway Clearances: Maintain 42 inches of aisle space for single cooks or 48 inches for multi-cook households.
- [ ] Protect Prep Counter space: Confirm at least 36 inches of continuous counter space between the sink and stovetop range.
- [ ] Check Door Clearance Arcs: Verify open dishwasher, oven, and refrigerator doors do not collide with island edges or opposing cabinets.
- [ ] Plan Service Hookups: Position GFI outlets every 48 inches along backsplashes and hardwire continuous under-cabinet LED task lights.
Step Into Your Ideal Kitchen Layout Today
Why risk spending tens of thousands of dollars on custom kitchen cabinets or contractor deposits, only to realize your layout feels cramped, awkward, or unorganized?
Planning a high-performance, beautifully balanced kitchen should be an exciting and rewarding process. You don't need to spend thousands of dollars on professional design fees or struggle with complicated CAD software to build a functional floor plan.
With DesignHome, you can simply upload a picture or floor plan of your room to test layout ideas, experiment with work triangles, check appliance clearances, and unlock custom spatial possibilities tailored to your exact floor plan.
Eliminate design guesswork—visualize, refine, and bring your complete kitchen floor plan to life with total confidence using DesignHome today!
External Resources & Industry Standards
To explore deeper technical insights into residential kitchen design, trade safety, and building codes, consult these authoritative industry resources:
- National Kitchen & Bath Association (NKBA) – Official guidelines for kitchen planning standards, ergonomic work triangle rules, and spatial clearances.
- International Code Council (ICC) – Residential building codes, electrical permit guidelines, and plumbing installation safety standards.
- National Fire Protection Association (NFPA) – Residential kitchen fire safety codes, stove ventilation clearances, and electrical circuit standards.
- Illuminating Engineering Society (IES) – Residential lighting standards, bulb warmth ratings, and task lighting guidelines.
Frequently Asked Questions About Kitchen Layout Planning
What is the most efficient kitchen layout for cooking?
The U-shaped kitchen layout is widely considered the most efficient layout for cooking. By spanning three continuous walls with countertops and appliances, it creates a compact, self-contained work triangle with maximum prep space and zero foot-traffic interruptions.
How much space should be left between a kitchen island and counters?
Maintain a walkway clearance of at least 42 inches for single-cook kitchens or 48 inches for multi-cook households. This clearance ensures you can open dishwasher, oven, and refrigerator doors fully while allowing another person to walk past safely.
What is the minimum continuous prep counter space needed in a kitchen?
A functional kitchen requires at least 36 inches of continuous, uninterrupted counter space located directly between the primary sink and cooktop range. This hero prep zone accommodates cutting boards, bowls, and ingredients during meal preparation.
How far apart should the sink and stove be in a kitchen layout?
The sink and stovetop range should be placed between 4 feet (48 inches) and 9 feet (108 inches) apart. Placing them closer than 4 feet creates a cramped prep zone, while placing them farther than 9 feet forces unnecessary walking steps while carrying hot pots and water.
Can a kitchen island fit in a small kitchen?
A kitchen island requires a room at least 13 feet wide to accommodate a 3-foot deep island while maintaining 42 to 48-inch walkways on all sides. In rooms narrower than 12 feet, opt for an attached peninsula or a mobile rolling butcher block cart instead.
Should the refrigerator be placed near the entry of the kitchen?
Yes. Position the refrigerator at the outer perimeter edge of your kitchen layout. This placement allows family members or guests to grab cold drinks and snacks without walking past the active cooking and prep zones.


