

A beautiful kitchen with high-end countertops and custom cabinetry can still be a complete nightmare to cook in. When meal preparation feels clunky, chaotic, or exhausting, the problem rarely stems from aesthetics—it almost always comes down to a broken ergonomic flow.
Designing a truly functional kitchen layout requires shifting focus away from surface decoration and grounding every decision in physical movement. By structuring your space around natural culinary habits, establishing dedicated preparation zones, and validating spatial clearances before installation, you transform your kitchen into an effortless, highly efficient workspace. If your current space feels cramped, start by exploring ways to make a small kitchen feel more open before committing to a full remodel.
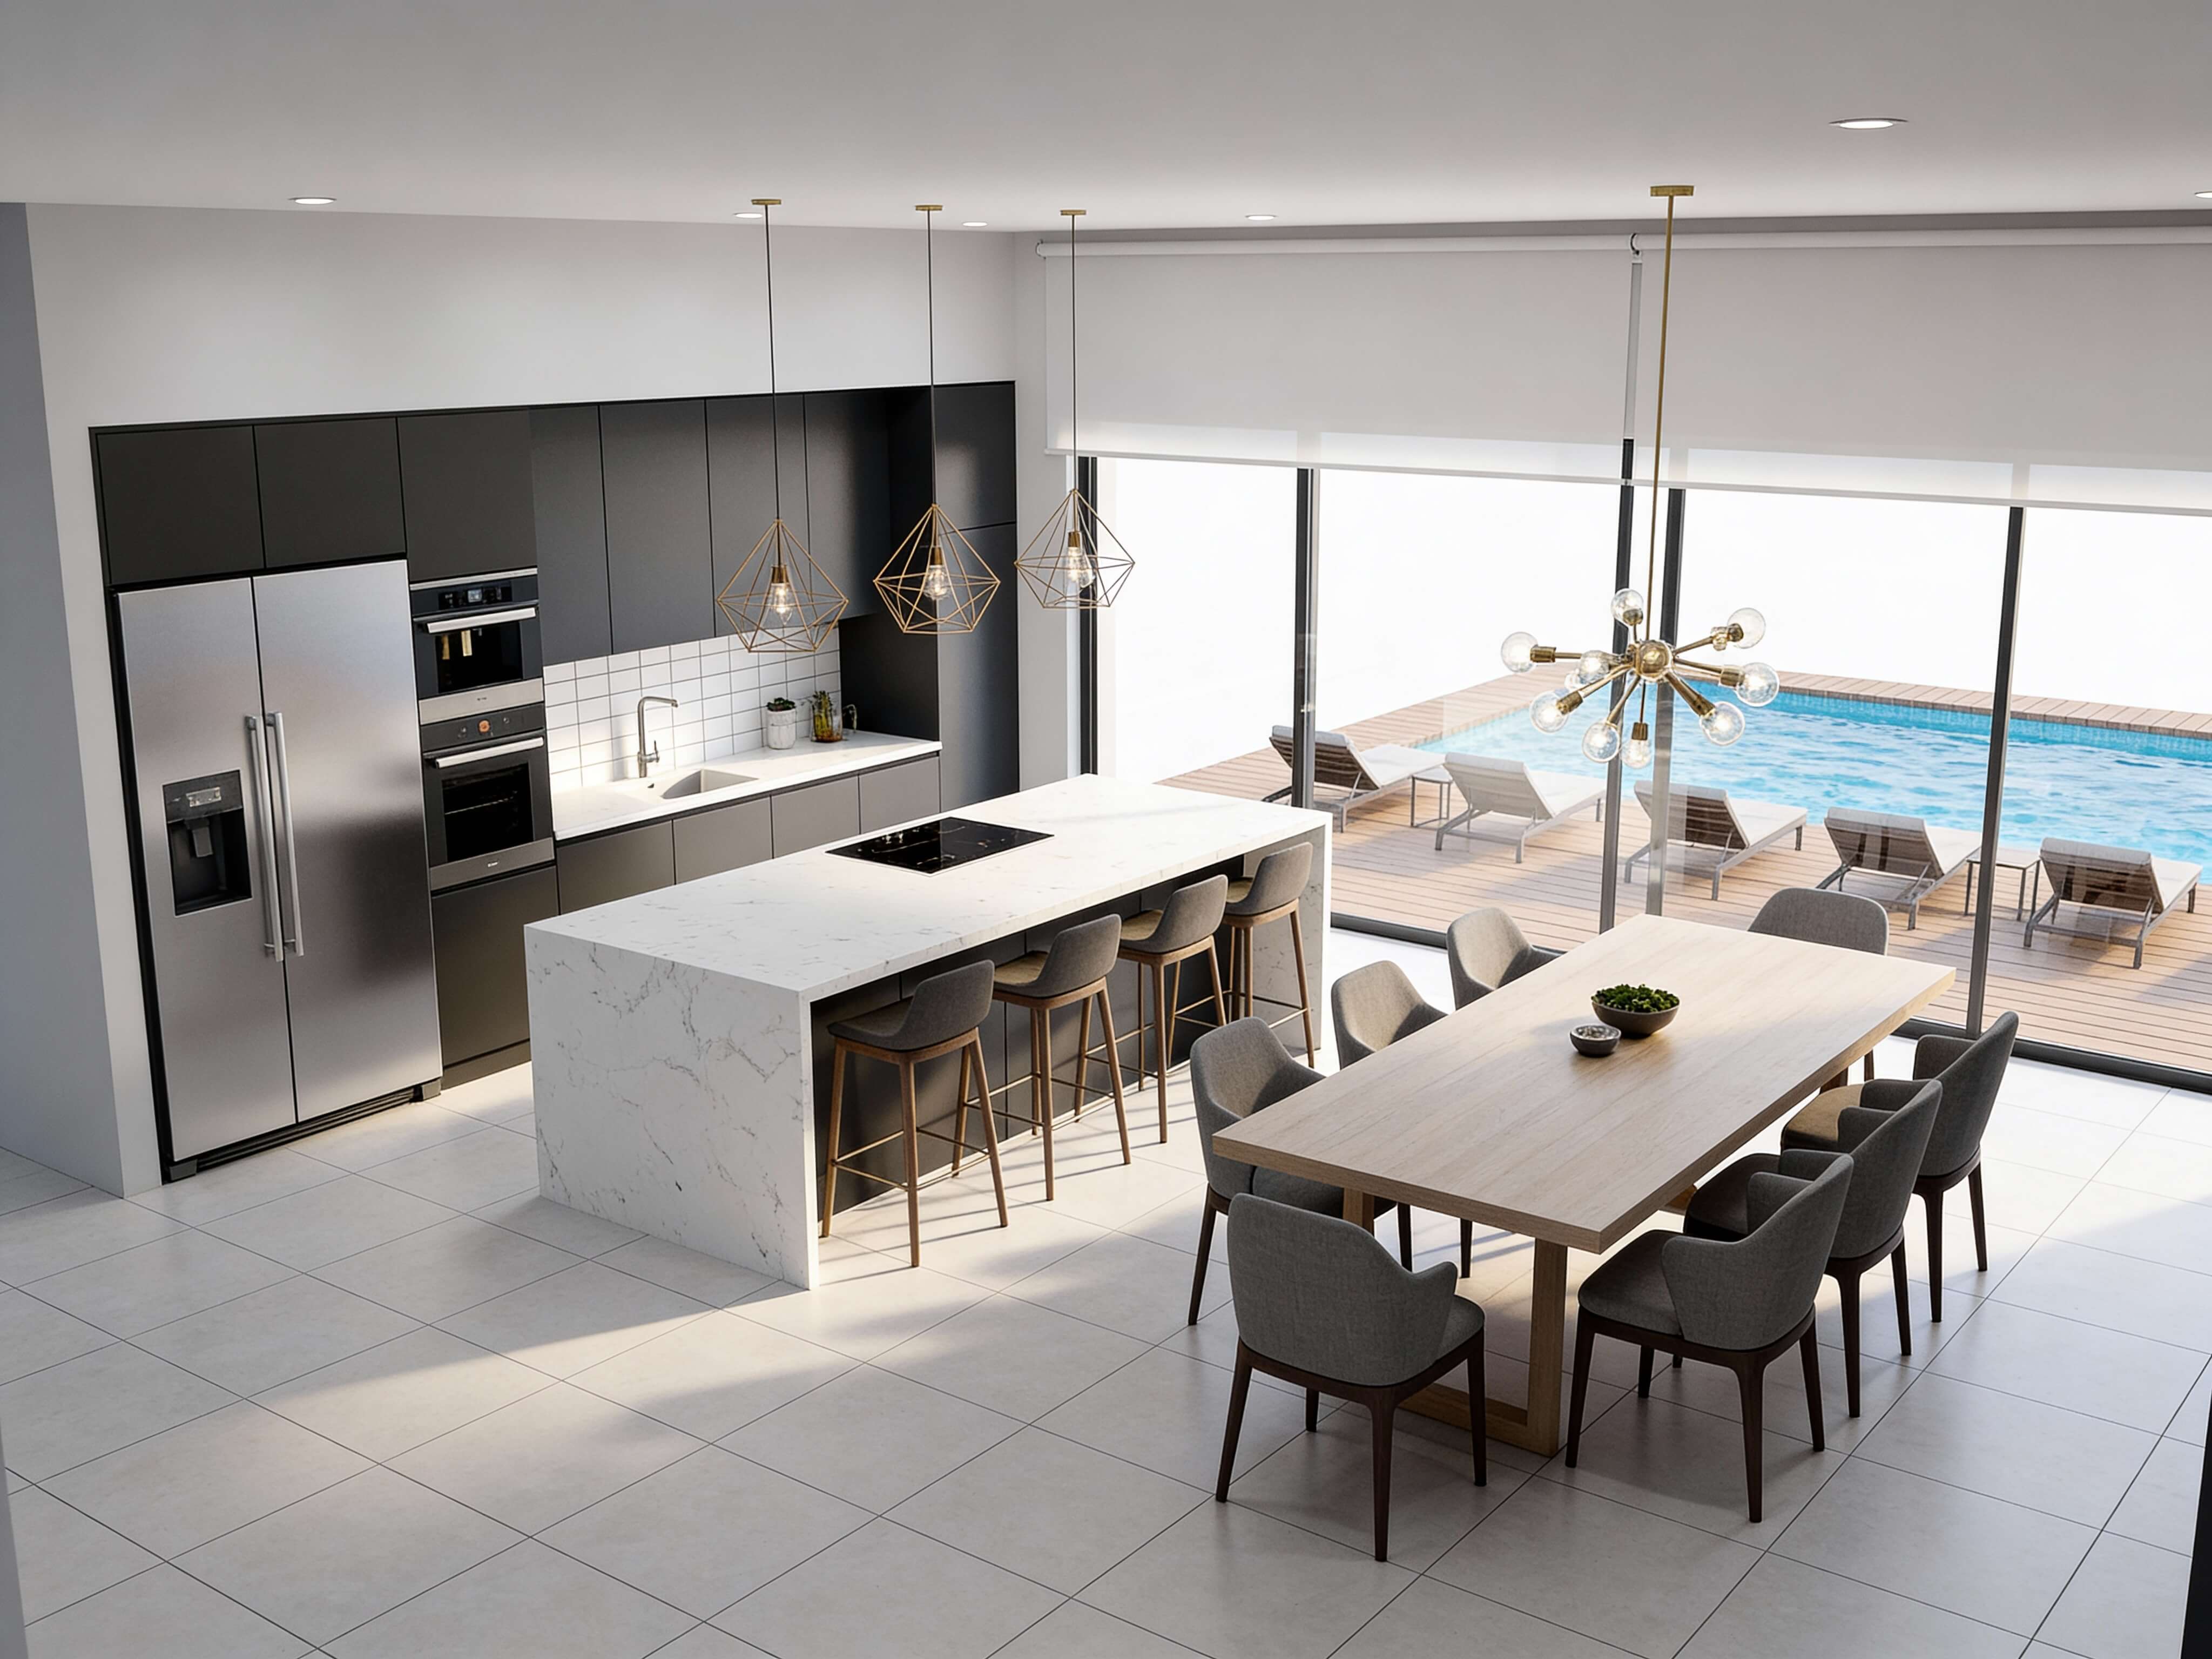
Kitchen Layout for Better Workflow: Start With How You Cook
Here is the fundamental truth about kitchen architecture: Form must follow motion.
When evaluating a kitchen layout for better workflow, most homeowners focus purely on static visual appeal. They select cabinet door profiles and stone slabs long before considering how many physical steps it takes to transfer a boiling pasta pot from the cooktop to the sink.
Executing a functional kitchen layout requires analyzing physical ergonomics. Every unnecessary step across a high-traffic corridor, every awkward reach over a dishwasher door, and every interrupted prep surface adds cumulative physical friction. Eliminating this frustration starts with optimizing your kitchen for daily functionality over decorative trends.
Plan the Kitchen Around Your Daily Routine
Think about how a meal actually comes together. You retrieve cold ingredients from refrigeration, wash produce at the sink, slice and chop on a continuous prep counter, transfer items to heat, and finally plate and serve.
COLD STORAGE PREP & WASH COOKING ZONE SERVING / CLEANUP +-----------------+ +-----------------+ +-----------------+ +-------------------+ | Refrigerator & | --> | Sink, Counter & | --> | Range, Cooktop | --> | Dishwasher, Trash | | Pantry Storage | | Trash Disposal | | & Spice Pullout | | & Plating Counter | +-----------------+ +-----------------+ +-----------------+ +-------------------+
Mapping your kitchen workflow means ensuring these physical steps occur in a natural, linear progression without back-tracking. When cold storage sits directly adjacent to primary prep counters, and prep space flows directly into the primary heat zone, cooking becomes smooth, intuitive, and remarkably fast.
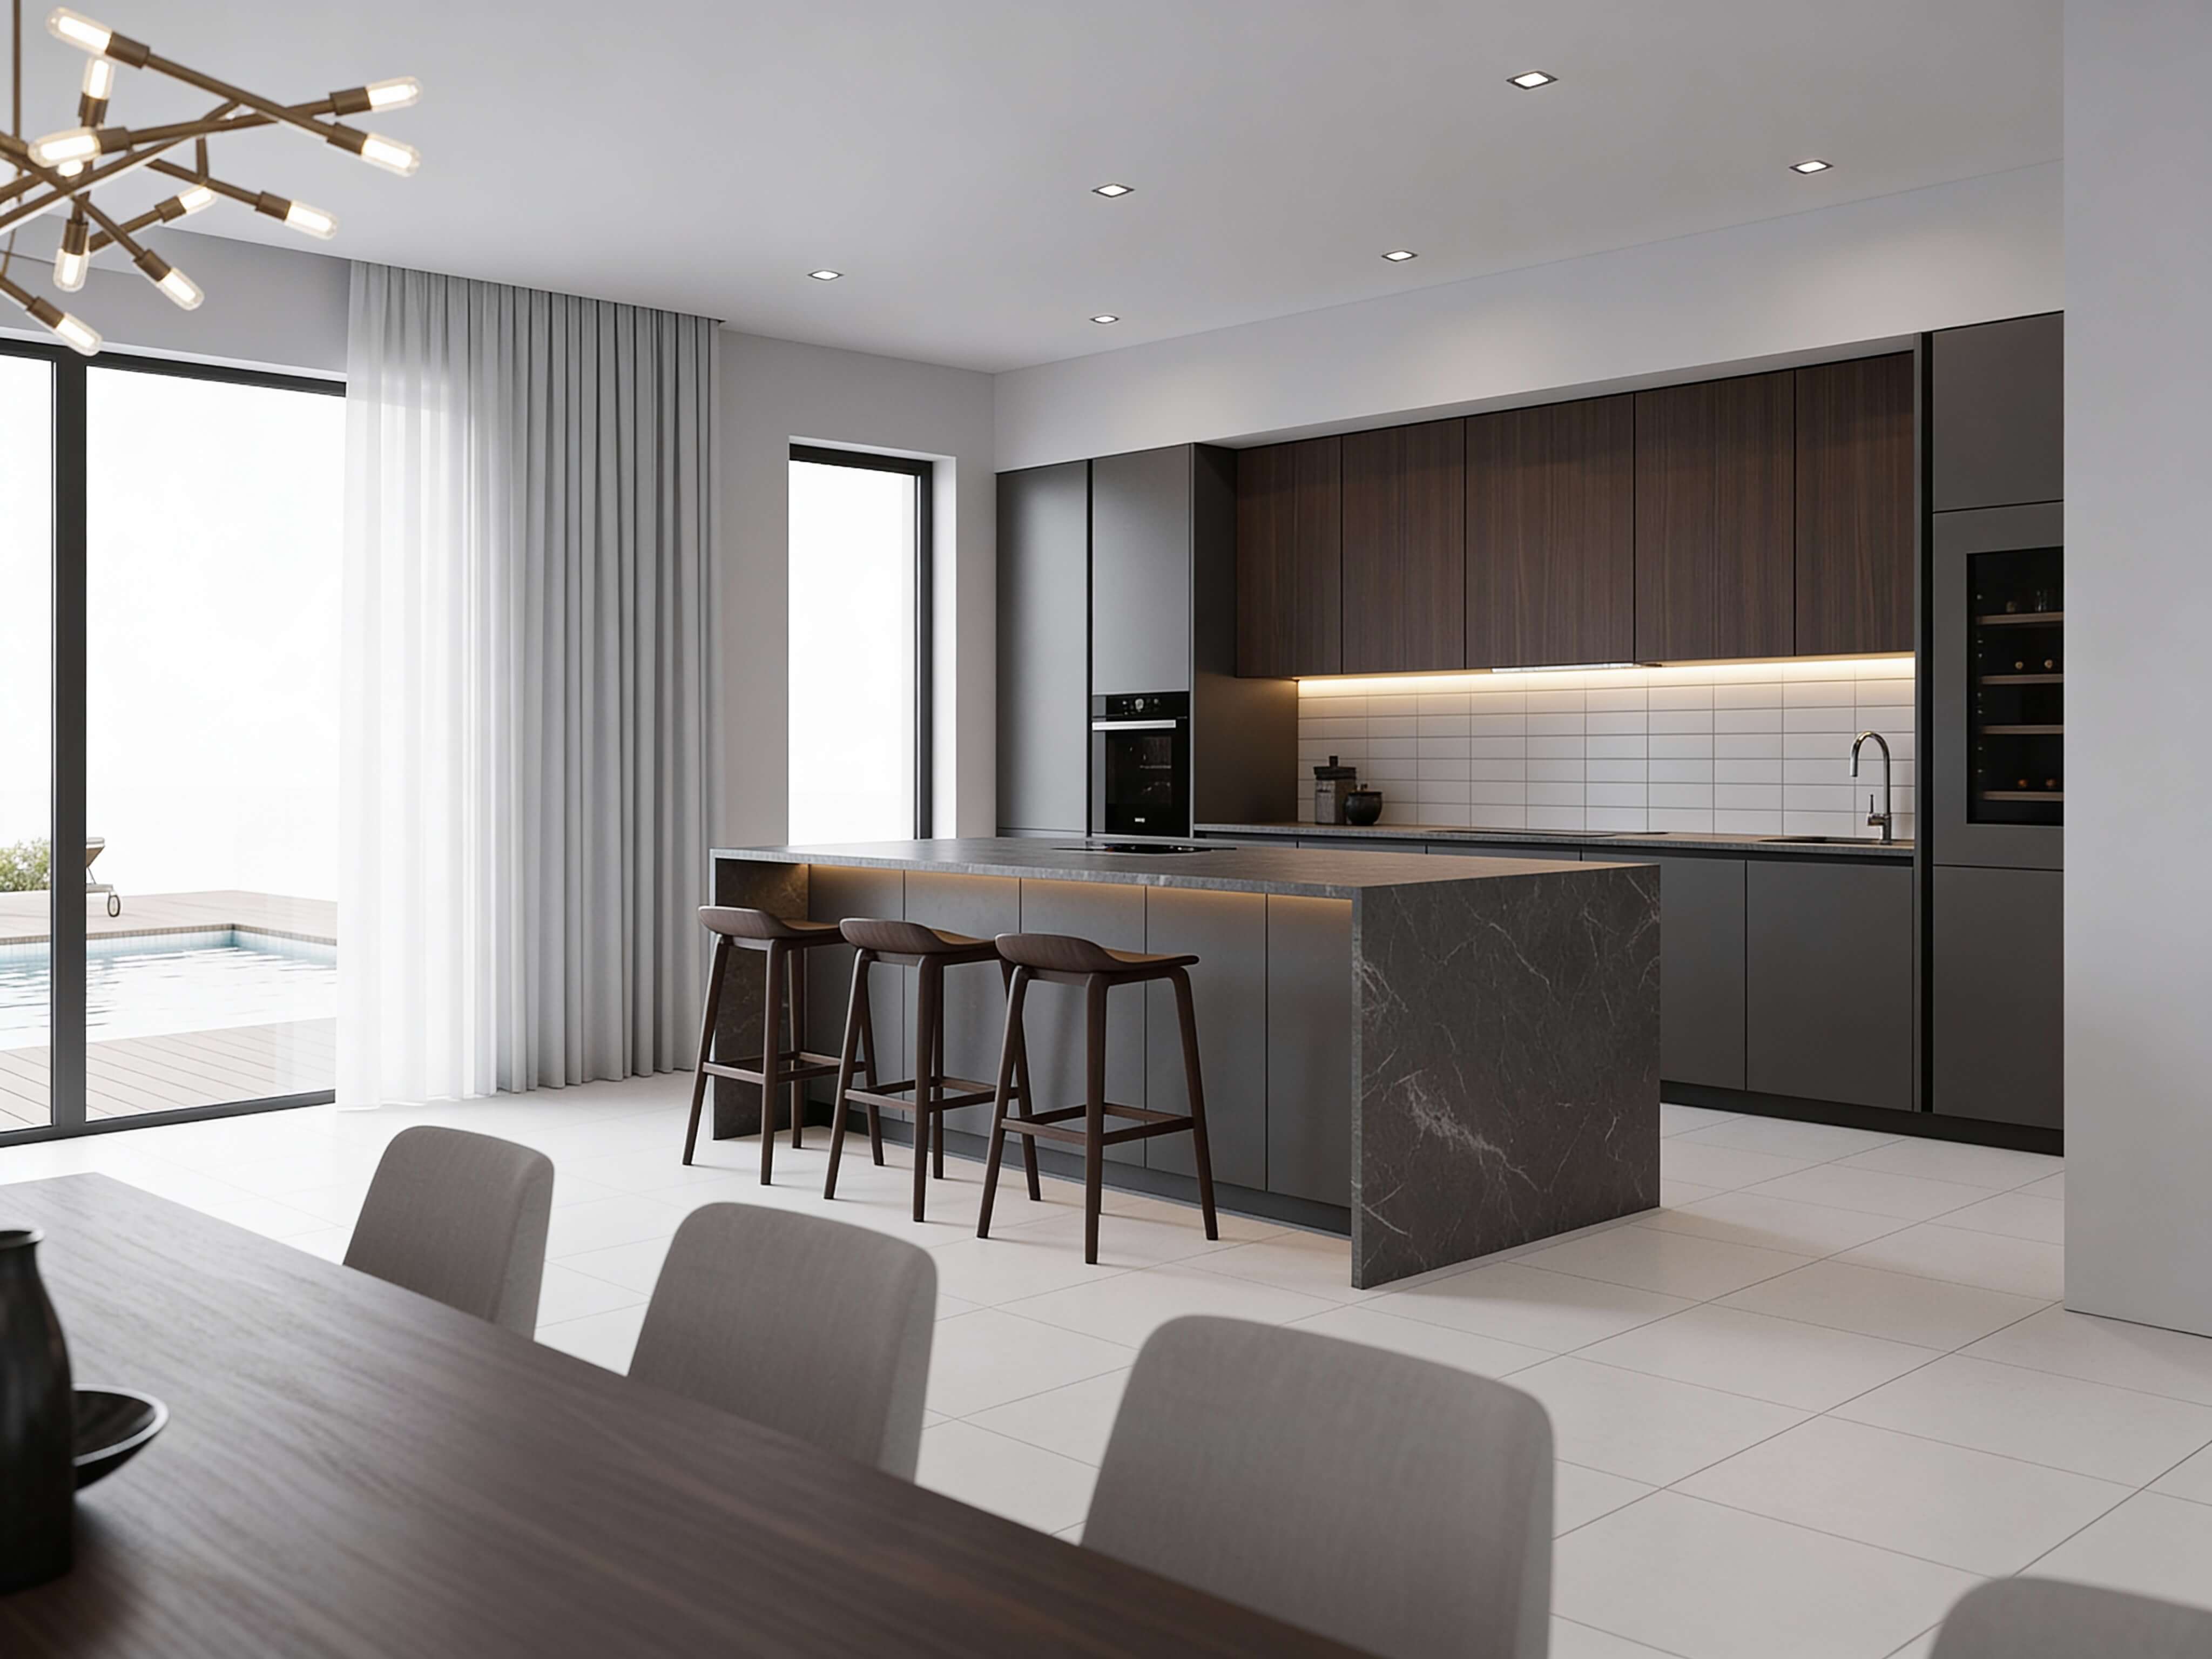
Create Practical Zones for Prep, Cooking, Cleaning, and Storage
Modern kitchen ergonomics has evolved beyond basic appliance placement into specialized kitchen work zones. Grouping tools, fixtures, and storage by task prevents room-wide cross-traffic during busy meal preparation.
According to Gestalt proximity principles, elements that perform connected tasks must be visually and physically grouped together to reduce mental and physical overhead. You can learn more about structuring dedicated task zones to minimize cross-traffic.
| Work Zone | Primary Anchor Fixtures | Essential Proximity Requirements |
|---|---|---|
| Consumables Zone | Refrigerator, primary tall pantry | Minimum 15 inches of landing counter adjacent to the handle side |
| Prep Zone | Continuous work counter, cutting boards | Direct access to trash pullout and under-counter compost storage |
| Cooking Zone | Range, cooktop, wall ovens | Oils, seasonings, and cookware stored within arm's reach |
| Cleaning Zone | Main sink, dishwasher, drying racks | Dishwasher placed within 36 inches of sink center without blocking walkways |
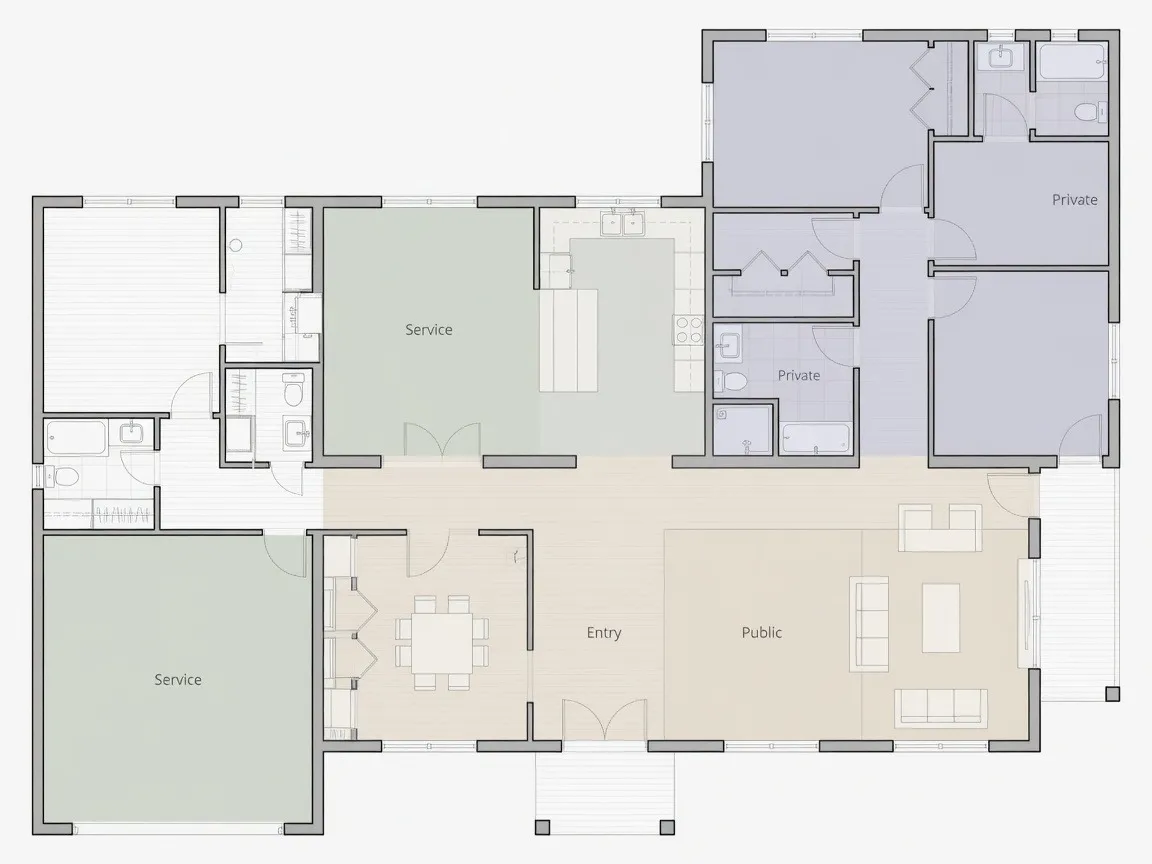
Choose the Right Kitchen Layout for Your Space
Every architectural footprint dictates specific layout constraints. Selecting the right silhouette prevents bottlenecks and maximizes usable floor area.
Using a specialized kitchen floor plan planner helps you test structural kitchen configurations to see how each structure handles movement:
- Galley Layout: The undisputed champion of professional culinary efficiency. Two parallel counter runs eliminate wasted steps, provided you maintain at least 48 inches of aisle space between facing cabinets.
- L-Shaped Layout: Ideal for open-concept homes, wrapping two perpendicular walls to keep cooking nodes tight while opening up the surrounding living space.
- U-Shaped Layout: Surrounds the cook on three sides with continuous work surfaces, offering maximum storage density and zero disruptive through-traffic.
- Island Layout: Requires substantial square footage—minimum 36 to 42 inches of perimeter walkway clearance—to ensure island seating doesn't collide with appliance doors.
Position the Sink, Stove, and Refrigerator for Easier Movement
The golden standard of kitchen ergonomics remains the classic kitchen work triangle. This principle connects the three primary work centers: the refrigerator (cold storage), the sink (cleaning/prep), and the range (heat).
THE ERGONOMIC WORK TRIANGLE [ SINK / WASH ] / \ / \ 4 - 9 feet / \ 4 - 9 feet / \ / \ [ REFRIGERATOR ] -------------------- [ RANGE / COOKTOP ] 4 - 9 feet
To maintain effortless physical flow, the sum of all three legs of the triangle should measure between 12 and 26 feet total. No single leg should be shorter than 4 feet or longer than 9 feet. Crucially, major traffic paths through the house should never cut directly through this triangular zone.
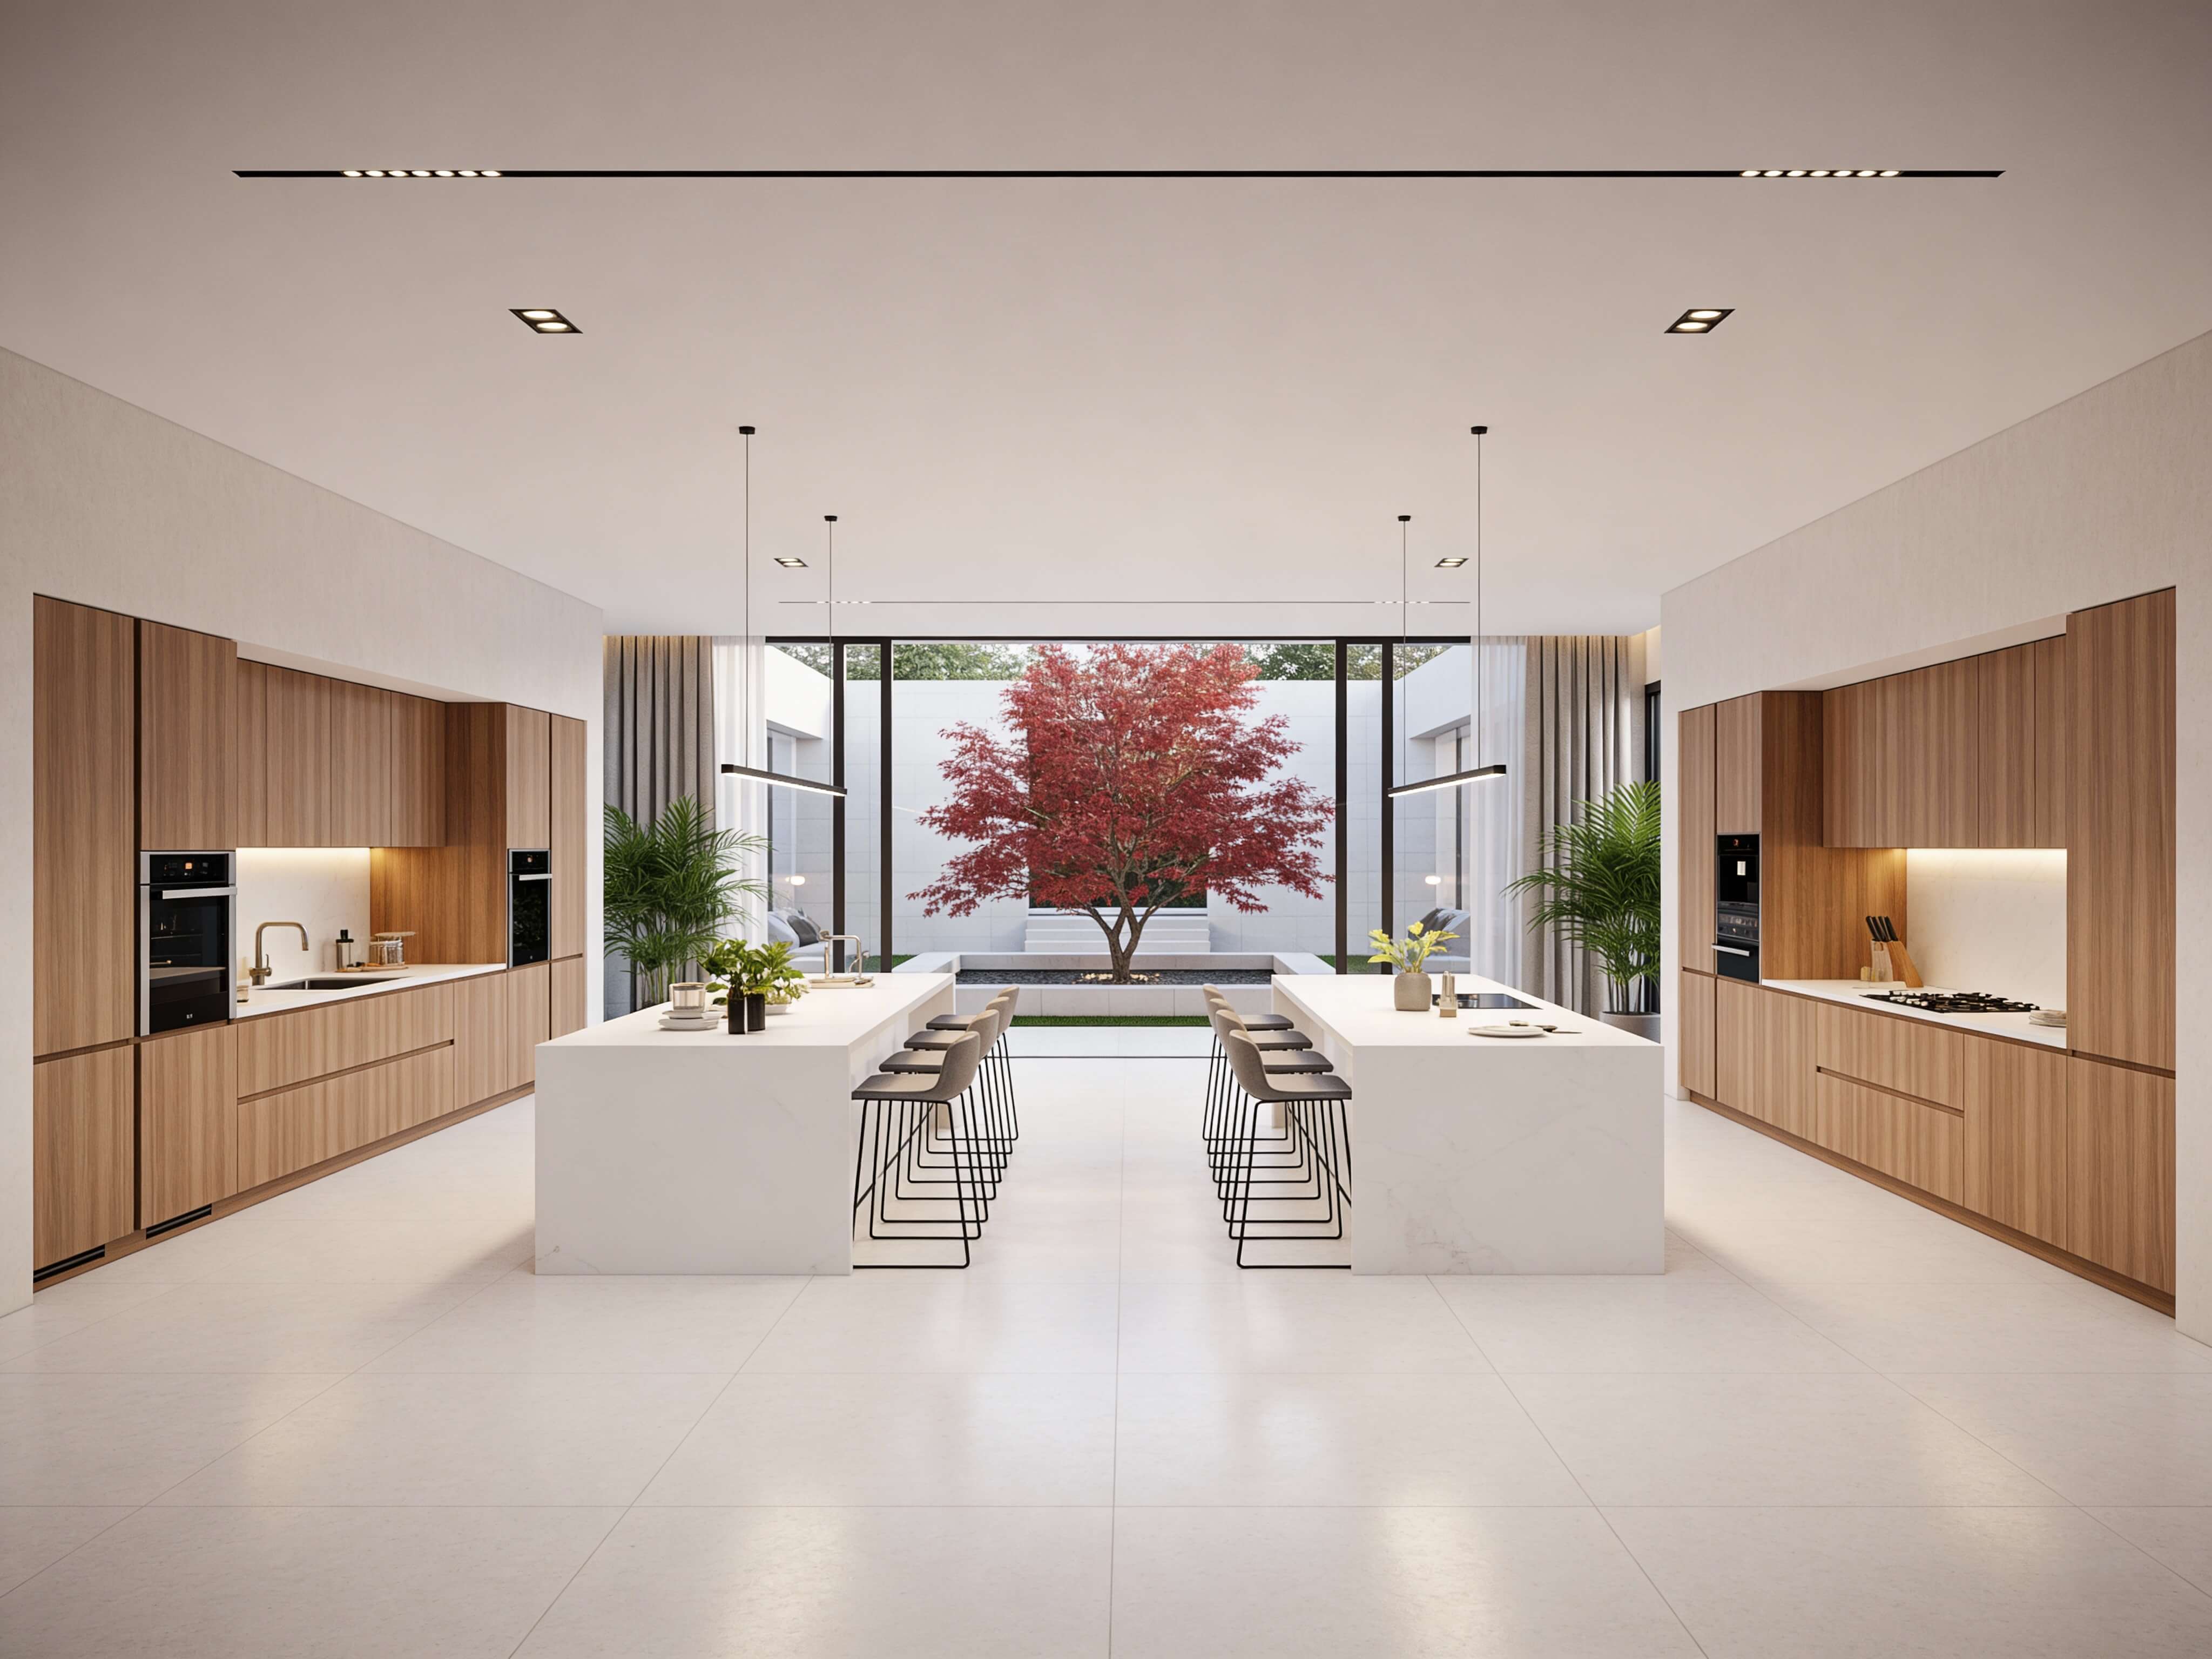
Design Counter Space Around the Way You Prepare Food
Nothing halts culinary momentum faster than running out of clear, usable counter space mid-recipe. The most critical prep surface in any kitchen counter layout sits directly between the primary sink and the cooktop.
This primary prep counter should measure a minimum of 36 continuous inches in width—uninterrupted by small appliances, raised ledges, or decorative items. Furthermore, hot pots demand at least 12 to 15 inches of heat-resistant landing space on both sides of the cooktop, ensuring you never have to hold a scorching pan while searching for a place to set it down. If you struggle with limited surfaces, explore solving limited kitchen counter space to keep your prep zone clear.
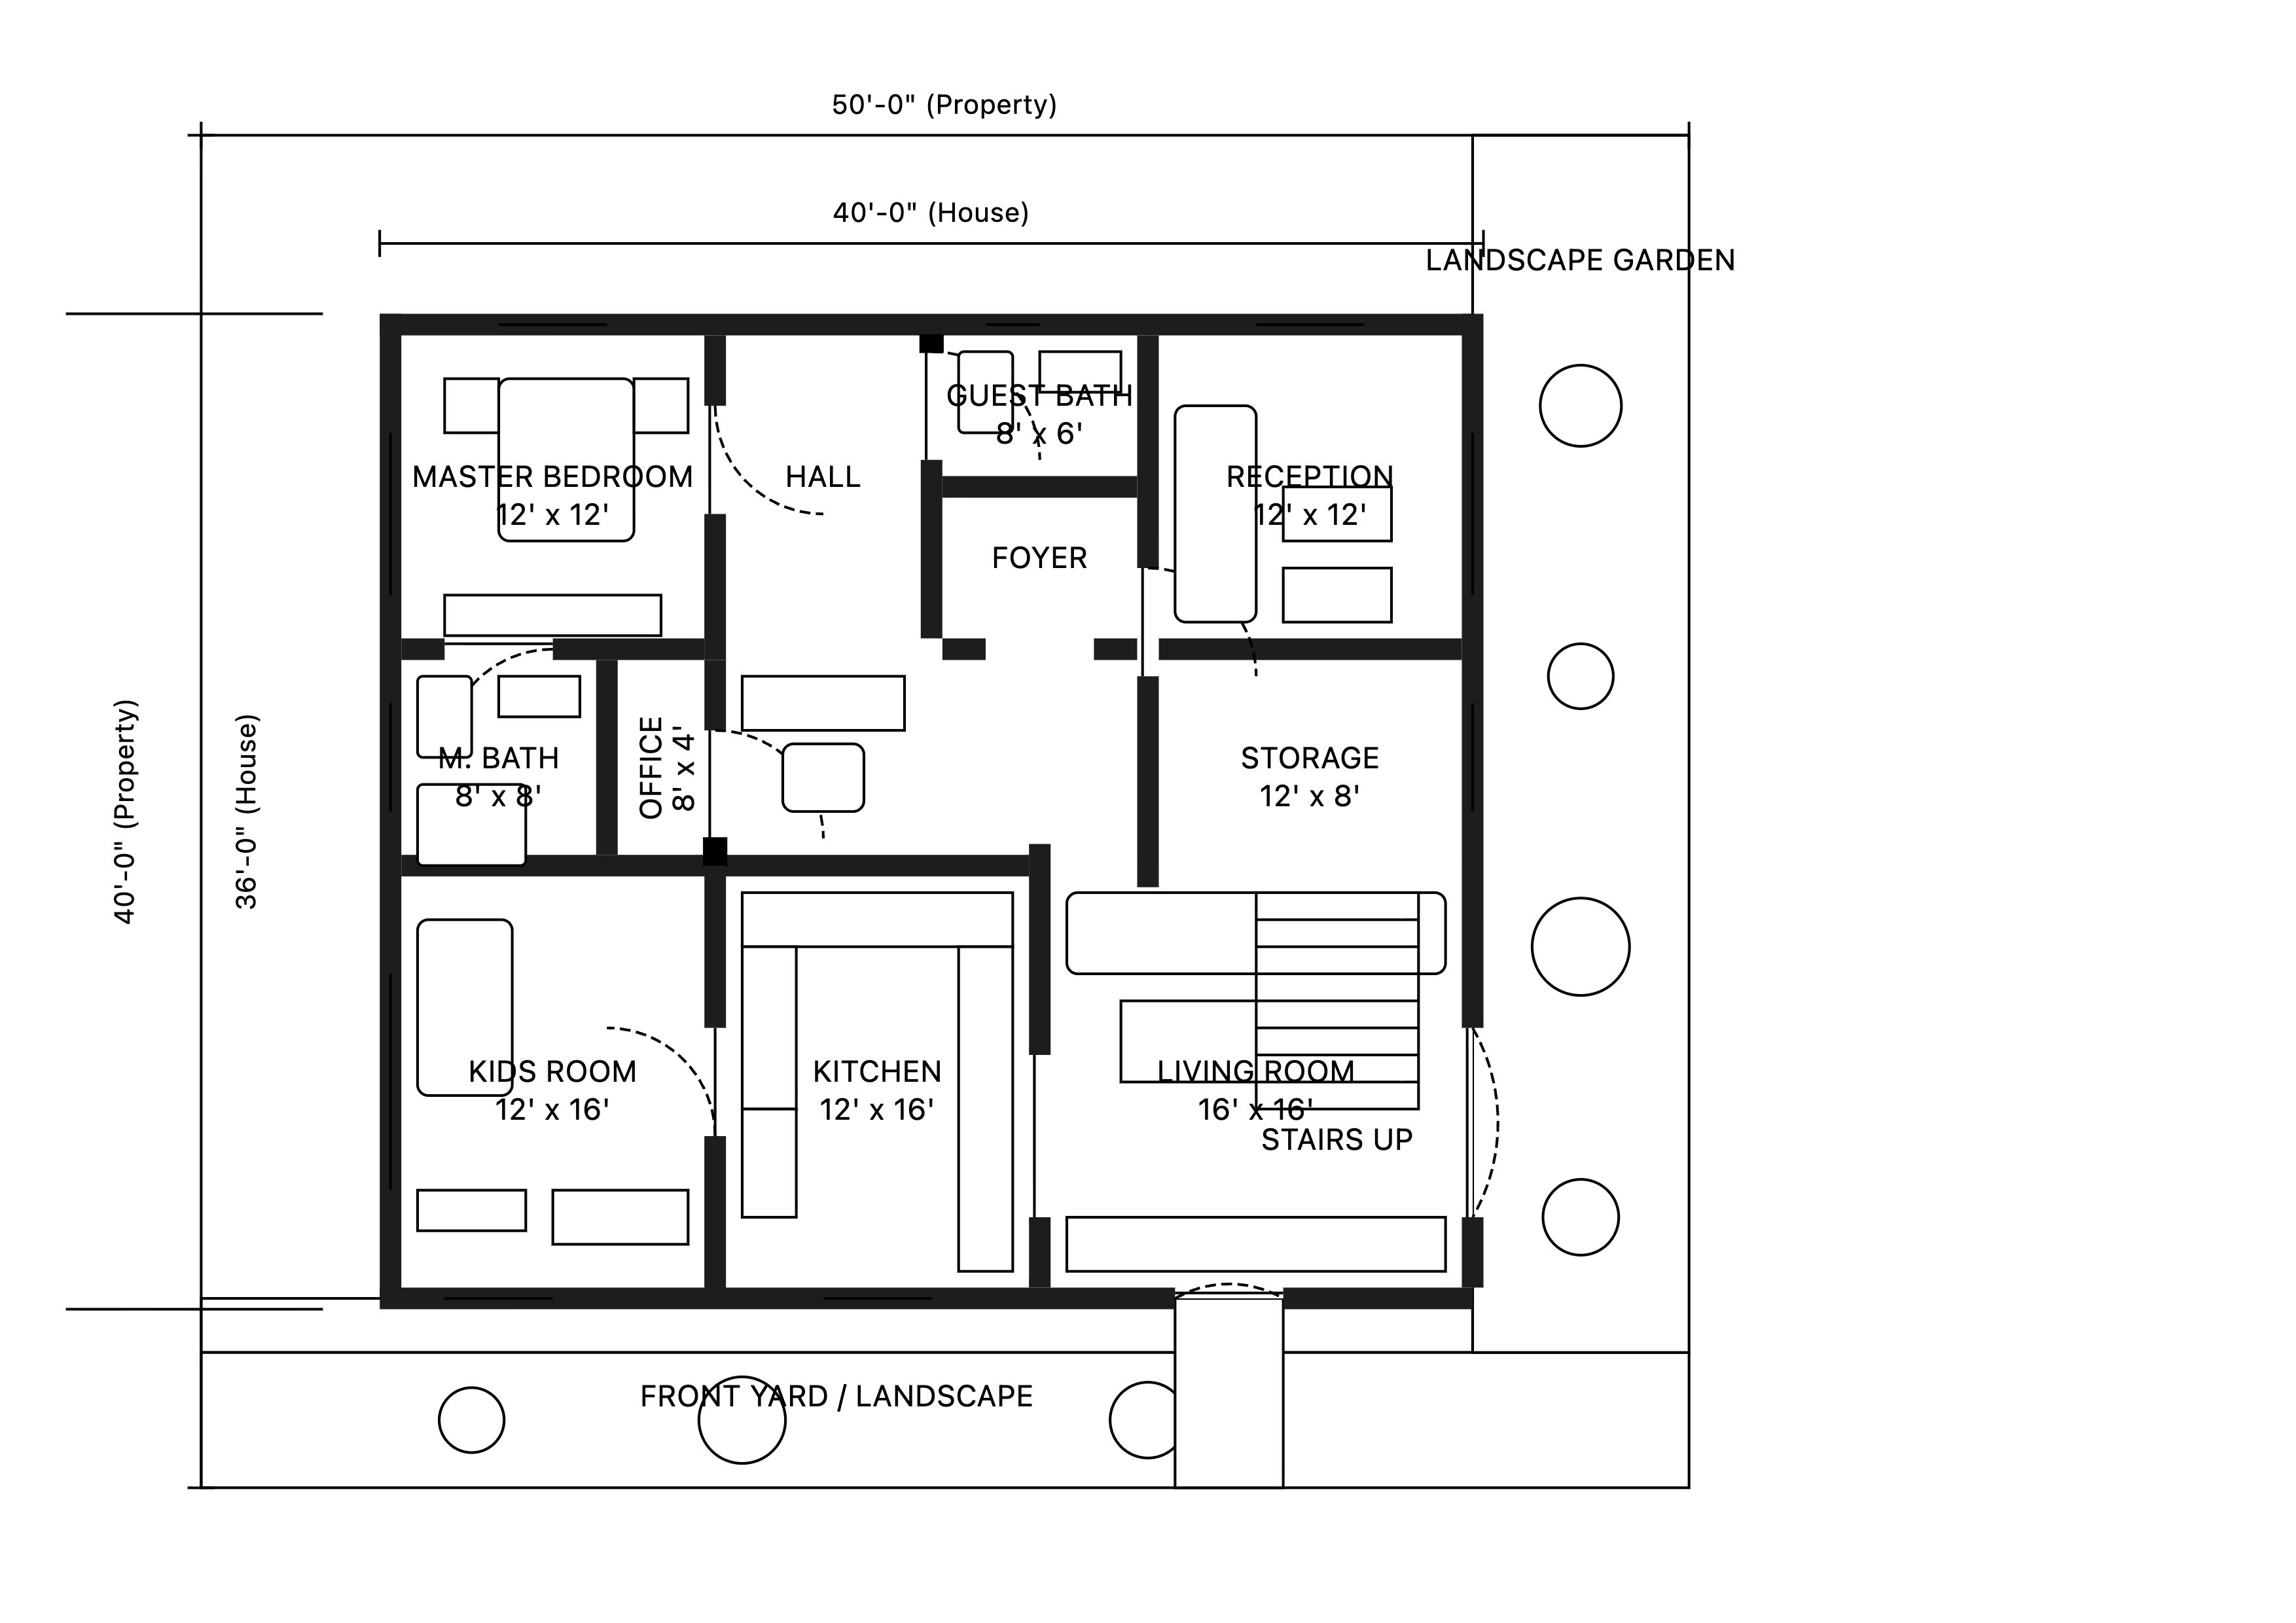
Place Appliances Where You Actually Use Them
Positioning appliances accurately requires evaluating real-world usage habits rather than symmetry. Placing a wall oven on the far side of an island while your primary prep counter sits opposite creates unnecessary risk when transporting heavy roasting pans.
Integrate trash pullouts directly beneath or immediately adjacent to your primary prep counter so vegetable peelings slide straight off the cutting board. You can discover more ways to integrate smart trash and recycling pullouts to streamline your cleanup. Similarly, position the microwave near the refrigerator rather than above the range, allowing family members to reheat snacks without stepping into the primary cooking zone.
Make Storage Part of the Workflow
True point-of-use storage places tools precisely where their action occurs. Storing frying pans across the room in a tall pantry creates friction every single morning.
- Under-Cooktop Drawers: Store heavy pots, sauté pans, and lids in deep, full-extension drawers directly beneath the burners.
- Spice and Oil Pullouts: Install narrow 6- to 9-inch vertical slide-out racks immediately next to the range for cooking oils and daily spices.
- Dish Storage at Cleanup: Store daily dinnerware in upper cabinets or drawers located within arm's reach of the dishwasher to make unloading fast and effortless.
Properly positioning your tools is the key to maintaining a clutter-free kitchen workspace. It also helps to review dedicated strategies for improving kitchen storage capacity before finalizing cabinet depths.
Avoid Kitchen Layout Mistakes That Slow You Down
Preventing costly architectural mistakes requires identifying common spatial conflicts during the initial planning phase. Reviewing common solutions for awkward kitchen layouts can help you spot these issues early.
CRITICAL CLEARANCE WARNINGS +-----------------------------------------------------------------+ | 1. CORNER COLLISION : Appliance doors hitting adjacent handles | | 2. AISLE BOTTLENECK : Less than 42" in single-cook kitchens | | 3. ISLAND TRAP : Dishwasher door blocking primary walkway | +-----------------------------------------------------------------+
One frequent error is placing a refrigerator directly against a side wall, which prevents the door from opening past 90 degrees and renders internal drawers unusable. Another major pitfall is creating narrow aisles—anything under 36 inches creates immediate physical bottlenecks when two people enter the room simultaneously.
Kitchen Layout for Better Workflow and Easier Cooking
Discover smarter kitchen designs with better work zones, easier movement, practical storage, and efficient layouts designed around the way you cook.
Step 1: Upload a clear photo of your kitchen from the best angle. Include your cabinets, counters, appliances, windows, doors, and existing layout.
Step 2: Describe how you want your kitchen to look and work. Choose your preferred cabinets, countertops, colors, appliances, style, and layout, then generate your design.
Step 3: Discover a kitchen design tailored to your space, with a practical layout, better movement, organized work zones, and a polished realistic look.
Test Your Kitchen Layout Before Buying Cabinets or Appliances
Before committing to cabinet orders or structural changes, test your proposed floor plan inside a digital kitchen layout planner. Relying on 2D blue-print sketches alone makes it difficult to gauge real-world clearances and spatial volume.
Using intuitive kitchen layout software allows you to configure exact cabinet runs, test appliance door swings, and evaluate clearance paths. Inputting exact wall dimensions guarantees every cabinet box fits precisely down to the millimeter.
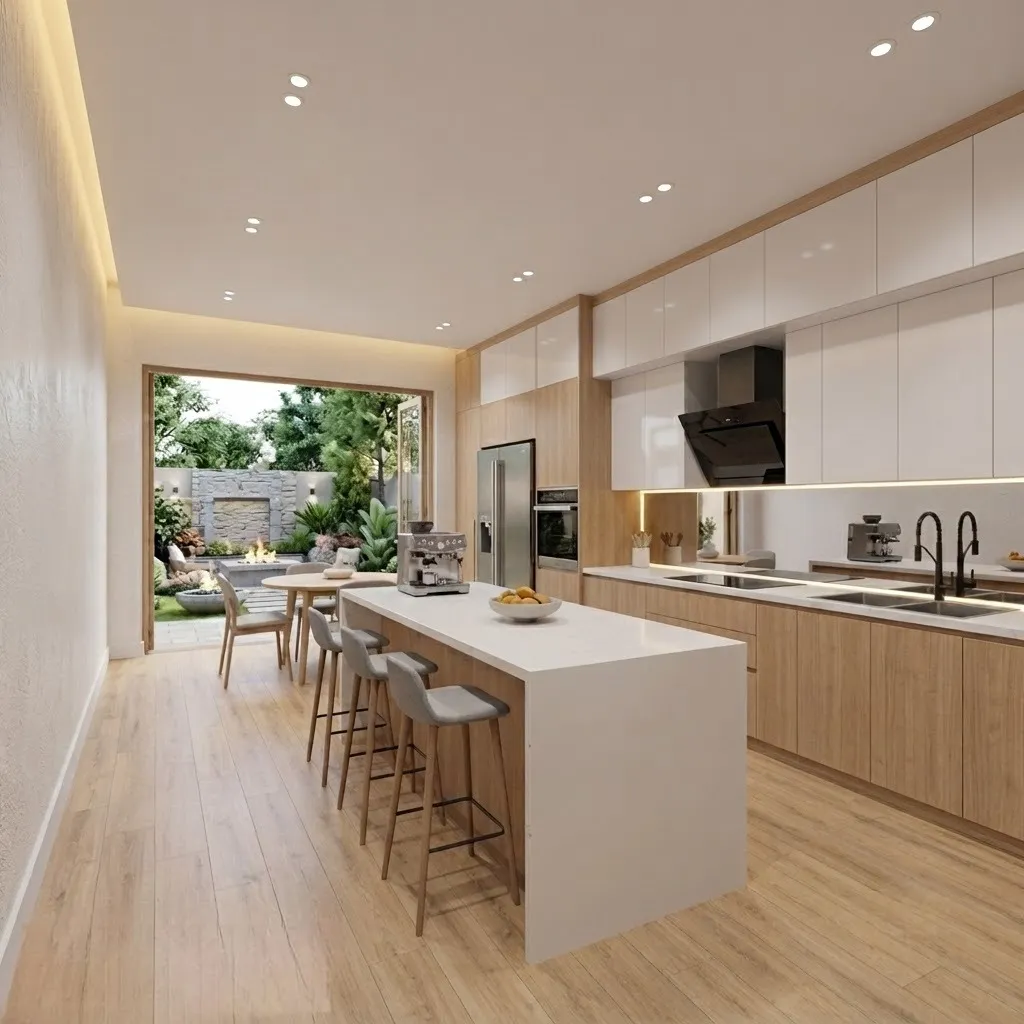
Visualize Your Kitchen in 2D and 3D Before Remodeling
Testing your ideas inside DesignHome Synthesis™—our dynamic 3D kitchen planner—provides total visual certainty before construction begins.
- Dimensional Validation: Generate precise 2D floor plans paired with interactive 3D spatial models in seconds.
- Clearance Auditing: Walk through virtual aisle paths using an intuitive kitchen design tool to verify 42-inch minimum clearances around islands.
- Lighting & Material Testing: Experiment with cabinetry finishes, quartz surfaces, and task lighting under realistic environmental conditions.
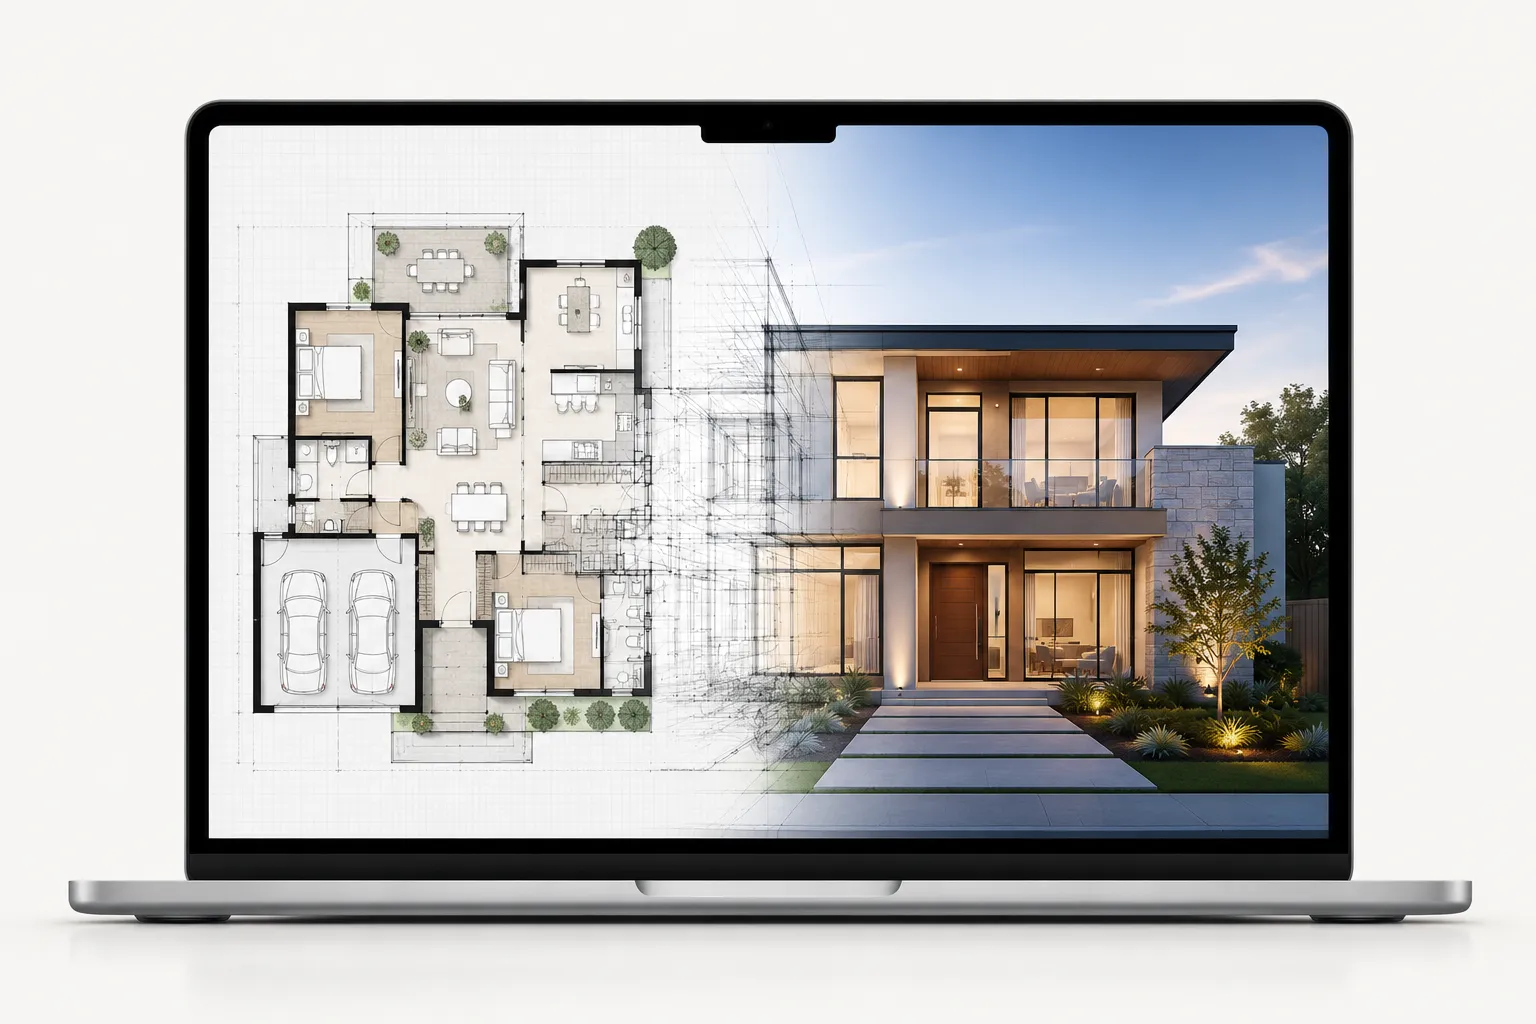
Design a Kitchen That Works Before You Build It
A truly exceptional kitchen blends architectural beauty with effortless physical flow. By organizing your space into dedicated task zones, respecting ergonomic clearances, and placing point-of-use storage exactly where it belongs, you eliminate everyday cooking frustration.
Start testing your floor plan today with DesignHome Synthesis™—our spatial intelligence kitchen layout tool—and build a kitchen that looks stunning and functions flawlessly.
FAQ about Kitchen Layout for Better Workflow
What is the single most important rule for an efficient kitchen layout?
The core principle is prioritizing physical movement and continuous work zones over static aesthetics. A functional layout guarantees an unobstructed path between cold storage (refrigerator), cleaning nodes (sink), and heat sources (cooktop). Eliminating cross-traffic through your active prep zone prevents everyday cooking friction far more effectively than decorative features.
What is the ideal distance for the kitchen work triangle?
Each leg of the work triangle—connecting the sink, stove, and refrigerator—should measure between 4 and 9 feet. The combined total distance across all three legs should sit between 12 and 26 feet. Any shorter creates physical cramping, while longer distances cause unnecessary fatigue from excessive walking during meal preparation.
How much aisle space is required between parallel counters or an island?
Maintain a minimum walkway width of 42 inches for single-cook kitchens and 48 inches for households where multiple people cook simultaneously. In tight footprints, 36 inches is the absolute minimum clearance required to allow appliance doors and base cabinet drawers to open without hitting opposing surfaces.
Which kitchen layout silhouette offers the highest cooking efficiency?
The galley layout remains the most ergonomically efficient configuration because it places parallel counter runs within arm's reach, minimizing physical movement. For open-concept homes, an L-shaped layout with an integrated functional center island provides the best balance between tight work triangles and social entertaining space.
How much continuous counter space is needed for food preparation?
Your primary preparation surface requires at least 36 continuous inches of uninterrupted counter space, ideally positioned directly between the main sink and the cooktop. Placing small appliances or raised decorative ledges inside this zone fragments your workspace and creates unnecessary clutter during meal assembly.
Where is the most functional location for trash and recycling pullouts?
Mount your primary trash and recycling pullout directly inside the prep zone, either under the main sink or immediately adjacent to your continuous prep counter. This allows food scraps and peelings to be swiped directly off cutting boards into the waste bin without dripping across floor walkways.
How do you prevent appliance doors and cabinet handles from colliding in corners?
Always install a minimum 2- to 3-inch corner filler piece between corner walls and adjacent base cabinets or appliances. This clearance spacer ensures refrigerator doors, oven handles, and dishwasher fronts swing fully open past 90 degrees without marring adjacent cabinet fronts or trim moulding.
Where should the dishwasher be placed relative to the sink?
Position the dishwasher within 36 inches of the main sink center line to simplify plumbing hookups and pre-rinsing routines. To maintain proper workflow, ensure the open dishwasher door does not block the primary walkway or prevent access to daily dish storage drawers. If you lack an island, review layout options for maintaining clear walkways in tight kitchens.
Is an over-the-range microwave bad for kitchen workflow?
While over-the-range microwaves save counter space, they create severe workflow bottlenecks by placing microwave users directly in the splash and heat zone of the primary cook. Mounting the microwave inside a lower base cabinet drawer or a dedicated upper wall cabinet near the refrigerator keeps secondary traffic outside the primary cooking zone. Explore dedicated appliance storage solutions to keep your counters clear.
What is the best way to utilize blind corner cabinet space without wasting it?
Avoid fixed corner shelving, which turns back corners into unreachable dark voids. Upgrade blind corners with full-extension swing-out tray systems or heavy-duty lazy susan carousels that pull deeply stored cookware entirely outside the cabinet box into full view.
How much clearance is necessary for island seating overhangs?
A comfortable island seating overhang requires 12 inches of knee clearance for standard 42-inch bar-height counters and 15 inches for 36-inch counter-height surfaces. Additionally, allow at least 36 to 42 inches of clear floor space behind pushed-out dining stools so passing traffic isn't blocked.
How can I test my kitchen layout before ordering custom cabinetry?
Simulating your floor plan digitally before committing to purchases prevents expensive construction errors. Using a 3D spatial planning tool like DesignHome Synthesis™ allows you to visualize ergonomic work zones in real-time photorealistic 3D, input exact wall measurements, verify 42-inch walkway paths, and test appliance door swings.


