

You stand in the middle of your kitchen holding a chopping board, staring at a counter covered in mail, cereal boxes, and loose utensils.
You open a drawer to find a measuring spoon, but you have to sift through three spatulas, a whisk, and an old ice cream scoop first. You turn around to grab olive oil, only to realize it's stored in a high cabinet across the room. By the time the oil hits the pan, you feel annoyed, scattered, and physically exhausted.
Here is the good news: you do not need a $50,000 gut remodel to make a kitchen more functional.
A frustrating kitchen rarely suffers from a lack of square footage or high-end quartz finishes. It suffers from a breakdown in workflow, obstructed movement pathways, and poor point-of-use storage. By systematically reorganizing your work zones, clearing prep space, and aligning tools with real daily routines, you can turn a chaotic room into a smooth, high-performance cooking hub. Here is how to upgrade your kitchen's functionality step by step.
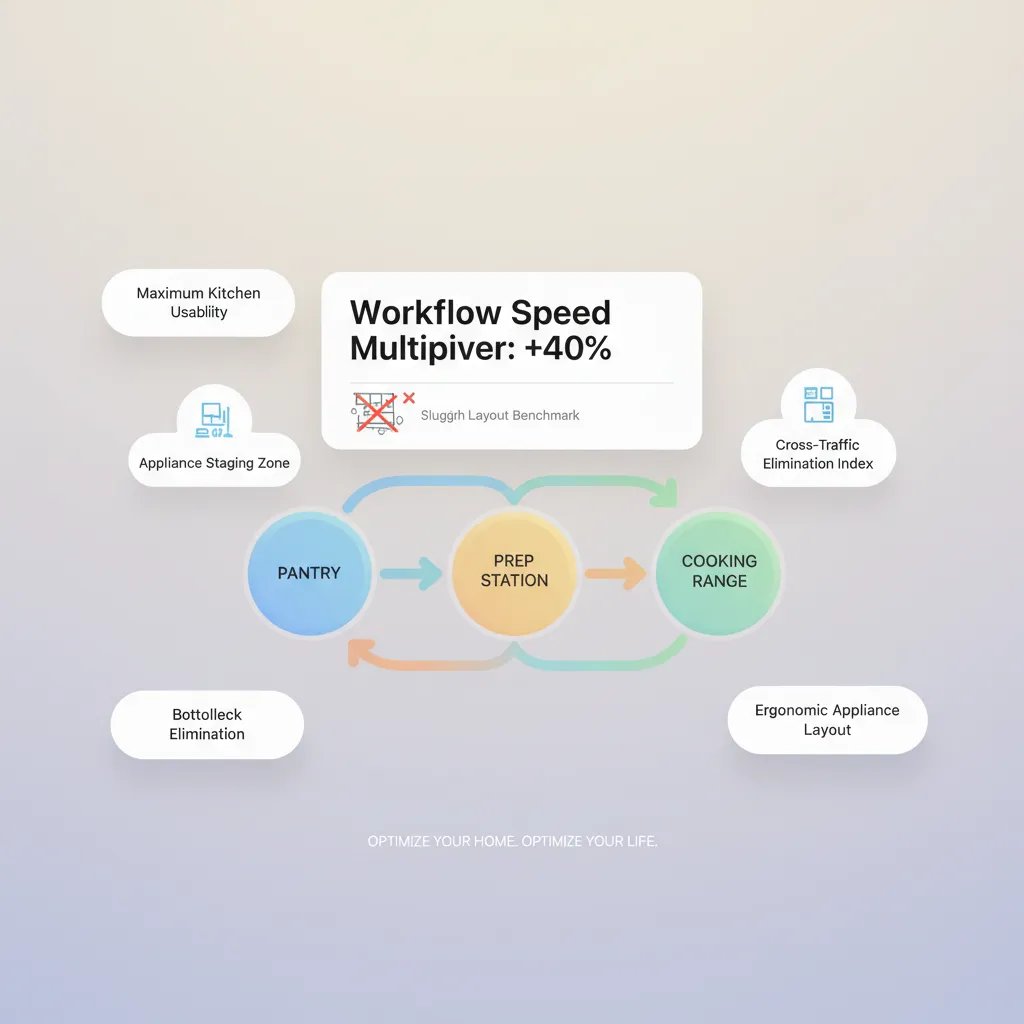
1. Make a Kitchen More Functional Without Starting a Full Renovation
When homeowners feel frustrated with their cooking space, their immediate instinct is to look at expensive remodel catalogs.
However, tearing out custom cabinets or moving plumbing lines won't fix a fundamentally broken routine. True spatial efficiency starts by shifting your focus from decorative choices to practical daily utility.
Visual appeal; zero impact on cooking speed
Directly cuts cooking time & daily stress
To build a truly functional space, evaluate your setup against three non-negotiable usability pillars:
- Frictionless Access: Can you reach your most-used cutting boards, knives, and cooking oils in a single step from your primary prep counter?
- Unobstructed Motion: Can you open the refrigerator or dishwasher without blocking someone walking through the entry doorway?
- Targeted Task Illumination: Can you clearly see what you are slicing on your prep counter without working in your own shadow?
2. Fix the Everyday Kitchen Frustrations You Keep Working Around
Most people don't realize how much time they waste compensating for a poor layout until they audit their daily movements.
We normalize walking across the room to throw away vegetable peelings, ducking under open cabinet doors, or shuffling small appliances around just to clear twelve inches of prep counter.
Run a 2-minute diagnostic pass during your next meal prep:
- Count your extra steps: How many times do you walk back and forth between the sink, trash bin, and stovetop while preparing one dish?
- Identify appliance collisions: Does opening the oven door block access to the primary utensil drawer?
- Track surface clutter: Which flat counter area naturally becomes a dumping ground for keys, mail, and non-cooking items?
3. Rearrange Your Kitchen Around the Way You Actually Cook
If you want to improve kitchen functionality, stop organizing items by where they look neat in photos and start arranging them by order of physical use.
A professional kitchen workflow follows a strict, one-direction sequence: Storage $\rightarrow$ Washing & Prep $\rightarrow$ Cooking $\rightarrow$ Serving & Cleanup.
  [ Zone A: Cold & Dry Storage ] ===> Refrigerator & Pantry (Raw Ingredients)
                 |
                 v
  [ Zone B: Wash & Prep Hub    ] ===> Sink, Cutting Boards, Trash & Knives
                 |
                 v
  [ Zone C: Cooking Heat Apex  ] ===> Stovetop, Oven, Spices & Pots
                 |
                 v
  [ Zone D: Serving & Cleaning ] ===> Plates, Dishwasher & Drying Rack
Aligning your room around this natural sequence eliminates backtracking:
- Store Knives at the Water Source: Keep cutting boards, chef knives, and trash bins directly adjacent to your main prep sink.
- Keep Seasonings at the Heat Source: Store cooking oils, sea salt, pepper grinders, and wooden spoons within arm's reach of your cooktop.
- Locate Dishes Near the Dishwasher: Store everyday plates, bowls, and silverware in drawers right next to the dishwasher to make unloading effortless.
If you are planning spatial flow across connected rooms, explore our guide on positioning major appliances for maximum efficiency.
4. Give Prep, Cooking, Cleaning, and Storage Their Own Clear Zones
When food prep, baking, dishwashing, and snack-grabbing all compete for the same two feet of counter space, chaos is inevitable.
Establishing clear kitchen work zones creates physical boundaries that let multiple people use the room simultaneously without stepping on each other's toes.
How to isolate your work zones:
- Create a Dedicated Coffee Station: Move your espresso machine, coffee beans, mugs, and sugar to an isolated sideboard or corner counter. This allows family members to make morning coffee without entering the active breakfast cooking zone.
- Establish a Trash-Prep Connection: Ensure your primary trash and recycling pull-outs sit directly inside your prep zone so vegetable scraps and packaging drop straight into the bin.
5. Create a Useful Prep Area Even If Your Counter Space Is Limited
A common complaint in smaller homes is the complete lack of continuous kitchen prep space.
However, having twenty feet of scattered, small counter gaps is far less useful than having one single, continuous 36-inch stretch of open surface positioned between your sink and stove.
(Hard to chop a single melon)
| 36" Uninterrupted Counter |
+---------------------------+
[ Move small appliances off ]
Strategies to reclaim chopping space:
- Clear the "Hero Counter": Pick the longest counter span between your sink and stove. Move coffee makers, air fryers, and knife blocks off this specific surface entirely.
- Use an Over-the-Sink Cutting Board: Expand your physical prep footprint by using heavy wood cutting boards designed to sit directly over your sink basin.
- Add a Rolling Butcher Block Cart: If your built-in counters are narrow, tuck a slender rolling butcher block island into an open corner to roll out during heavy meal prep.
6. Place Everyday Tools and Ingredients Where You Need Them Most
Rummaging through deep, dark cabinets for a pot lid or searching five drawers for a potato peeler adds friction to every single meal you make.
Upgrading your functional kitchen storage relies on point-of-use organization: storing items at the exact spot where they are first needed.
[ Appliance / Station ] ====> [ Associated Point-of-Use Storage ]
-----------------------        -----------------------------------
Stovetop Range                 ===> Deep drawers containing pots, pans, & lids
Prep Sink                      ===> Pull-out trash bin & roll-out dish soap tray
Refrigerator                   ===> Pantry cabinet for dry goods & wraps
Implement these high-efficiency storage fixes:
- Install Deep Drawer Peg Organizers: Replace lower cabinet shelves with deep pull-out drawers fitted with adjustable wooden pegs to keep stacked plates and bowls secure and reachable.
- Mount Vertical Pan Dividers: Store baking sheets, cutting boards, and muffin tins vertically using tray dividers rather than stacking them horizontally.
- Use Roll-Out Shelf Inserts: Retrofit existing dark lower cabinets with aftermarket wire or wood roll-out drawers so you never have to crawl on your hands and knees to find a pot.
For professional guidelines on residential storage safety, cabinet load-bearing standards, and hardware durability, consult the Furniture Industry Research Association (FIRA).
7. Make Cooking Easier by Improving the Space Around Your Appliances
A layout may look great on paper, but if your kitchen appliance placement forces open doors to collide with walking paths or surrounding cabinets, your workflow breaks down.
Maintaining proper spatial clearance around major appliances prevents daily collisions and safety hazards.
Appliance clearance checklist:
- Check Refrigerator Door Swings: Ensure your refrigerator doors can open past 90 degrees so internal crisping drawers slide out fully without hitting adjacent walls.
- Protect Oven Landing Zones: Always maintain a heat-resistant landing counter right beside or directly opposite wall ovens so heavy hot roasts can be set down instantly.
For technical guidelines on appliance ventilation codes, electrical permit rules, and safety clearances, consult the International Code Council (ICC).
8. Improve Kitchen Lighting Where You Chop, Cook, and Clean
Working on a dark counter while casting a shadow over your own cutting board is frustrating and dangerous.
Relying solely on a single central ceiling fixture leaves your perimeter counters in pitch darkness. Building a high-performance kitchen task lighting plan requires layering light directly over key work surfaces.
   Layer 1: Ambient Ceiling Light ===> Dimmable Recessed Can Lights / Flush Mounts
   Layer 2: Task Counter Light   ===> Under-Cabinet LED Strips (2700K to 3000K)
   Layer 3: Accent / Island      ===> Low Pendant Lights over Central Islands
Lighting upgrades for maximum visibility:
- Install Under-Cabinet LED Strips: Mount warm, continuous LED tape lighting to the underside of upper cabinets. This floods your main prep counters with shadow-free task light.
- Use Dimmable Warm Bulbs: Choose LED bulbs strictly rated between 2700K and 3000K (Kelvin) with a High Color Rendering Index (CRI 90+). Warm, high-CRI light makes fresh food look vibrant and appealing.
- Position Direct Sink Overhead Lights: Install a dedicated recessed spotlight or pendant directly above your main sink basin to illuminate dishwashing and rinsing clearly.
For official technical standards on residential bulb efficiency, color rendering metrics, and lighting placement, consult the Illuminating Engineering Society (IES).
9. Make Kitchen Cleanup Faster With a Better Sink and Dishwasher Setup
Cooking a great meal is rewarding, but taking forty-five minutes to clean up afterward ruins the experience.
Streamlining your kitchen cleanup organization comes down to creating a tight, low-effort triangle between your sink basin, trash pull-out, and dishwasher.
   CLEANUP SEQUENCE:  [ Scrap Plates at Trash ] ---> [ Rinse at Sink ] ---> [ Load Dishwasher ]
                      (All 3 stations located within a single 36-inch physical span)
Rules for an efficient cleanup hub:
- Keep the Dishwasher Next to the Sink: Mount your dishwasher directly adjacent to your primary sink (within 36 inches center-to-center) to make plumbing hookups easy and eliminate dripping water across the floor during rinsing.
- Incorporate Dual Trash and Recycling: Place your trash pull-out cabinet directly to the left or right of the sink so you can scrape plates into the bin and slide them into the dishwasher in one continuous motion.
- Add a Roll-Up Drying Rack: Use a stainless steel roll-up drying rack that rests over your sink basin to dry large pots and cutting boards without taking up valuable counter space.
10. Create More Room to Move When Multiple People Use the Kitchen
In modern homes, the kitchen is no longer a single-cook room—it is a central social hub where family members gather, kids do homework, and partners cook together.
Managing kitchen traffic flow requires establishing wide primary walking corridors that bypass active cooking zones.
Circulation improvement rules:
- Keep the Fridge on the Outer Perimeter: Position your refrigerator at the outer edge of your kitchen layout. This allows family members to grab milk or snacks without walking past the cooktop or prep counter.
- Maintain 48-Inch Island Aisles: If your kitchen features a central island, ensure the walkway between the island and perimeter cabinets is at least 48 inches wide so open oven doors don't block traffic.
If you are updating open seating layouts alongside your kitchen work zones, read our guide on integrating open dining and living seating around active cooking zones.
11. Choose Kitchen Upgrades That Solve Real Problems Instead of Adding More Stuff
It is far too easy to fall for clever viral organizers, bulky single-use counter appliances, or trendy spice jars that look pretty online but add unnecessary maintenance to your life.
Selecting high-impact functional kitchen upgrades requires choosing tools that reduce physical effort.
- Countertop Paper Towel Stand
- Single-Use Egg Cookers
- Bulky Countertop Knife Block
- Under-Sink Pull-Out Trash & Recycling
- Continuous Under-Cabinet LED Lighting
- In-Drawer Wooden Knife Docking Block
Smart functional upgrades:
- Swap Knocks for In-Drawer Blocks: Clear counter clutter by moving your knives from a bulky countertop block to an angled wooden drawer insert.
- Install a Pull-Out Pantry: Replace deep, hard-to-reach pantry shelves with full-extension tall pull-out larder frames that expose all dry goods at once.
- Add Heavy-Duty Soft-Close Hardware: Replace cheap drawer slides with full-extension soft-close drawer runners rated to support 75+ pounds of heavy cast-iron cookware.
12. Test Your Kitchen Setup and Fine-Tune What Still Feels Awkward
Before buying new storage organizers, moving floating islands, or installing cabinet hardware, test your updated spatial arrangements in real-time.
A quick evaluation pass helps you catch workflow bottlenecks before making permanent changes.
  [ Step 1: Map Core Work Zones (Prep, Cook, Clean, Storage) ]
                                |
  [ Step 2: Clear Main 36" Prep Counter Span Completely ]
                                |
  [ Step 3: Relocate Spices & Oils to Cooktop Range Zone ]
                                |
  [ Step 4: Test Real Cooking Workflow Over 7 Days ]
                                |
  [ Step 5: Fine-Tune Storage Placement with Total Confidence ]
Follow this 4-step usability testing routine:
- Run the "Single-Meal Test": Prepare a complete dinner from start to finish. Take note of every moment you had to search for a tool, backtrack across the room, or move an obstacle out of your way.
- Audit Your Counter Surfaces: If a small appliance hasn't been used in the past seven days, move it off your primary prep counters and store it inside a lower cabinet or pantry.
- Preview Layout Changes Digitally: Test layout ideas, work triangles, and storage placements virtually to visualize how your kitchen will function before spending a single dollar on materials.
Visualize Your Complete Kitchen Layout Today
Why struggle with awkward spatial layouts, inconvenient appliance placements, or wonder if your new kitchen arrangement will actually make cooking easier?
Designing a high-performance culinary space should be an exciting, enjoyable experience. Building a kitchen that improves your daily workflow doesn't require hiring expensive architects, spending thousands on design fees, or struggling with complicated CAD software.
With DesignHome, you don't need to learn steep technical tools or manage complex design steps. You can simply upload a picture or floor plan of your room to test layout ideas, experiment with work zones, check appliance clearances, and unlock custom spatial possibilities tailored to your exact floor plan.
Eliminate spatial guesswork—visualize, refine, and bring your complete functional kitchen vision to life with total confidence using DesignHome today!
External Resources & Industry Standards
To explore deeper technical insights into home space planning, trade safety, and building codes, consult these authoritative industry resources:
- National Kitchen & Bath Association (NKBA) – Official guidelines for kitchen planning standards, ergonomic work triangle rules, and spatial clearances.
- International Code Council (ICC) – Residential building codes, electrical permit guidelines, and plumbing installation safety standards.
- Illuminating Engineering Society (IES) – Residential lighting standards, bulb warmth ratings, and task lighting guidelines.
- Furniture Industry Research Association (FIRA) – Comprehensive standards for cabinet durability, drawer load testing, and hardware safety.
- National Fire Protection Association (NFPA) – Residential kitchen fire safety codes, stove ventilation clearances, and electrical circuit standards.
Frequently Asked Questions About Making a Kitchen More Functional
How can I make a small kitchen more functional without replacing cabinets?
Focus on optimizing your existing space: clear small appliances off your primary prep counter, install under-cabinet LED strip lights, add full-extension roll-out drawers inside lower cabinets, use an over-the-sink cutting board, and store spices directly beside the stove using a magnetic rack or drawer insert.
What is the most important area to clear in a kitchen for better workflow?
The most critical area to clear is your primary prep counter—specifically the 36-inch continuous counter span located directly between your main sink and cooktop. Keeping this hero surface free of small appliances, mail, and clutter makes chopping, prepping, and cooking significantly faster and safer.
How far should the trash bin be from the kitchen sink?
Your primary trash and recycling pull-out bin should be located directly adjacent to your main prep sink (or under it). This allows you to scrape plate waste and vegetable peelings into the bin and rinse dishes in a single continuous motion without dripping water across the floor.
What color temperature light is best for kitchen task counters?
Choose warm-to-neutral LED lighting strictly rated between 2700K and 3000K (Kelvin) with a High Color Rendering Index (CRI 90+). This color temperature provides crisp, clear visibility for chopping and reading recipes while making fresh food look natural and appetizing.
How much space do you need between a kitchen island and counters?
Maintain a walkway clearance of at least 42 inches for single-cook kitchens or 48 inches for multi-cook households. This clearance ensures you can open dishwasher, oven, and refrigerator doors fully while allowing another person to walk past safely.
Where is the best place to store everyday pots and pans?
Store everyday pots, pans, and lids in deep drawers located directly beneath or adjacent to your stovetop range. Storing cookware at the cooking station eliminates the need to carry heavy pots across the room and keeps lids organized at the point of use.


