

You step through your front door, take off your coat, and look around your living room. The layout feels heavy, the lighting casts a dull yellow glare across the floor, the cabinet doors look dated, and the walls feel flat.
Your immediate thought? "We need to knock down a wall, gut the kitchen, and hire a contractor."
Then you remember the reality: months of construction dust, permits, noise, and tens of thousands of dollars vanishing from your bank account.
Here is the truth: you do not need to swing a sledgehammer to make your home feel brand new.
Most homes don't have a structural problem—they have a visual, surface, and layout problem. By making smart surface updates, improving lighting, refreshing hardware, and re-anchoring your furniture, you can modernize your space without moving a single interior wall or pipe. Here is how to update a house without changing the layout.
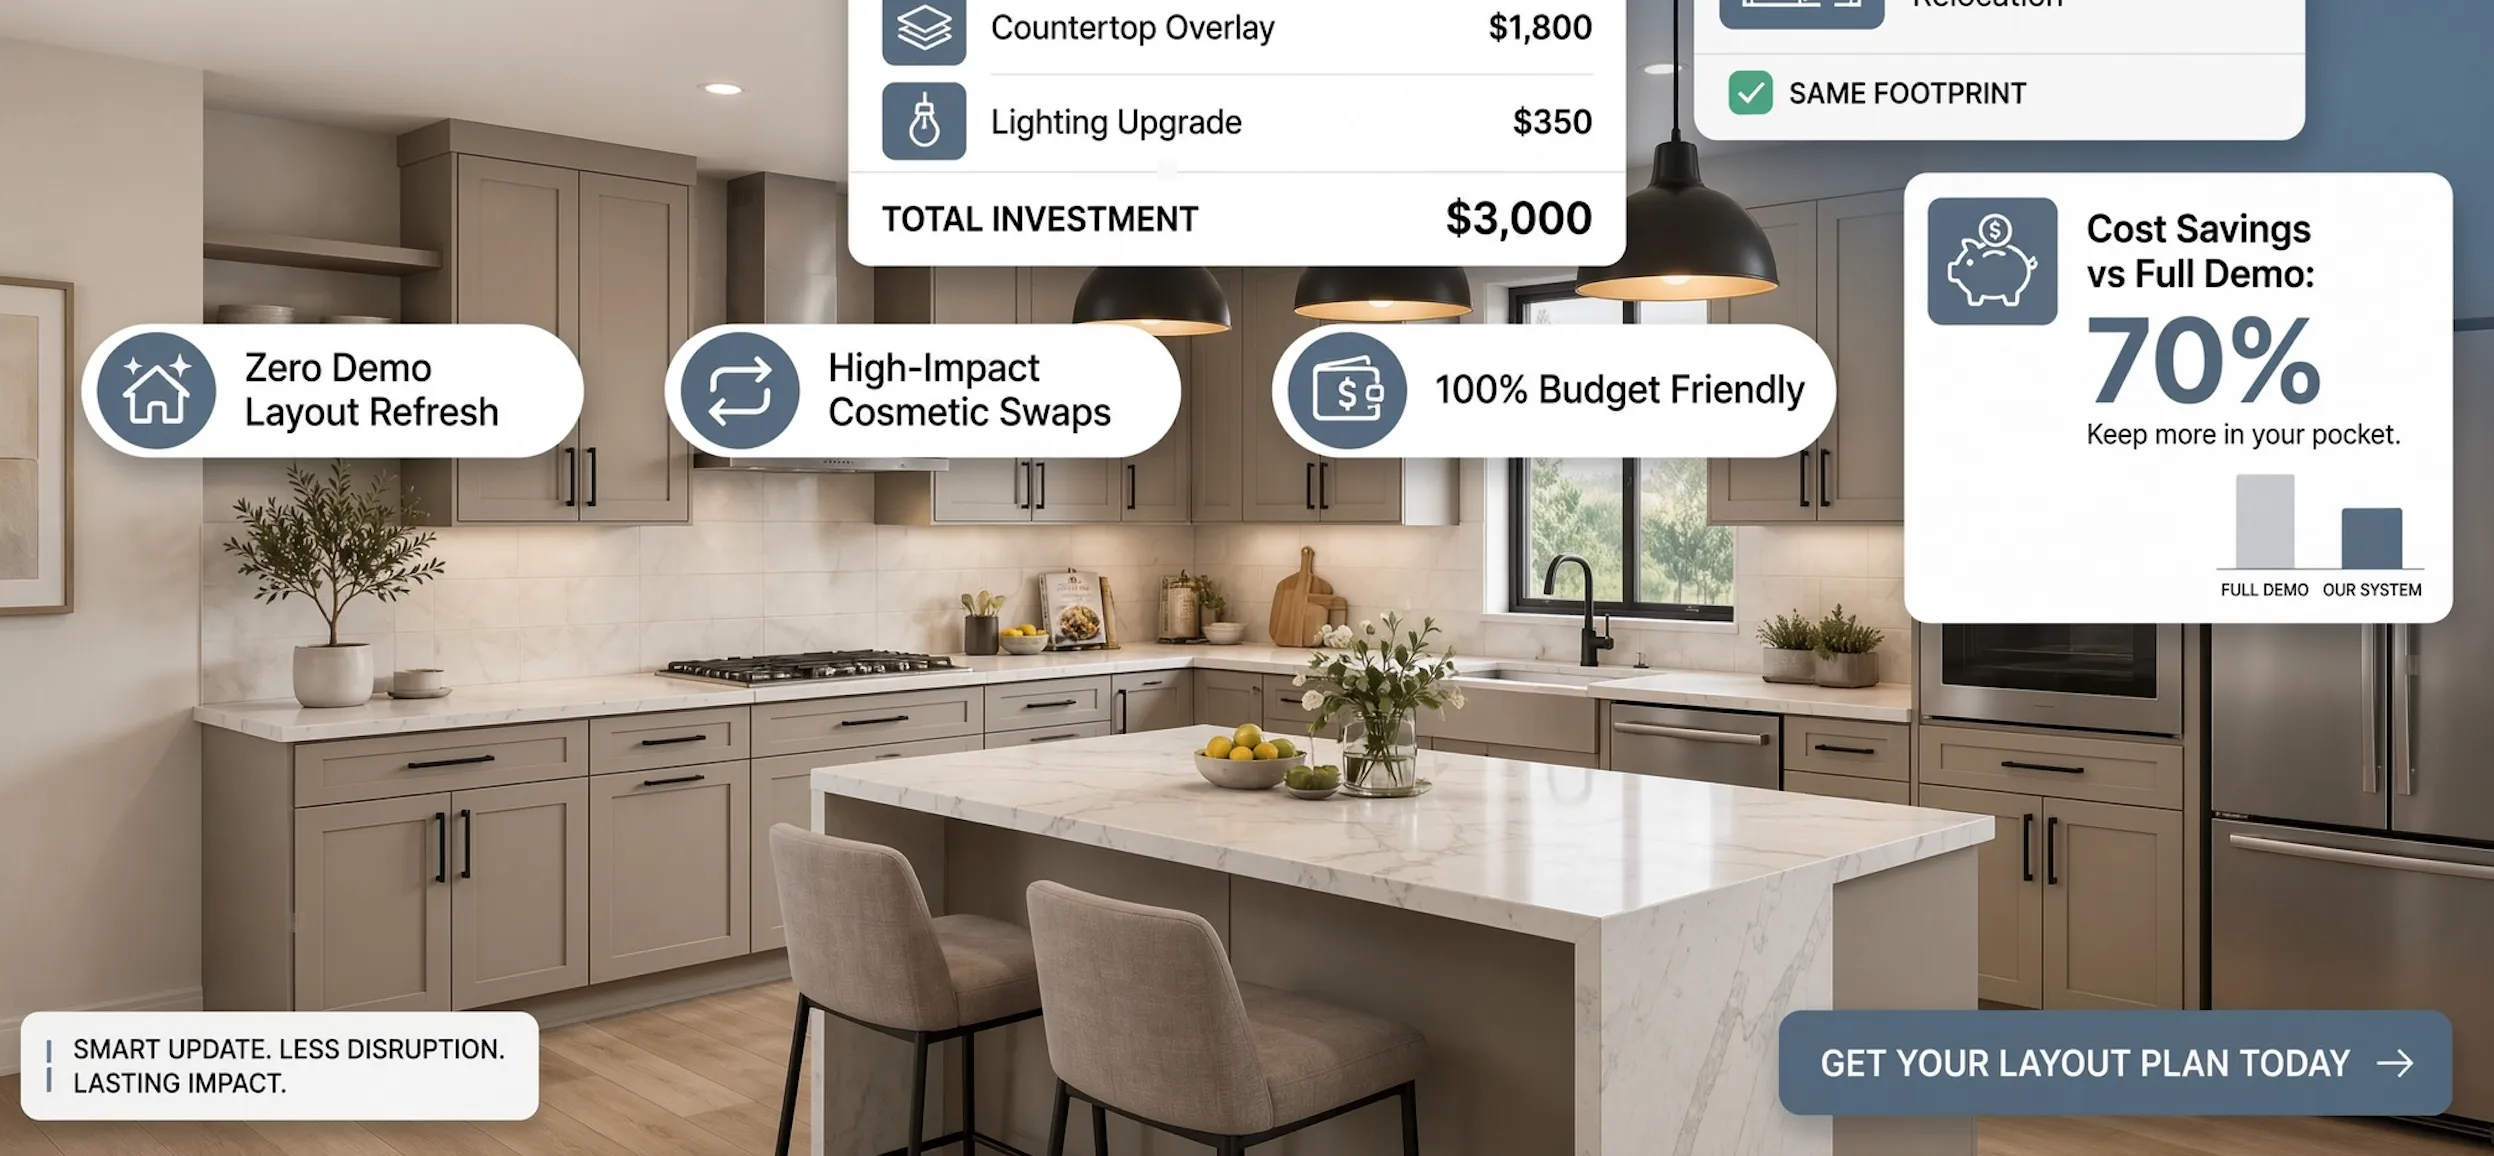
1. Decide What Feels Outdated Before You Spend Money
The fastest way to waste money during a home refresh is buying random throw pillows, paint cans, and light fixtures before diagnosing what is actually dragging your home down.
Before spending a single dollar, take a notebook and walk through every room during peak daylight, then again after dark.
[ Structural / Repair Issues ] ======> Leaks, Broken Tile, Cracked Drywall
                                        (Requires Fix First)

[ Cosmetic / Surface Wear ]   ======> Yellowed Paint, Dated Handles, Heavy Drapes
                                        (Easy High-Impact Updates)
Separate your list into two distinct categories:
- Essential Repairs: Water damage, cracked tiles, worn-out door hinges, or flickering switches. Fix these safety and structural issues first.
- Cosmetic Upgrades: Yellowed wall paint, dark wood cabinets, outdated brass handles, and heavy, light-blocking curtains.
Identifying exact visual friction points prevents impulsive purchases and ensures your budget goes directly where it makes the biggest difference.
2. Rearrange Your Existing Furniture Before Buying Anything
Before you browse online for a new sofa or dining set, look closely at the furniture you already own.
An awkward, crowded layout makes even the most expensive home feel cramped and outdated. Simply shifting how your furniture sits on the floor can completely transform how a room functions—for zero dollars.
------------------------
[ Entry ] ===> [ Sofa Back ]
[ Table ] ===> ( Squeezes Door )
----------------
[ Entry ] ===> ( Clear 36" Runway )
[ Sofa ]  ===> ( Anchored to Wall )
Try these immediate zero-cost layout tweaks:
- 1. Pull Furniture Away from Walls: Stop pushing every couch flat against the drywall. Floating your main sofa 6 to 12 inches off the wall creates an instant, airy conversation circle.
- 2. Clear Main Walking Runways: Ensure a 36-inch path runs unobstructed from your entryway through to adjoining rooms and patio doors.
- 3. Remove Visual Clutter: Move secondary side tables, extra plant stands, and bulky accent chairs out of tight corners to let your floor plan breathe.
If you are trying to optimize seating around entry points, read our practical guide on how to arrange furniture in open layouts to balance walking paths with cozy conversation zones.
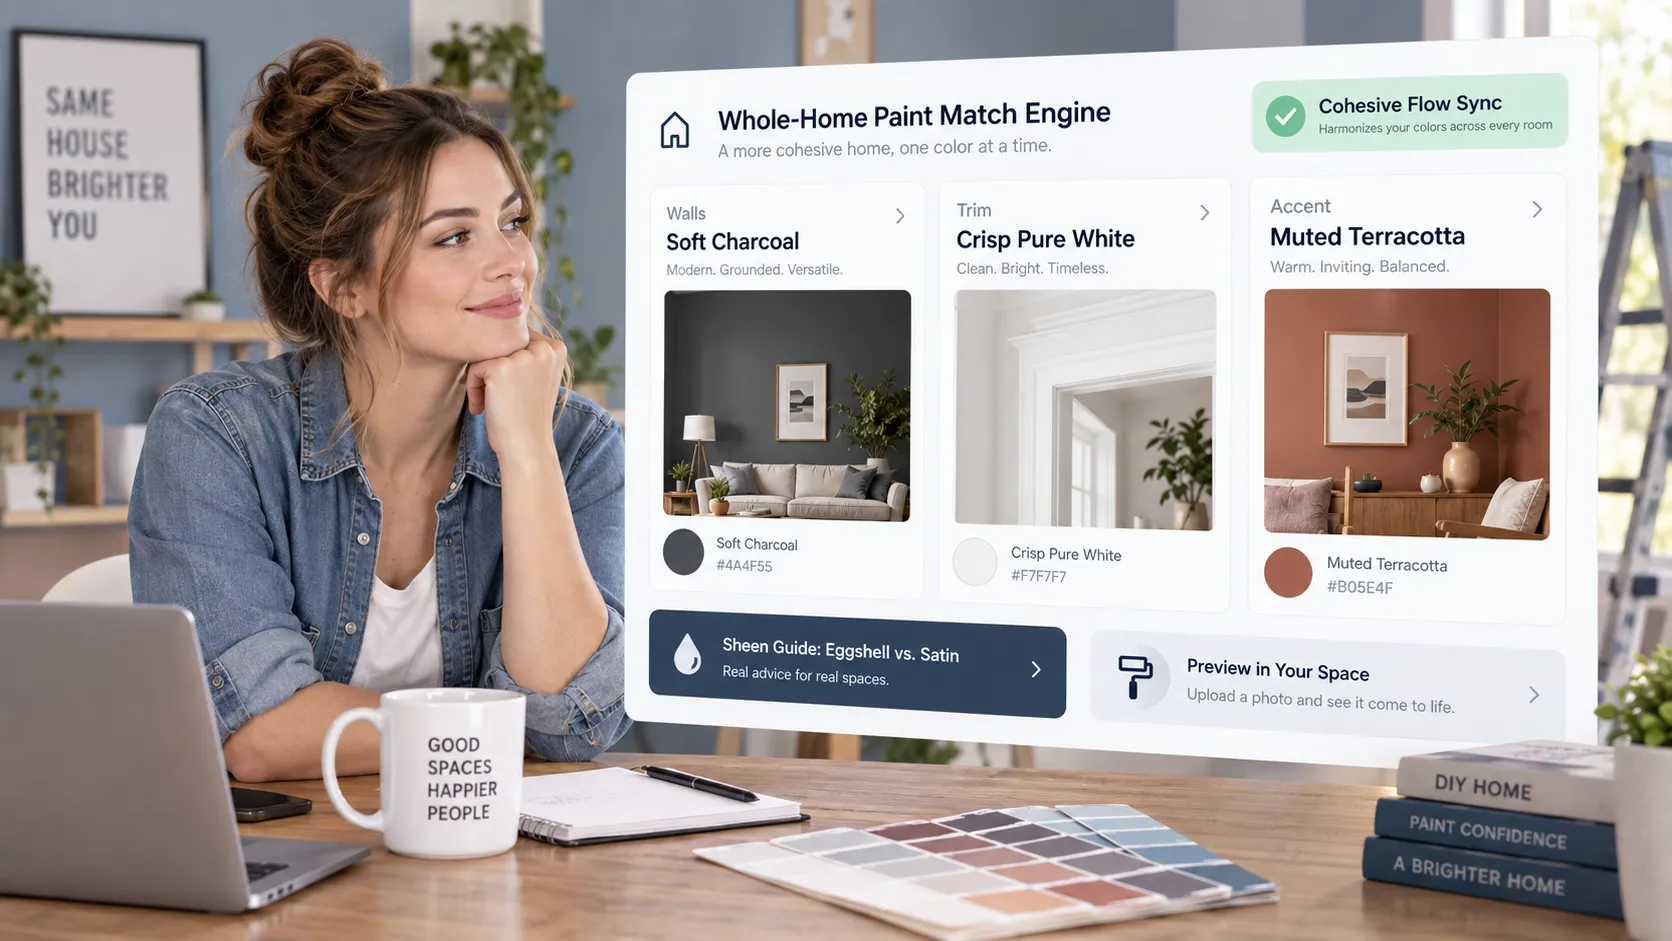
3. Choose a Paint Colour That Makes the Whole House Feel Connected
If every room in your house is painted a completely different shade—a red dining room, a sage kitchen, a yellow hallway—your interior will feel choppy, visual smaller, and dated.
To modernize an old house interior, create a cohesive, whole-house color scheme that links adjoining rooms together effortlessly.
Follow these color connection rules:
- - Stick to One Main Neutral: Use a single, warm off-white or soft greige across main hallways, entryways, and open living spaces to maximize light flow.
- - Keep Trim and Doors Consistent: Paint all trim, baseboards, and door frames in the same crisp white or subtle contrasting greige throughout the whole house.
- - Check Undertones Under Real Light: Always test paint swatches on vertical walls under morning sun and evening lamps before buying gallons of paint.
If you are picking paint shades for spaces with shifting natural sun, read our guide on comparing paint colors in different light to avoid unexpected pink or yellow undertones.
4. Update Lighting to Change How Each Room Feels
Old houses are infamous for having a single, dim ceiling fixture stuck in the exact center of every room, casting harsh shadows into every corner.
Upgrading your lighting setup is one of the highest-impact ways to modernize an old home without structural changes.
   Single Flush Mount (Flat, Dim, Yellow Glare)
                         |
                         v (Replace with Layered Scheme)
                         |
   [ Warm Floor Lamps ] + [ Eye-Level Table Lamps ] + [ Under-Cabinet LED Strips ]
   (Eye-level warmth)     (Cozy conversational glow)  (Task light for counters)
Build a balanced 3-tier lighting scheme:
- - Ambient Overhead Fixtures: Replace outdated builder-grade "boob lights" with sleek, flush-mount drums or modern semi-flush chandeliers.
- - Eye-Level Task Lighting: Place warm table lamps on sideboards and an adjustable floor lamp next to your primary reading armchair.
- - Under-Cabinet LED Task Strips: Stick inexpensive, warm LED light strips under kitchen upper cabinets to illuminate dark countertops instantly.
For technical guidelines on home lighting standards, bulb brightness, and color rendering ratings, consult the Illuminating Engineering Society (IES).
5. Refresh Cabinets, Handles, Taps, and Other Visible Fittings
You do not need to spend tens of thousands of dollars replacing solid wood kitchen cabinets or bathroom vanities just because their surface finish looks tired.
Replacing worn hardware and fixtures is a simple weekend DIY project that delivers massive visual impact for a fraction of the cost.
High-impact hardware updates:
- 1. Swap Cabinet Handles and Knobs: Replace dated 1990s brass scroll handles with modern matte black, oil-rubbed bronze, or brushed nickel pulls.
- 2. Upgrade Faucets and Taps: Install sleek, high-arch gooseneck mixers in the kitchen and bathrooms to instantly modernize sinks.
- 3. Replace Switch Plates and Outlets: Swap old, discolored yellow light switches for modern, clean white flat-panel Decora switches.
6. Make Old Floors and Doors Look Better Without Changing Their Positions
Replacing hard surface flooring throughout an entire house is expensive, messy, and time-consuming.
Fortunately, you can dramatically refresh old floors and interior doors without ripping up a single floorboard or removing door frames.
[ Worn Hardwood Floors ]  ===> Deep Clean + Screen & Recoat (Restores Sheen)
[ Outdated Hollow Doors ] ===> Paint Charcoal + Install Sleek Black Lever Handles
[ Dated Tile / Vinyl ]    ===> Cover with Large High-Traffic Area Rugs
Try these cost-effective surface treatments:
- - Screen and Recoat Hardwood: If your hardwood floors are dull but structurally sound, hire a professional to screen and recoat them. This clears surface scuffs and restores rich sheen without deep sanding.
- - Paint Interior Doors a Contrast Shade: Paint plain flat-panel doors a sophisticated deep charcoal or navy shade, and swap old round brass knobs for modern lever handles.
- - Layer Large Area Rugs: Cover worn laminate or dated tile with large, textured wool or washable flatweave rugs to anchor your seating areas.
7. Update Walls With Art, Mirrors, Textures, and Simple Treatments
Blank, plain walls or outdated floral wallpaper can make an entire home feel neglected.
Adding focal points, reflective surfaces, and subtle wall textures breathes energy into every room without altering structural walls.
   BLANK WALL:   [ Empty Flat Drywall ] (Feels cold and unfinished)
   UPDATED WALL: [ Oversized Canvas Art ] + [ Accent Sconces ] + [ Large Floor Mirror ]
Low-cost wall updates:
- - Hang Oversized Fine Art: Swap small, scattered picture frames for one or two large, oversized framed canvas prints to create a striking visual anchor.
- - Place Floor Mirrors Strategically: Lean a tall, arch-topped floor mirror against a wall opposite a main window to bounce natural sunlight deep into dark corners.
- - Add Vertical Board-and-Batten Millwork: Install simple MDF wood slats vertically across an accent wall and paint them the same shade as the wall for timeless architectural texture.
If you are exploring wall art setups for tight spaces, check out our guide on decorating living room walls without a TV to balance gallery layouts and mirrors.
8. Replace Tired Curtains, Rugs, and Soft Furnishings
Old, heavy valances, yellowed plastic blinds, and worn-out throw rugs act like dust magnets that instantly age a room.
Textiles are the sensory skin of your home. Replacing stiff, dated fabrics with soft, natural textures makes every room feel curated and cozy.
Textile upgrade strategy:
- 1. Mount Curtain Rods Near the Ceiling: Hang slender curtain rods 4 to 6 inches above your window frames and extend linen drapes all the way to the floor. This simple trick tricks the eye into seeing taller ceilings.
- 2. Size Your Rugs Correctly: Ensure area rugs are large enough that all front legs of your furniture sit on top.
- 3. Layer Natural Fabrics: Combine washed linen, chunky wool, and velvet throw blankets across your seating to add cozy warmth.
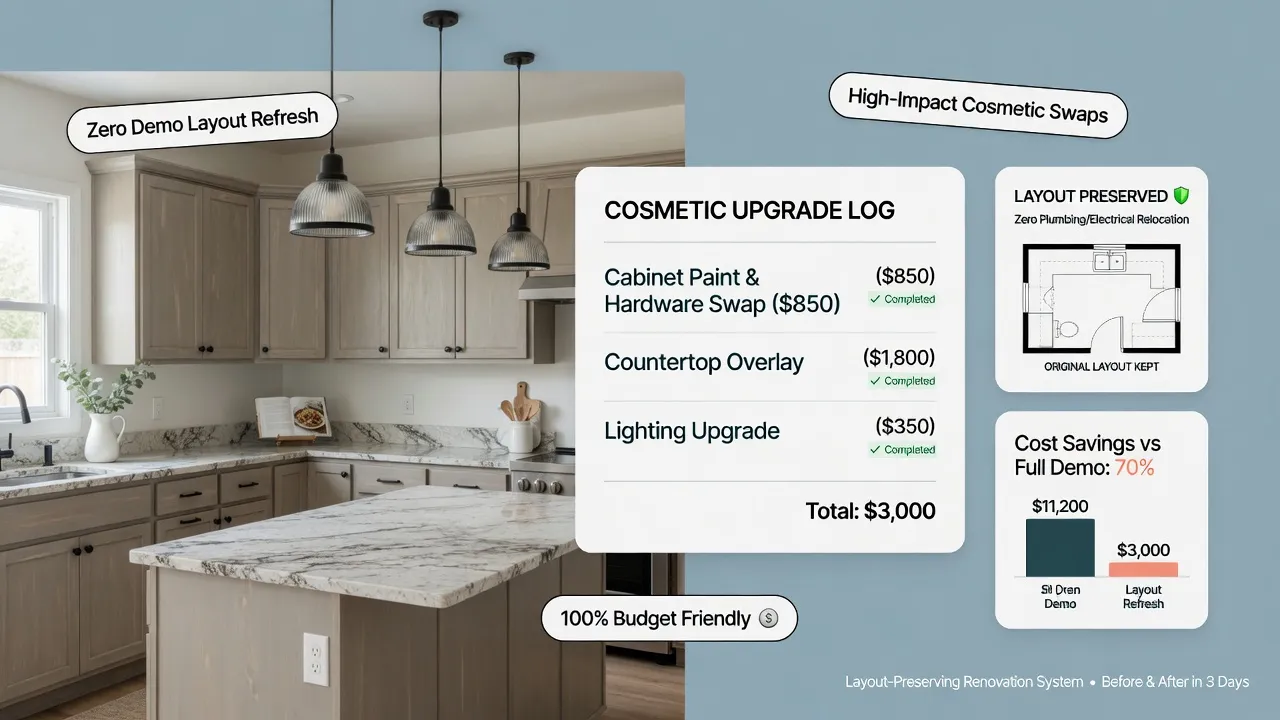
9. Make an Old Kitchen Look Modern Without Moving Cabinets or Plumbing
You do not need to tear out kitchen walls or relocate plumbing lines to build a stunning, modern kitchen.
Moving gas lines, sink drains, and electrical conduits accounts for up to 50% of a traditional kitchen remodel budget. Leaving plumbing and appliances right where they sit frees up your budget for high-impact cosmetic updates.
[ Keep Existing Layout & Plumbing ]
                 |
                 +---> Paint Cabinets (Two-Tone: Light Upper, Dark Lower)
                 +---> Add Peel-and-Stick or Ceramic Subway Tile Backsplash
                 +---> Install Under-Cabinet LED Lighting
                 +---> Swap Faucet & Cabinet Pulls for Matte Black
                 |
                 v
[ Fresh, Modernized Kitchen at a Fraction of the Cost ]
Targeted kitchen modernization steps:
- - Repaint Cabinet Fronts: Sand and paint existing solid wood cabinets. Use a two-tone scheme: crisp off-white for upper cabinets to keep the room bright, and deep navy or sage green for lower cabinets.
- - Add a Fresh Subway Tile Backsplash: Install classic white ceramic subway tile or peel-and-stick composite tile directly over old drywall or outdated laminate backsplashes.
- - Update Kitchen Lighting: Swap single central fluorescent boxes for sleek pendant lights over island counters or dining tables.
10. Refresh a Bathroom Without Changing the Plumbing Layout
Bathroom remodels are notoriously expensive, but shifting toilets, showers, and vanity plumbing lines is where costs spiral out of control.
If your tub, shower, and toilet are structurally sound and leak-free, keep them right where they are and focus entirely on surface aesthetics.
Cosmetic bathroom updates:
- - Frame or Replace the Main Mirror: Replace basic builder-grade plate glass mirrors with a sleek, black-framed arch or oval vanity mirror.
- - Refresh Grout and Caulk: Scrub discolored grout lines with a white grout pen, and apply fresh, mildew-resistant white silicone caulk around tubs and sinks to instantly eliminate a dirty, aged look.
- - Upgrade Bath Hardware: Replace old chrome towel bars, toilet paper holders, and robe hooks with matching matte black or brushed brass hardware sets.
For official home plumbing maintenance guides, leak prevention standards, and fixture installation safety, consult the International Code Council (ICC).
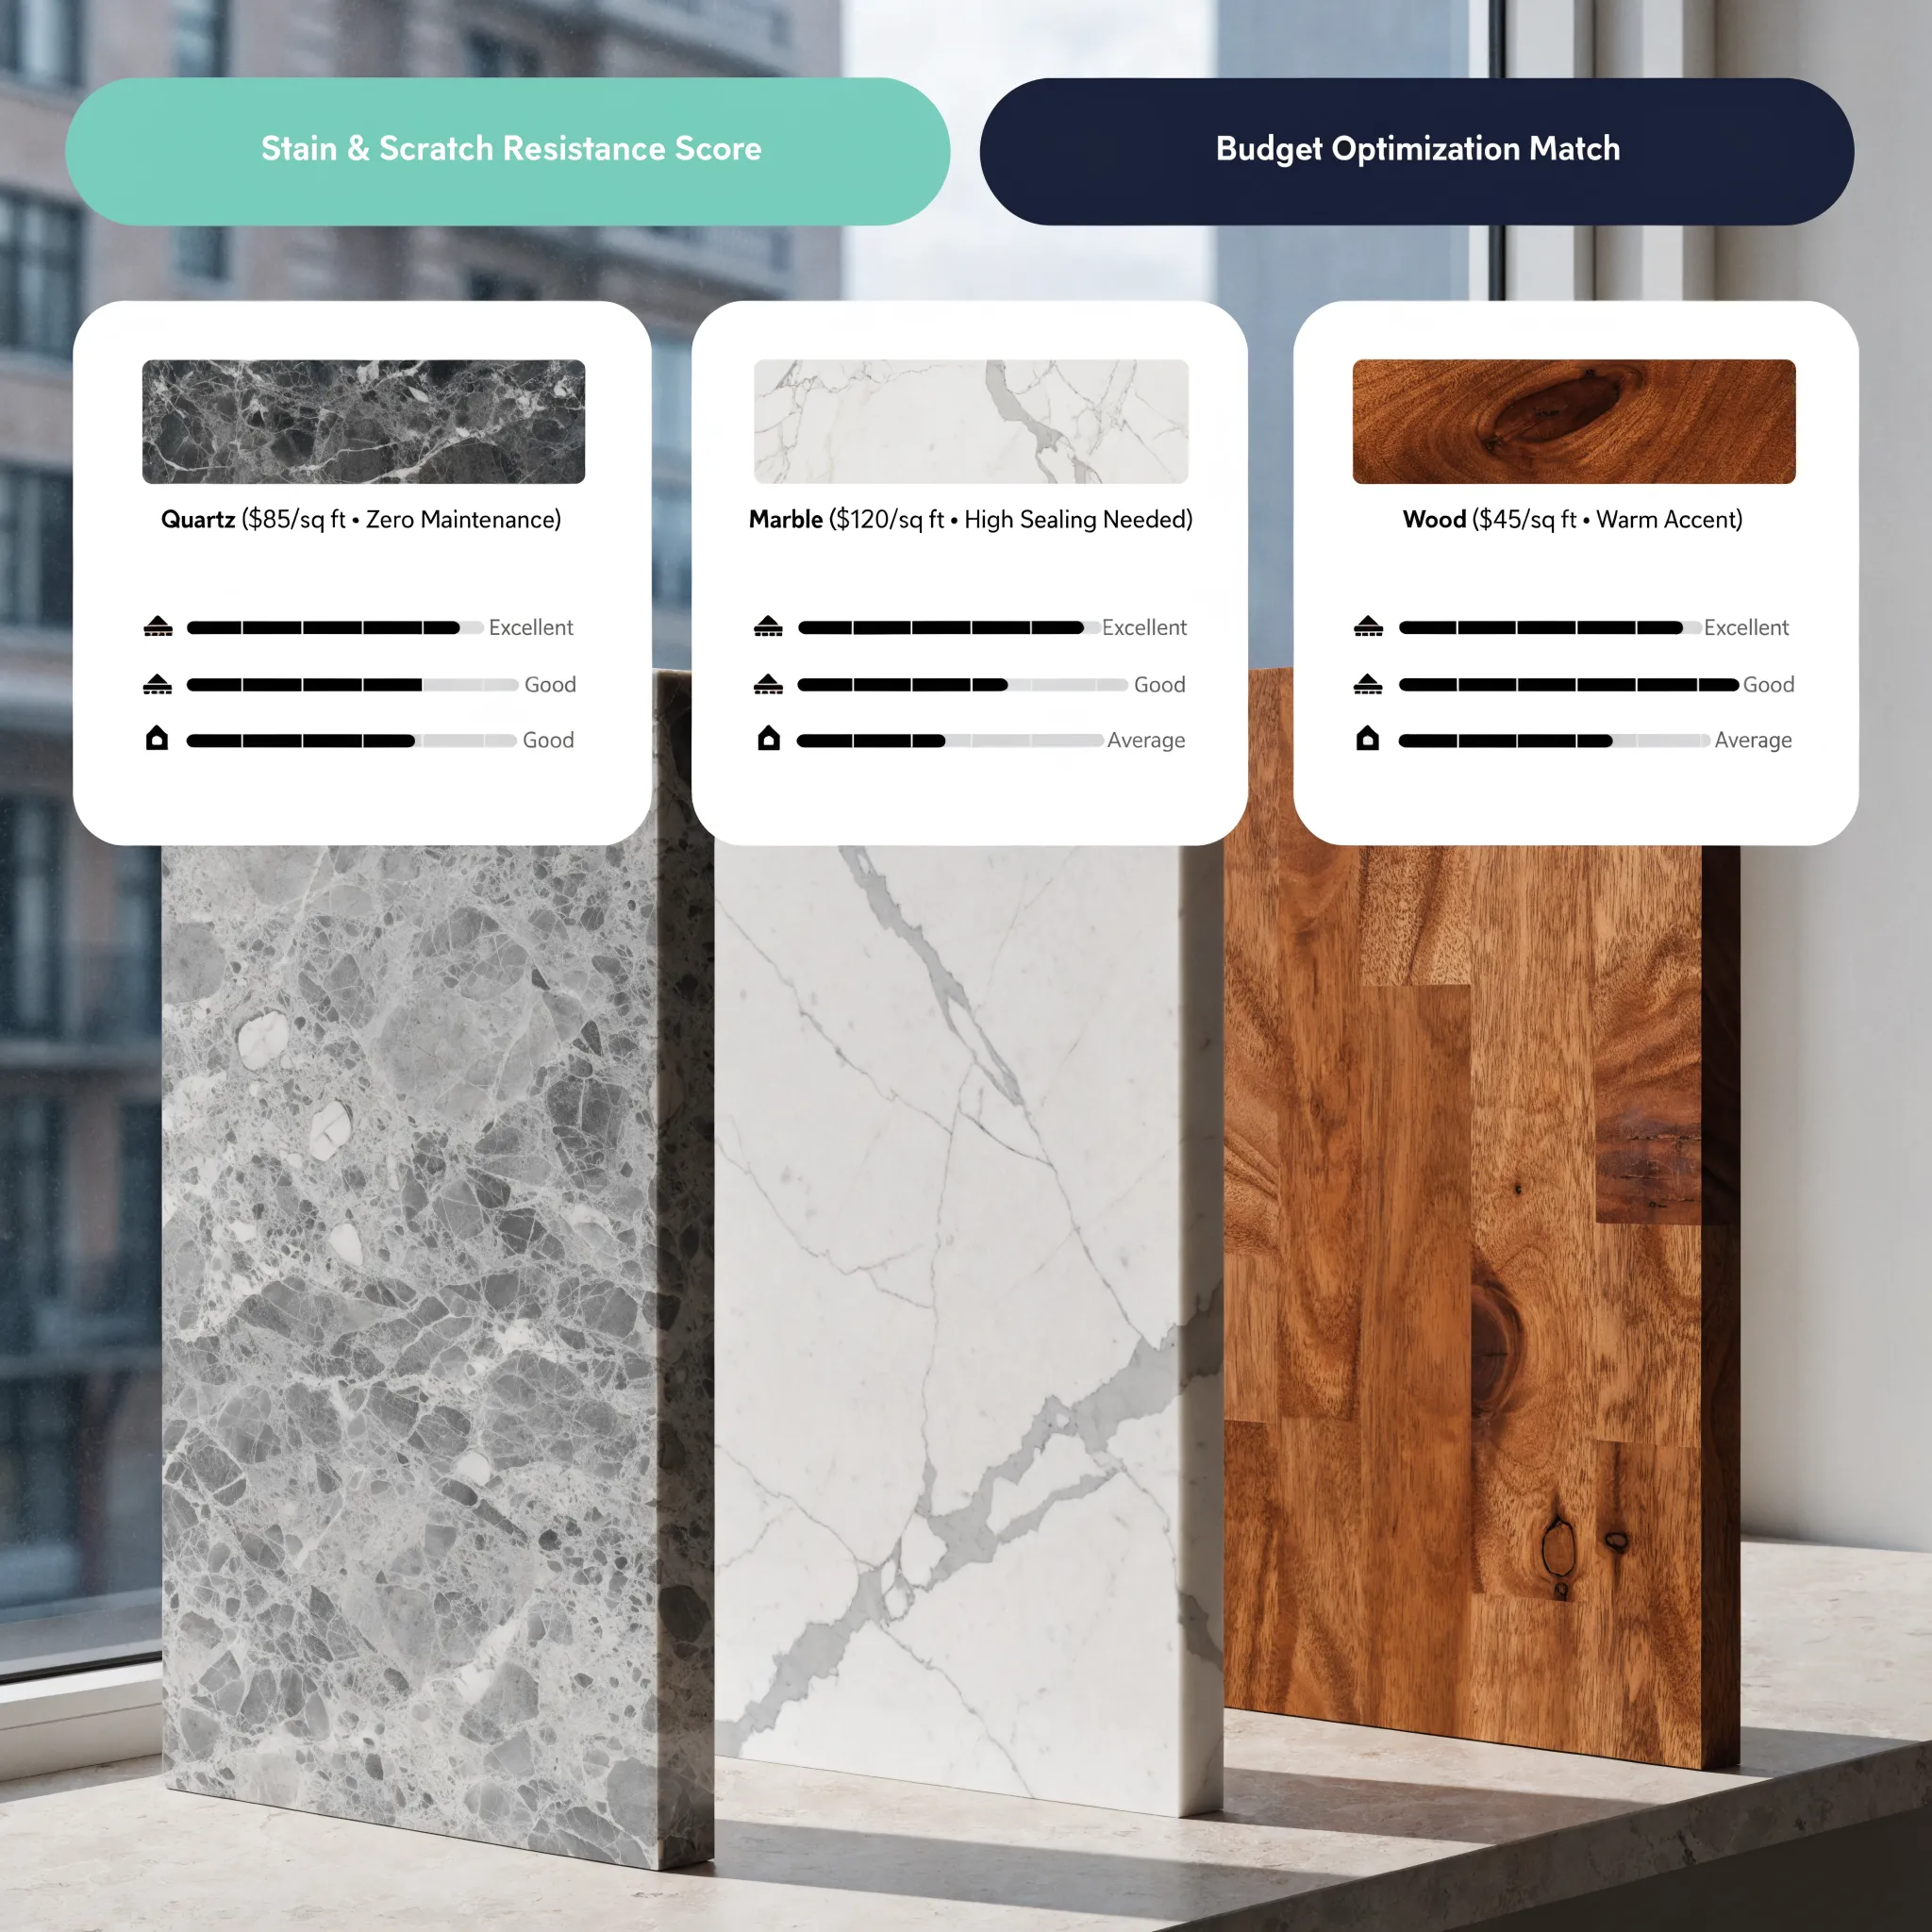
11. Make Small Rooms Feel Brighter Without Moving Walls
If your home feels small, dark, and cramped, your instinct might be to knock down a wall to create an open concept.
However, knocking down walls often compromises load-bearing support, ruins acoustic privacy, and costs a fortune. You can make a room feel significantly larger simply by maximizing daylight access and eliminating visual clutter.
   CRAMPED & DARK:  [ Low Furniture ] + [ Heavy Drapes ] + [ Dark Rug ] = Tunnel Effect
   BRIGHT & AIRY:   [ Leggy Furniture ] + [ Sheer Linen ] + [ Mirror ]  = Spatial Expansion
Brighten small spaces naturally:
- 1. Remove Light-Blocking Blinds: Replace heavy, dark wooden blinds with sheer linen curtains or light-filtering roller shades that let natural daylight stream in.
- 2. Use Leggy Furniture: Pick couches, armchairs, and credenzas raised on slender legs so floor space remains visible underneath.
- 3. Paint Baseboards and Trim Match Wall Colors: Painting baseboards, walls, and trim in the same color (or slightly different sheens) erases harsh boundary lines, making walls look taller.
If you are choosing paint finishes for compact spaces, read our guide on paint colors for small rooms to bounce daylight into dark corners.
12. Give Every Room a Fresh Look Without Making the House Feel Mismatched
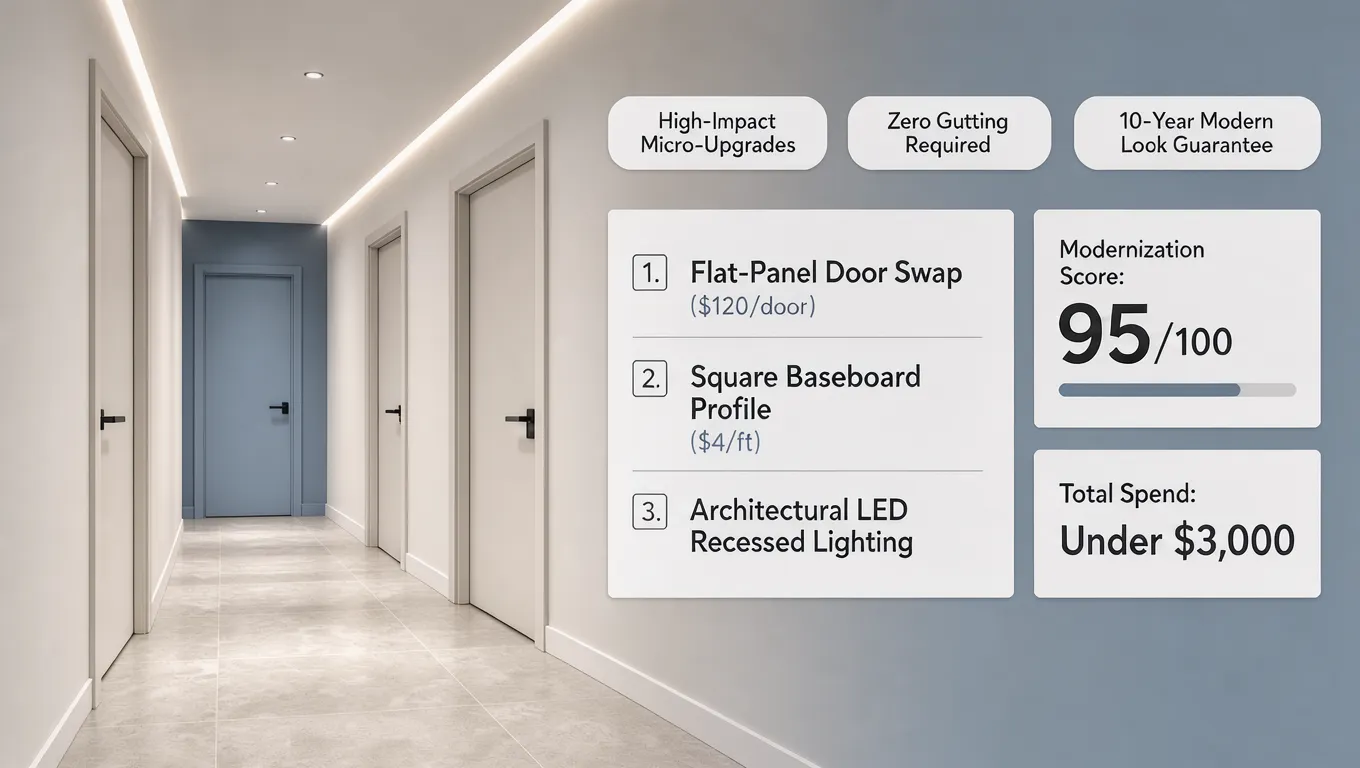
A common trap when updating a home room-by-room is treating every space like an isolated decorating project.
When your living room is industrial modern, your kitchen is rustic farm, and your bedroom is boho chic, walking through your home feels jarring and chaotic.
   Unified Home Thread:
   [ Matte Black Metal Hardware ] + [ Warm Oak Wood Tones ] + [ Soft Greige Walls ]
                  |                               |                             |
                  v                               v                             v
   Applied in Kitchen               Applied in Living Room        Applied in Primary Bath
Maintain cohesive design identity across all rooms:
- - Establish a "Common Thread" Material Palette: Pick two core metal finishes (e.g., matte black and brushed brass) and one primary wood tone (e.g., natural oak) and repeat them across every room.
- - Keep Door Hardware Uniform: Install identical door handles, hinges, and stop plates throughout all hallways and bedrooms.
- - Repeat Window Treatment Styles: Use the same curtain rod finishes and drapery styles across all street-facing windows for clean curb appeal and internal harmony.
13. Decide Which Upgrades Are Worth Paying For
When planning home updates on a budget, knowing where to spend money—and where to save—keeps your project financially healthy.
Prioritize spending on foundational items you touch every single day, while saving on decorative accessories that can easily be updated over time.
   INVEST HERE (High Touch & Durability)
   -------------------------------------
1. High-Touch Hardware (Faucets, Handles, Switches)
2. Core Seating Comfort (Sofa, Primary Bed)
3. Quality Paint (Washable Eggshell Finishes)

   SAVE HERE (Decorative & Trendy)
   -------------------------------
4. Throw Pillows, Blankets & Table Linens
5. Decorative Wall Art & Accent Mirrors
6. Temporary Rugs & Window Drapes
Smart budget allocation guide:
- - Invest 40% in High-Touch Surface Quality: Spend on high-quality washable paint, durable stain-resistant performance upholstery, and solid metal faucets.
- - Invest 30% in Lighting Fixtures: Allocate funds to stylish, high-CRI lighting fixtures and dimmers that establish ambient warmth.
- - Save 30% on Decor Accents: Buy decorative throw pillows, vases, and accent frames from budget-friendly retailers or thrift stores.
For broader advice on prioritizing home improvement spending and contractor estimates, review our guide on how to compare home renovation quotes.
14. Plan the Changes Before Buying Paint, Furniture, or Fixtures
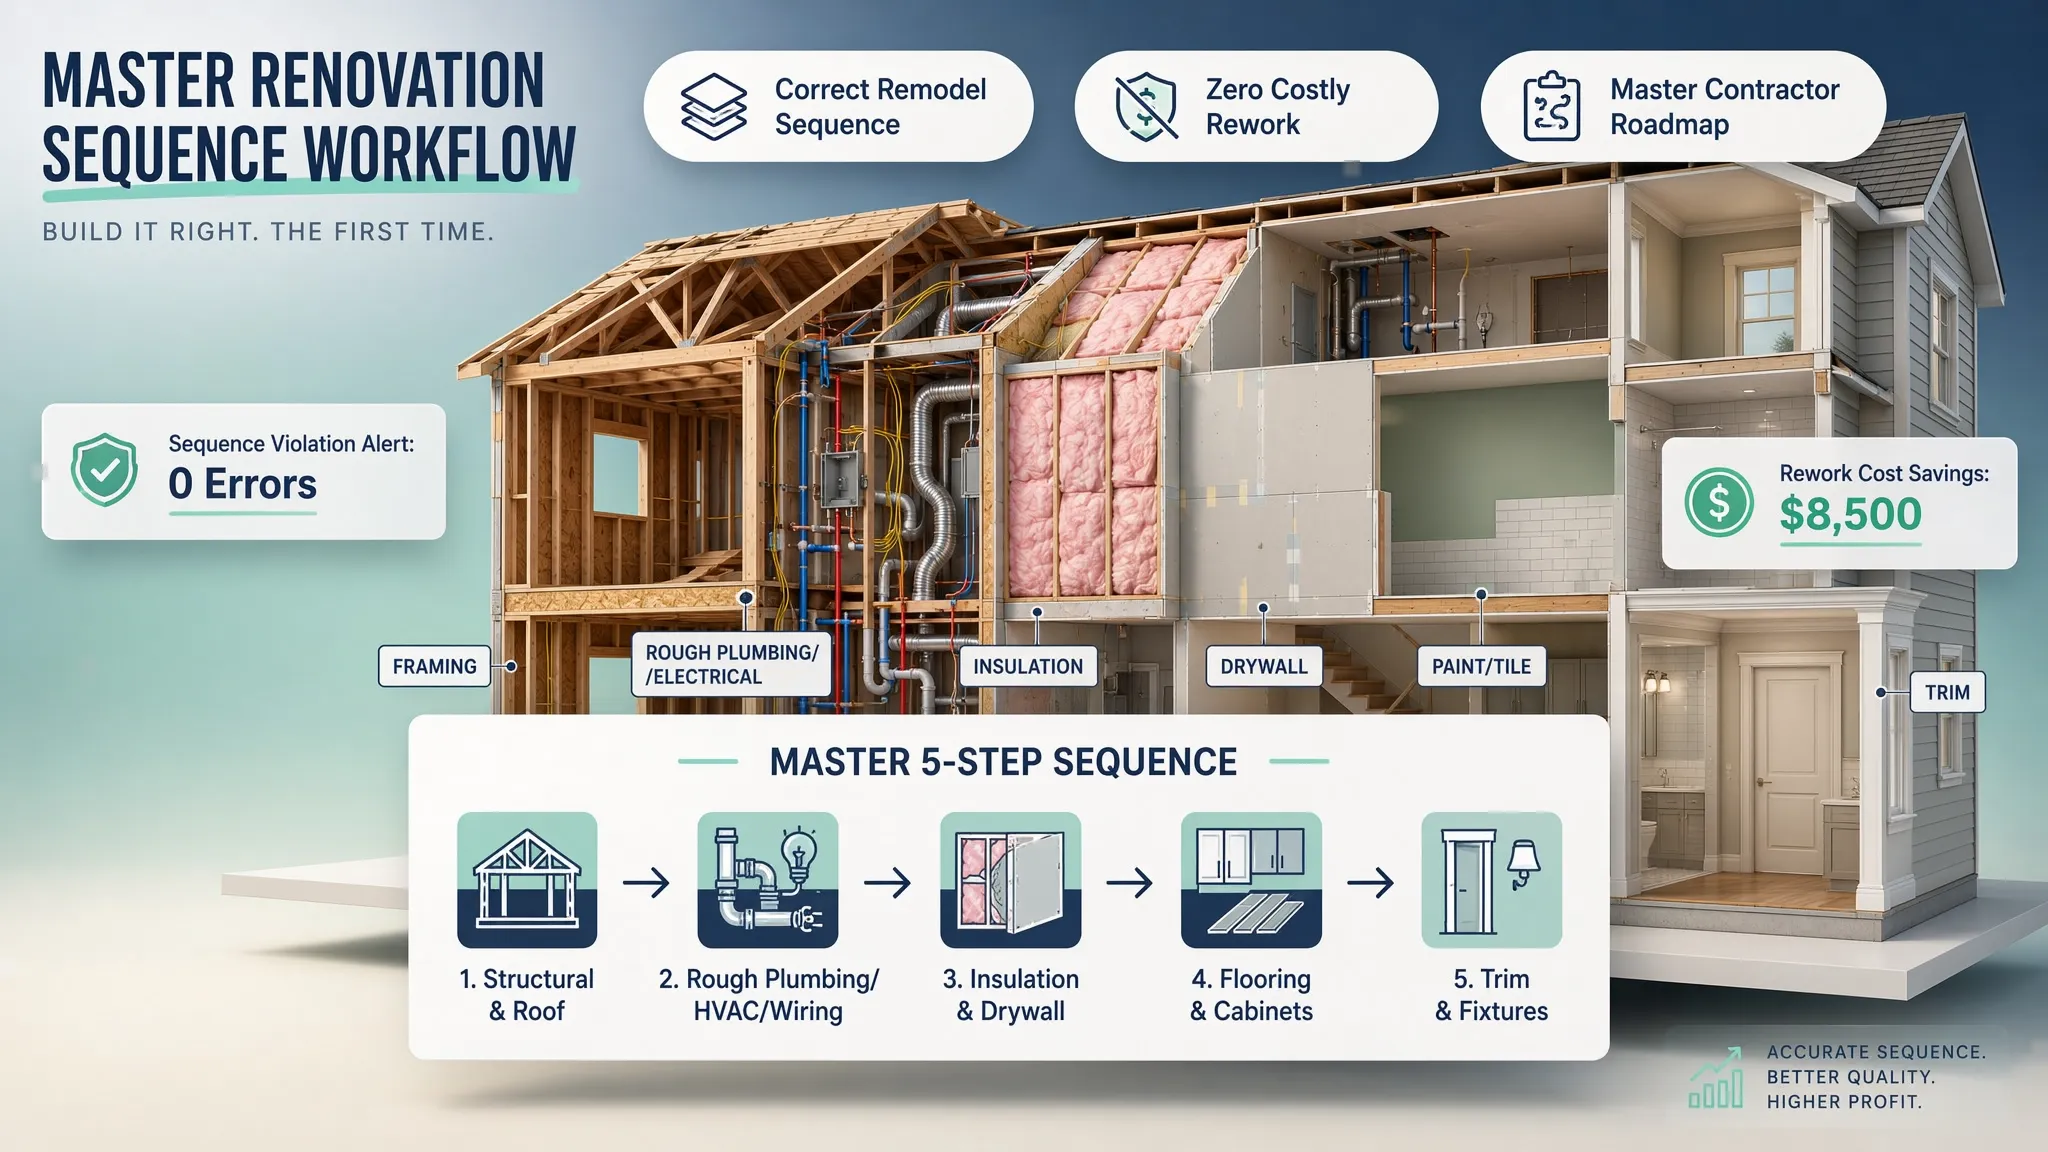
The biggest mistake homeowners make when updating their interior is buying furniture and paint on a whim, only to realize the couch is too big, the paint looks purple under lamps, or the hardware doesn't fit existing cabinet drill holes.
To prevent costly returns and buyer's remorse, test your design choices digitally before spending money on physical materials.
  [ Step 1: Measure Wall Clearance & Door Widths ]
                         |
  [ Step 2: Establish Whole-House Palette & Finish Rules ]
                         |
  [ Step 3: Test Layouts, Furniture & Colors Digital Software ]
                         |
  [ Step 4: Order Physical Paint Samples & Hardware ]
                         |
  [ Step 5: Execute Room-by-Room Upgrades with Confidence ]
Follow this risk-reduction planning order:
- 1. Measure Room Dimensions Accurately: Measure total wall lengths, window frames, and door clearance gaps before shopping.
- 2. Order Hardware Samples: Buy a single cabinet handle and test it against your drawer drill holes before buying a 25-pack.
- 3. Visualize Full Layouts Digitally: Use room design software to test furniture footprints, preview paint colors, and check walking traffic paths before purchasing.
15. Use This Room-by-Room Home Update Checklist
Ready to start updating your home without breaking down walls?
Follow this room-by-room update checklist to track your progress and work through your house efficiently.
  [ Step 1: Entryway & Hallways ] ===> Clear clutter; upgrade lighting; paint doors
  [ Step 2: Main Living Lounge ]  ===> Rearrange layout; replace rug; layer lamps
  [ Step 3: Kitchen & Dining ]   ===> Paint cabinets; swap pulls; install backsplash
  [ Step 4: Bathrooms ]          ===> Frame mirrors; recaulk tub; update hardware
  [ Step 5: Bedrooms ]           ===> Mount ceiling-high drapes; add bedside sconces
The Ultimate Room-by-Room Update Checklist:
Visualize Your Home Makeover Before You Buy
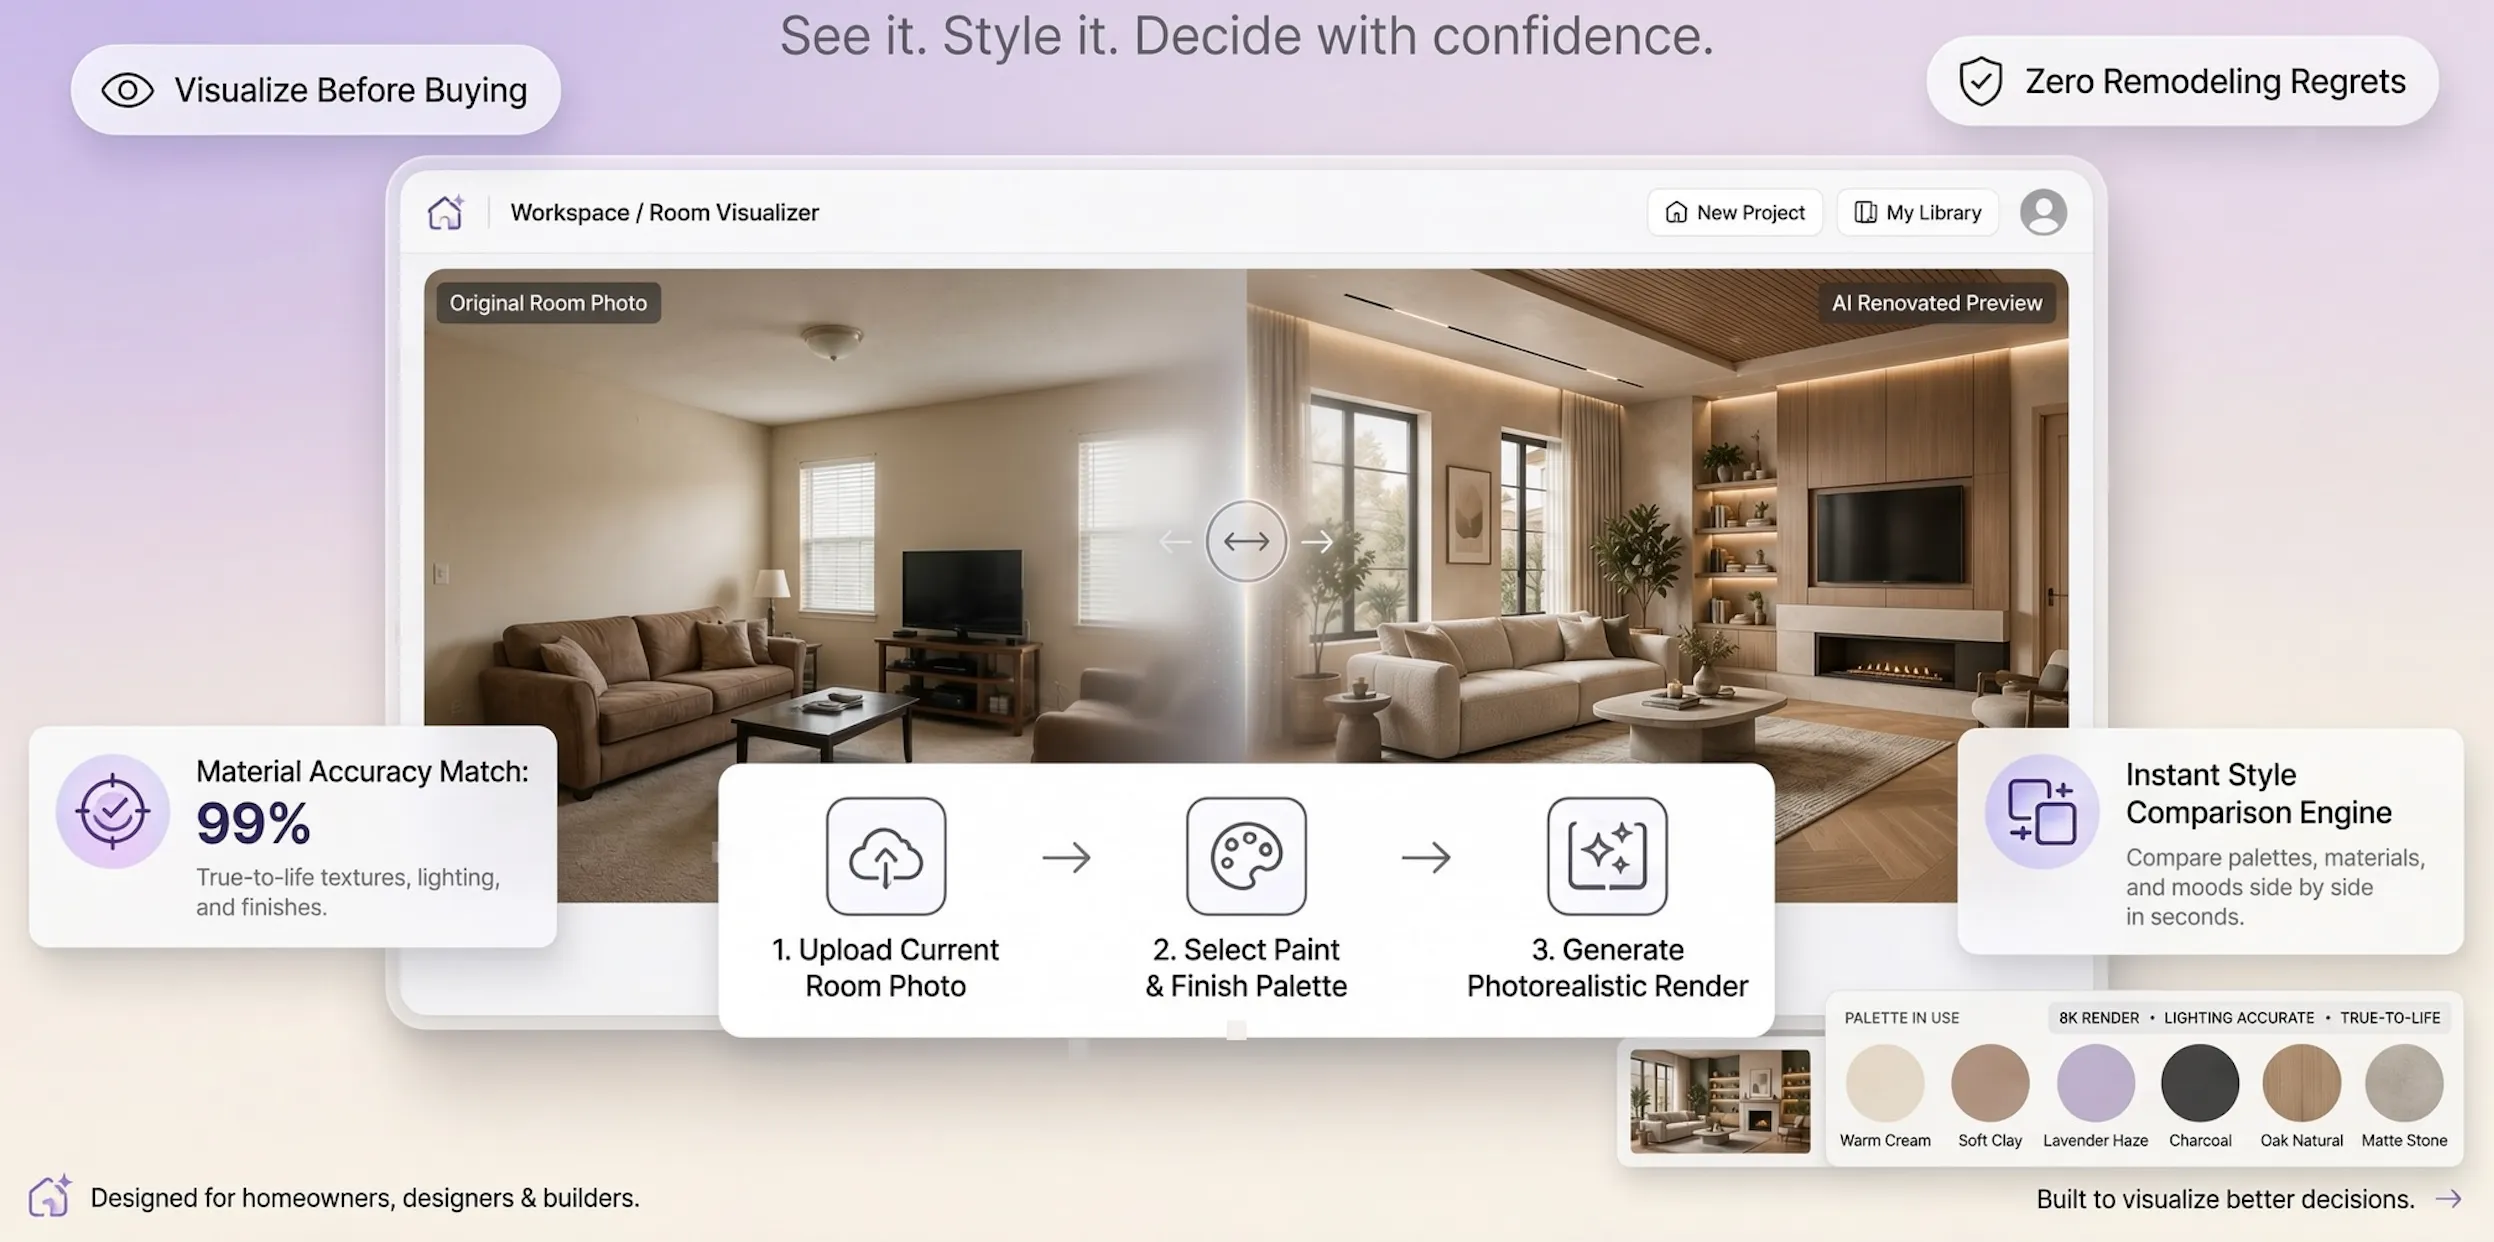
Wondering how that new paint shade, sectional sofa layout, or kitchen cabinet color will actually look in your space before taking out your paintbrush or credit card?
With DesignHome, you can instantly test full interior floor plans, experiment with room layouts, and preview custom color combinations directly on screen. Upload your floor plans, test furniture arrangements, and plan your complete room updates with total design confidence.
External Resources & Industry Standards
To explore deeper insights into home space planning, lighting standards, and building safety, consult these authoritative industry resources:
- - American Society of Interior Designers (ASID) – Professional standards for interior space planning, color coordination, and layout design.
- - Illuminating Engineering Society (IES) – Residential lighting standards, bulb brightness ratings, and task lighting guidelines.
- - American Home Furnishings Alliance (AHFA) – Safety standards, furniture anti-tip guidelines, and frame durability metrics.
- - Paint Quality Institute – Expert advice on selecting wall paint sheens, washability ratings, and color application.
- - International Code Council (ICC) – Residential building codes, electrical outlet safety, and plumbing installation standards.
- - National Association of Home Builders (NAHB) – Guidelines for non-structural home remodeling, surface refinishing, and cabinetry updates.
- - U.S. Green Building Council (USGBC) – Guidelines for healthy indoor air quality, low-VOC paints, and sustainable home upgrades.
- - U.S. Department of Energy – Efficient Home Lighting – Comprehensive standards for energy-efficient LED bulbs, Kelvin warmth ratings, and dimmers.
Frequently Asked Questions About Updating a House Without Changing Layouts
How can I make an old house feel modern on a tight budget?
Focus on high-impact surface updates: repaint walls in a fresh neutral tone, replace outdated cabinet handles and faucets with matte black hardware, update single central ceiling lights with warm layered lamps, and rearrange your existing furniture to open up 36-inch walking paths.
What paint color makes an old house look bright and clean?
Soft off-whites and warm greiges (a blend of gray and beige) with subtle warm undertones work best. Avoid stark, unpigmented sterile whites under direct sun, and test paint swatches on vertical walls under morning sun and evening lamps before committing.
How do I update kitchen cabinets without replacing them or moving plumbing?
Sand and repaint existing solid wood cabinet fronts (using light shades on top and darker shades on bottom), swap old handles for modern pulls, install peel-and-stick or ceramic subway tile backsplashes, and add under-cabinet LED lighting strips.
Can I make a small room look bigger without knocking down walls?
Yes. Raise curtain rods 4 to 6 inches above window frames, use leggy furniture that exposes floor space, paint trim and baseboards the same color as the walls, and place a large arch-top mirror opposite a main window to bounce daylight across dark corners.
How do I make my whole house feel connected from room to room?
Establish a whole-house color palette using one primary neutral paint shade for main hallways, repeat identical door handles and light switch plates across all rooms, and stick to a "common thread" palette of two metal finishes (e.g., matte black and brushed brass) and one primary wood tone.
What is the easiest way to modernize old hardwood or laminate floors?
For hardwood floors, hire a professional to screen and recoat the surface to restore sheen without deep sanding. For worn laminate or tile, layer large, textured wool or flatweave area rugs to anchor seating zones and hide floor scuffs.
What lighting warmth works best for a cozy, modern home interior?
Warm white LED bulbs rated between 2700K and 3000K (Kelvin) create a cozy, welcoming atmosphere. Avoid cool daylight bulbs (4000K+), which can make living spaces look cold, blue, and clinical.
How can I test layout ideas and furniture arrangements before buying anything?
Using DesignHome, you can upload your room's exact dimensions, test furniture footprints, experiment with color schemes, and map walking traffic routes digitally before spending money on physical items or contractors.


