

You stand in the doorway of your compact bathroom, steel tape measure in hand, staring at a cramped arrangement that feels completely out of sync with your daily routine.
You try to imagine fitting a modern floating vanity, a comfortable walk-in shower, and a toilet into a space that feels barely wider than a hallway—and a wave of remodeling anxiety hits. You know that one wrong measurement could mean a shower door colliding with your vanity, a toilet wedged uncomfortably against a side wall, or thousands of dollars wasted on relocating stubborn plumbing lines.
When working with a tight footprint, there is zero room for guesswork.
Executing a small bathroom layout planning strategy isn't about compromising on comfort or sacrificing style. By systematically verifying fixture clearance arcs, aligning water supply lines, and using scaled spatial planning, you can transform a cramped, awkward room into an efficient, luxurious spa. To learn how to make a compact room feel visually wider, review our expanding tactics for tight bathroom footprints. Whether you are remodeling a tiny guest powder room or redesigning a compact primary bath, here is how to plan, measure, and finalize your layout step by step.
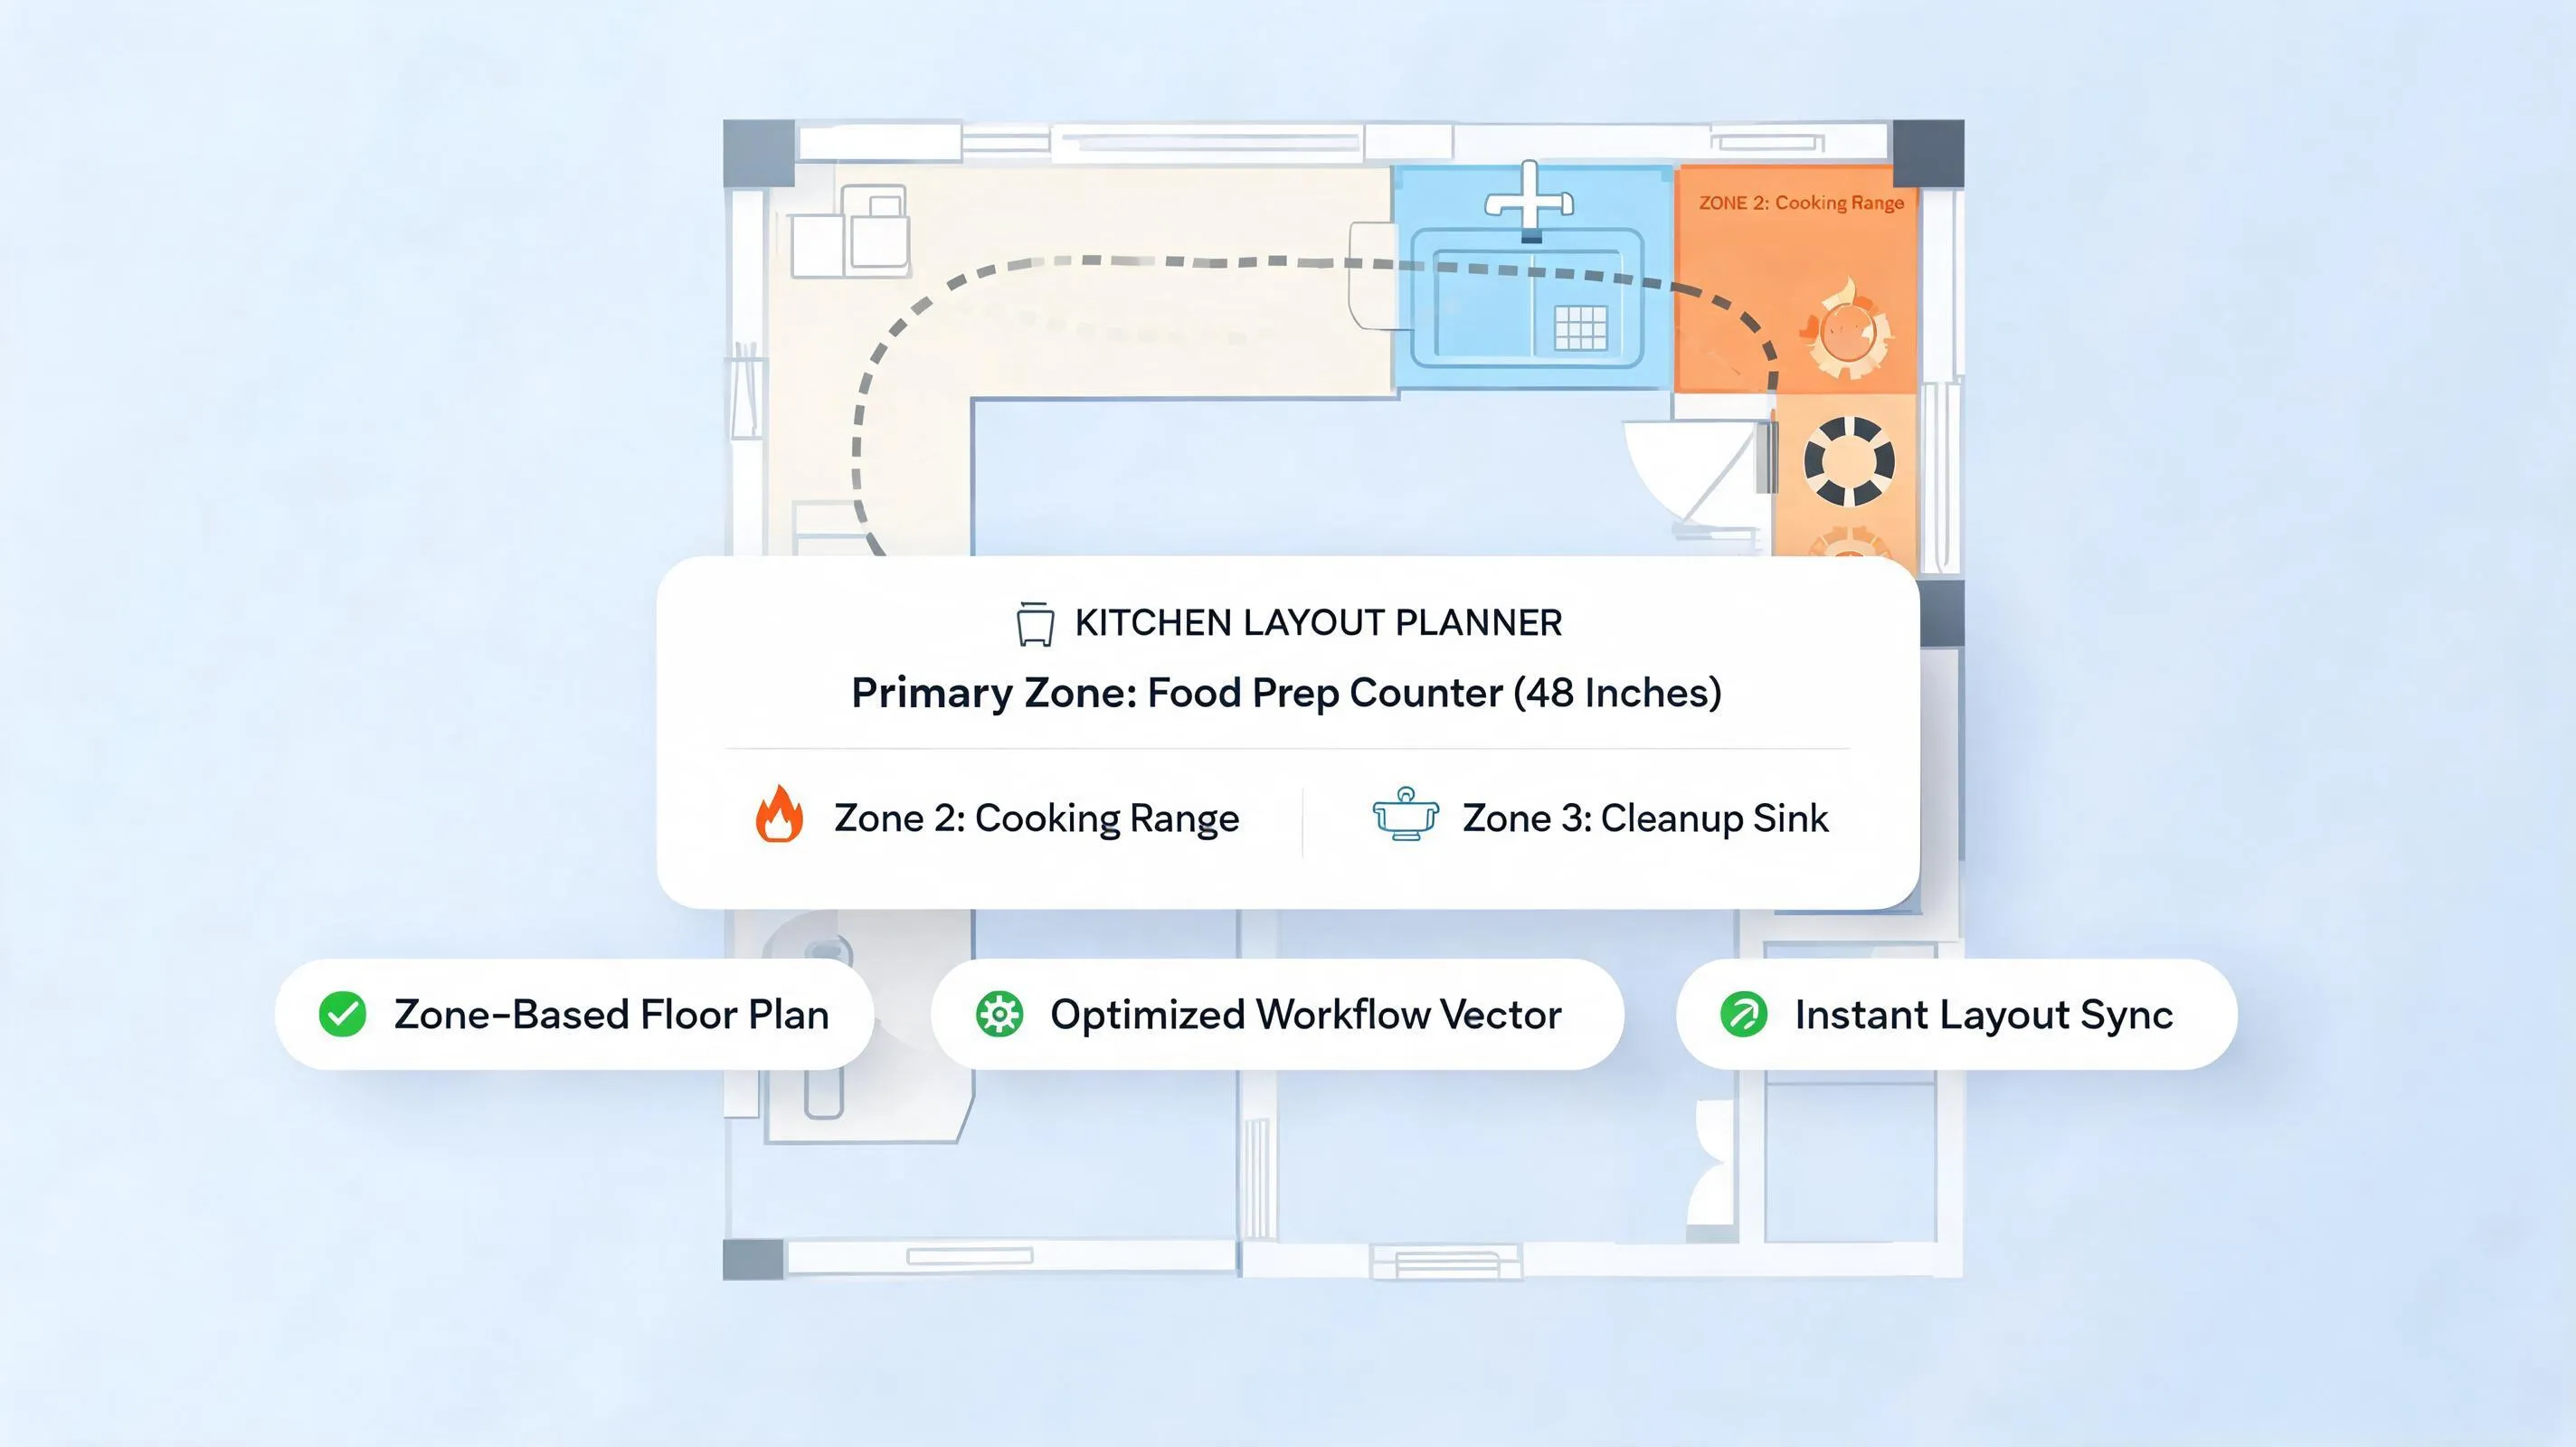
1. Small Bathroom Layout Planning: Make Every Inch Work
The biggest trap when remodeling a compact bathroom is falling in love with individual fixtures—like a wide vanity or a freestanding soaking tub—before evaluating your actual room footprint.
A high-end fixture will still feel frustrating to use if your knees hit the cabinet doors when seated, or if you have to squeeze past an open glass door to reach your towel.
[ Phase 1: Spatial Measurement & Code Verification ] ===> Record wall spans, plumbing & door arcs
                                                               |
[ Phase 2: Anchor Fixture Placement ] ===============> Position toilet, shower base & vanity
                                                               |
[ Phase 3: Clearance Verification & Recessed Storage ] ==> Confirm door swings & build wall niches
Before placing non-refundable orders for tiles or vanities, establish these core spatial goals:
- Structure Precedes Style: Never buy fixtures until your wall-to-wall dimensions, drain locations, and door swing arcs are fully validated on paper.
- Protect Human Clearance Zones: Adhere strictly to national building codes for toilet side clearance, shower entry widths, and sink standing depths.
- Optimize Existing Plumbing Stack Lines: Keep major waste lines (especially the main 3-inch or 4-inch toilet soil pipe) in their existing positions whenever possible to avoid expensive structural re-plumbing.
2. Measure Your Bathroom Before Deciding Where Anything Goes
Before opening layout software or visiting showroom displays, take a 25-foot steel tape measure and map out your room's exact physical architecture.
Relying on rough estimates or builder plans often leads to spatial bottlenecks that ruin daily bathroom usability.
[ Step 1: Measure Baseboard Walls ] ===> Record corner-to-corner length at floor & 48" height
[ Step 2: Map Structural Openings ] ===> Locate window casings, door frames & ceiling soffits
[ Step 3: Plot Fixed Service Lines ] ===> Mark main soil pipe stack, supply lines & exhaust vents
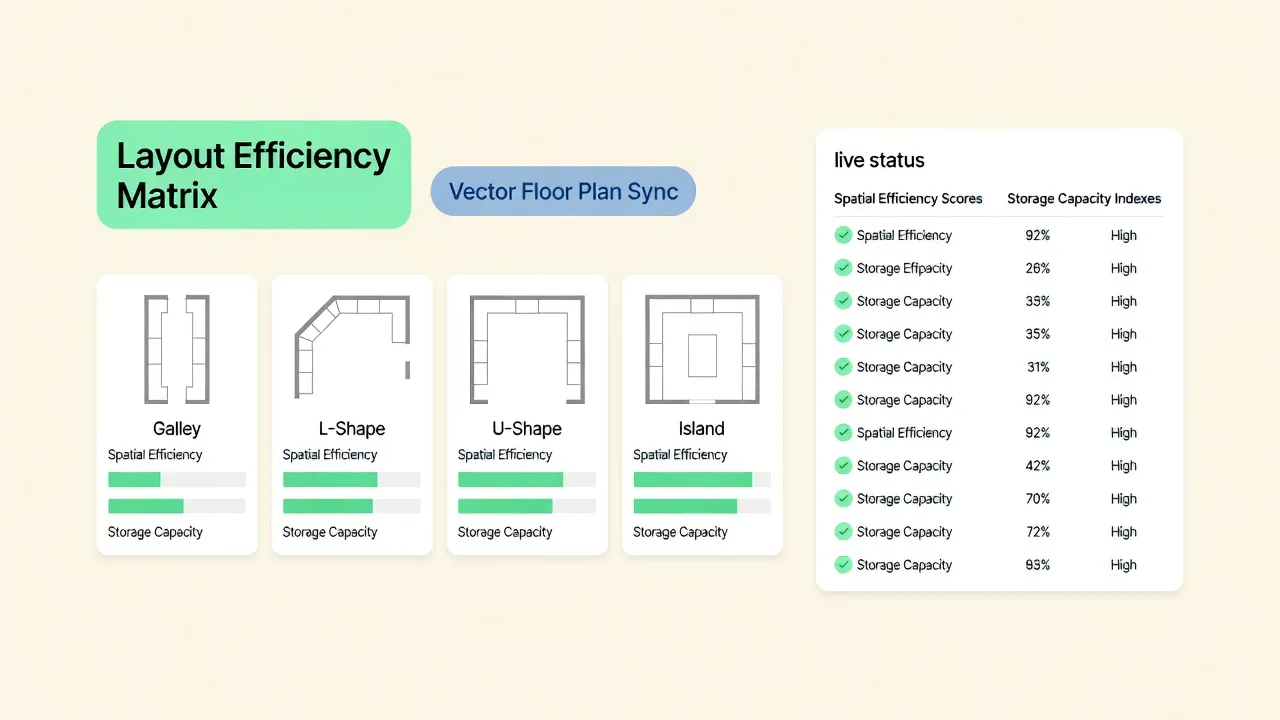
Follow this 5-step spatial measurement protocol:
- Measure Baseboards Corner-to-Corner: Record total wall lengths at floor level, checking for out-of-square corners.
- Locate Window Casings & Sill Heights: Measure from room corners to the outer edges of window trim, and record the exact height from the bare subfloor to the bottom of the window sill.
- Identify Door Swing Arcs: Measure doorway frame widths (standard bathroom entry doors are 28 to 30 inches wide) and draw a 90-degree swing arc on your base plan to mark restricted zones.
- Mark Fixed Utility Lines: Note the precise center point of the toilet drain stack, hot/cold water supply lines, and exhaust ventilation duct runs.
- Check Ceiling Heights: Measure floor-to-ceiling heights at four different corners to identify sagging joists before ordering tall shower glass panels or full-height linen cabinets.
3. Choose a Layout That Fits Your Bathroom's Shape
Your room's physical shape and square footage determine which structural floor plan will deliver optimal efficiency.
Matching a compact bathroom layout to your room's specific proportions prevents spatial bottlenecks and awkward room transitions.
Layout evaluation criteria:
- Small Rectangular Bathroom Layout: Extremely common in traditional homes. Lining up the sink, toilet, and shower along a single plumbing wall keeps supply lines consolidated while preserving a wide, unobstructed walking aisle.
- Narrow Bathroom Layout: Ideal for long, slender footprints (such as 5x8 or 4x9 feet). Placing a walk-in shower across the far back wall turns a narrow room into a deep, luxurious wet-room space.
- Square Bathroom Layout: Perfect for powder rooms or small guest baths (such as 6x6 feet). Positioning a corner glass shower unit frees up adjacent walls for a vanity and toilet without crowding the doorway.
If you want to make a compact room feel visually wider, review our complete guide on opening up sightlines in tight bathroom footprints.
4. Position the Toilet Without Blocking the Main Walkway
The toilet is often the hardest fixture to relocate because it requires a heavy 3-inch or 4-inch waste soil pipe buried inside the floor structure.
Planning a small bathroom toilet layout requires balancing code-mandated human clearance with entry foot traffic.
(Violates 15" centerline code)
(Complies with 30" clear centerline space)
Follow these official spatial standards established by the National Kitchen & Bath Association (NKBA):
- The 15-Inch Centerline Rule: National building codes mandate a minimum distance of 15 inches from the center point of the toilet to any side wall, vanity cabinet, or shower glass edge (creating a total 30-inch clear horizontal clearance zone).
- Front Clearance Depth: Maintain at least 21 inches of clear open space (24 to 30 inches recommended) in front of the toilet bowl for comfortable legroom.
- Tuck Away from Entry Sightlines: Whenever possible, avoid placing the toilet in direct sight of the open bathroom door. Position the vanity or a stylish floating sink as the primary visual feature upon entering.
5. Find the Best Place for a Vanity and Sink
The vanity is typically the second-largest footprint in a bathroom. A boxy, floor-mounted cabinet sitting directly on bare floorboards absorbs valuable square footage, casting long shadows that anchor the room in gloom.
Selecting a small bathroom vanity layout is all about choosing elevated, space-saving fixtures that preserve visible floorboards. To choose between single and double vanity configurations, see our two-basin layout rules for shared bathrooms.
Vanity layout rules:
- Opt for Wall-Hung Floating Units: Mount a floating vanity elevated 12 to 15 inches off the floor. Being able to see continuous floor tiles extending all the way to the back wall adds instant visual depth.
- Select Shallow-Depth Cabinets: Standard vanities measure 21 inches deep. Choose a compact 16-to-18-inch deep vanity fitted with an offset faucet to reclaim valuable walking space.
- Maintain 30-Inch Clearance Centers: Ensure the center of your sink basin sits at least 15 inches away from side walls to allow comfortable elbow movement during washing.
6. Plan a Shower That Fits Without Making the Bathroom Feel Cramped
Planning a small bathroom shower layout requires balancing bathing comfort with physical room volume.
A shower that is too large swallows the room, while a shower that is too small feels restrictive and uncomfortable during daily use.
   COMPACT SHOWER STANDARDS:
- Absolute Code Minimum:  30" x 30" (Feels restrictive)
- Comfortable Standard:   32" x 32" or 36" x 36" (Recommended)
- Extended Wet-Room Run: 30" x 60" (Replaces old bathtub footprint)
Shower planning rules:
- Maintain Code Minimum Interior Dimensions: Building codes mandate a minimum interior shower area of 30 by 30 inches (or a 1,024 square inch total area that can enclose a 30-inch diameter circle). However, a 32x32-inch or 36x36-inch footprint provides significantly better arm and elbow freedom.
- Incorporate Frameless Clear Glass: Replace heavy framed glass enclosures or dark fabric curtains with a single, frameless clear glass panel. Unbroken glass sightlines keep the room visually connected.
- Choose Sliding or Bypass Glass Doors: If space is extremely tight, install sliding barn-style glass doors instead of hinged doors that swing outward into the room's main walkway.
For technical guidelines on waterproof membrane codes, drain slope ratios, and safety glass standards, consult the International Code Council (ICC).
7. Decide Between a Walk-In Shower, Corner Shower, and Bathtub
Choosing between a small bathroom walk-in shower layout, a corner enclosure, or a traditional bathtub depends entirely on your household's daily routines and resale goals.
Evaluating bathing configurations:
Selection framework:
- Convert a Tub to a Walk-In Shower: If you rarely take baths, replacing a standard 30x60-inch alcove bathtub with a curbless walk-in shower instantly expands physical standing space and eliminates high tub walls.
- Use Neo-Angle Corner Showers: In square footprints, a neo-angle corner shower features a clipped diagonal front door that frees up central floor clearance.
- Opt for Compact Japanese Soaking Tubs: If a bathtub is essential for young kids, select a shortened 48-to-54-inch deep soaking tub to save horizontal wall span. For bathing options that skip the tub entirely, read our walk-in shower layouts that skip the tub entirely.
8. Check Door Swings, Shower Doors, and Drawer Clearances
A floor plan may look perfectly balanced on paper, but if an opened vanity drawer collides with the toilet, or if the main entry door hits the glass shower handle, the entire room breaks down in daily use.
Checking bathroom fixture clearances and swing arcs before ordering materials prevents costly trade mistakes.
Clearance rules:
- Reverse Main Door Swings: If your bathroom entry door swings inward and hits the vanity, re-hang the door to swing outward into the hallway, or install a sliding pocket door inside the wall frame to reclaim 9 square feet of floor space.
- Verify Shower Glass Clearance: Ensure outward-swinging glass shower doors have at least 24 inches of clear space so you can step out onto a dry bath mat without hitting adjacent fixtures.
9. Use Corners, Wall Space, and Recesses Without Crowding the Layout
When horizontal floorboards are fully occupied, shift your focus toward vertical wall space and empty wall cavities.
Executing smart small bathroom storage layout strategies relies on building recessed, vertical, and hidden storage systems.
[ Bare Drywall Cavity Between 16" Wall Studs ]
                   |
                   +---> Build Recessed Shower Nook (Holds shampoo bottles out of sight)
                   +---> Install Recessed Medicine Cabinet (Hides daily cosmetics)
                   +---> Add Recessed Toilet Paper Holder (Clears legroom clearance)
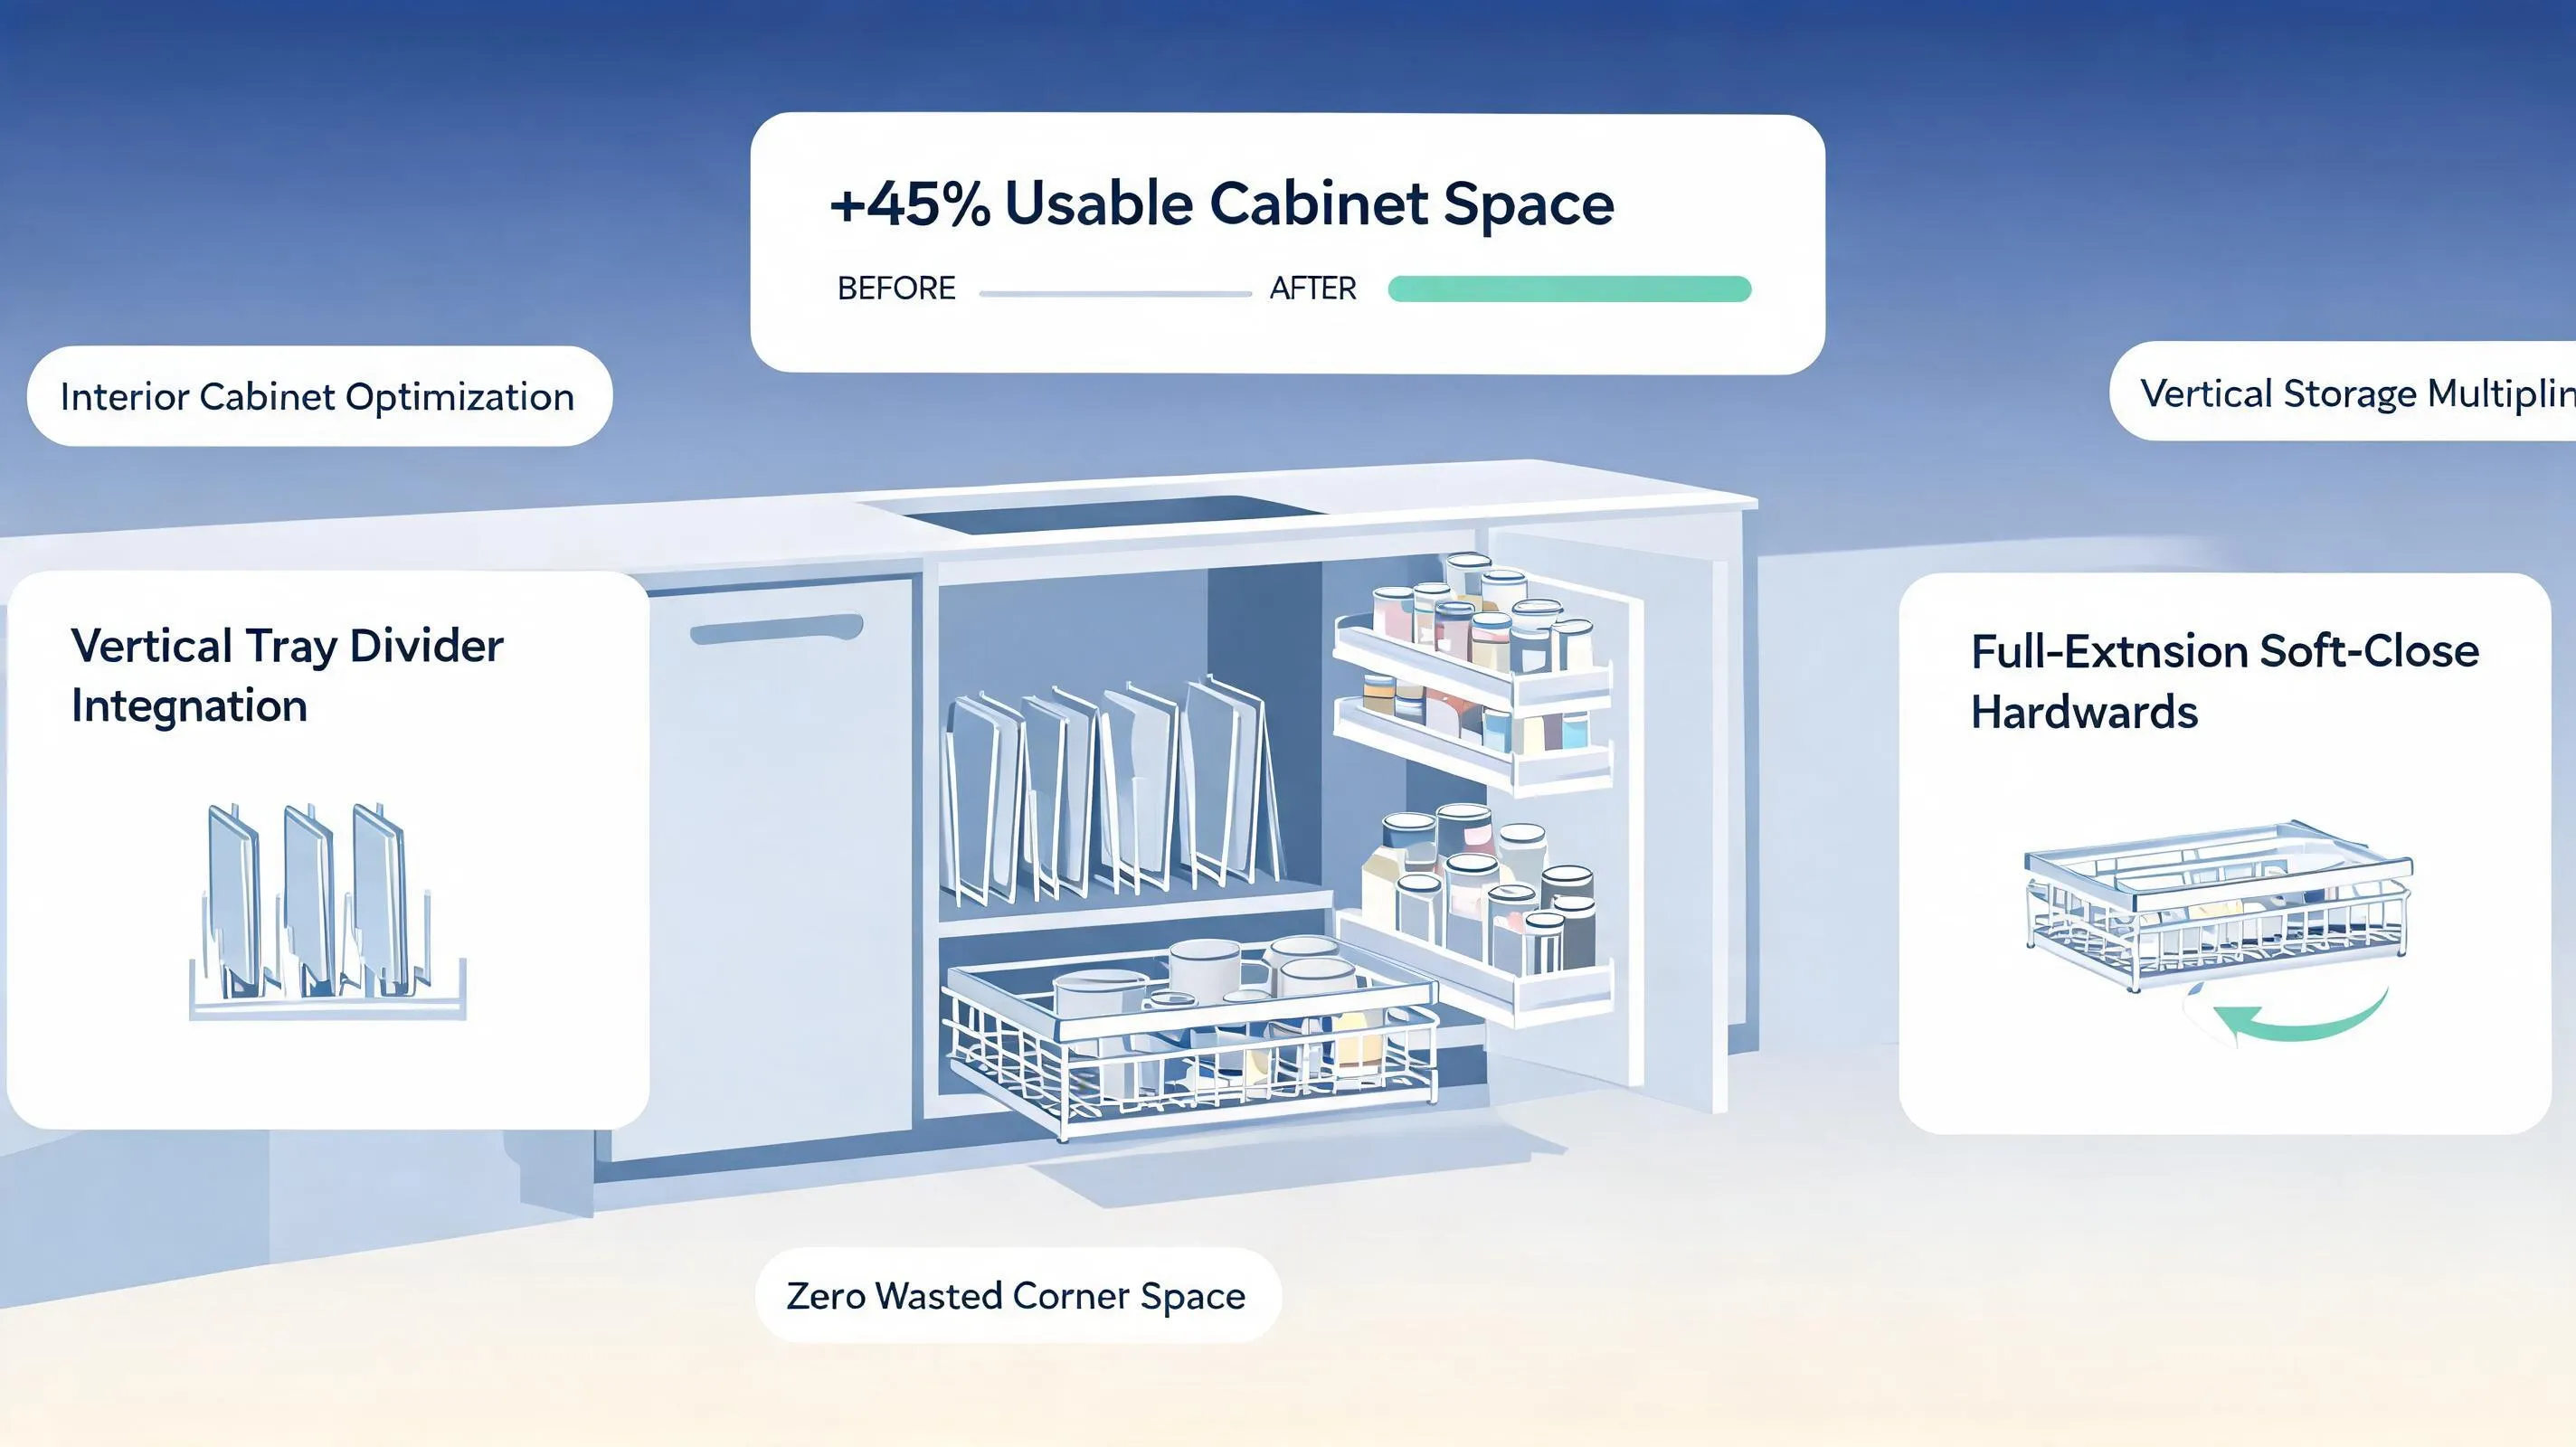
Vertical storage tactics:
- Build Recessed Wall Nooks: Utilize the empty 3.5-inch wall cavity between drywall studs to install a custom recessed shower niche or tall medicine cabinet flush with the tile.
- Capitalize on Over-Toilet Space: Mount floating wood shelves on bare wall space above the toilet to store rolled towels and woven baskets vertically.
- Install Towel Hooks Over Bars: Replace bulky 24-inch horizontal towel bars with sleek double wall hooks to keep towels elevated without taking up horizontal wall space. To add storage without structural demo, read our no-demo storage additions for tight bathrooms.
10. Plan Plumbing and Ventilation Before Finalizing Fixture Positions
A beautiful layout on paper is useless if relocating your plumbing stack requires cutting through structural floor joists or violating local building codes.
Evaluating your small bathroom plumbing layout early prevents unexpected construction delays and budget blowouts.
Plumbing & ventilation rules:
- Group Plumbing Lines on One Wall: Whenever possible, consolidate the sink, toilet, and shower drains along a single "wet wall." Shared plumbing runs drastically reduce pipe installation costs.
- Sizing Exhaust Ventilation: Install a high-performance, low-sone exhaust fan rated for at least 50 to 80 CFM (Cubic Feet per Minute) that vents moisture directly through an exterior building wall, preventing mold growth.
For official technical specifications on residential lighting safety, IP water-resistance ratings, and ventilation codes, consult the Illuminating Engineering Society (IES).
11. Avoid the Layout Mistakes That Make Small Bathrooms Hard to Use
Recognizing common small bathroom layout mistakes early saves thousands of dollars in change orders and trade delays.
Watch out for these classic spatial flaws:
(Violates 15" centerline code; cramped)
(Blocks entry walkway completely)
Layout traps to avoid:
- Forcing an Oversized Vanity: Installing a 36-inch vanity in a room that only supports a 24-inch model chokes walking paths and blocks drawer access.
- Inadequate Lighting over the Vanity: Relying on a single overhead ceiling bulb casts harsh shadows across your face. Mount eye-level vertical sconces on both sides of your mirror instead.
- Skipping Storage for Daily Essentials: Forgetting to allocate space for extra toilet paper, towels, and trash cans forces clutter onto countertops. For daily routine improvements, see our workflow upgrades for everyday bathroom function.
12. Draw and Test Your Small Bathroom Layout Before Renovating
Ready to turn your dimensional measurements into an actionable, contractor-ready floor plan?
Testing your complete small bathroom floor plan virtually allows you to compare layout variations, verify clearance arcs, and refine your fixture choices before buying materials. To preview everything before demolition, read our digital preview workflow for testing layouts before spending a dollar. For choosing between larger layout families, see our decision framework for selecting the right bathroom floor plan.
  [ Step 1: Validate Wall-to-Wall Baseboard Measurements ]
                               |
  [ Step 2: Establish 15" Toilet Centerlines & 21" Legroom Clearances ]
                               |
  [ Step 3: Verify 24" Shower & Entryway Door Swing Arcs ]
                               |
  [ Step 4: Preview Complete 3D Floor Plan & Custom Fixtures ]
                               |
  [ Step 5: Execute Bathroom Remodel with Total Confidence ]
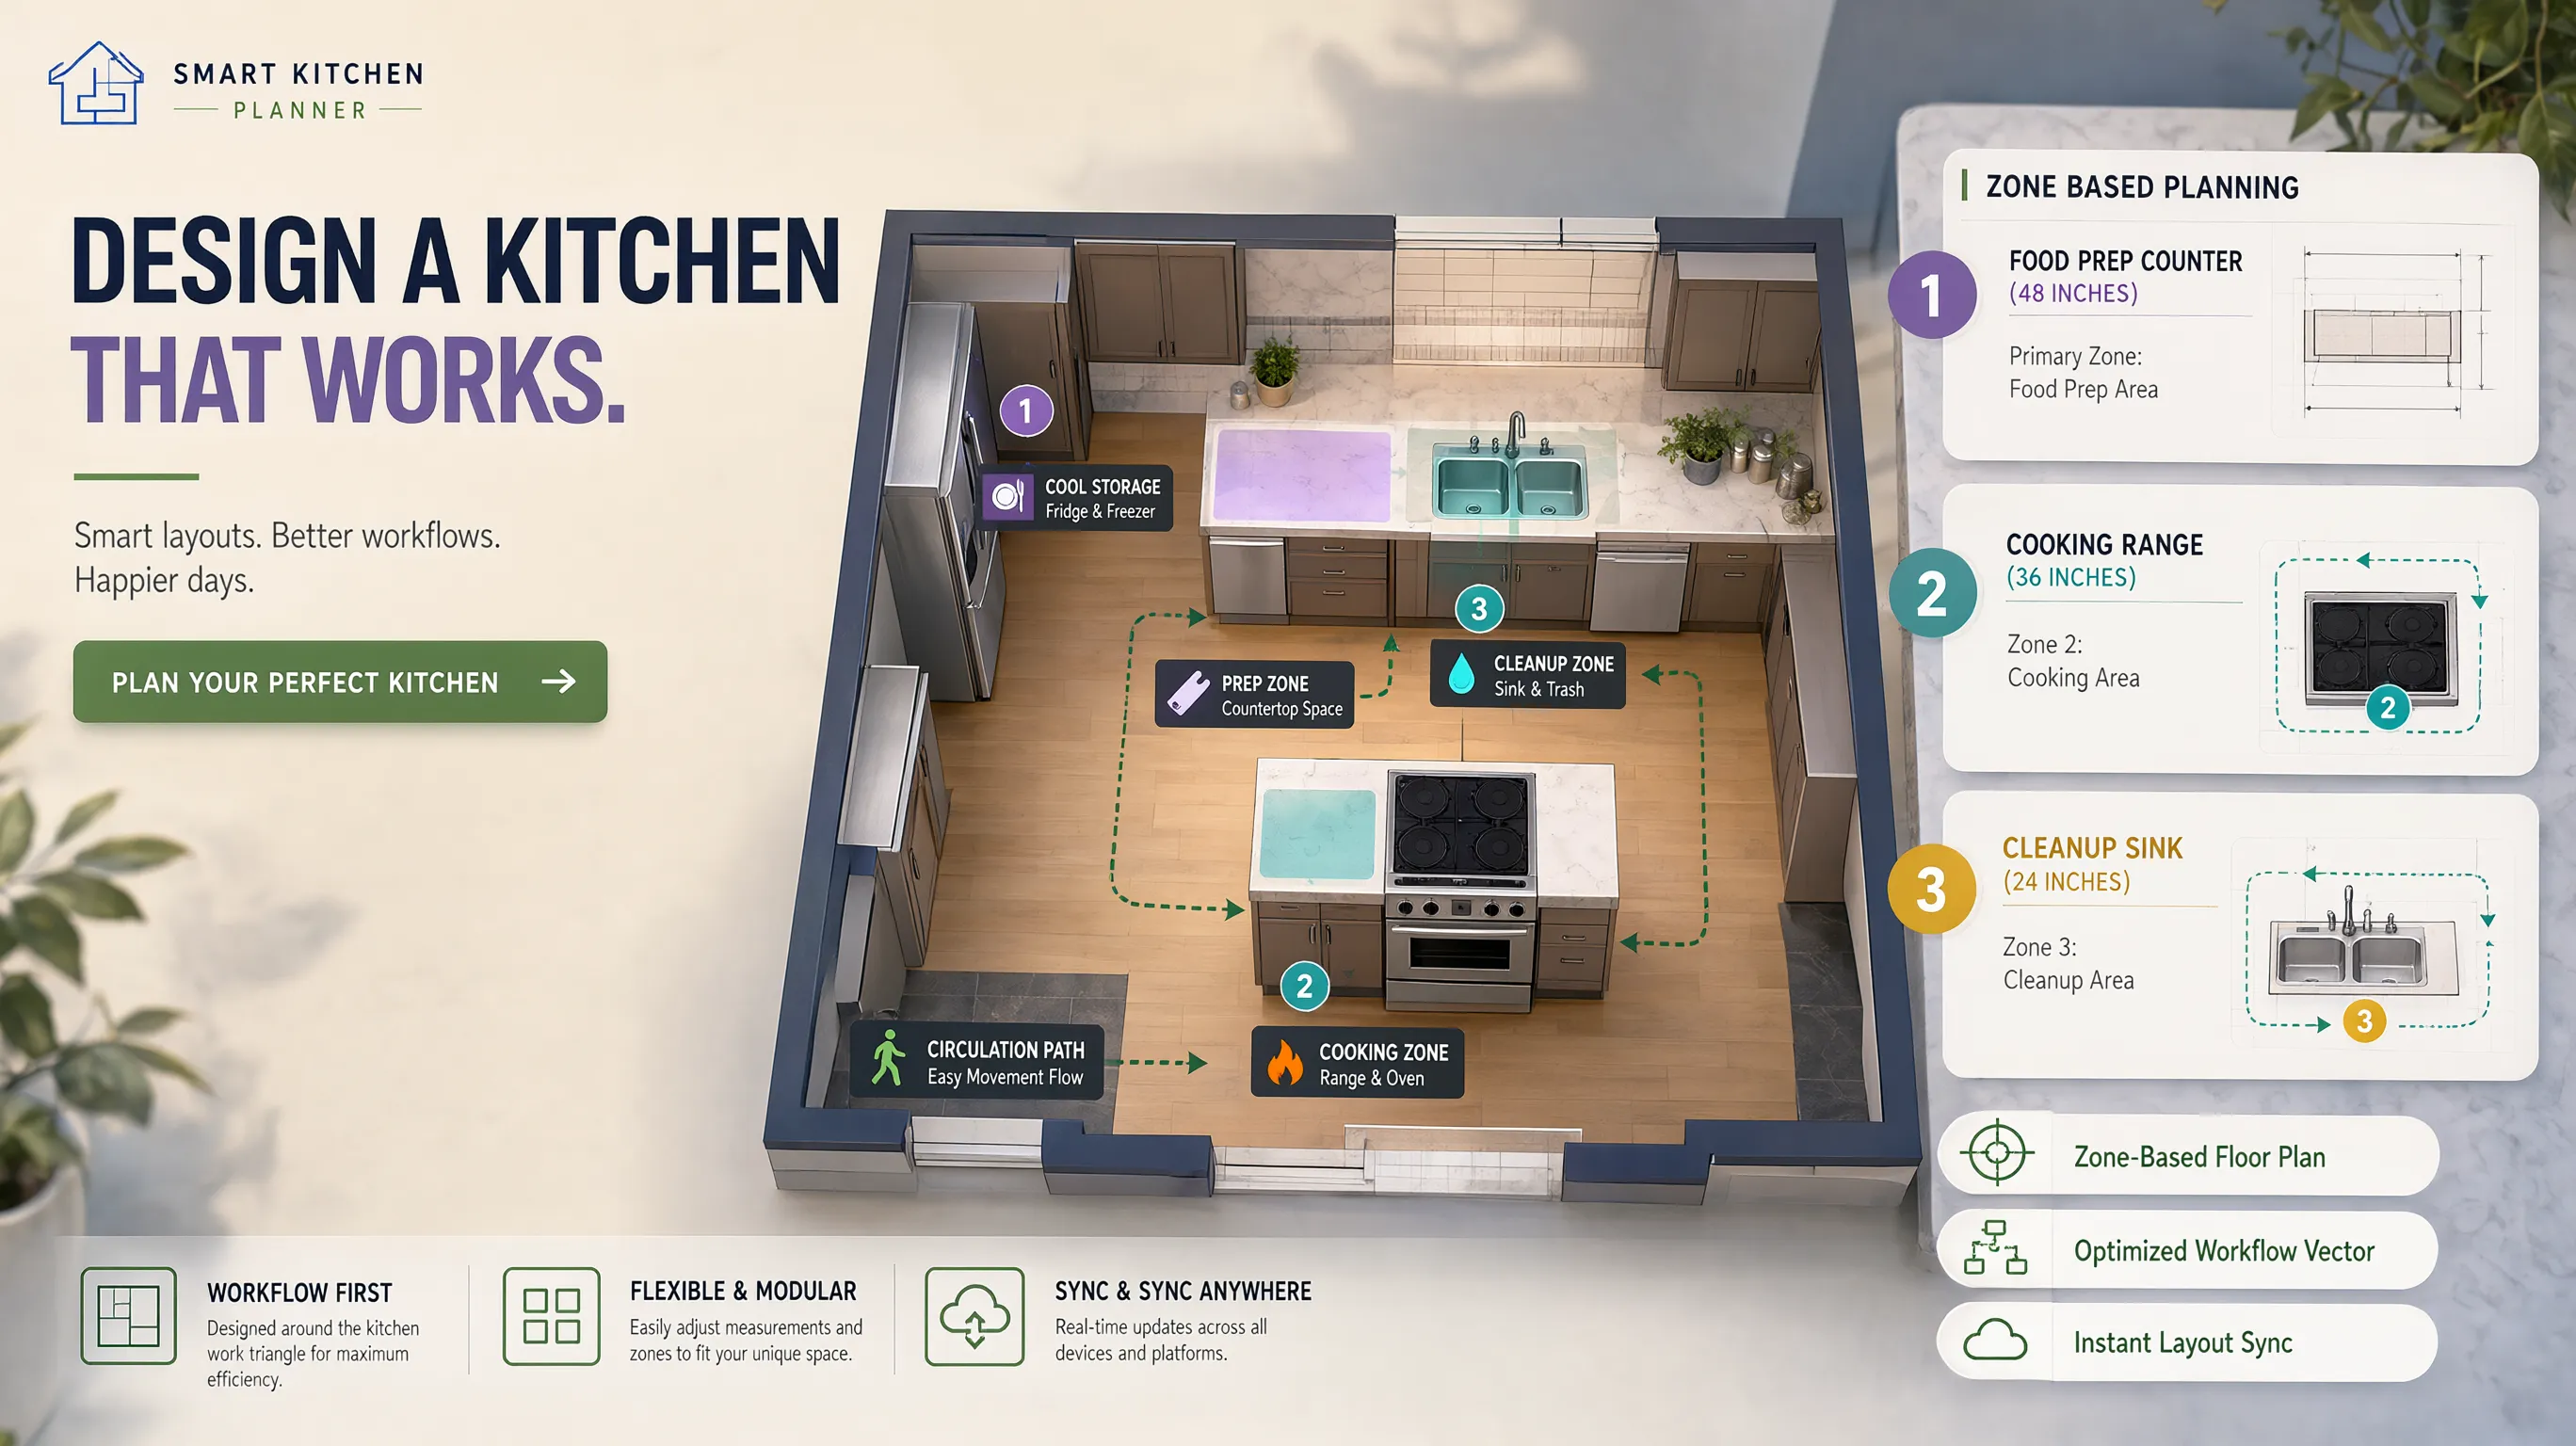
The Ultimate Small Bathroom Sign-Off Checklist:
- [ ] Validate Room Dimensions: Confirm corner-to-corner lengths, door swing arcs, and window casing offsets.
- [ ] Check Toilet Code Clearances: Confirm 15 inches from centerline to side walls and 21+ inches in front.
- [ ] Verify Walkway Clearances: Maintain at least 24 to 30 inches of clear walking space down the room's main corridor.
- [ ] Elevate Vanity Footprints: Choose a wall-hung floating vanity elevated 12 to 15 inches off the floor.
- [ ] Recess Wall Storage: Build recessed medicine cabinets and shower niches between wall studs.
- [ ] Plan Mechanical Services: Consolidate plumbing along a single wet wall and install a 50+ CFM exhaust fan.
Unlock Your Perfect Small Bathroom Layout Today
When setting out to improve your home, everyone wants a smart, luxurious, and beautifully organized bathroom that makes daily routines an absolute pleasure. Trying to work out spatial dimensions, test vanity footprints, or check shower clearance arcs on your own can feel overwhelming—and hiring traditional architects or interior designers can cost a fortune.
With DesignHome, you don't need to spend thousands on design fees or struggle with steep technical CAD learning curves. You can simply upload a picture or floor plan of your room to test layout ideas, experiment with floating vanities, check shower clearances, and instantly unlock custom spatial possibilities tailored to your exact floor plan.
Take the guesswork out of remodeling—visualize, refine, and bring your complete small bathroom vision to life with total confidence using DesignHome today!
Frequently Asked Questions About Small Bathroom Layout Planning
What is the absolute minimum size for a full bathroom with a shower?
The minimum comfortable footprint for a full bathroom with a toilet, vanity, and shower is 5 feet by 8 feet (40 square feet). This layout allows a standard 30-inch vanity, toilet, and 30x60-inch shower run along a single plumbing wall while preserving a comfortable 30-inch central walkway. For powder rooms with just a toilet and sink, a compact 3 feet by 5 feet (15 square feet) footprint is sufficient.
How much space do I legally need around a toilet to pass building inspection?
National building codes mandate a minimum distance of 15 inches from the center point of the toilet to any adjacent wall, vanity cabinet, or shower glass edge, creating a required 30-inch clear horizontal clearance zone. Additionally, you must preserve at least 21 inches of clear, unobstructed floor space in front of the toilet bowl for comfortable legroom, though 24 to 30 inches is recommended for optimal daily comfort.
Is it worth moving the toilet soil pipe to get a better bathroom layout?
Moving a toilet's 3-inch or 4-inch main soil stack pipe requires cutting into floor joists or raising subfloor levels, which can add significant expense to your renovation budget. Unless your current toilet placement completely blocks the entry doorway or violates local building codes, keeping the main soil pipe in its existing location and rearranging smaller supply lines (like the sink and shower) delivers a far better return on your investment.
Can I fit both a bathtub and a separate shower in a small bathroom?
Fitting both a standalone bathtub and a walk-in shower requires a room size of at least 60 square feet (such as a 6x10 or 8x8 foot layout). If your room is smaller than 50 square feet, forcing separate bathing fixtures will choke your walking space and make the room feel cramped. Instead, opt for a spacious walk-in shower with a frameless clear glass screen or install a tub-shower combination to maximize open floor area.
Should a small bathroom door swing inward or outward?
Inward-swinging doors swallow up to 9 square feet of usable interior floor space and frequently collide with vanities or toilets in tight layouts. Re-hanging the door to swing outward into the hallway, or installing an in-wall sliding pocket door, instantly reclaims valuable floor space, resolves fixture collisions, and makes a compact bathroom feel dramatically wider and easier to navigate.
What type of shower enclosure takes up the least amount of visual and physical space?
A curbless walk-in shower with a single fixed, frameless clear glass panel takes up the least space. Eliminating dark metal framing, heavy tracks, and raised shower curbs allows continuous floor tiles to flow straight across the room without visual interruption. In tight corner setups, a neo-angle shower with a clipped diagonal door saves central floor clearance compared to square enclosures.
How big does a bathroom vanity need to be to feel comfortable without crowding the room?
For compact bathrooms, a 24-inch to 30-inch wide vanity offers an ideal balance of basin space and floor clearance. Standard vanities measure 21 inches deep, but choosing a shallow-depth model (16 to 18 inches deep) with an offset faucet reclaims several inches of crucial walking aisle space while preserving full washing functionality.
How do I know if a vanity or shower door will hit the toilet or entry door?
Draw a scaled 2D floor plan using your room's exact baseboard-to-baseboard measurements. Trace a 24-to-30-inch 90-degree swing arc for all swinging doors, shower glass panels, and fully opened vanity drawers. If any swing arc intersects a toilet bowl, wall edge, or adjacent drawer handle, adjust fixture locations or switch to sliding barn-style hardware before buying materials.
Where is the best place to put towel bars and toilet paper holders in a tight space?
Avoid mounting long, horizontal 24-inch towel bars across primary walkways where people bump into them. Mount sleek double wall hooks directly beside the shower entry or behind the bathroom door instead. For toilet paper, install a recessed wall holder between 16-inch drywall studs to keep the holder flush with the wall and protect valuable legroom.
What is the biggest layout mistake that makes a small bathroom hard to use?
Overcrowding the entry threshold. Placing a bulky, floor-mounted vanity cabinet or an exposed toilet directly in line with the opening door creates an immediate bottleneck. Position your vanity or a stylish floating sink as the primary visual anchor when entering, and keep heavy fixtures set back to preserve a clear 30-inch walking aisle down the center of the room.
How can I get storage in a small bathroom if I don't have room for a floor cabinet?
Utilize vertical wall space and empty drywall cavities. Install a recessed medicine cabinet between 16-inch wall studs above the vanity, and build a recessed shower niche for soaps and shampoos. You can also mount floating wood shelves on bare wall space above the toilet to store extra towels and woven baskets without taking up a single inch of floor space.
How do I plan a small bathroom layout if I have plumbing on only one wall?
A single-wall plumbing layout (where the sink, toilet, and shower drains align along the same wet wall) is the most space-efficient and cost-effective layout possible. Position the vanity closest to the entry door, place the toilet in the center (maintaining 15 inches from the centerline to the vanity), and place the shower across the far back wall. This linear sequence keeps plumbing lines consolidated while leaving a clear walking corridor along the opposite wall.


