

You walk into a home where the kitchen, dining, and living areas flow together seamlessly.
Daylight streams across a clean central island, the aroma of fresh coffee fills the room, and someone sitting on a comfortable sofa chats effortlessly with the person preparing breakfast. There are no cold hallways, no dark partitions, and no feeling of being isolated in a separate room while family life happens elsewhere.
A great open-concept home isn't just a trend—it is a complete lifestyle upgrade.
Creating an open plan kitchen design that actually works every single day isn't about tearing down structural walls and hoping for the best. Without a deliberate plan, an open-concept space can quickly turn into a noisy, echoey room where dirty frying pans sit in plain view of your living room sofa and a loud dishwasher drowns out the TV. For a wider look at how to zone the entire main floor, our spatial zoning playbook for connected living zones pairs nicely with the steps below.
Whether you are building from scratch or opening up a traditional home layout, here is how to zone, style, and execute an open-concept floor plan that brings cooking, dining, and relaxation together in total harmony.
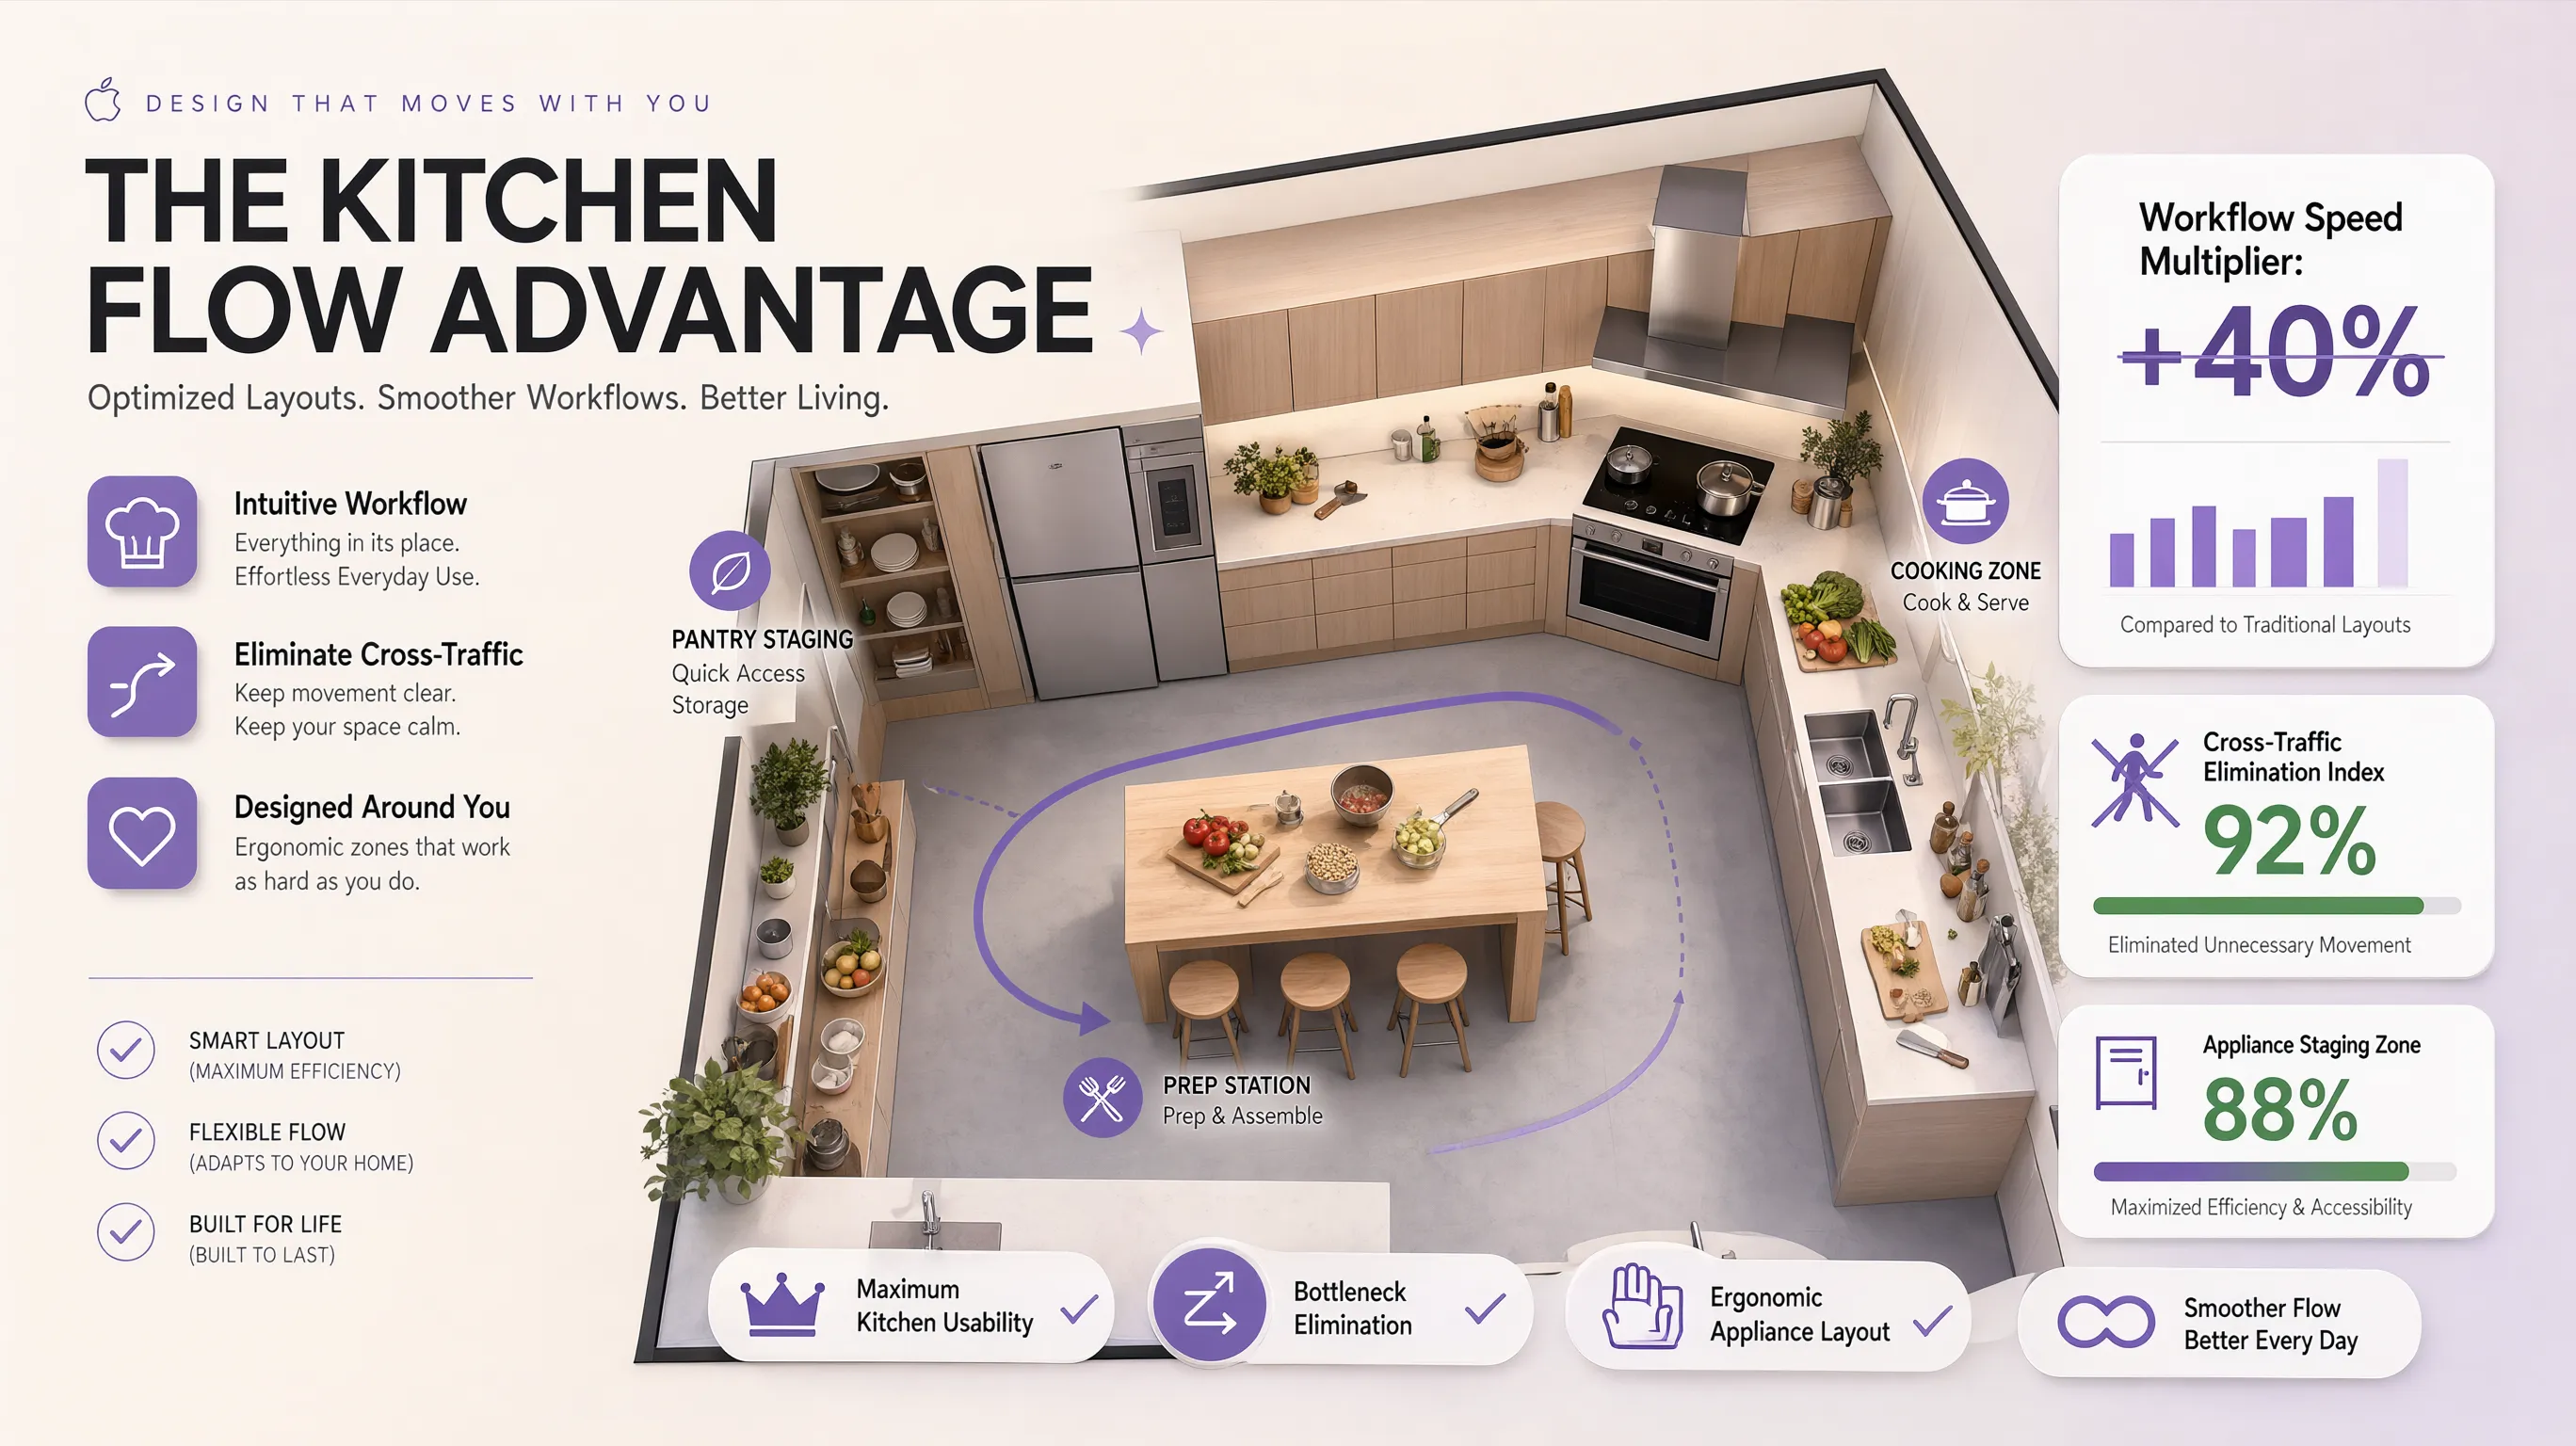
1. Open Plan Kitchen Design Ideas for a Space That Feels Connected
The biggest challenge when planning an open-concept layout is creating spatial unity without causing visual chaos.
When you eliminate interior walls, your kitchen stops being a closed service room and becomes a primary focal point of your entire living area.
[ Dark Hallway ] (Wasted)
[ Living Room ] (Divided)
| Kitchen Zone | Dining Zone | Living Zone|
+-----------------------------------------+
(Continuous sightlines & shared light)
Focus on these three foundational goals:
- Preserve Unbroken Sightlines: Arrange high furniture (like tall pantries and refrigerator columns) against perimeter walls so sightlines remain clear across the room.
- Establish Distinct Functional Zones: Give cooking, dining, and seating areas their own distinct boundaries using floor rugs, light fixtures, and smart furniture orientation.
- Maintain Clear Traffic Corridors: Keep primary walking routes—from the entryway to the kitchen sink, dining table, and patio doors—at least 36 to 48 inches wide.
2. Decide How You Want the Kitchen, Dining, and Living Areas to Work Together
Before browsing countertop slabs, paint chips, or cabinet hardware, map out your household's real daily habits.
A great kitchen dining living room layout must adapt to your lifestyle—whether you host weekend dinner parties, manage kids doing homework while making dinner, or need a quiet evening retreat. To align living room seating with your dining flow, see our combined dining and lounge furniture placement guide.
Ask yourself these foundational questions:
- Where do you want guests to gather? Do you prefer people sitting at a central island bar while you chop vegetables, or seated at a dining table slightly away from prep mess?
- How do you handle evening relaxation? Does your living room sofa face directly toward the kitchen sink, or is it oriented away from unwashed dinner dishes?
- What are your storage demands? Can your layout support an open pantry, or do you need closed full-height cabinetry to hide daily small appliances?
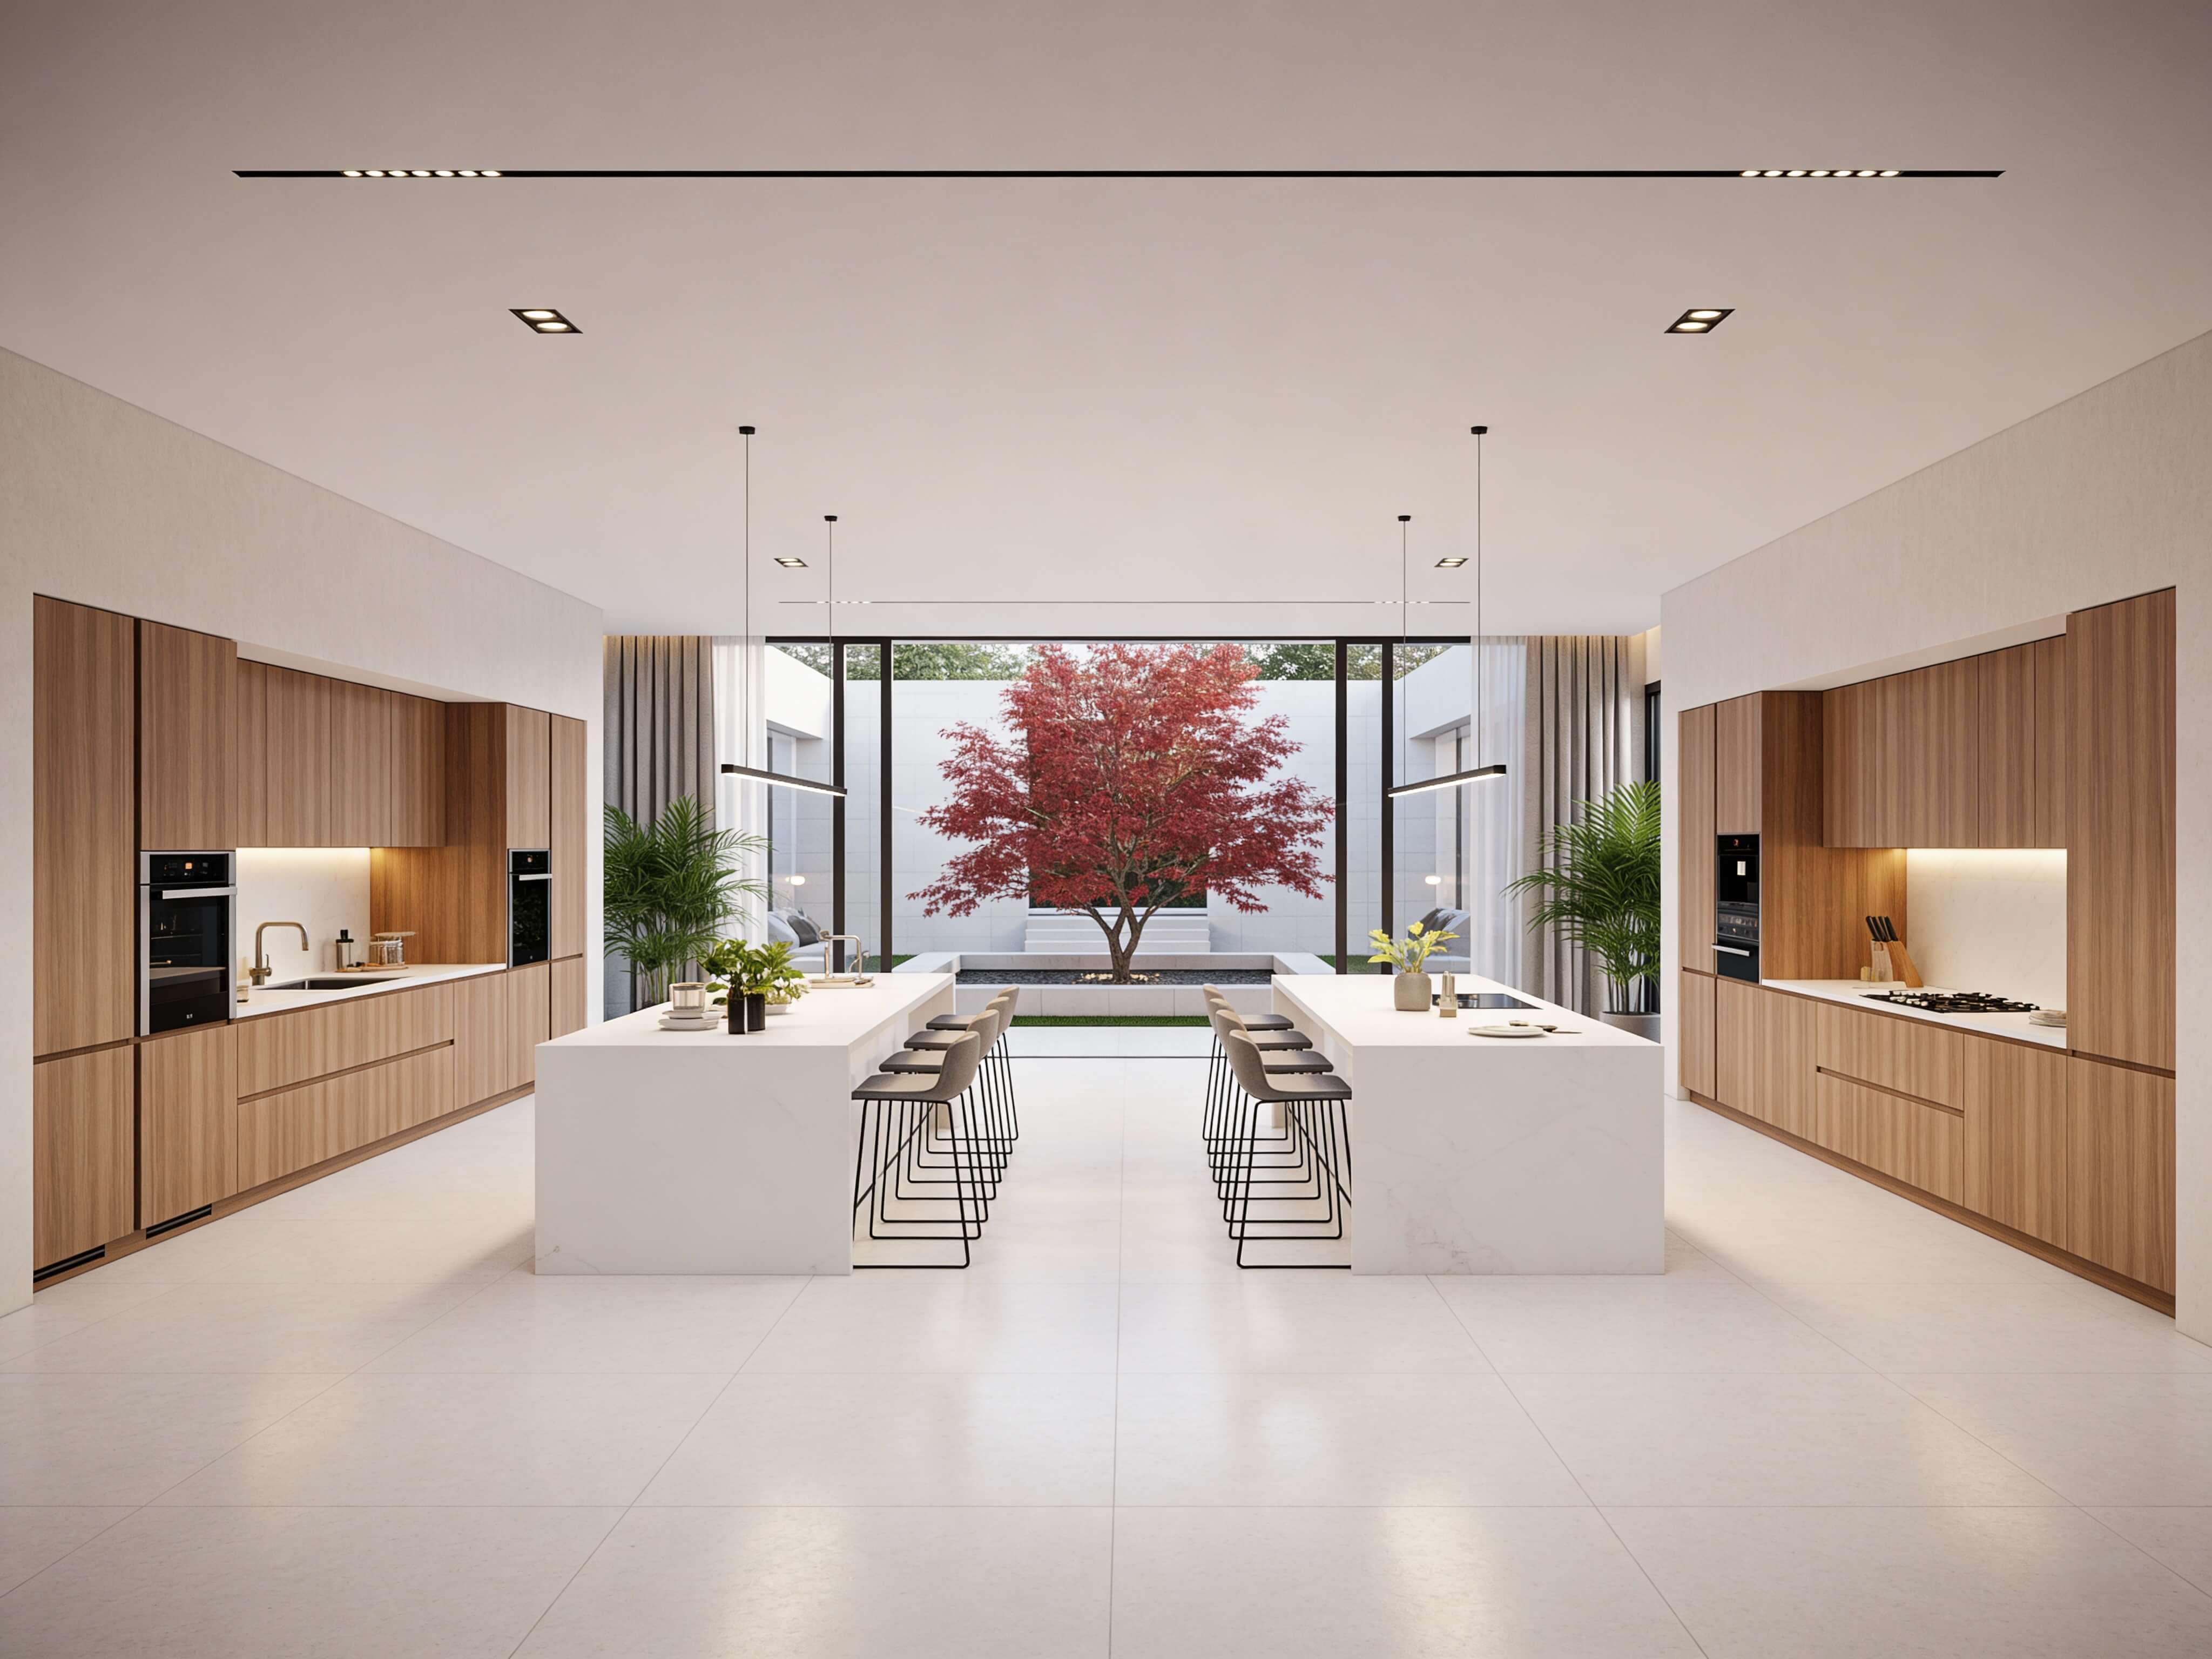
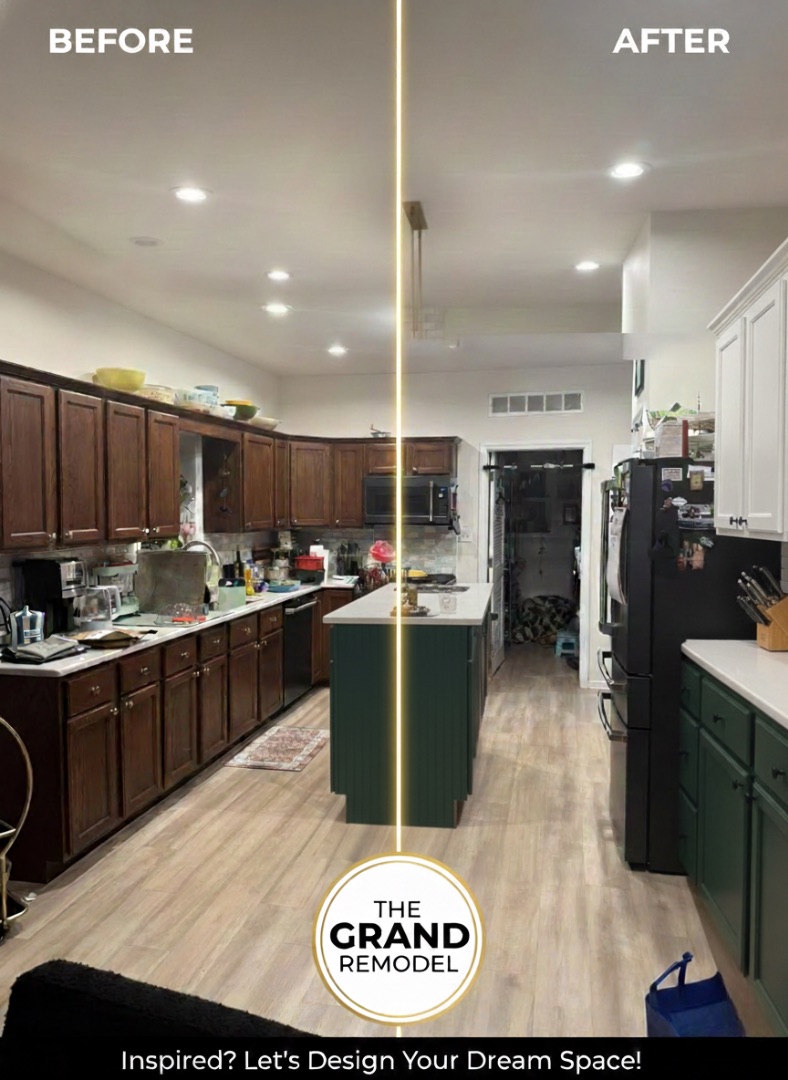
3. Choose an Open-Plan Layout That Fits the Shape of Your Home
Your room's physical dimensions and architectural footprint determine which layout configuration will deliver the smoothest spatial flow.
Matching standard open plan kitchen layouts to your home's shape prevents spatial bottlenecks and awkward room proportions.
| [ Kitchen L-Run ] [ Island ] |
| |
| [ Dining ] [ Living Area ] |
+-------------------------------+
| [ Parallel Prep Run 1 ] |
| [ Central Walkway Corridor ] |
| [ Parallel Prep Run 2 ] |
+-------------------------------+
Choose the right layout configuration:
- The L-Shaped + Island Configuration (Square Rooms): Runs cabinets along two perpendicular walls, using a central island to bridge the gap toward open dining and living zones.
- The Single-Wall Linear Layout (Long, Narrow Rooms): Lines up cabinets, appliances, and sink along a single wall, placing a dining table and sofa parallel to the kitchen run.
- The Peninsula Layout (Compact Footprints): Uses a three-sided cabinet peninsula attached to an exterior wall, defining the kitchen boundary while offering integrated counter seating.
For technical guidelines on load-bearing wall removals, joist spans, and structural permit standards, consult the International Code Council (ICC).
4. Create Clear Zones Without Adding Walls
The secret to a peaceful open-concept room lies in mastering zoning an open plan kitchen.
Zoning uses visual framing, material shifts, and lighting to mark where one functional area ends and another begins—without putting up physical walls. To define zones without permanent barriers, see our soft divider playbook for carving zones without drywall.
Execute these zoning strategies:
- Anchor Zones with Area Rugs: Place a plush wool area rug under your living room furniture setup. The rug acts as an invisible wall, grouping sofas and coffee tables into a distinct zone.
- Use the "Back-of-Sofa" Divider: Place your main living room couch with its back facing the kitchen or dining area. Add a low console table behind the sofa to create a clean transition corridor.
- Drop Ceiling Profiles: Lower drywall ceilings slightly over the kitchen area to install recessed lighting, keeping the living area ceiling high and airy.
5. Decide Whether a Kitchen Island Will Improve the Whole Layout
A custom island is often the prized focal point of an open-plan space. However, forcing an oversized island into a room without adequate walkways creates a permanent roadblock.
Evaluating an open plan kitchen island requires balancing prep surface needs against room circulation.
- Open dishwasher hits island
- Cramped & frustrating daily flow
- 12" Overhang for comfortable seating
- Effortless movement around island
Island placement guidelines:
- Maintain 42-to-48-Inch Aisles: Ensure there is a minimum clearance of 42 inches (for single cooks) or 48 inches (for multi-cook homes) between the island edges and surrounding perimeter cabinets.
- Incorporate Appliance Hooks: Install a prep sink or induction cooktop directly inside the island so you face your family or guests while preparing food.
- Provide Comfortable Legroom: Ensure barstool seating zones feature a 12 to 15-inch knee overhang beneath the countertop edge, allowing guests to sit comfortably without hitting their knees.
If you are optimizing appliance clearance arcs, explore our guide on sink-stove-fridge distance rules for protected cooking paths.
6. Arrange the Dining Area So Meals Feel Connected to the Kitchen
In an open-concept layout, the dining table serves as the primary bridge between active cooking zones and relaxed seating areas.
Positioning your open plan kitchen dining area requires ensuring short, direct pathways for serving food and clearing plates after meals.
[ Active Kitchen Prep Zone ] ===( 36" Clear Serving Runway )===> [ Central Dining Table ]
                                                                       |
                                                           ( 36" Chair Clearance )
                                                                       |
                                                                       v
                                                           [ Living Room Lounge ]
Dining placement rules:
- Maintain Chair Pull-Out Clearances: Allow at least 36 inches of open space behind dining chairs when occupied so people can slide back and get up without hitting walls or island edges.
- Center Pendant Lighting Over the Table: Hang a statement chandelier or linear pendant light 30 to 36 inches above the dining tabletop to anchor the eating zone visually.
- Choose Durable Table Surfaces: Select durable wood, quartz, or treated stone tabletops that can handle hot serving dishes, art projects, and daily homework routines.
7. Make the Living Area Comfortable Without Letting Kitchen Activity Take Over
The living room is where you unwind at night. If your couch faces a sink piled with unwashed pots or directly catches light reflections from the stove, relaxing becomes difficult.
Designing a comfortable open plan kitchen living room design requires managing sightlines and noise contamination. For sofa placement facing away from prep zones, see our sofa placement rules that screen kitchen views.
Living zone optimization tactics:
- Angle Seating Away from the Sink: Position main armchairs and sectional sofas facing an architectural fireplace, TV wall, or garden window rather than staring directly at the kitchen sink.
- Incorporate Media Consoles with Storage: Use sleek media furniture to store games, throw blankets, and electronics out of view, maintaining visual order across the open space.
- Position TVs to Minimize Glare: Mount your TV on a wall that doesn't face direct sunlight or reflect under-cabinet LED lights.
8. Use Flooring, Colors, and Materials to Tie the Whole Space Together
Using five different flooring materials or radically conflicting wall colors in an open-concept room makes the space look fragmented, small, and chaotic.
Creating a harmonious open plan kitchen color scheme relies on a unified, cohesive material palette across the entire floor plan. For floor material transitions, see our continuous flooring strategy across connected rooms.
   Neutral Base (60%):  Continuous Light Oak Hardwood & Warm Off-White Walls
   Cabinet Finish (30%): Muted Sage Green / Slate Blue Kitchen Millwork
   Accent Pop (10%):     Brushed Brass Hardware, Leather Dining Chairs & Rug Tones
Material and color rules:
- Run Continuous Flooring: Extend the same flooring material—such as wide-plank light oak hardwood or water-resistant luxury vinyl plank (LVP)—continuously across the kitchen, dining, and living zones.
- Enforce the 60-30-10 Palette Rule: Use a single neutral paint color (60%) for perimeter walls, a secondary cabinet or furniture shade (30%) for millwork, and complementary accent tones (10%) for pillows, art, and light fixtures.
- Repeat Metal Finishes: Match metal finishes across zones—such as pairing brushed brass kitchen faucets with brass dining pendants and brass sofa table legs.
For guidance on non-toxic paint finishes, low-VOC flooring certifications, and sustainable materials, visit the Sustainable Furnishings Council (SFC).
9. Plan Lighting for Different Bedtimes, Dining, and Relaxing in the Same Room
In a single open room, relying on one overhead light switch forces the entire space to be either brightly lit or completely dark.
Building an effective open plan kitchen lighting layout requires layering independent, dimmable circuits across all three functional zones. For per-zone lighting design, read our layered lighting approach with dimmable circuits per zone.
  [ Circuit 1: Kitchen Task Layer  ] ===> Under-cabinet LED strips & recessed island cans (3000K)
  [ Circuit 2: Dining Ambient Layer ] ===> Dimmable central dining chandelier (2700K)
  [ Circuit 3: Living Accent Layer  ] ===> Floor lamps, picture lights & warm LED cove strips (2200K)
Lighting design guidelines:
- Install Independent Dimmer Switches: Put every light layer—kitchen task cans, island pendants, dining chandeliers, and living room lamps—on its own dedicated dimmer switch.
- Match Warm Color Temperatures: Equip all fixtures across the open space with warm LED bulbs strictly rated between 2700K and 3000K (Kelvin). Avoid mixing harsh 4000K daylight bulbs with warm lamps.
- Incorporate Under-Cabinet Task Lighting: Mount continuous LED tape lighting under upper kitchen cabinets to illuminate prep surfaces directly without flooding the rest of the room with light.
For official technical standards on residential lighting safety, glare prevention, and color rendering indices, consult the Illuminating Engineering Society (IES).
10. Control Cooking Smells, Noise, and Visual Clutter in an Open Plan
The three biggest complaints about open-concept living are airborne cooking grease, appliance noise, and visible clutter taking over the living room.
Addressing these practical concerns requires choosing specialized appliances, quiet mechanical systems, and smart storage.
Friction-reduction rules:
- Install High-CFM Ducted Ventilation: Choose a high-performance range hood rated for at least 400 to 600 CFM (Cubic Feet per Minute) that vents fumes directly through an exterior wall. Never use recirculating ductless filters in an open-concept room.
- Select Ultra-Quiet Appliances: Choose a dishwasher rated under 42 dBA (decibels). Ultra-quiet dishwashers allow you to run a cleaning cycle while watching movies in the living area without hearing motor hum.
- Build a Hidden Appliance Garage: Store toasters, coffee makers, and blenders behind closed appliance garage doors to keep kitchen counters completely clutter-free from the sofa view.
If you want to maximize cabinet storage and keep counters clear, read our detailed guide on adding hidden appliance garages and roll-out drawers.
11. Make an Open Plan Kitchen Work in a Small or Narrow Home
You don't need a sprawling 3,000-square-foot estate to enjoy open-concept living.
Developing smart small open plan kitchen ideas for compact or narrow homes relies on selecting multi-functional furniture and keeping floor sightlines open. For tight floor plan strategies, see our compact home layout tactics that preserve open sightlines.
- Heavy solid wood armoires
- Blocked window sightlines
- Full-height integrated wall cabinets to ceiling
- Clear 36" walking corridors to outdoor light
Compact open-plan tactics:
- Combine Island and Dining Table: Attach a lower dining table directly to the back of a kitchen island. This hybrid setup eliminates the need for a separate dining room footprint.
- Use Integrated Panel-Ready Appliances: Conceal refrigerators and dishwashers behind custom cabinet panel fronts matching your walls, making the kitchen blend seamlessly into the living room.
- Run Upper Cabinets to the Ceiling: Extend kitchen cabinets all the way to the ceiling line to maximize vertical storage and eliminate dust-collecting gaps.
If you are organizing a compact footprint, explore our step-by-step guide on clearing counters and maximizing internal cabinet capacity.
12. Plan the Complete Kitchen, Dining, and Living Space Before Renovating
Ready to bring your complete open-concept vision to life without costly contractor change orders, trade delays, or spatial mistakes?
Testing your complete open plan kitchen floor plan virtually allows you to compare layout variations, verify walkway clearances, and refine your material palette before committing to construction. To preview everything before demolition, read our digital preview workflow for testing open layouts before spending a dollar.
  [ Step 1: Measure Baseboard Boundaries & Fixed Service Lines ]
                               |
  [ Step 2: Compare L-Shape, Island & Peninsula Layout Options ]
                               |
  [ Step 3: Verify 42"-48" Walkway & Dining Seat Clearances ]
                               |
  [ Step 4: Preview Complete 3D Room Layout & Materials ]
                               |
  [ Step 5: Execute Construction Plan with Complete Confidence ]
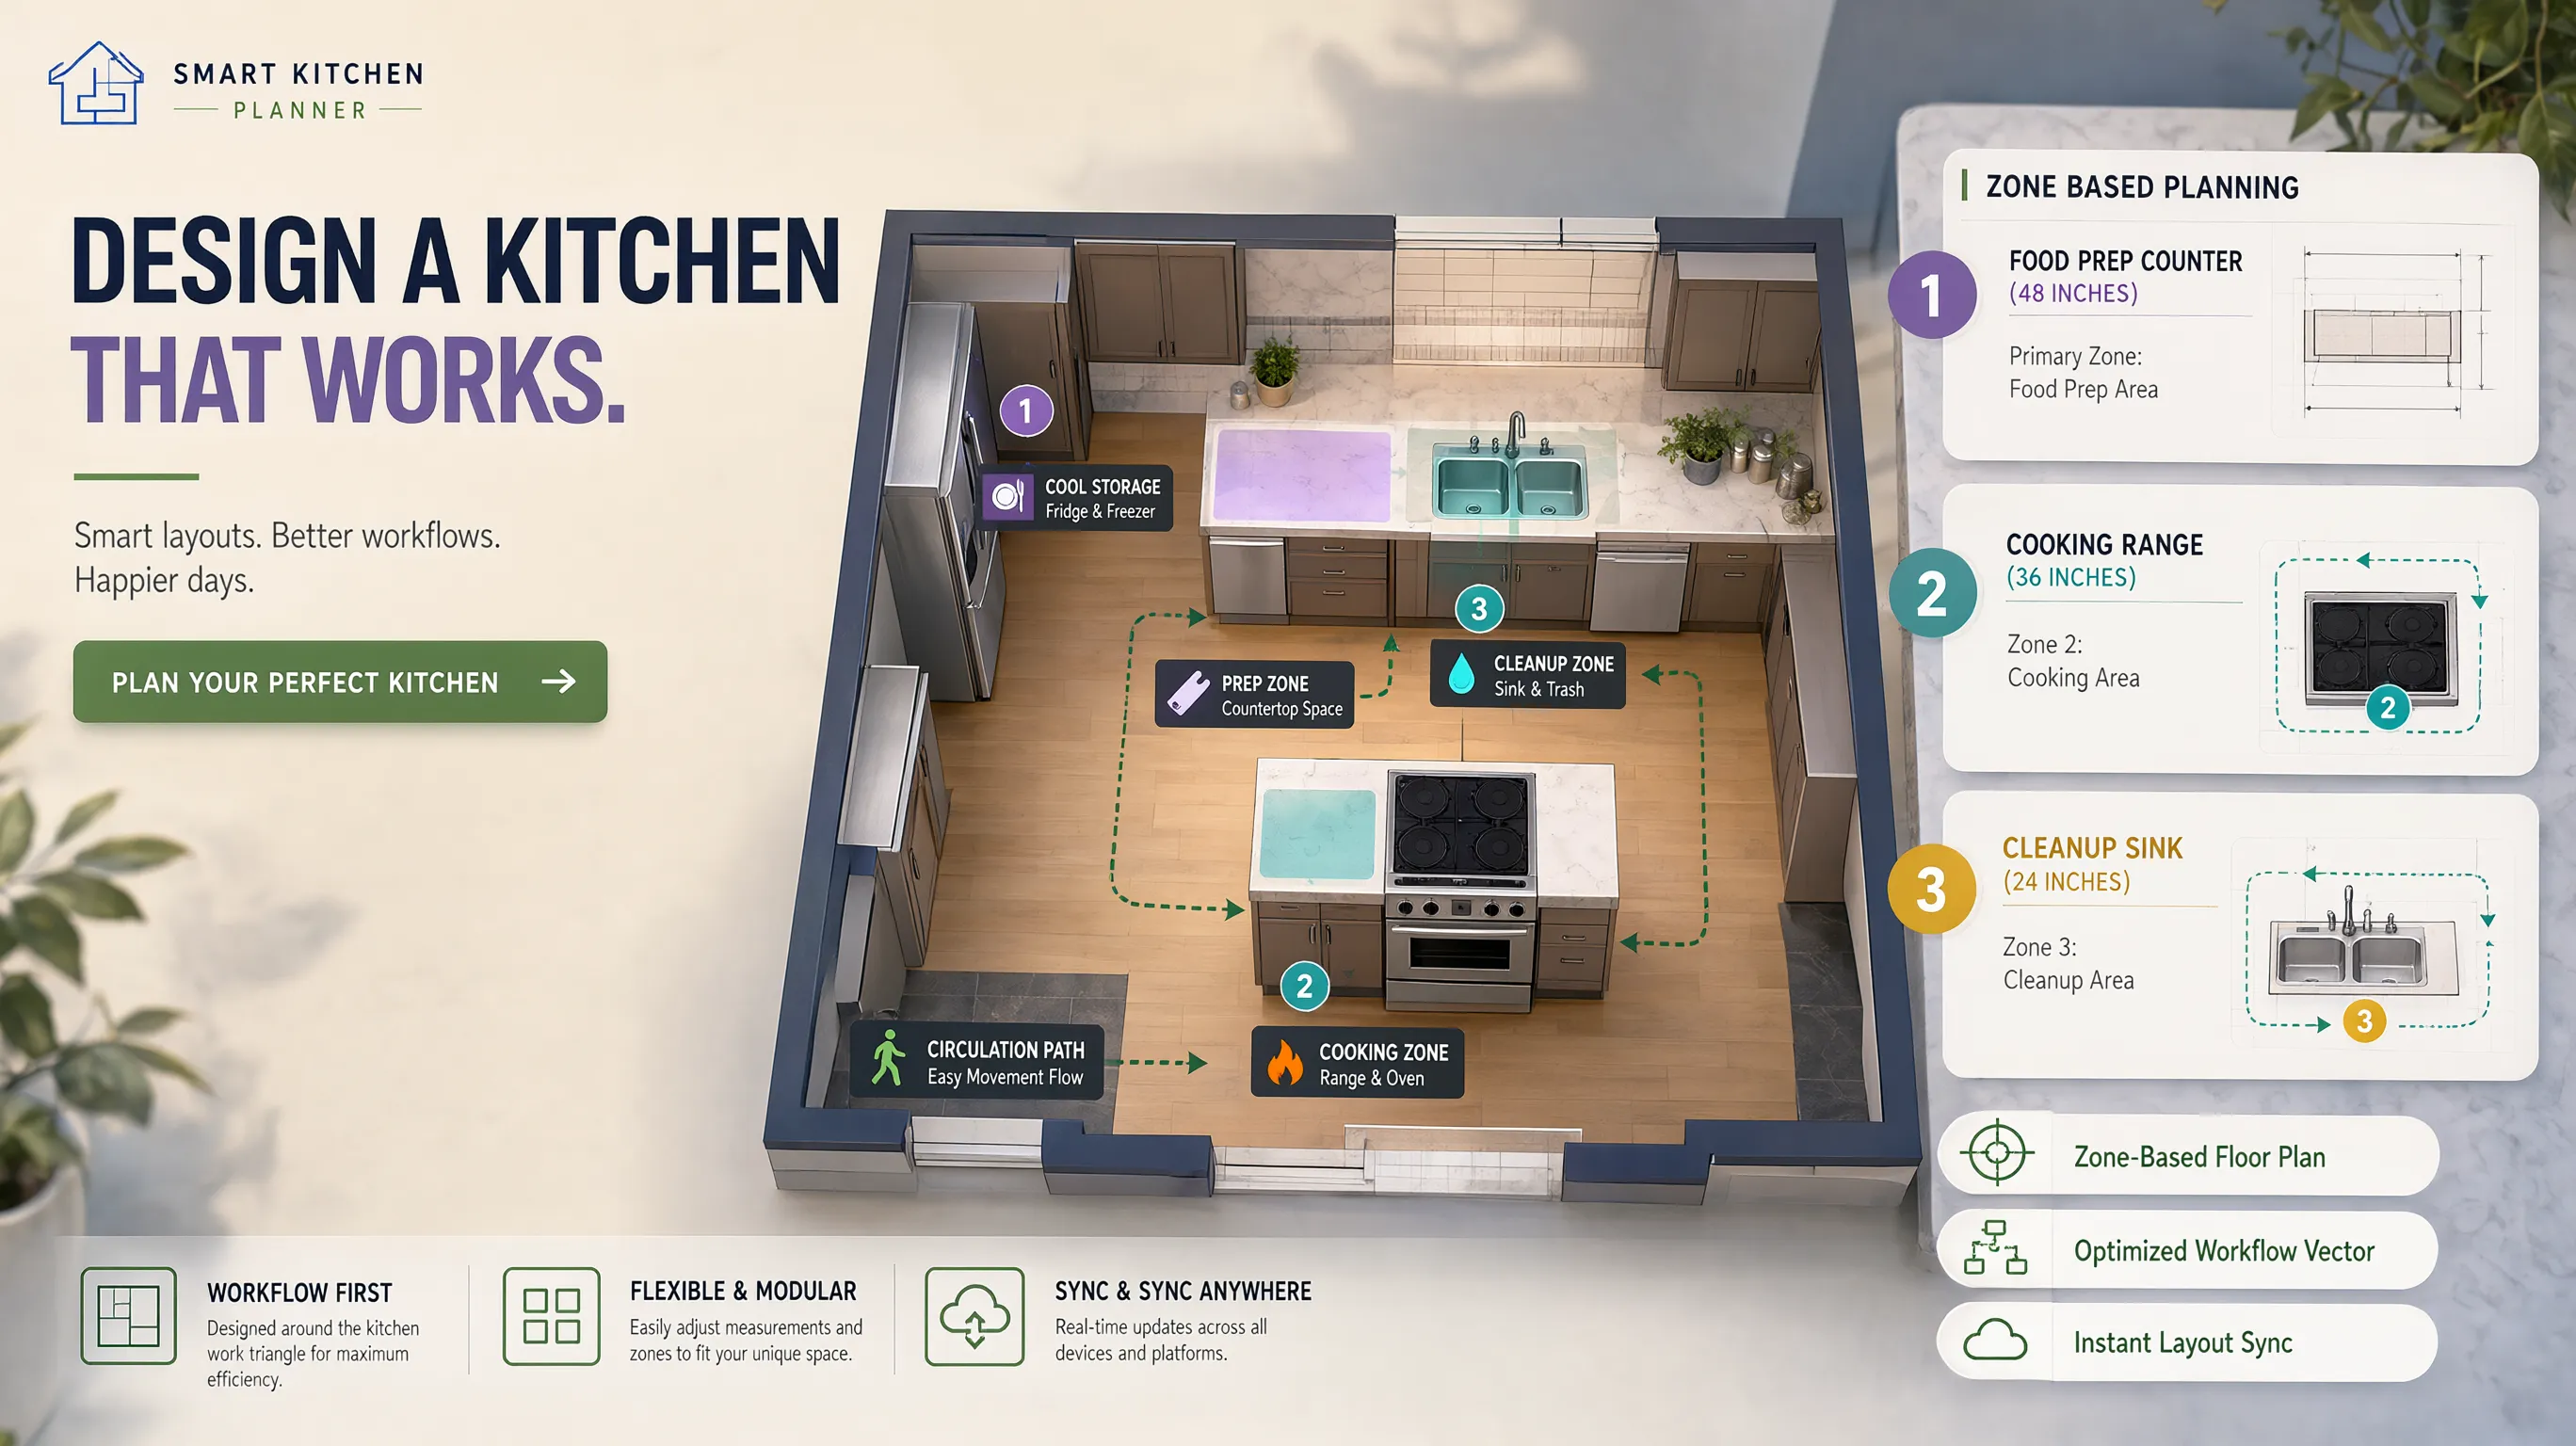
The Ultimate Open Plan Sign-Off Checklist:
- [ ] Validate Room Clearances: Confirm 42 to 48-inch walkways around islands and 36 inches behind dining chairs.
- [ ] Check Work Triangle Rules: Verify sink, stove, and fridge placements maintain smooth, unbroken step distances.
- [ ] Align Lighting Circuits: Place kitchen task lights, island pendants, dining chandeliers, and living room lamps on separate dimmer switches.
- [ ] Select Quiet Appliances: Confirm your dishwasher is rated below 42 dBA and your ducted range hood reaches 400+ CFM.
- [ ] Unify the Material Palette: Use continuous flooring and match metal hardware finishes across kitchen, dining, and living zones.
Visualize Your Complete Open Plan Floor Plan Today
Why risk spending thousands of dollars on structural wall tear-outs, custom cabinetry, or furniture sets without seeing how your open-concept layout will actually look and function?
Designing an open, beautifully connected space should be an exciting and fulfilling experience. You don't need to spend thousands of dollars on traditional architects or struggle with complicated CAD software to build an open-plan layout. With DesignHome Synthesis, you can simply describe your ideas or upload a floor plan of your room to test layout ideas, experiment with island placements, compare color schemes, and instantly craft an open plan kitchen design tailored to your exact floor plan.
Eliminate design guesswork—visualize, refine, and bring your complete open-concept vision to life with total confidence using DesignHome today!
External Resources & Industry Standards
To explore deeper technical insights into residential open-plan design, trade safety, and building codes, consult these authoritative industry resources:
- National Kitchen & Bath Association (NKBA) – Official guidelines for kitchen planning standards, ergonomic work triangle rules, and open-plan clearances.
- International Code Council (ICC) – Residential building codes, load-bearing wall removal guidelines, and structural safety standards.
- Illuminating Engineering Society (IES) – Residential lighting standards, color temperature guidelines, and task lighting metrics.
- Sustainable Furnishings Council (SFC) – Official guidelines for non-toxic natural textiles, low-VOC paint finishes, and eco-friendly wood furniture.
Frequently Asked Questions About Open Plan Kitchen Design
What is the best layout for an open plan kitchen?
The L-shaped layout with a central island is widely considered the most versatile open-plan layout. Running cabinets along two perpendicular walls leaves the central floor area open, while an island defines the kitchen boundary without blocking sightlines to dining and living areas.
How do I stop cooking smells from filling my open-concept living room?
Install a high-CFM ducted range hood rated for at least 400 to 600 CFM that vents cooking fumes directly through an exterior building wall. Avoid ductless recirculating filters, and run the hood fan on low for 10 minutes after cooking finishes.
How much space is needed between a kitchen island and dining table?
Maintain a clearance walkway of at least 48 inches (4 feet) between the back of kitchen island barstools and the edge of a dining table. This clearance allows people to slide out barstools and walk past seated dining guests without crowding.
How do you zone an open-plan room without building walls?
Zone an open plan using area rugs under living furniture, statement pendant lighting over dining tables, distinct floor material changes, dropped ceiling soffits over kitchens, and positioning sofas with their backs turned toward the cooking area.
What decibel rating is best for an open-plan dishwasher?
Choose a dishwasher rated at 42 dBA or lower. Dishwashers operating below 42 decibels are virtually silent, allowing you to run a washing cycle without interfering with television audio or conversation in adjacent living zones.


