

Here is the hard truth about modern living: when you knock down walls, you lose the safety net of hiding bad design behind closed doors.
In a traditional home, every room gets its own floor. You put ceramic tile in the kitchen, cozy carpet in the family room, and rich hardwood in the dining area. But in an open layout, your eyes take in the living room, dining nook, and kitchen counter all in a single glance.
That means every choice you make on one side of the room directly impacts the other side.
When homeowners search for flooring for open-plan homes, they quickly realize one thing: "I can see the whole space at once, so every flooring decision affects the rest."
If your floor looks like a patchwork quilt of mismatched boards and awkward threshold strips, the entire main level feels small, chaotic, and chopped up. But when you get your open plan flooring strategy right, your home instantly feels bigger, brighter, and effortlessly connected.
Before picking up a single sample, you must look at your floor not as a surface for one room, but as the underlying base that holds your entire main floor together.
One Continuous Floor or Different Flooring for Each Zone?
When planning an open layout, you face one major decision right at the start:
Should you run same flooring throughout the entire space, or split the area up with different materials?
This choice can feel paralyzing. But applying a simple rule of choice—reducing options to prevent decision fatigue—makes the right answer clear.
                  ┌────────────────────────────────────────┐
                  │      Choose Your Open-Plan Layout      │
                  └───────────────────┬────────────────────┘
                                      │
                      ┌───────────────┴───────────────┐
                      ▼                               ▼
        ┌───────────────────────────┐   ┌───────────────────────────┐
        │  ONE CONTINUOUS MATERIAL  │   │  DIFFERENT ZONE MATERIALS │
        └─────────────┬─────────────┘   └─────────────┬─────────────┘
                      │                               │
        ┌─────────────┴─────────────┐   ┌─────────────┴─────────────┐
        │ • Maximum visual stretch  │   │ • Tailored water control  │
        │ • No awkward T-molding    │   │ • Clear boundary lines    │
        │ • Cleaner, larger feel    │   │ • Higher risk of visual   │
        └───────────────────────────┘   │   clutter if mismatched   │
                                        └───────────────────────────┘
Option A: Continuous Flooring (The Seamless Stretch)
Running a continuous flooring open plan is the single fastest way to make a home feel twice its actual size.
Why? Because your eyes follow long lines without stopping. When hardwood or luxury vinyl runs directly from the front entryway through the living area and into the kitchen prep zone, your brain perceives the entire area as one giant space.
Pros: Clean layout, zero trip hazards, maximum light reflection, and zero awkward transition strips.
Cons: The material must be tough enough for grease splatters near the stove AND soft enough underfoot for living room relaxing.
Option B: Different Flooring (Zoned Materials)
Choosing different flooring open plan layouts means putting water-resistant tile in the kitchen and warm wood in the living area.
Pros: Every zone gets a surface custom-built for its exact daily wear.
Cons: Break up the floor incorrectly, and you create visual noise. A dark tile right next to light wood cuts your main floor in half.
If your primary goal is making your home feel bigger and less cluttered, running one material continuously is almost always the winning move. But if you must mix materials, you have to execute the transition with clear intent.
The Best Flooring Materials for Open-Plan Living
Not every material can survive the heavy demands of an open layout. Your living room floor needs to feel warm and quiet, while your kitchen floor takes heavy foot traffic, dropped cast-iron pans, and water splatters.
To narrow down the top flooring options for open concept spaces, evaluate how popular materials hold up across every zone:
When shopping for the best flooring for open plan setups, Luxury Vinyl Plank (LVP) and high-end engineered hardwood routinely top the list. They offer the exact look of authentic timber while giving you the moisture protection required near kitchen sinks and refrigerators.
If you want to compare real-world plank options, you can browse major lines directly on Home Depot or explore specialized tile and wood choices at Floor & Decor.
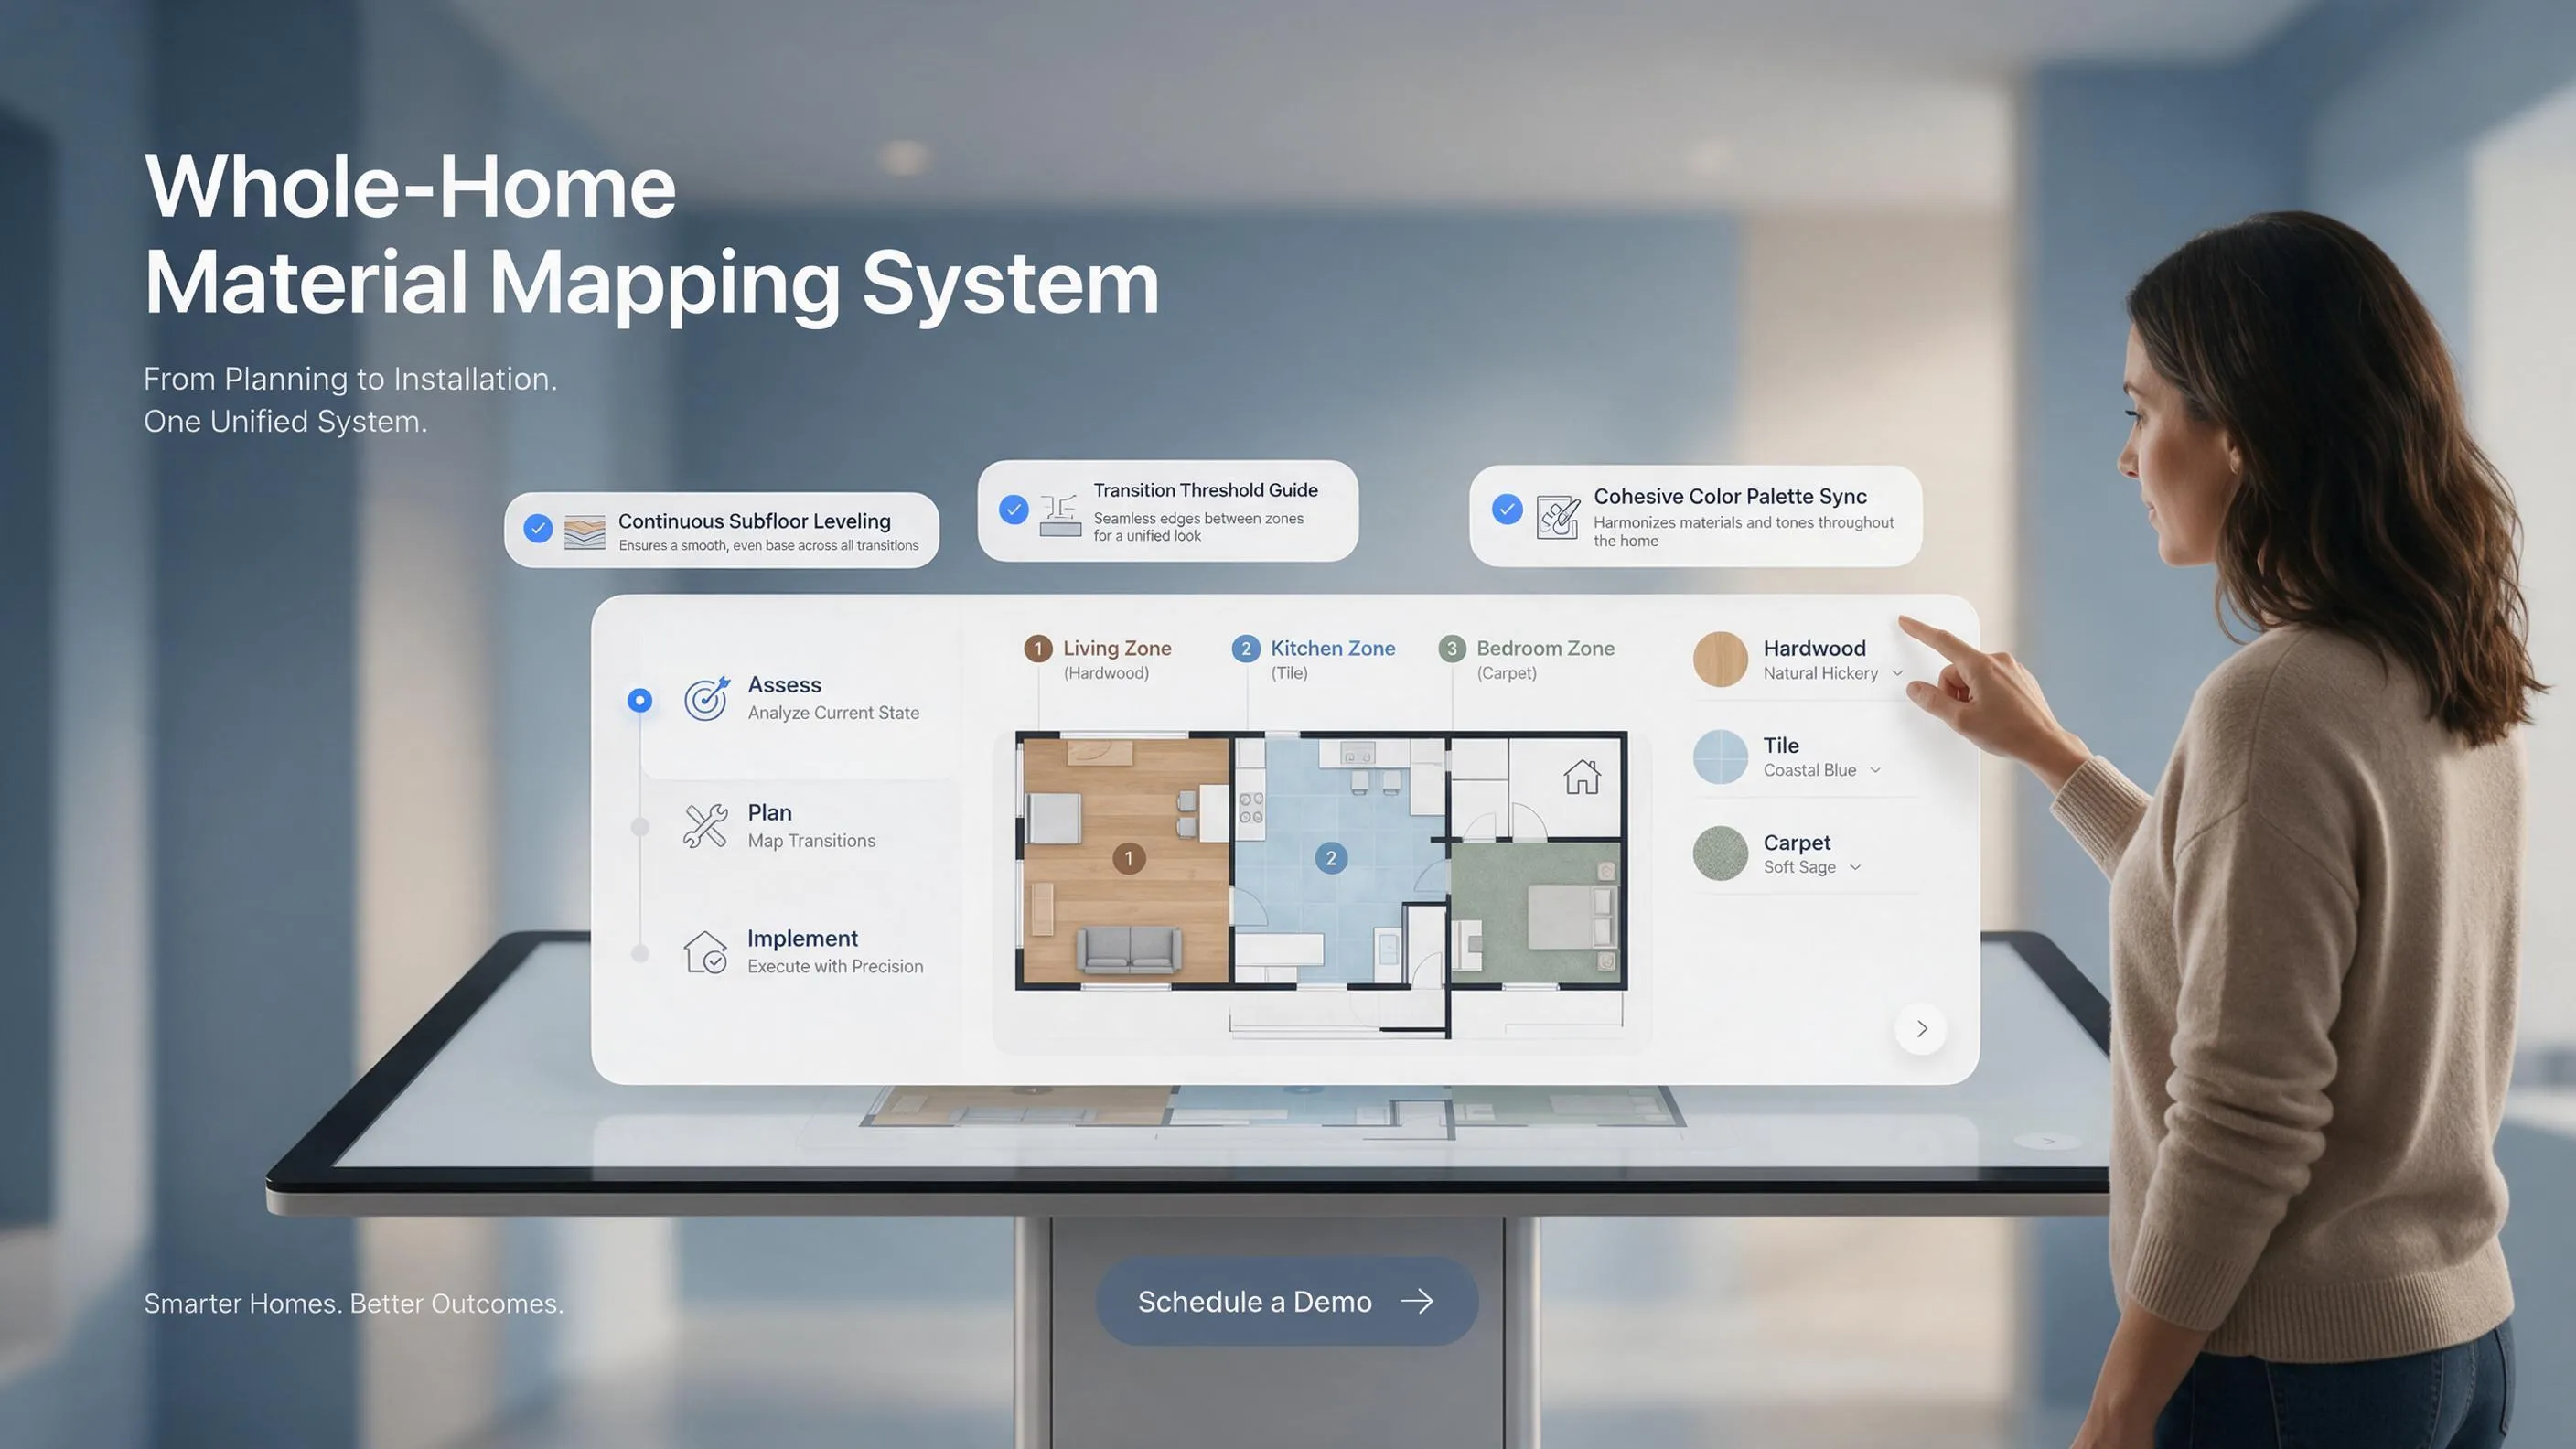
Let the Kitchen Floor Survive What the Living Room Floor Doesn't
Let's address the biggest concern homeowners face:
This is where real-life demands collide with visual design. The kitchen is a working zone. Milk drops, sauce splatters, and ice cubes land on the floor daily. If you put soft, unsealed wood or cheap carpet right next to the kitchen island, you are setting yourself up for expensive repairs.
To lock in durable open plan flooring that serves both zones without compromise, focus on these three safeguards:
- Pick a Surface with a Commercial Wear Layer: If you choose vinyl plank for your kitchen and living room flooring, look for a wear layer of 20 mil or higher. This stops pet nails, dropped utensils, and dragged barstools from scratching the finish.
- Prioritize Water Resistance at the Core: Make sure your kitchen flooring open plan selection features an SPC (Stone Plastic Composite) or WPC (Wood Plastic Composite) core. These cores will not swell or warp if a dishwasher leaks behind the cabinets.
- Control Room Acoustics: Hard surfaces across an open space create an echo chamber. If you lay stone tile or dense vinyl across the whole layout, soften the living area with a large felt-backed area rug to absorb sound without breaking up the floor line.
By choosing a material built for heavy utility, you protect your investment while keeping the living area comfortable.
Large Planks and Tiles Can Make an Open Plan Feel Even Bigger
Size matters more than you think. Small $3\times5$ foot tiles or narrow $2$-inch wood strips mean hundreds of grout lines or plank seams crisscrossing your main floor.
Your eyes register all those extra seams as visual clutter.
┌──┬──┬──┬──┬──┬──┬──┬──┬──┐
├──┼──┼──┼──┼──┼──┼──┼──┼──┤
├──┼──┼──┼──┼──┼──┼──┼──┼──┤
└──┴──┴──┴──┴──┴──┴──┴──┴──┘
Busy, choppy eyes stop at seams
┌───────────────────────────┐
├───────────────────────────┤
├───────────────────────────┤
└───────────────────────────┘
Clean, long lines stretch the room
To stretch your space, tap into visual continuity. When you run wide, long planks down the length of a room, your eye follows the unbroken lines all the way to the exterior walls.
- Wide Plank Hardwood & LVP: Opt for planks that are at least 7 to 9 inches wide and 60 inches or longer. Choosing wide plank flooring open plan designs slashes the total number of seams in half, instantly calming the room.
- Large Format Tiles: If you prefer stone or ceramic, skip standard $12\times12$ tiles. Go for a large format flooring open plan tile measuring $24\times24$ or $24\times48$ inches.
- Run Planks Toward the Main Light Source: Lay your planks parallel to the longest wall or pointing directly toward the largest window. Natural daylight will stream down the length of the boards, making the room feel broad and open.
Using large tiles open plan style or wide planks creates an expansive, seamless foundation that lets your furniture stand out.

Choose a Floor Color That Doesn't Fight the Rest of the Room
Choosing open plan flooring colors can feel like balancing a dangerous tightrope. Pick a floor that is too dark, and every speck of dust will show while the room feels small. Pick a color that is too yellow, and it will clash with your white kitchen cabinets.
When narrowing down flooring colors for open concept spaces, keep these color principles in mind:
Mid-Tone Warm Neutrals (The Safest Choice)
Mid-toned oak, warm greige, and soft natural walnuts hit the sweet spot. They hide everyday dust and pet hair, reflect light evenly, and work equally well alongside dark kitchen islands or light living room sofas.
Light Natural Tones (The Airiest Feel)
Pale blonde oak and Scandinavian light woods maximize light reflection. They expand small footprints and pair beautifully with minimalist furniture and bright walls.
Very Dark Espresso Tones (Proceed With Caution)
Dark floors look luxurious in magazine photos, but they act as a backdrop for every scratch, dog hair, and footprint. They also absorb ambient light, making open layouts feel smaller.
• Expands tight footprints
• Fits modern styling
• Easy to match furniture
• Timeless appeal
• Shows every scratch
• Soaks up natural light
When gathering floor color ideas, remember that your floor serves as the background, while your sofa, dining set, and cabinets serve as the main focal points. Keep the floor color grounding and neutral so your furniture isn't forced to compete for attention.
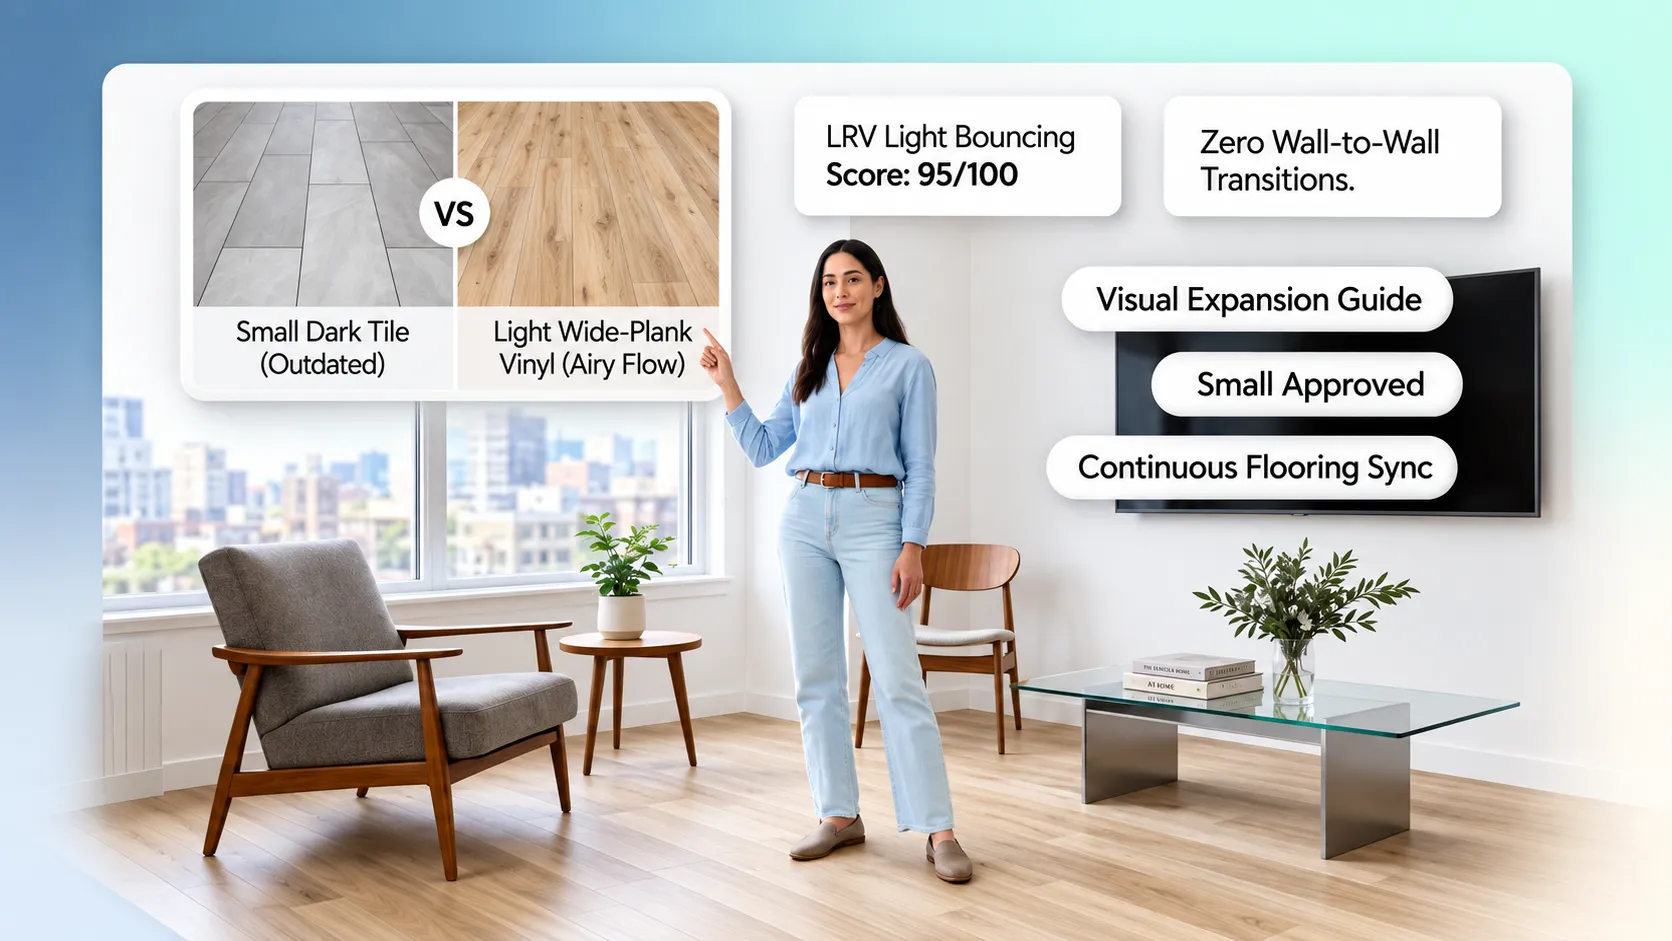
Use Flooring to Define Zones Without Building Walls
You knocked down walls to get an airy, bright layout. The last thing you want to do is put up dividers or tall furniture screens to mark where the kitchen ends and the living area begins.
Instead, use smart open plan flooring ideas to create invisible functional zones.
- 1. The Area Rug Anchor
The simplest way of flooring to define zones without touching your subfloor is using large area rugs. Place a $9\times12$ woven rug under your sofa and coffee table to frame the conversation area. Your brain automatically reads the rug boundary as a "room," even with no walls around it. - 2. Directional Changes
If you run hardwood throughout the main level, keep the living and dining planks running lengthwise. But in a large dining nook or entryway alcove, lay the boards in a herringbone pattern using the same color stain. This creates a distinct functional zone without introducing a clashing material. - 3. Inset Border Frames
For custom builds, framing a dining table with a dark wood or tile inset—set right flush into the main flooring—marks out distinct open concept flooring zones while keeping the floor completely flat and easy to sweep.
If You Mix Flooring, Make the Change Look Intentional
If you choose mixing flooring open plan layouts—like laying tile in the kitchen and hardwood in the living area—you must execute the transition carefully. A straight metal strip screwed down right across the middle of a room looks like a design mistake.
To master an open plan flooring transition, follow these three rules:
┌──────────────┬──────────────┐
│              │              │
│   Hardwood   │    Tile      │
│              │              │
└──────────────┴──────────────┘
Choppy, looks like an afterthought
┌──────────────┐ ╲
│              │  ╲   Hexagon
│   Hardwood   │   ├─ Tile
│              │  ╱   Transition
└──────────────┘ ╱
Custom, artistic, deliberate boundary
- Use Organic Curved Lines: If you are joining hexagon tile to wood plank, don't cut the tile in a harsh straight line. Let the hexagonal tiles "bleed" irregularly into the wood planks. This creates an artistic transition rather than an abrupt break.
- Match Material Heights: Make sure your tile subfloor and wood subfloor finish at the exact same height. You want a flat flush transition without tall T-molding strips that trip family members.
- Align Transitions with Architectural Anchors: Never stop a floor change in the middle of a room for no reason. End the tile transition directly along the edge of a kitchen island or aligned with an exterior wall corner so the boundary makes visual sense.
When handling different flooring open concept layouts, making transitions look deliberate turns a potential structural headache into a custom feature.
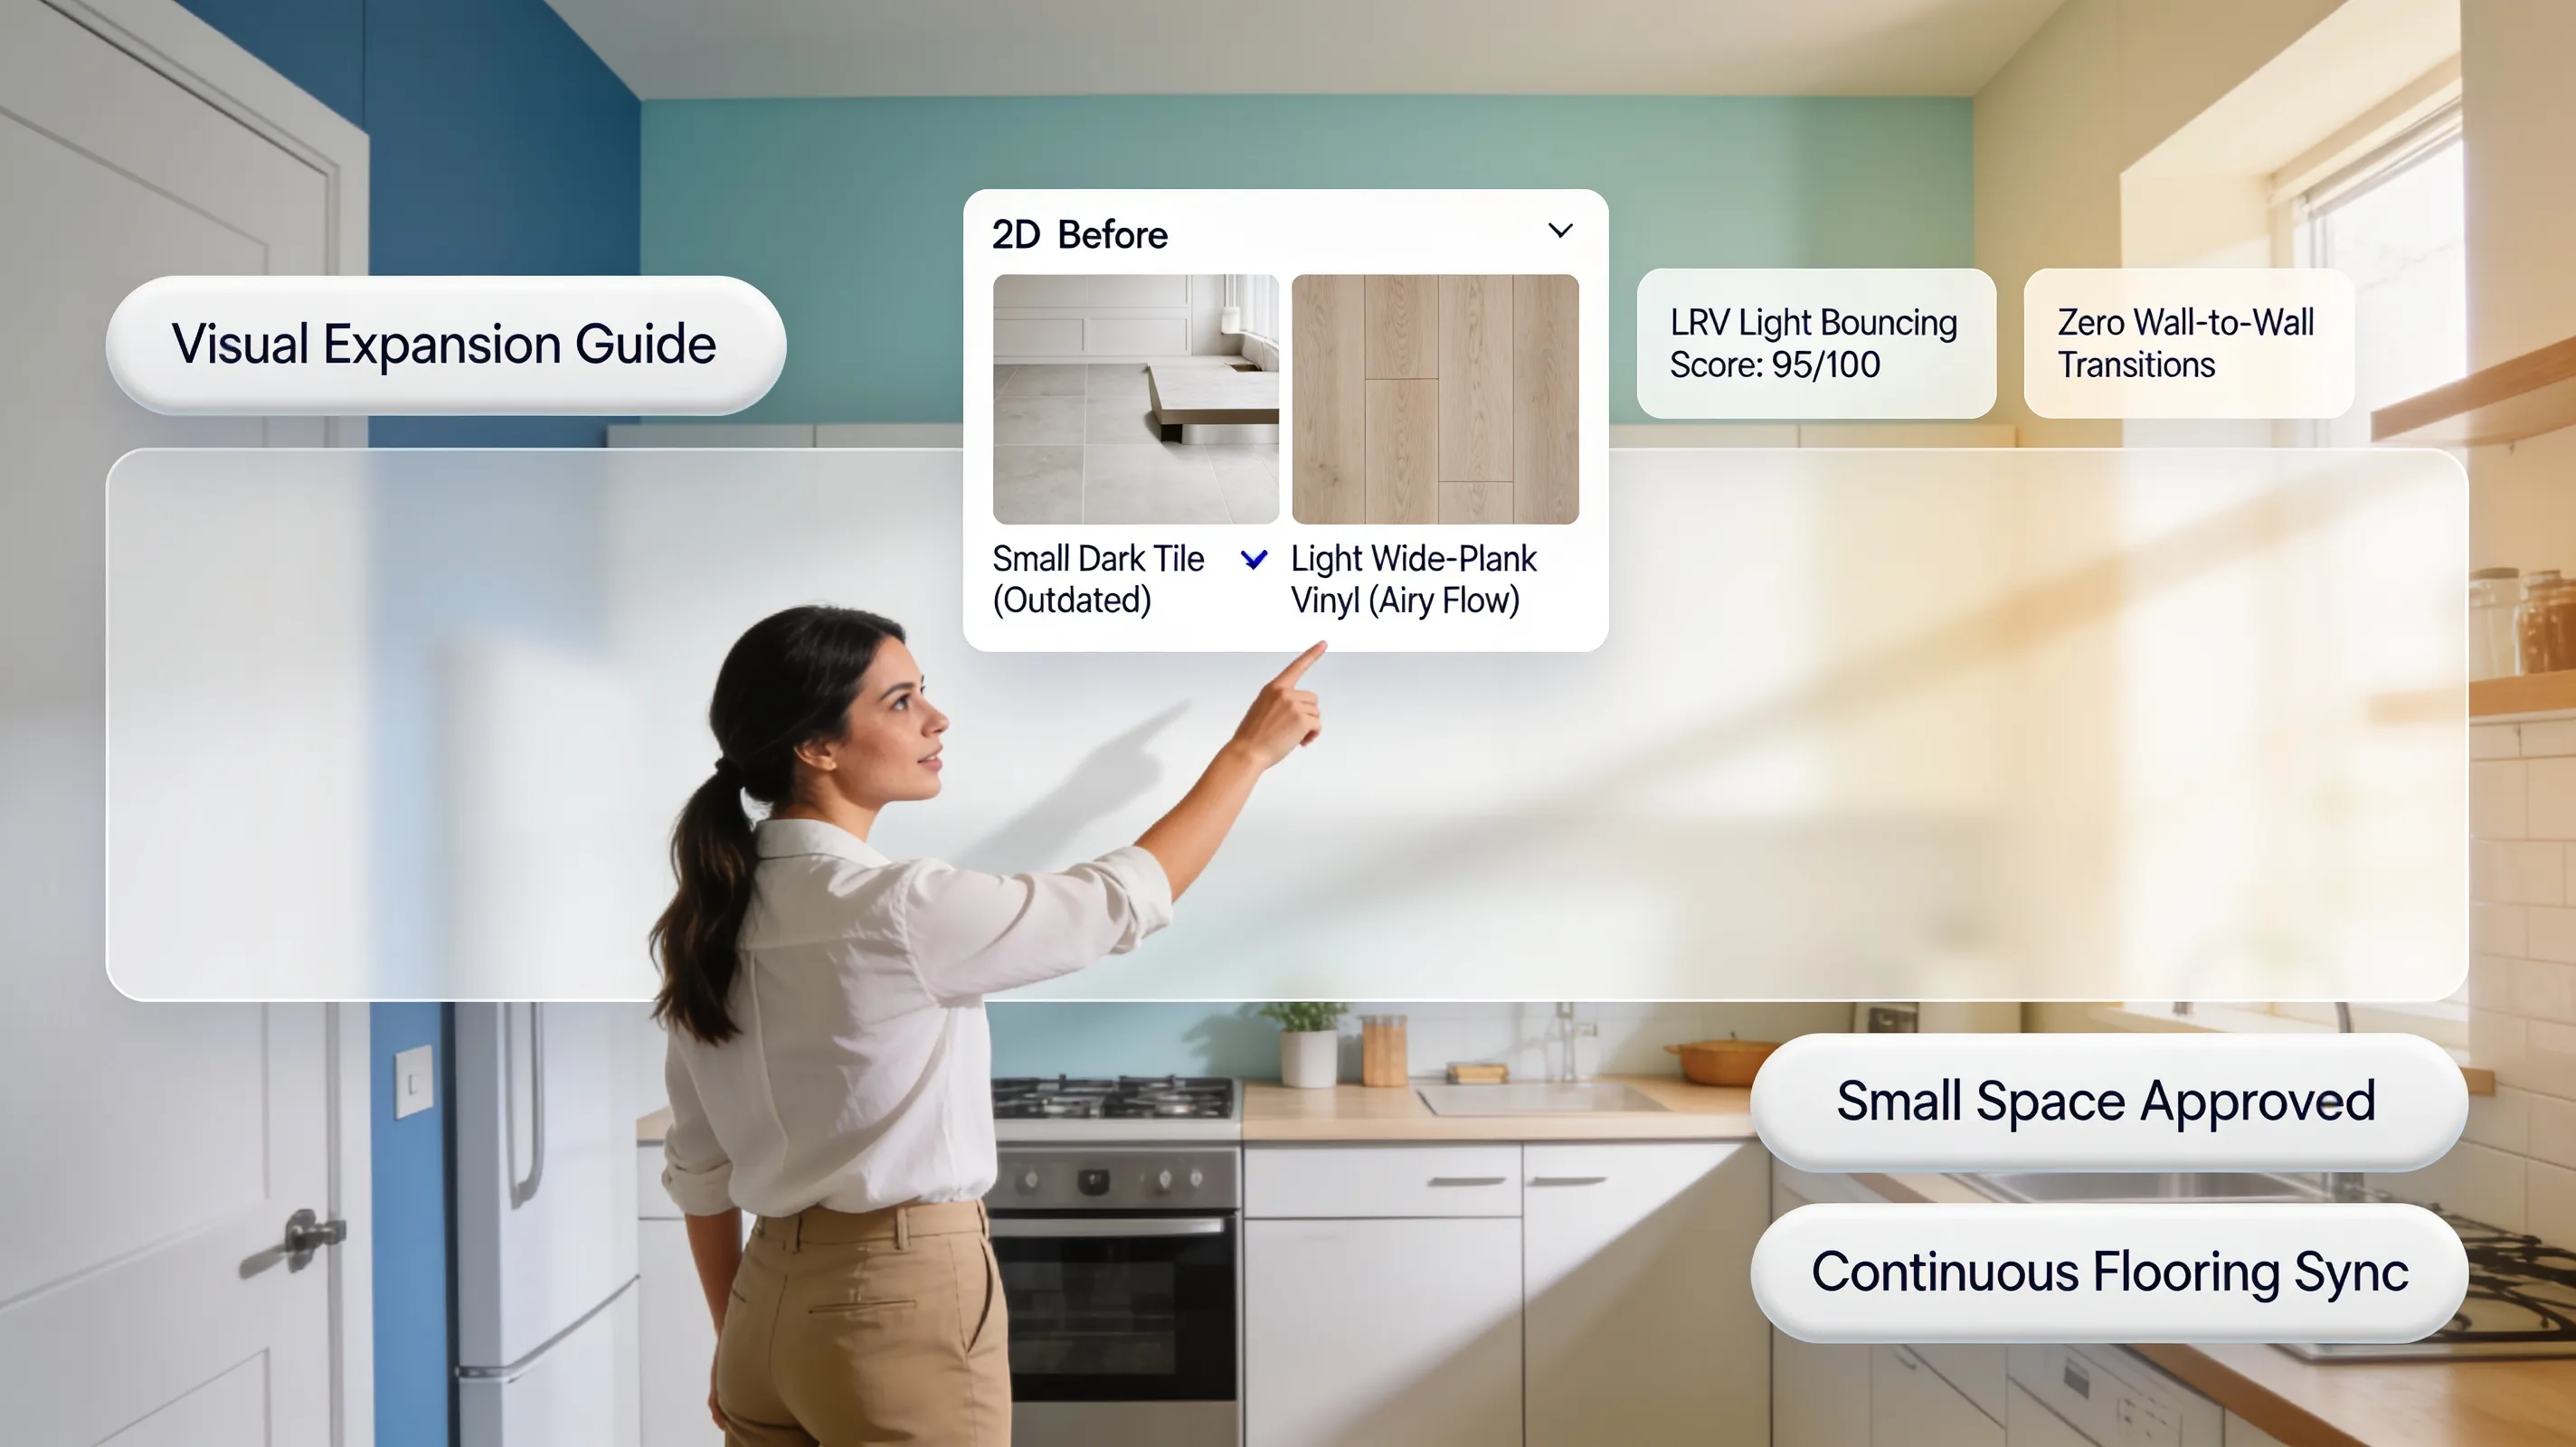
Make the Floor Work With Cabinets, Walls, Furniture, and Light
A paint swatch or floor sample viewed alone under bright fluorescent store lighting tells you almost nothing about how it will look in your home.
Your floor sits alongside kitchen cabinets, painted drywall, soft upholstery, and natural sunlight. To avoid a costly mismatch, judge your sample inside its real visual environment.
                  ┌────────────────────────────────────────┐
                  │      Test Your Sample In the Room      │
                  └───────────────────┬────────────────────┘
                                      │
        ┌─────────────────────────────┼─────────────────────────────┐
        ▼                             ▼                             ▼
┌───────────────┐             ┌───────────────┐             ┌───────────────┐
│ CABINET MATCH │             │  WALL COLOR   │             │   LIGHTING    │
│ Keep undertones│             │ Check contrast│             │ Watch tones   │
│ aligned       │             │ levels        │             │ shift all day │
└───────────────┘             └───────────────┘             └───────────────┘
Matching Flooring with Kitchen Cabinets
Avoid using the exact same tone for your floor and your cabinets, or your kitchen will look like a solid block of wood. If you have warm honey oak cabinets, pick a floor that is either two shades lighter or darker, or go with a painted cabinet. If you have crisp white cabinets, almost any wood tone will pop against them.
Coordinating Flooring with Furniture
Do you have an heirloom cherry dining table or a visitdark leather sofa? Bring those wood and fabric finishes into the decision. Your floor shouldn't share the exact same wood species as your furniture, but the undertones (warm, cool, or neutral) must agree.
Testing Flooring and Wall Colors Under Daily Light
Natural daylight changes color temperature constantly throughout the day:
- Morning light is cool and blue.
- Late afternoon sun turns golden and warm.
- Evening LED lights can lean yellow or cool white depending on your bulbs.
Lay your sample flat on the floor next to your walls and cabinets, and leave it there for 24 hours. Look at it at 8 AM, 2 PM, and 8 PM before making your final purchase.
Open-Plan Flooring for Pets, Kids, Spills, and Heavy Traffic
Let's drop the design theory for a second and talk about real life.
An open-plan floor is the busiest highway in your house. Kids race through it, dogs chase tennis balls across it, and friends gather on it during weekend get-togethers. Choosing a delicate floor that scratches when a pet runs across it will cause endless frustration.
                       ┌─────────────────────────┐
                       │  PETS, KIDS & SPILLS    │
                       └────────────┬────────────┘
                                    │
               ┌────────────────────┴────────────────────┐
               ▼                                         ▼
   ┌──────────────────────┐                  ┌──────────────────────┐
   │ HIGH LOSS RISK       │                  │ SMART CHOICE         │
   ├──────────────────────┤                  ├──────────────────────┤
   │ • High-gloss wood    │                  │ • Textured Matte LVP │
   │ • Soft pine planks   │                  │ • SPC Rigid Core     │
   │ • Unsealed stone     │                  │ • Rated 20mil+ Wear  │
   └──────────────────────┘                  └──────────────────────┘
To protect your investment and secure durable open plan flooring, avoid these three costly mistakes:
- Avoid High-Gloss Finishes: High-gloss floors act like mirrors for dog claw scratches, shoe scuffs, and dusty footprints. Stick to matte or low-sheen wire-brushed textures.
- Beware of Soft Wood Species: Pine, fir, and low-grade American cherry dent easily under high heels or dropped toys. If you want real timber, stick to dense hardwoods like White Oak or Maple.
- Prioritize Slip Resistance for Pets: If you are buying open plan flooring for pets, pick a plank with embossed-in-register (EIR) texture. This gives dog paws real traction so they don't slide around when running around corners.
Investing in high traffic flooring designed for protect your investment real life means you spend your weekends enjoying your main floor rather than stressing over every minor spill.
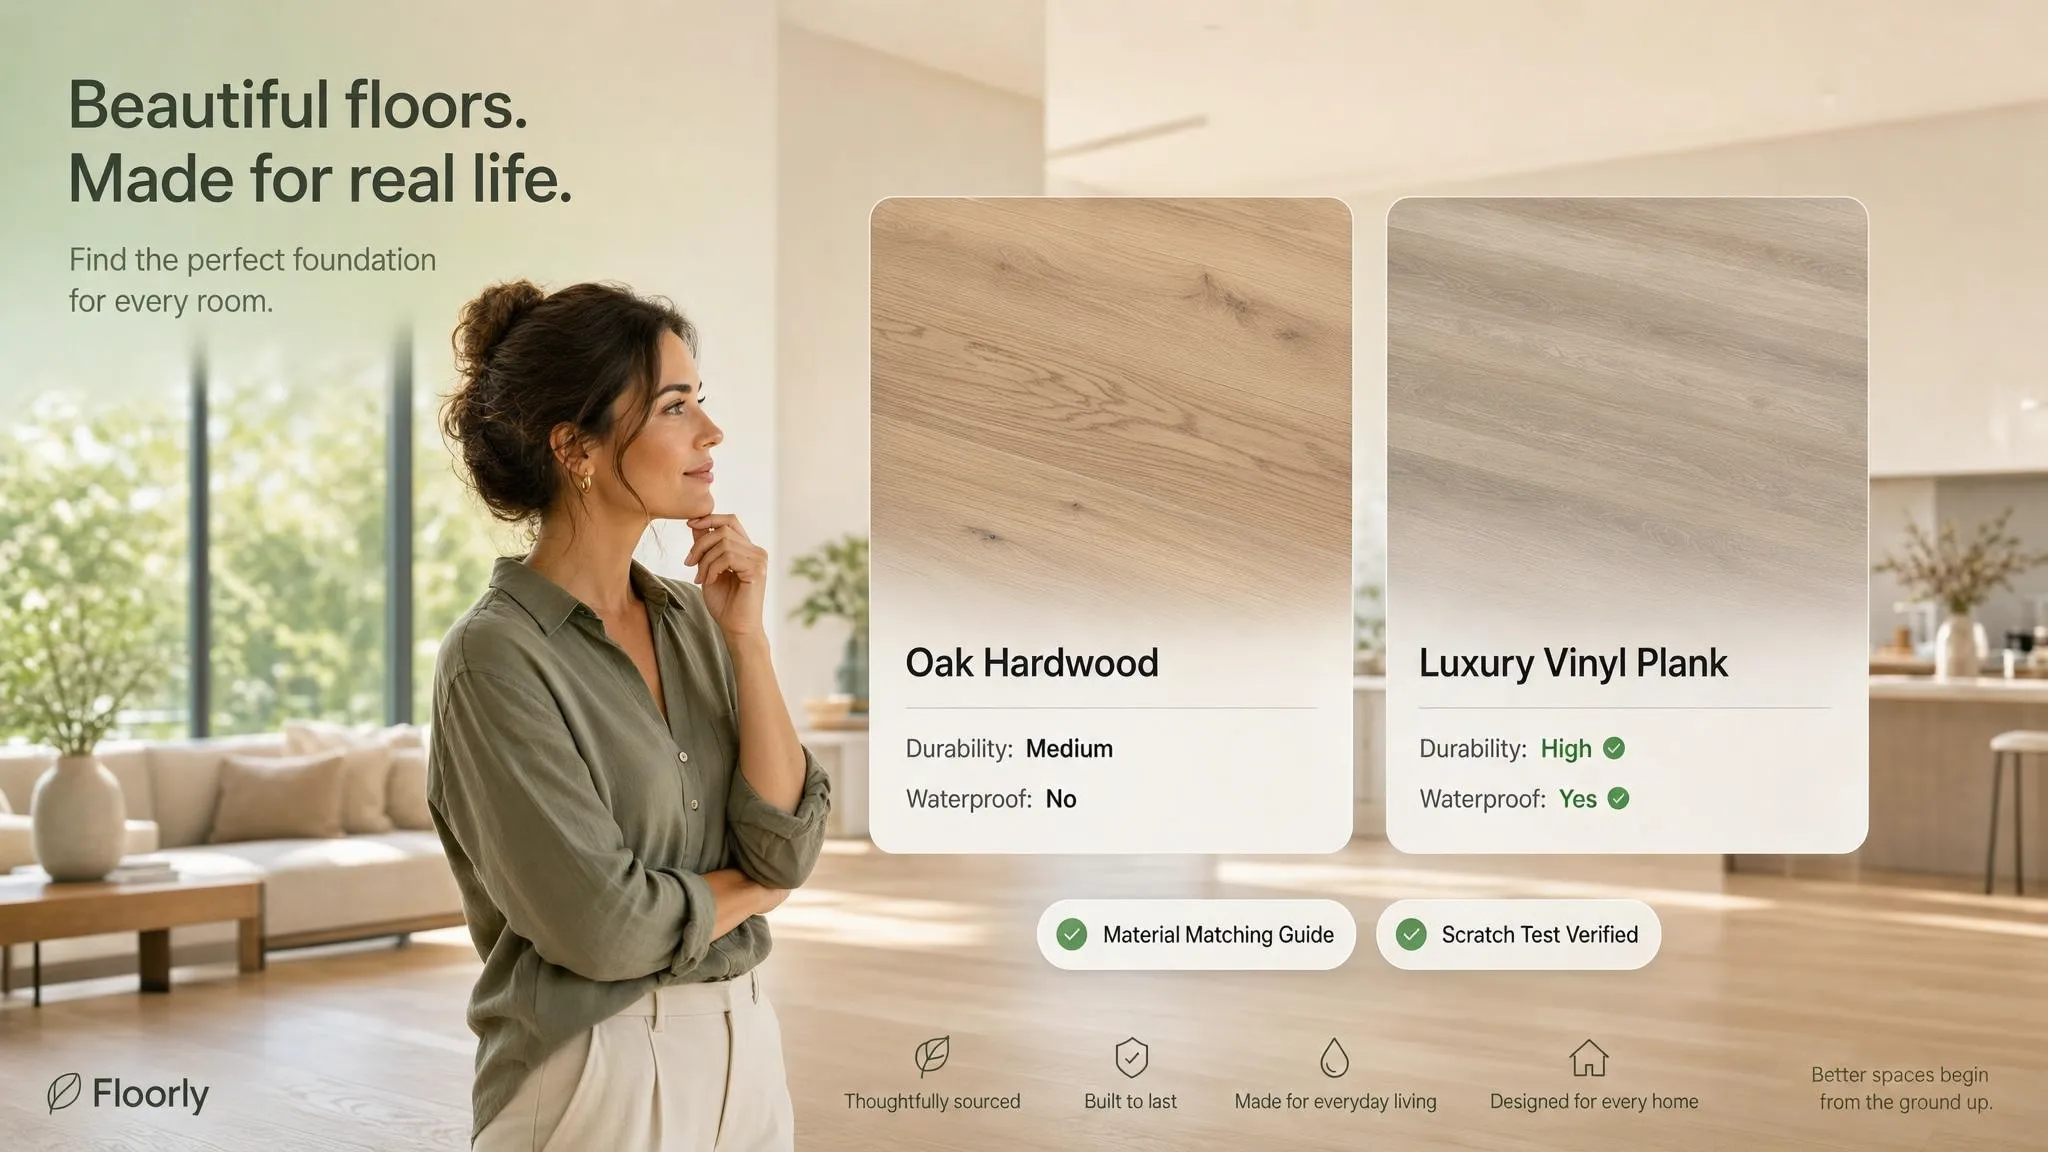
See the Entire Open Plan Before You Commit to the Floor
Nothing causes more redecorator's anxiety than staring at a 4-inch plastic sample chip and trying to imagine how it will look across 1,200 square feet of open living space.
This uncertainty causes decision paralysis, keeping your project stalled for weeks.
The solution? Eliminate the guesswork before you spend a single dollar on materials or labor.
       1. UPLOAD PHOTO               2. APPLY MATERIAL              3. CONFIRM MATCH
┌──────────────────────────┐   ┌──────────────────────────┐   ┌──────────────────────────┐
│ Snap a photo of your     │──>│ Test wide planks, tile,  │──>│ View sightlines from the │
│ open main floor          │   │ or wood in real-time     │   │ kitchen to the sofa      │
└──────────────────────────┘   └──────────────────────────┘   └──────────────────────────┘
Using an open plan flooring visualizer lets you upload a quick smartphone picture of your current space and test dozens of different flooring styles in seconds. You can swap out dark walnut planks for light oak or test a tile-to-wood transition right on your screen.
To explore options across leading manufacturers, test your room layout using visual tools like the Shaw Floors Visualizer or experiment with floor plans using Armstrong Flooring.
When you can visualize flooring choices across your actual furniture, cabinets, and lighting, you eliminate guesswork and order your materials with total confidence.
Build an Open-Plan Flooring Scheme That Flows From Room to Room
Now it's time to bring everything together into a clear, step-by-step installation plan.
To turn your ideas into a finished home that looks like it was designed by a seasoned professional, follow this 5-step checklist for your open plan flooring scheme:
  STEP 1 ──> STEP 2 ──> STEP 3 ──> STEP 4 ──> STEP 5
  Assess     Select     Choose     Plan       Visualize
  Wear       Material   Scale      Transitions & Order
- Map Your Wear Zones: Identify high-moisture zones (kitchen, back entryway) and relaxation zones (living room, dining area).
- Lock In Your Material Strategy: Decide on one continuous material (like 20mil LVP or engineered White Oak) or plan your zoned transitions.
- Pick Your Plank/Tile Scale: Select wide planks (7"+ wide) or large format tiles ($24"\times24"+$) to minimize visual seam clutter.
- Coordinate Your Tones: Ensure your floor color complements your kitchen cabinets and trim while matching the undertones of your main furniture pieces.
- Test Your Layout with a Design Visualizer: Drop your chosen floor into an open concept flooring plan preview tool to confirm sightlines from every angle before placing your order.
A great main level doesn't happen by accident. By choosing durable materials, running long unbroken lines, and matching your floor to your daily lifestyle, you create a beautiful, welcoming home where every room flows naturally into the next.
Frequently Asked Questions: Flooring for Open-Plan Homes
1. What is the single best flooring material for an open-plan home layout?
If you want one surface that handles every demand of an open-plan living room, kitchen, and dining space without failing, luxury vinyl plank (LVP) is the clear champion.
Open floor plans connect high-traffic living zones directly to water-prone kitchen areas. Traditional solid hardwood can warp near sinks, and standard tile feels cold and loud in giant living rooms. Rigid core LVP gives you 100% waterproof protection under kitchen counters while delivering the warm, soft, wood-look feel you want under your living room couch.
Choosing a continuous, high-grade LVP layout eliminates awkward room transitions, unifies your sightlines, and keeps your entire ground floor looking expansive and effortless.
2. Should I run the exact same flooring through my entire open-plan layout?
Yes. Laying one continuous floor across your entire open-plan ground floor is the fastest, most effective way to make your home feel massive, airy, and expensive.
"I'm worried my open floor plan will look boring if I don't change materials between the kitchen and living room."
Here is what happens when you split an open floor plan with two different materials: you draw a harsh visual line right across your open space, cutting the room's perceived square footage in half.
Running the exact same surface from the front entryway through the living area and into the kitchen creates an unbroken horizon. Instead of relying on floor material changes to separate spaces, use large area rugs, strategic lighting, and furniture arrangements to define cozy sub-zones without cluttering your floor plan.
3. How do I define different functional zones in an open floor plan without changing floors?
You do not need to change your flooring material to show where the living room ends and the dining area begins. In fact, changing materials across an open space often looks like an accidental renovation mistake.
To build clear functional zones while keeping your floor surface unified:
- Anchor Seating with Area Rugs: Place a large, plush rug under your living room sofa and coffee table. The rug establishes a clear "living room" boundary while letting the main floor run seamlessly around it.
- Use Strategic Lighting: Hang low pendant lights over the kitchen island and a distinct chandelier over the dining table to create visual ceilings for each zone.
- Align Furniture Along Sightlines: Position the back of your sectional sofa or a low console table toward the entryway to naturally direct foot traffic around seating areas.
4. How do I reduce echoing and loud noise in a large open-plan living space?
Open floor plans are infamous for bouncing sound around. Without interior walls to block noise, every clinking dish in the kitchen and every shoe tap in the hallway echoes across your living room.
To keep your open layout quiet and peaceful:
- Pick Acoustic-Backed Flooring: Choose luxury vinyl plank or laminate options that come pre-attached with high-density foam or cork underlayment pads. These built-in acoustic barriers absorb footstep impacts before sound can bounce.
- Avoid Unpadded Hard Surfaces: Avoid polished concrete or bare ceramic tile across huge open areas unless you plan to cover majority of the space with soft textiles.
- Layer Soft Furnishings: Combine your main hard surface with thick rug pads, upholstered furniture, fabric curtains, and wall art to absorb mid-range voice frequencies.
5. Can I combine real wood and porcelain tile in an open layout without it looking awkward?
You can, but you have to be deliberate. Trying to join wood and tile in an open space without a physical wall or doorway requires a clear architectural boundary.
If you must mix real hardwood in the living area with porcelain tile in the kitchen:
- End Tile Flush with Island Counters: Run your kitchen tile so it terminates directly along the outer edge of your kitchen island or breakfast bar. This creates a logical, intentional line where the kitchen footprint ends.
- Try a Custom Interlocking Transition: Instead of a straight metal transition strip, create a modern "hexagon tile bleed" where hexagonal floor tiles interlock irregularly into hardwood planks across the boundary zone.
- Keep Color Tones Consistent: Ensure the base undertone of your tile matches the undertone of your hardwood so the two materials feel like part of the same design family.
6. Which direction should flooring planks run in a large open-concept home?
Choosing board orientation in a massive, open space can feel confusing because you don't have narrow walls guiding your decision.
The golden rule for open-plan board direction is simple: run planks parallel to your primary natural light source or toward your main back windows.
When daylight streams through large patio doors or picture windows, it shines down the length of the boards rather than across the seams. This hides minor plank joints, highlights natural grain patterns, and creates an inviting visual path that draws your eyes directly toward the outdoors. If your open space has a dominant, long entryway hallway, running planks straight down the entrance corridor into the main living zone works equally well.
7. What plank size works best for wide open floor plans?
In a small, compartmentalized home, narrow 3-inch floorboards can look fine. But in a wide open floor plan, small boards create a busy, chaotic grid of seam lines that distracts from your open architecture.
For open-plan spaces, choose wide plank flooring (7 inches to 9+ inches wide) and longer board lengths (at least 4 to 6 feet long).
Wide, long planks dramatically reduce the total number of visual seams across your ground floor. Fewer seams mean less visual noise, creating a calm, expansive canvas that allows your kitchen cabinetry, island, and furniture to take center stage.
8. What floor colors keep an open-plan home feeling bright, warm, and inviting?
Floor color dictates the entire mood of an open-plan layout because the surface covers so much unbroken square footage.
Mid-Tone Warm Oak and Natural Greige: These are the safest, most versatile options for open layouts. They reflect natural sunlight, hide daily dust and pet hair, and bridge cool kitchen stainless steel with warm living room upholstery.
Avoid Pitch-Black Dark Stains: Dark walnut or espresso floors in an open layout absorb massive amounts of natural light and reveal every single speck of dust, footprint, and pet hair across your main walking paths.
Avoid Stark White Finishes: Pure white tiles or pale whitewashed boards can turn a large open room into a cold, clinical, echoing box.
9. Is luxury vinyl plank or engineered hardwood better for open-plan kitchens and living rooms?
Both materials are hugely popular for open layouts, but they serve different priorities:
• Adds real estate resale value
• Warps if kitchen leaks sit unattended
• Requires specialized wood cleaning
• Budget-friendly material & labor
• Resists major spills & dog claws
• Mops clean in minutes
If your priority is authentic natural beauty, premium home value, and timeless warmth—and you don't have pets or messy toddlers—engineered hardwood is a fantastic luxury choice.
If your priority is total peace of mind against kitchen spills, dog water bowls, high foot traffic, and easy maintenance, rigid core LVP delivers the exact same visual beauty with zero stress.
10. How do I maintain and clean a huge open floor plan without wasting hours every week?
Cleaning 1,200+ square feet of connected flooring can quickly become a exhausting weekend chore if you choose a high-maintenance surface.
To keep open-plan floor maintenance fast and simple:
- Select Low-Satin or Matte Finishes: High-gloss floors act like mirrors, showing smudges, water spots, and sock prints every time light hits them from the side. Matte and low-satin finishes diffuse light and keep floors looking clean all week.
- Choose Micro-Beveled Edges: Deep V-groove board edges collect crumbs and dirt in kitchen zones, requiring detailed vacuuming. Micro-beveled or square edges sweep clean instantly.
- Invest in a Smart Robot Vacuum: Because open layouts have no doorway thresholds to block movement, a robot vacuum can clean your entire ground floor in one continuous pass while you focus on your day.


