

You stand in your kitchen with a knife in one hand and a freshly washed chopping board in the other, taking a heavy breath.
To chop an onion, you washed it at the sink, pivoted around an open dishwasher door, walked eight feet across to the refrigerator for an extra pepper, and almost tripped over someone opening the pantry. By the time you reach the stovetop, your counter is covered in clutter, your feet are tired, and a simple weeknight meal feels like a exhausting obstacle course.
Why does a kitchen feel awkward even when every appliance is brand new? Because your kitchen work triangle is broken.
Whether you are planning a full remodel or updating your existing floor plan, understanding the classic kitchen work triangle guide is the secret to moving from chaotic prep to smooth, effortless cooking. Here is how to measure, align, and refine your kitchen layout to save time and energy on every single meal.
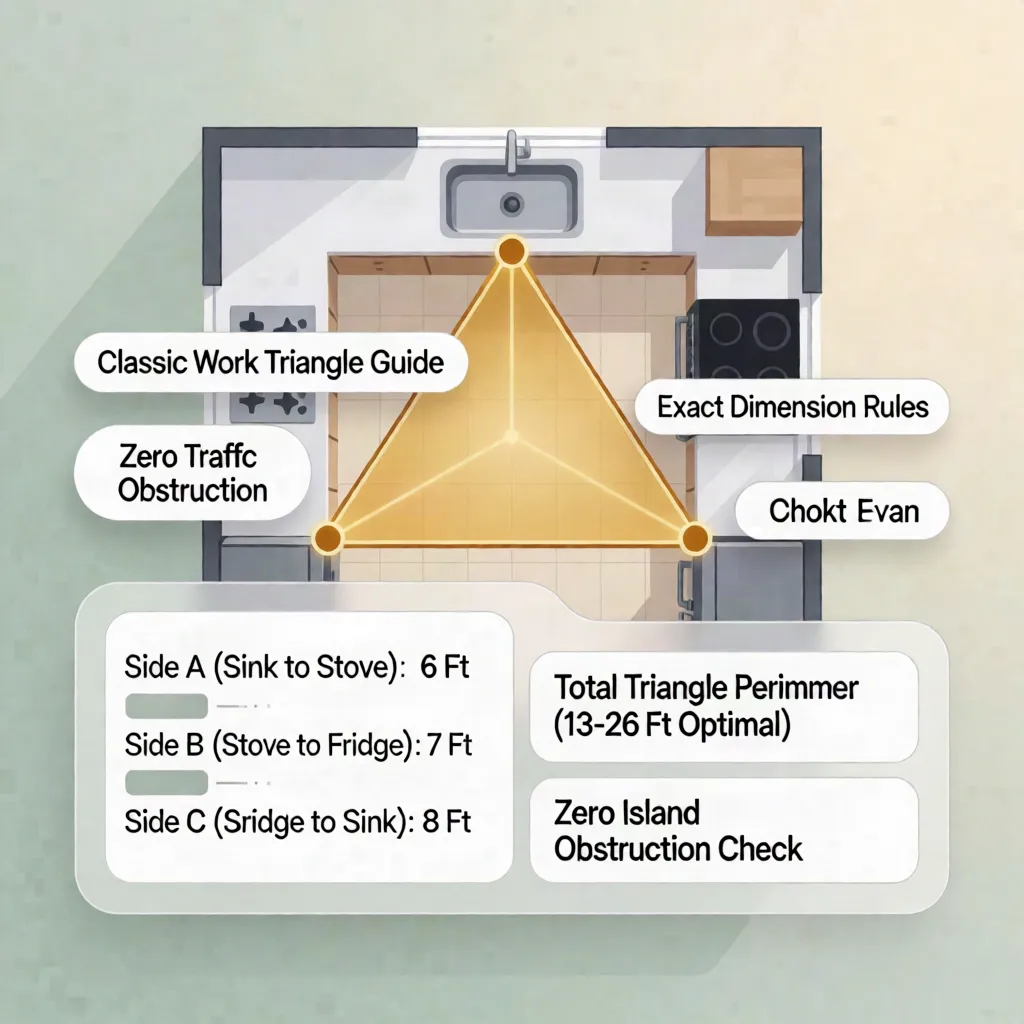
1. Kitchen Work Triangle Guide: The Layout Principle That Can Make Cooking Easier
Before picking out quartz countertops, custom cabinet doors, or backsplashes, step back and examine how you physically move through your space.
The primary goal of any ergonomic kitchen workflow is reducing unnecessary footsteps, eliminating physical bottlenecks, and keeping your core cooking tasks smooth.
                  [ Primary Cooking Apex: STOVE ]
                                /  \
                               /    \
                              /      \
                             /        \
   [ Prep Apex: SINK ] -------------------- [ Storage Apex: REFRIGERATOR ]
When these three high-use stations are arranged in a balanced, unobstructed triangle:
- You stop backtracking: Moving ingredients from storage to prep to heat flows in one natural sequence.
- You reclaim counter space: Dedicated prep landing zones surround each point so cutting boards and hot pans always have a safe home.
- You reduce daily friction: Other household members can grab a drink from the fridge without walking directly into your hot cooking zone.
2. What Is the Kitchen Work Triangle—and Which Three Points Matter?
So, what is the kitchen work triangle? Developed in the 1940s by architectural researchers to boost domestic efficiency, the rule establishes an invisible spatial connection between the three main work centers of your kitchen:
The Sink (Cleaning Zone): The undisputed anchor where food prep begins and cleanup finishes.
The Stove/Range (Cooking Zone): The heat center requiring immediate access to spice drawers, pot storage, and heat-safe counters.
The Refrigerator (Cold Storage Zone): The entry portal for raw ingredients and fresh food.
Keeping this sink stove refrigerator triangle clear of structural barriers ensures you spend less time pacing across floorboards and more time enjoying your meals.
3. Measure the Distance Between Your Sink, Stove, and Refrigerator
How do you evaluate whether your kitchen setup follows ergonomic standards? You take out a tape measure and check your kitchen work triangle measurements.
   [ Single Leg Distance ]  ===> Must measure between 4 Feet (48") and 9 Feet (108")
   [ Total 3-Leg Perimeter ] => Must sum between 13 Feet (156") and 26 Feet (312")
Follow these official spatial guidelines established by the National Kitchen & Bath Association (NKBA):
- Individual Leg Length: The distance between any two points of the triangle should be no less than 4 feet (48 inches) and no more than 9 feet (108 inches).
- Total Perimeter Sum: The sum of all three legs combined should be between 13 feet and 26 feet.
- Zero Traffic Interruption: No major island, full-height cabinet, or primary household walking path should cut across any leg of the triangle by more than 12 inches.
If your points are under 4 feet apart, the kitchen feels cramped; if they exceed 9 feet, you waste energy walking marathon distances every day.
4. Spot the Layout Problems That Make You Walk Back and Forth
Recognizing an inefficient kitchen layout early saves thousands of dollars in contractor change orders later.
If cooking a simple dinner feels exhausting, look out for these classic spatial flaws:
|
[ Full Island Block ] <--- Obstacle!
|
[ Stovetop Range ]
(14 Feet Apart - Linear Drag)
Common layout bottlenecks:
- The Island Barrier: Placing a wide center island directly between the refrigerator and the sink, forcing you to walk around a massive quartz block every time you grab produce.
- The Linear Drag: Spacing the sink, range, and fridge along one long wall over 20 feet apart, turning meal prep into a workout.
- The Wall Squeeze: Wedging a range directly against a side wall, leaving zero counter landing space for hot pan handles.
For technical guidelines on safety clearances, structural codes, and appliance ventilation, consult the International Code Council (ICC).
5. Plan the Kitchen Work Triangle in an L-Shaped Kitchen
An L-shaped kitchen work triangle is one of the most efficient, natural layouts for residential homes because it inherently preserves open floor space while grouping key appliances along two adjoining walls.
   +-------------------------------------------------------+
   | [ Refrigerator ]                                      |
   |        |                                              |
   |   (Leg 1: 5 Ft)                                       |
   |        v                                              |
   |    [ SINK ] -------- (Leg 2: 6 Ft) --------> [ STOVE ]|
   +-------------------------------------------------------+
   | (Open Center Floor Space for Dining / Living Flow)   |
   +-------------------------------------------------------+
How to optimize an L-shaped layout:
- Place the Sink in the Corner Pivot: Position your main sink along the center elbow of the L-run to act as the primary bridge between prep and cooking.
- Separate Cold and Hot Ends: Place the refrigerator at one outer end of the L-run and the stovetop range on the opposite wall run to create natural separation.
- Keep Counter Landing Space Open: Maintain a continuous 36-inch counter run between the sink and stove to serve as your primary prep area.
If you are coordinating open floor space with adjacent rooms, explore our guide on integrating open dining flow with adjacent living spaces.
6. Make the Work Triangle Fit a U-Shaped or Galley Kitchen
Compact floor plans present distinct structural challenges, but applying smart kitchen work triangle rules ensures even tight rooms function effortlessly.
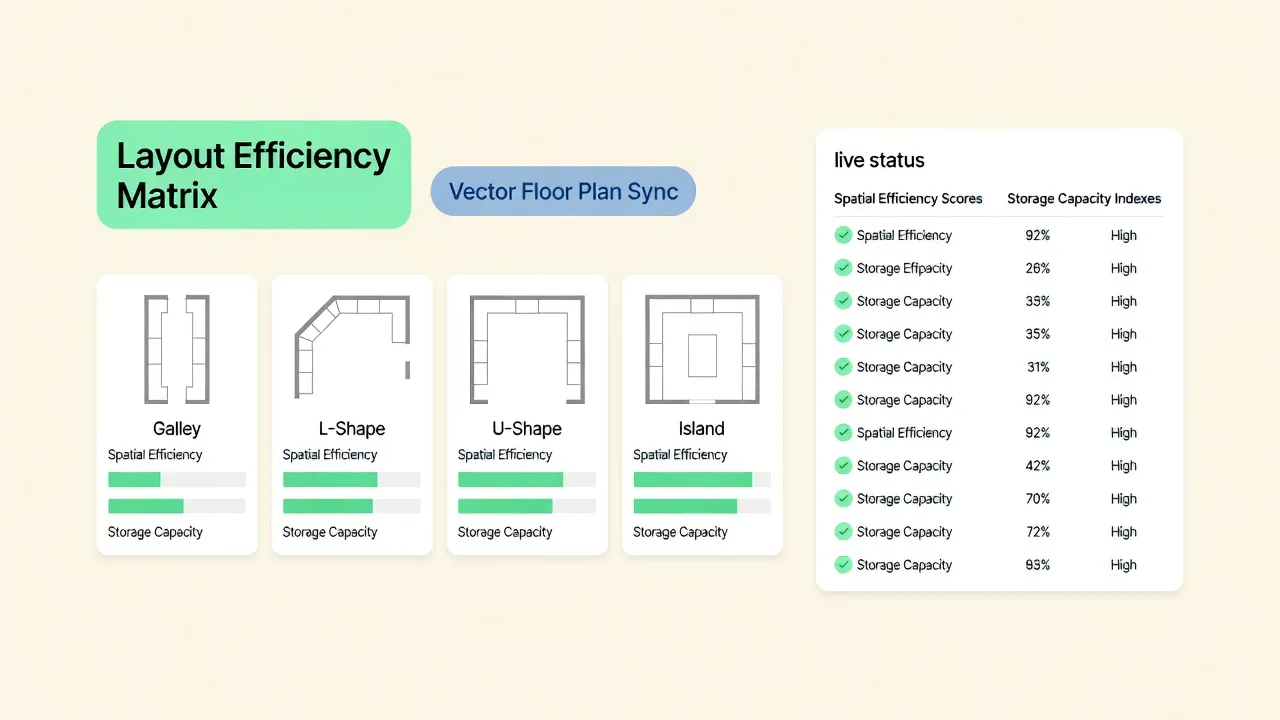
Strategies for tight layouts:
- The U-Shaped Tri-Wall Setup: Place one major point on each of the three walls (e.g., Fridge on Left, Sink in Center under window, Stove on Right). This creates an ideal, self-contained workspace.
- The Galley Parallel Split: Position your sink and stovetop along the same primary wall run (separated by a prep counter), and place the refrigerator directly opposite.
- Maintain Walkway Clearance: Ensure the central corridor in galley or U-shaped kitchens remains at least 42 inches wide for single cooks or 48 inches wide for multi-cook households.
7. Does a Kitchen Island Break the Work Triangle—or Improve It?
Adding a central island is top on almost every homeowner's wishlist. However, an improperly sized island can easily ruin a great kitchen island work triangle.
\ /
\ [ ISLAND BLOCK ]/
\ /
v v
[ Stovetop Range ]
\ /
\ [ ISLAND ] /
\ (Prep) /
v v
[ Stovetop Range ]
Island placement guidelines:
- Avoid the "Blockade" Trap: Ensure your island edge doesn't extend into the direct imaginary straight line connecting your sink, stove, and fridge.
- Incorporate the Sink or Cooktop: Install a prep sink or induction cooktop directly inside the island to transform it into an active point of your triangle.
- Maintain 42-Inch Aisle Widths: Ensure there is a minimum clearance of 42 to 48 inches between all island edges and surrounding perimeter cabinets.
8. Leave Enough Room for Open Appliances and People Passing Through
A floor plan may look perfectly balanced on a flat 2D drawing, but what happens when the dishwasher door is open and someone tries to open the oven?
Factoring in real-world kitchen walkway clearance prevents daily physical collisions.
Clearance rules for active cooking:
- The Dishwasher-Sink Alignment: Position your dishwasher within 36 inches of the main sink, but ensure its open door doesn't block access to the trash pull-out or main prep counter.
- Avoid Opposing Appliance Doors: Never place an oven range directly opposite a dishwasher or refrigerator across a narrow 36-inch aisle, as open doors will collide.
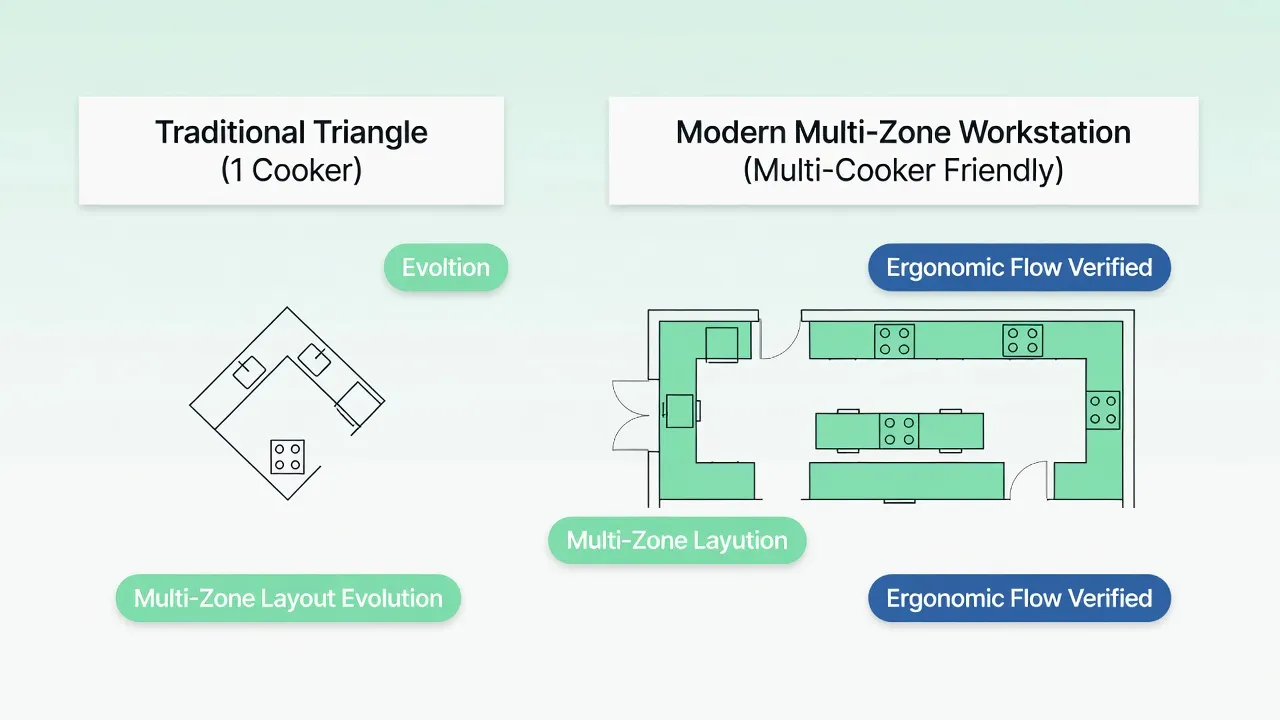
9. Know When the Traditional Kitchen Work Triangle Isn't Enough
While the classic triangle rule works brilliantly for compact and medium-sized homes, modern residential design has evolved. In large open-plan spaces or homes with multiple cooks, traditional triangle rules fall short.
This is where shifting toward a modern kitchen work zones framework becomes essential.
[ Zone 1: Refrigerated & Dry Food Storage ] ===> Pantry, Fridge, Snack Drawers
[ Zone 2: Washing & Cleaning Station       ] ===> Main Sink, Dishwasher, Trash Pull-Out
[ Zone 3: Food Preparation Station         ] ===> Wide Counter, Cutting Boards, Oil/Spices
[ Zone 4: Cooking & Baking Station         ] ===> Range, Oven, Microwave, Pot Storage
[ Zone 5: Coffee & Beverage Bar            ] ===> Espresso Machine, Beverage Fridge, Glasses
When to use work zones:
- Multi-Cook Households: Create two independent triangles (e.g., a primary cooking zone plus a secondary prep/beverage station with its own bar sink).
- Large Open-Plan Suites: Group appliances into functional activity hubs so guests can grab drinks at a beverage bar without stepping into your active cooking area.
10. Organize Prep, Cooking, Cleaning, and Storage Around the Triangle
Having your appliances in the right locations is only half the battle. If your spices are stored ten feet away from your stovetop, your workflow remains broken.
Pairing appliance locations with proper point-of-use storage creates a truly functional kitchen layout.
Point-of-use storage rules:
- Store Cookware at the Range: Place deep drawers directly beneath your cooktop to store heavy pots, pans, and lids.
- Locate Trash at the Prep Sink: Position your pull-out trash and recycling cabinet right next to the prep sink so food scraps drop straight into the bin.
- Place Glassware by the Fridge: Keep everyday drinking glasses and water pitchers in cabinets adjacent to the refrigerator.
If you are updating your home layout without structural tear-outs, read our guide on refreshing your home layout without structural tear-outs.
11. Compare Your Current Layout With a Better Work Triangle
Before spending tens of thousands of dollars on cabinet installations or moving gas lines, test your layout ideas virtually.
Using a kitchen layout planner lets you compare spatial flow, test island clearances, and identify bottlenecks before demolition day.
  [ Step 1: Measure Wall Spans & Appliance Dimensions ]
                             |
  [ Step 2: Map Existing Triangle Leg Distances & Bottlenecks ]
                             |
  [ Step 3: Test Alternative Appliance Placements Virtually ]
                             |
  [ Step 4: Verify Door Swings & 42" Walkway Clearances ]
                             |
  [ Step 5: Finalize Construction Plans with Total Confidence ]
Pre-remodel verification sequence:
- Measure Physical Appliance Footprints: Record exact widths, depths, and door swing arcs for your refrigerator, range, and dishwasher.
- Simulate Cooking Movement: Walk through a typical meal preparation sequence in your space to verify that paths feel natural.
- Preview Spatial Layouts Digitally: Test layout options, counter depths, and island placements virtually before hiring trade contractors.
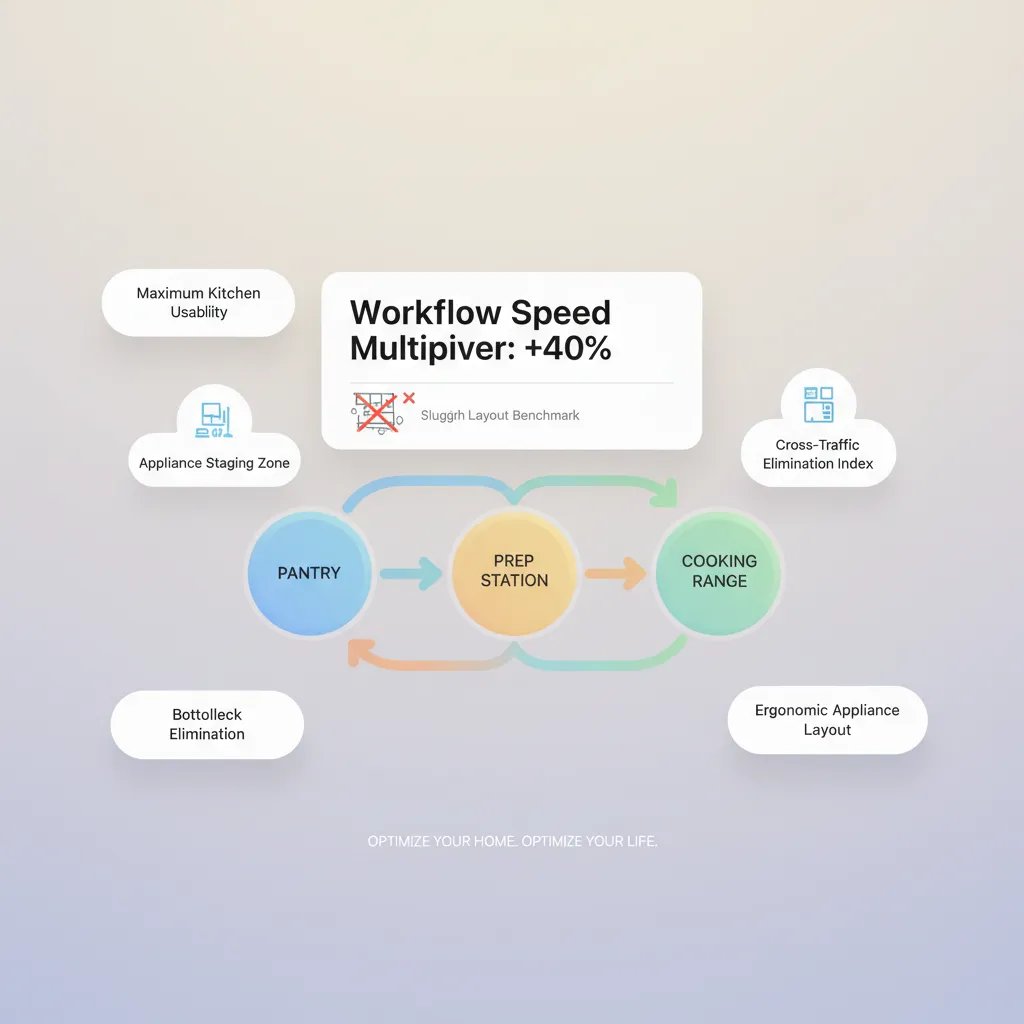
12. Build a Kitchen Layout That Makes Every Trip Count
Ready to turn your kitchen into an effortless, high-performance culinary space?
Follow this sign-off checklist to finalize an efficient kitchen layout tailored to your daily life.
  [ Step 1: Validate 4'-9' Individual Triangle Leg Lengths ]
                             |
  [ Step 2: Confirm 13'-26' Total Perimeter Distance ]
                             |
  [ Step 3: Verify 42"-48" Unobstructed Walkway Clearances ]
                             |
  [ Step 4: Align Point-of-Use Storage at Each Work Station ]
                             |
  [ Step 5: Execute Remodel with Complete Spatial Confidence ]
The Ultimate Kitchen Work Triangle Sign-Off Checklist:
- [ ] Validate Triangle Distances: Confirm each leg measures between 4 and 9 feet, with a total 3-leg perimeter between 13 and 26 feet.
- [ ] Clear Walking Paths: Ensure islands, full-height cabinets, or doorways don't block straight-line paths between appliances.
- [ ] Verify Walkway Clearances: Maintain 42 inches of aisle space for single cooks or 48 inches for multi-cook households.
- [ ] Protect Counter Landing Zones: Confirm at least 15 inches of landing counter beside the fridge, 18 to 24 inches at the sink, and 12 to 15 inches at the stove.
- [ ] Check Appliance Door Swings: Verify that open dishwasher, oven, and refrigerator doors do not collide or block main entry walkways.
- [ ] Align Point-of-Use Storage: Store pots beneath the range, trash beside the prep sink, and spices adjacent to cooktops.
Step Into Your Ideal Kitchen Layout Today
Why struggle with awkward spatial layouts, inconvenient island placements, or wondering if your new kitchen design will actually make cooking easier?
Designing a high-performance culinary space should be an exciting, fulfilling experience. Building a kitchen that improves your daily living doesn't require hiring expensive architects or struggling with steep design software learning curves.
With DesignHome, you can simply upload a picture or floor plan of your room to test layout ideas, experiment with work triangles, check appliance clearances, and unlock custom spatial possibilities tailored to your exact floor plan.
Eliminate spatial guesswork—visualize, refine, and bring your complete dream kitchen layout to life with total confidence using DesignHome today!
External Resources & Industry Standards
To explore deeper technical insights into residential kitchen design, trade safety, and building codes, consult these authoritative industry resources:
- National Kitchen & Bath Association (NKBA) – Official guidelines for kitchen planning standards, ergonomic work triangle rules, and spatial clearances.
- International Code Council (ICC) – Residential building codes, electrical permit guidelines, and plumbing installation safety standards.
- National Fire Protection Association (NFPA) – Residential kitchen fire safety codes, stove ventilation clearances, and electrical circuit standards.
- American Society of Interior Designers (ASID) – Professional standards for residential space planning, material selection, and structural layouts.
Frequently Asked Questions About the Kitchen Work Triangle
What is the ideal distance for a kitchen work triangle?
Each individual leg of the triangle (the distance between sink, stove, and fridge) should measure between 4 feet (48 inches) and 9 feet (108 inches). The total perimeter sum of all three legs combined must sit between 13 feet and 26 feet.
Does a kitchen island break the work triangle rule?
An island breaks the work triangle only if its edge blocks the direct straight path between any two of the three main appliances. If your island extends into that path, relocate an appliance (such as placing a prep sink inside the island) or widen your walkways to at least 42 to 48 inches.
Can the kitchen work triangle work in a small galley kitchen?
Yes. In a galley kitchen, position the sink and stovetop along one wall run (separated by a prep counter) and place the refrigerator directly opposite. Ensure the central corridor between opposite cabinet fronts remains at least 42 inches wide.
What is the difference between the kitchen work triangle and kitchen work zones?
The kitchen work triangle focuses strictly on the physical distance between three major appliances: sink, stove, and refrigerator. Kitchen work zones expand this concept into dedicated functional hubs (e.g., prep zone, cooking zone, cleaning zone, storage zone, and coffee bar zone), making it ideal for large or multi-cook kitchens.
How much counter space should be next to the stove?
Maintain at least 12 to 15 inches of heat-safe counter space on at least one side of the cooktop (preferably on both sides). This provides an immediate landing zone for hot pan handles, bowls, and prep items.
Where should the dishwasher be placed in the work triangle?
Place the dishwasher within 36 inches of the main sink for easy plumbing connections and fast rinsing. Ensure that when the dishwasher door drops open fully, it leaves at least 30 to 36 inches of open walking clearance for passing through.


