

You set down a plate of dinner, take three steps back toward the couch, and bump your knee right into the back of a dining chair. To get from the kitchen sink to the TV, you have to execute a weird S-curve shuffle around a bulky coffee table and squeeze past a crowded side cabinet.
A open-concept floor plan sounds amazing in theory. But when your eating area and lounge space share a single footprint, the room can easily turn into a chaotic collision of chairs, couches, and tangled walking paths.
You do not need to build drywall partitions or sacrifice your open, light-filled layout to fix this.
By designing around natural movement routes, choosing scaled furniture, and anchoring zones with smart textiles and lighting, you can create a combined living and dining room layout that feels spacious, beautifully proportioned, and effortlessly functional. Here is how to map, arrange, and style your dual-purpose room.
1. Plan the Room Around the Way You Move Through It
Before moving a single heavy couch or buying a dining table, map out how people actually walk through your home.
The single biggest mistake homeowners make in open spaces is arranging furniture purely for how it looks on paper, completely ignoring natural walking corridors. If a layout forces you to squeeze past chair backs or dodge table corners, the room will constantly feel frustrating to live in.
Prioritize these essential movement paths:
- The Primary Kitchen Runway: Leave a straight, uninterrupted path at least 36 inches wide running directly from your kitchen to both the dining table and the sofa.
- Doorway & Window Clearances: Ensure patio doors, entryway closets, and sliding glass doors have a full 36 inches of open floor clearance so doors swing wide without hitting furniture edges.
- Chair Pull-Out Zones: Allow 36 to 42 inches of space behind every dining chair so guests can slide back and stand up without bumping into the couch or wall.
Mapping clear traffic corridors first prevents awkward physical bottlenecks and establishes a smooth, relaxed flow across your entire open plan.
2. Choose the Best Layout for Your Room's Shape
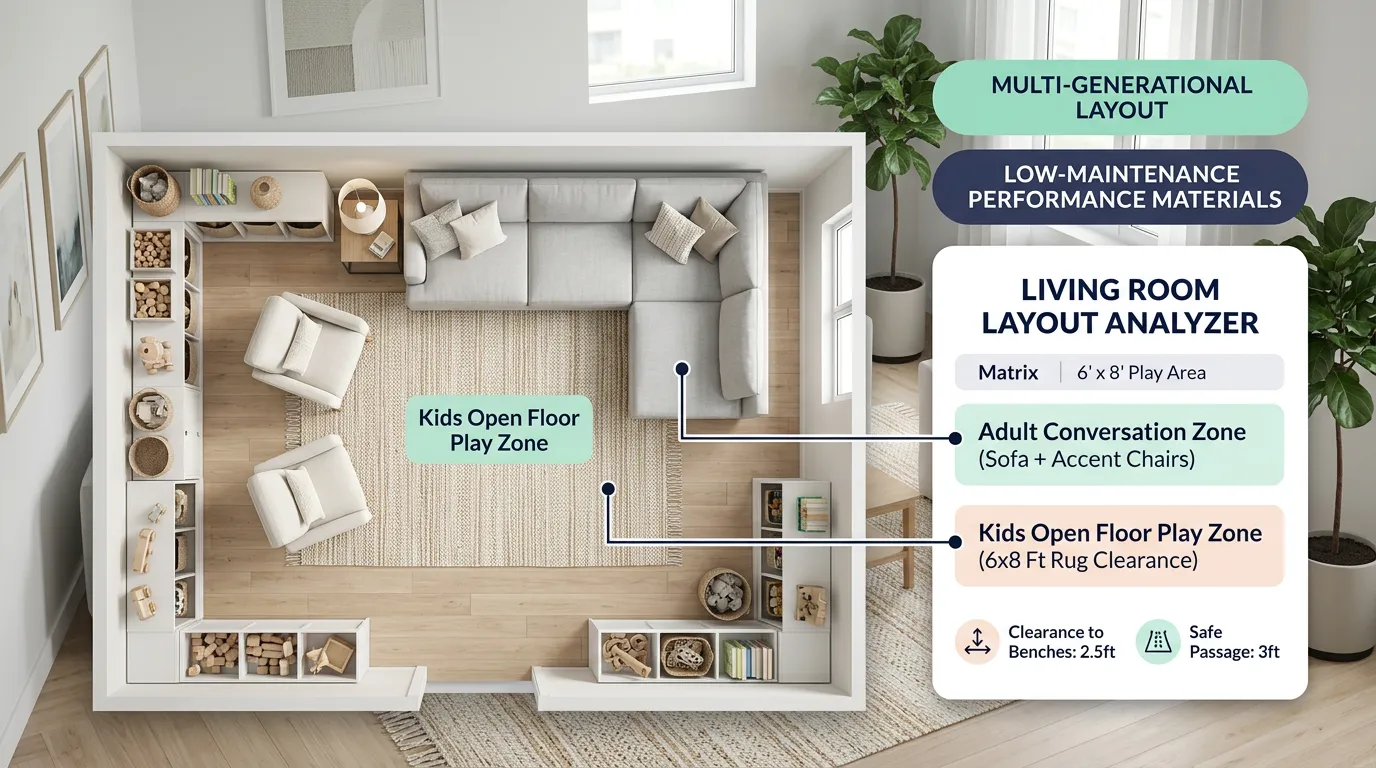
No two open spaces are built the same. A wide, square great room requires a completely different furniture strategy than a narrow, rectangular open concept.
Matching your furniture arrangement to your room’s natural structural architecture creates instant balance.
| Room Shape | Optimal Zone Arrangement | Key Layout Strategy |
|---|---|---|
| Rectangular | Side-by-side linear sequence | Anchor living & dining at opposite ends |
| Square | Diagonals or L-shaped split | Use a floating L-sectional to anchor corner |
| L-Shaped | Natural alcove split | Dine in the short arm; lounge in the main stem |
| Narrow / Tunnel | Single-wall alignment | Keep main walkway running down one full side |
- Rectangular Layouts: Divide the room into two equal geometric halves. Place the dining zone nearest to the kitchen entry and set the living room seating closer to windows or the fireplace.
- Square Layouts: Float your main sofa in the middle of the space to form an "L" or "U" configuration. Place an oval dining table behind the sofa back to maintain clear sightlines.
- L-Shaped Spaces: Take advantage of the natural alcove. Tuck the dining table into the shorter arm of the "L" to keep noise and dinner plates contained, leaving the main stem wide open for lounging.
3. Decide Where the Dining Table Should Go
When mapping out a combined living and dining room layout, table placement determines how seamlessly your meals transition from prep to table.
As a golden rule: always position your dining table closest to the kitchen.
Setting up your dining zone near the kitchen offers three immediate benefits:
- Saves Physical Energy: You stop carrying hot serving dishes, heavy drink trays, and stacks of dirty plates across your living room rug.
- Keeps Messes Contained: Food crumbs, stray spills, and kitchen steam stay anchored near hard kitchen flooring rather than tracking onto lounge upholstery.
- Respects Daily Habits: Quick weekday breakfasts and morning coffees happen right beside your kitchen prep counter.
If your dining area sits near a window, consider reading our guide on paint colors for homes with natural light to pick wall tones that soften intense midday sun without washing out your dining finishes.
4. Position the Sofa to Define the Living Area
Your primary sofa acts as the main structural divider in an open-concept space. How you orient it determines whether the room feels connected or chopped in half.
Instead of pushing your couch flat against a far wall, use smart sofa placement in living dining room plans to form a cozy, defined conversation lounge.
Try these three couch orientation techniques:
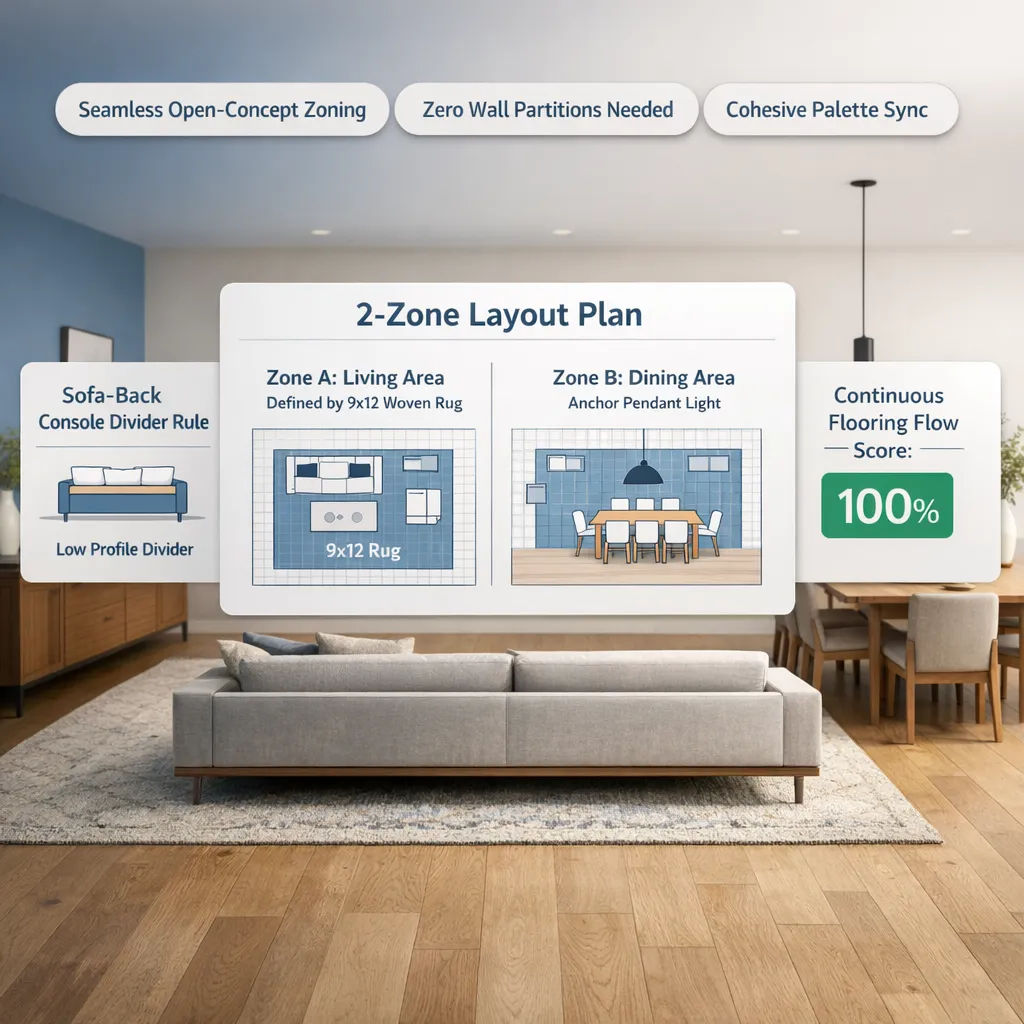
- The Sofa-Back Room Divider: Face your sofa away from the dining table toward a far wall, fireplace, or TV. The high back of the couch creates an immediate, soft structural barrier between eating and lounging zones.
- Add a Sofa Console Table: Place a low console table directly against the back of your floating sofa. Top it with a pair of matching table lamps, books, and ceramic bowls to hide the plain back of the couch while adding functional storage.
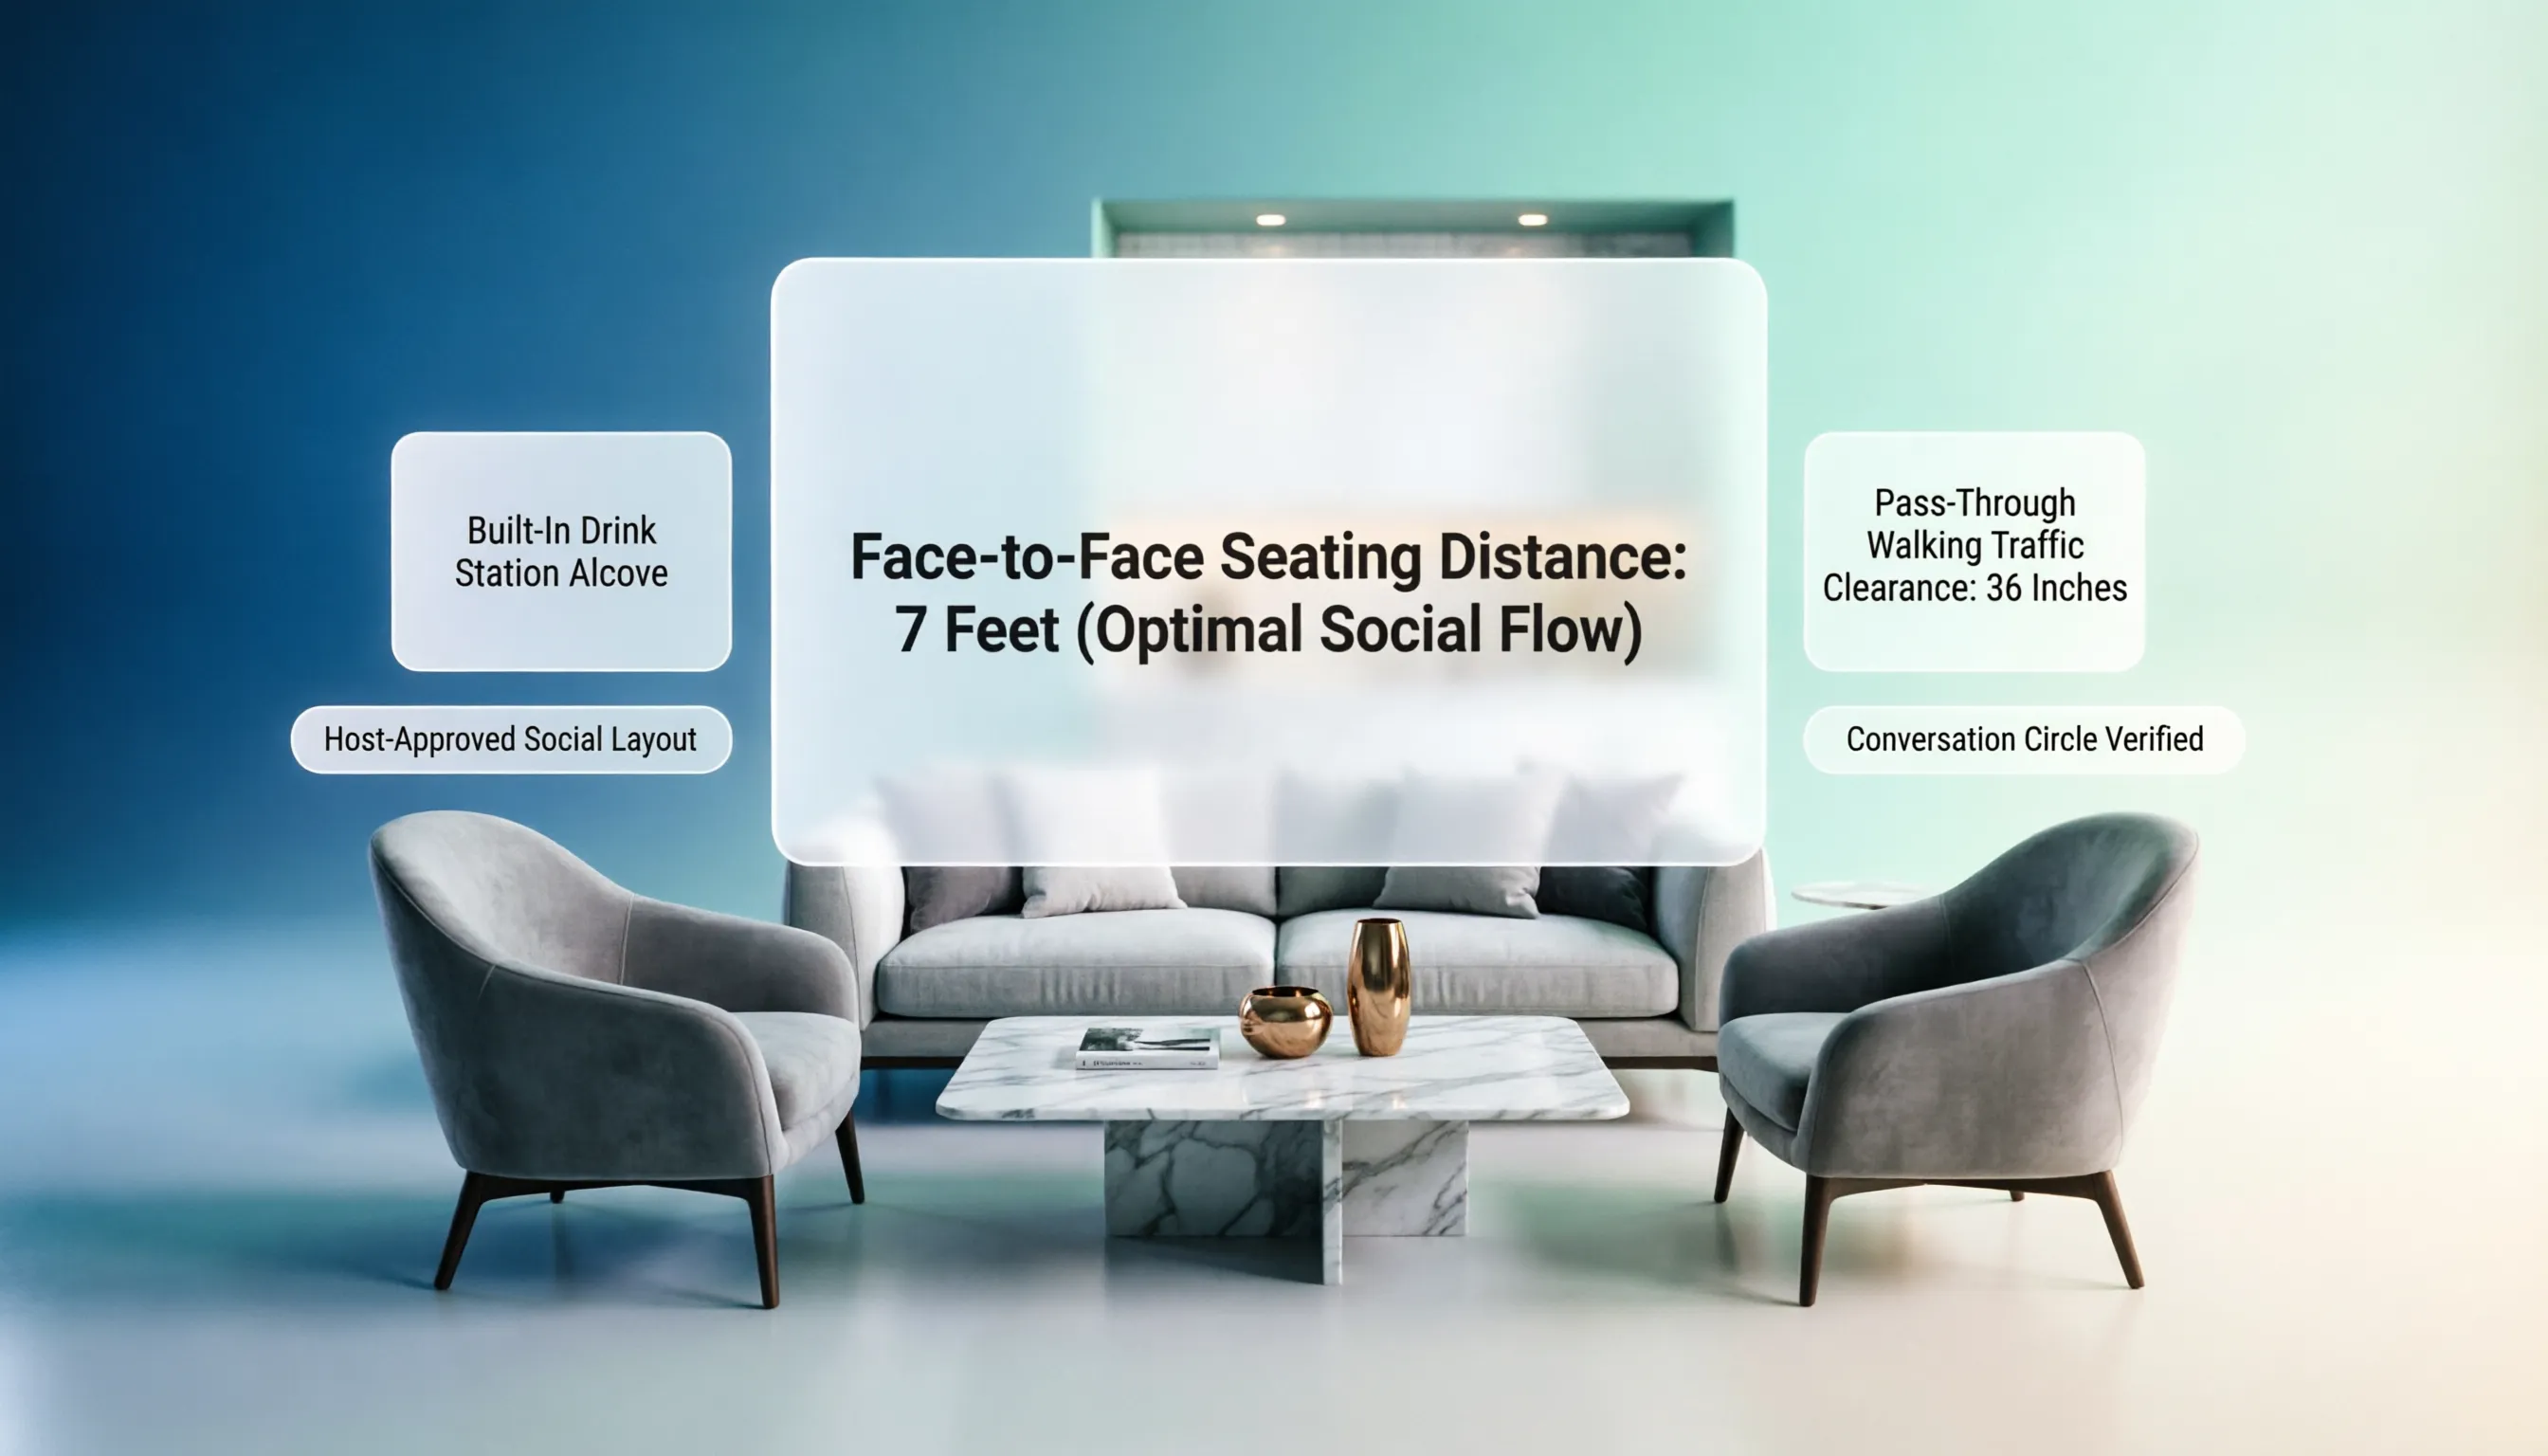
- Maintain Sightline Gaps: Leave at least 36 to 48 inches of open walking floor between the back of your sofa console and the edge of your dining table chairs.
5. Create Two Distinct Areas Without Building a Wall
You don't need to put up drywall partitions or heavy sliding doors to separate your eating and lounging areas.
The secret to a successful living room dining room combo layout is creating "subtle visual boundaries"—using contrast in textures, rugs, and lighting to give each area its own distinct identity.
| Visual Zone 1: Dining Area | Visual Zone 2: Living Lounge |
|---|---|
| Low Pendant Chandelier | Large Plush Wool Area Rug |
| Hardwood / Bare Flooring | Low Eye-Level Floor & Table Lamps |
| Hard Timber / Metal Chairs | Soft Upholstered Fabrics & Pillows |
Incorporate these subtle visual dividers:
- Delineate with Area Rugs: Place a large, plush wool area rug under the living room seating circle while leaving the floor under the dining table uncarpeted or anchored with a low-pile, wipeable flatweave rug.
- Vary Overhead Lighting Fixtures: Hang a striking architectural pendant light directly over the dining table, while using warm eye-level floor lamps and table lamps in the living room.
- Use Open Bookcases as Room Dividers: Position a low, open-backed wooden bookcase perpendicular to a wall. It defines a boundary without blocking natural light streaming across the room.
If you are evaluating options to separate your open layout with architectural features, consult the American Society of Interior Designers (ASID) for professional space-planning standards.
6. Leave Enough Room for Dining Chairs and Walking Paths
Overcrowding a dining setup is the fastest way to make a living dining room furniture arrangement feel cramped and uninviting.
When measuring space for a dining table, remember that a table isn't just as wide as its tabletop—you must calculate the "active seating footprint" when chairs are pulled out and guests are seated.
| Measurement Clearance Zone | Recommended Space Distance |
|---|---|
| Table Edge to Wall / Furniture | 36 to 42 inches minimum |
| Active Chair Pull-Out Distance | 18 to 24 inches per chair |
| Behind-Seated-Guest Walking Corridor | 36 inches for smooth traffic flow |
Avoid these common spatial mistakes:
- Blocking High-Traffic Paths: Never position dining chairs so that pulling them out blocks an entryway, patio door, or main hallway route.
- Using Overly Bulky Dining Chairs: Swap wide, heavy-armed dining armchairs for sleek, armless dining chairs or a low wooden dining bench that slides completely under the table when not in use.
- Ignoring Table Clearance: Ensure there is at least 36 inches between the edge of the dining table and any adjacent wall or sideboard cabinet.
7. Choose Furniture That Fits Both Areas
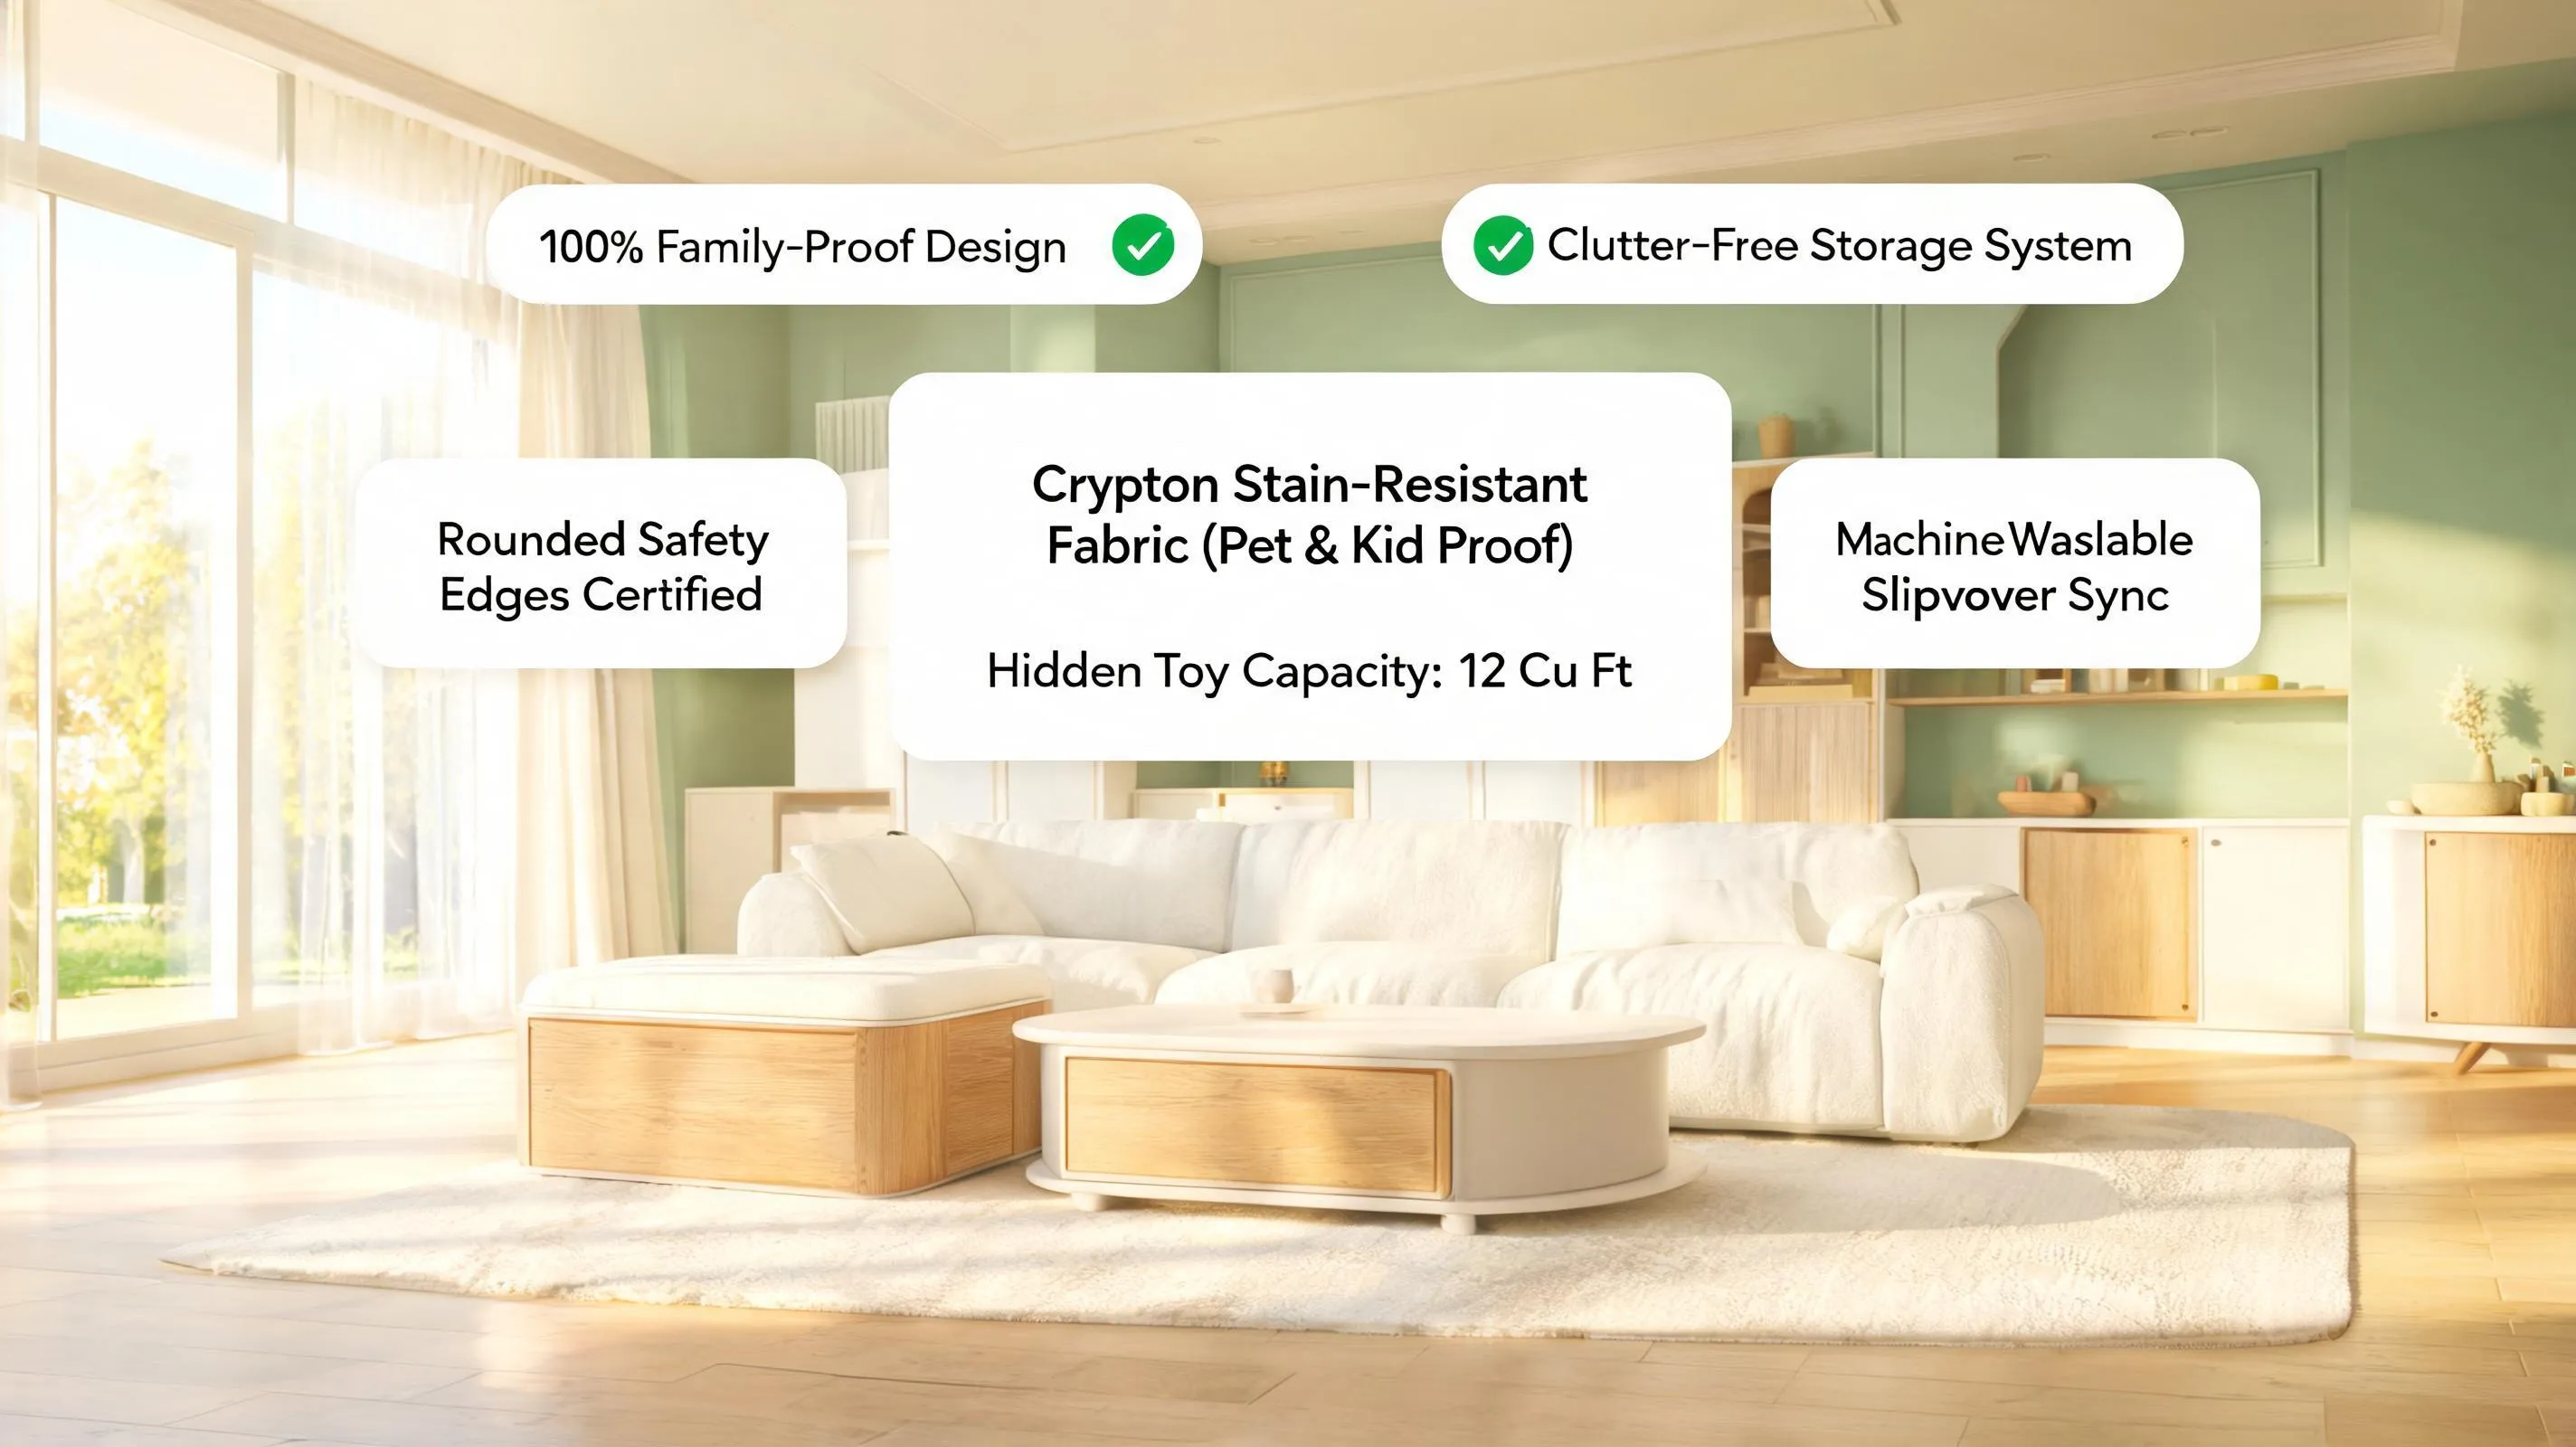
When selecting furniture for combined living and dining room layouts, visual scale and proportion are everything.
Pairing a massive 8-piece deep sectional with a tiny 2-person bistro table makes the room look completely unbalanced. Every piece should feel intentionally scaled to match its neighboring zone.
Follow these smart furniture purchasing rules:
- Pick Oval or Round Dining Tables: Round and oval tables lack sharp, jutting corners, making it significantly easier to navigate walking paths around tight seating layouts.
- Opt for Low-Profile Sofa Silhouettes: Choose sofas with low back heights (under 34 inches) and exposed wooden legs. Low-profile silhouettes preserve open sightlines across the room, making ceilings feel higher.
- Incorporate Convertible / Extension Tables: Use an extendable dining table that sits compact for daily family meals and expands only when hosting weekend dinner guests.
To review official furniture safety, frame testing standards, and stability metrics, consult the American Home Furnishings Alliance (AHFA).
8. Make a Small Combined Living and Dining Room Feel Bigger
Designing a small combined living and dining room layout can feel like a high-stakes puzzle. When square footage is tight, adding necessary seating and surface tables can quickly make the room feel cluttered.
The key to expanding a tight footprint is maximizing visible floor area and utilizing vertical wall space.
[ Skirted Solid Sofa ]
[ Heavy Rectangular Wood Table ]
[ Bulky Side Cabinets ]
[ Leggy Mid-Century Sofa ]
[ Round Glass / Tulip Table ]
[ Floating Wall Shelves & Sconces ]
Try these spatial expansion tricks:
- Choose Glass or Acrylic Dining Tables: Clear glass, acrylic, or white tulip dining tables allow light to pass right through, visually erasing physical bulk from small rooms.
- Mount Wall Sconces: Clear off valuable side table surfaces by mounting adjustable swing-arm wall sconces over the sofa and dining nook.
- Use Reflective Wall Mirrors: Hang a large architectural mirror on the central wall opposite your main window to reflect daylight and double your perceived spatial depth.
If you are decorating a tight footprint, explore our guide on ways to make a small living room feel larger to combine light-reflecting wall colors with space-saving furniture arrangements.
9. Handle Long, Narrow, and Awkwardly Shaped Rooms
A long narrow living dining room layout—often called a "bowling alley" room—presents a unique layout challenge. Pushing all your furniture against long parallel walls makes the space feel like an endless hallway.
To break up a tunnel-like room, divide the length into three distinct transverse zones.
(Round Table)
(Open Floor Space)
(L-Shaped Sectional)
Master narrow room proportions:
- Establish Three Transverse Zones: Place your dining area at one far end, your living lounge at the opposite end, and keep a clean, open transition zone in the middle.
- Run Main Traffic Down One Side: Keep your primary 36-inch walking path strictly along one long wall rather than zigzagging back and forth across the center of the room.
- Place Round Furniture in the Center: Use round rugs, circular coffee tables, or an oval dining table to break up long, straight structural wall lines.
10. Use Lighting and Rugs to Make the Layout Feel Intentional
Rugs and lighting fixtures act as visual anchors. Without them, your furniture will look like it is floating aimlessly across a bare floor.
Layering distinct lighting and textiles gives your combined layout a polished, custom-designed feel.
Implement this 3-step anchor plan:
- Hang a Dedicated Dining Chandelier: Center a dimmable pendant light or chandelier directly over your dining table, hanging the bottom of the fixture roughly 30 to 36 inches above the tabletop.
- Size Your Living Room Rug Correctly: Choose a rug large enough that at least the front two legs of your sofa, accent chairs, and coffee table rest comfortably on top.
- Coordinate Lighting Warmth: Ensure all LED light bulbs across both zones share the same color temperature (2700K to 3000K Kelvin rating) so the room maintains a warm, unified glow after dark.
For detailed guidelines on selecting residential lighting standards, bulb brightness, and color rendering ratings, consult the Illuminating Engineering Society (IES).
11. Choose Colors and Materials That Work Across Both Areas
To make a combined space feel unified, your living and dining areas should share a common design language without looking identical.
Using a cohesive color palette and repeating natural wood or metal finishes creates a seamless transition between eating and relaxing zones.
| Design Element | Living Room Application | Dining Room Application |
|---|---|---|
| Wood Finishes | Natural Oak Coffee Table Legs | Natural Oak Dining Table Top |
| Accent Palette | Sage Green Throw Pillows & Blanket | Sage Green Upholstered Chair Seats |
| Metal Hardware | Matte Black Floor Lamp Base | Matte Black Dining Pendant Frame |
Create visual cohesion:
- The 60-30-10 Color Rule: Use a neutral base tone for 60% of the space (walls and flooring), a secondary shade for 30% (sofa and dining chairs), and an accent color for 10% (pillows, art, and dining linens).
- Repeat Material Accents: If your dining table features matte black metal legs, incorporate a matte black floor lamp or black picture frames in the living zone.
- Maintain Uniform Flooring: Keep hard floor materials (like hardwood, engineered plank, or tile) consistent across the entire space. Changing flooring mid-room breaks up visual continuity and makes the layout feel smaller.
If you are connecting wall colors across adjoining open spaces, explore our guide on choosing paint palettes for adjoining rooms.
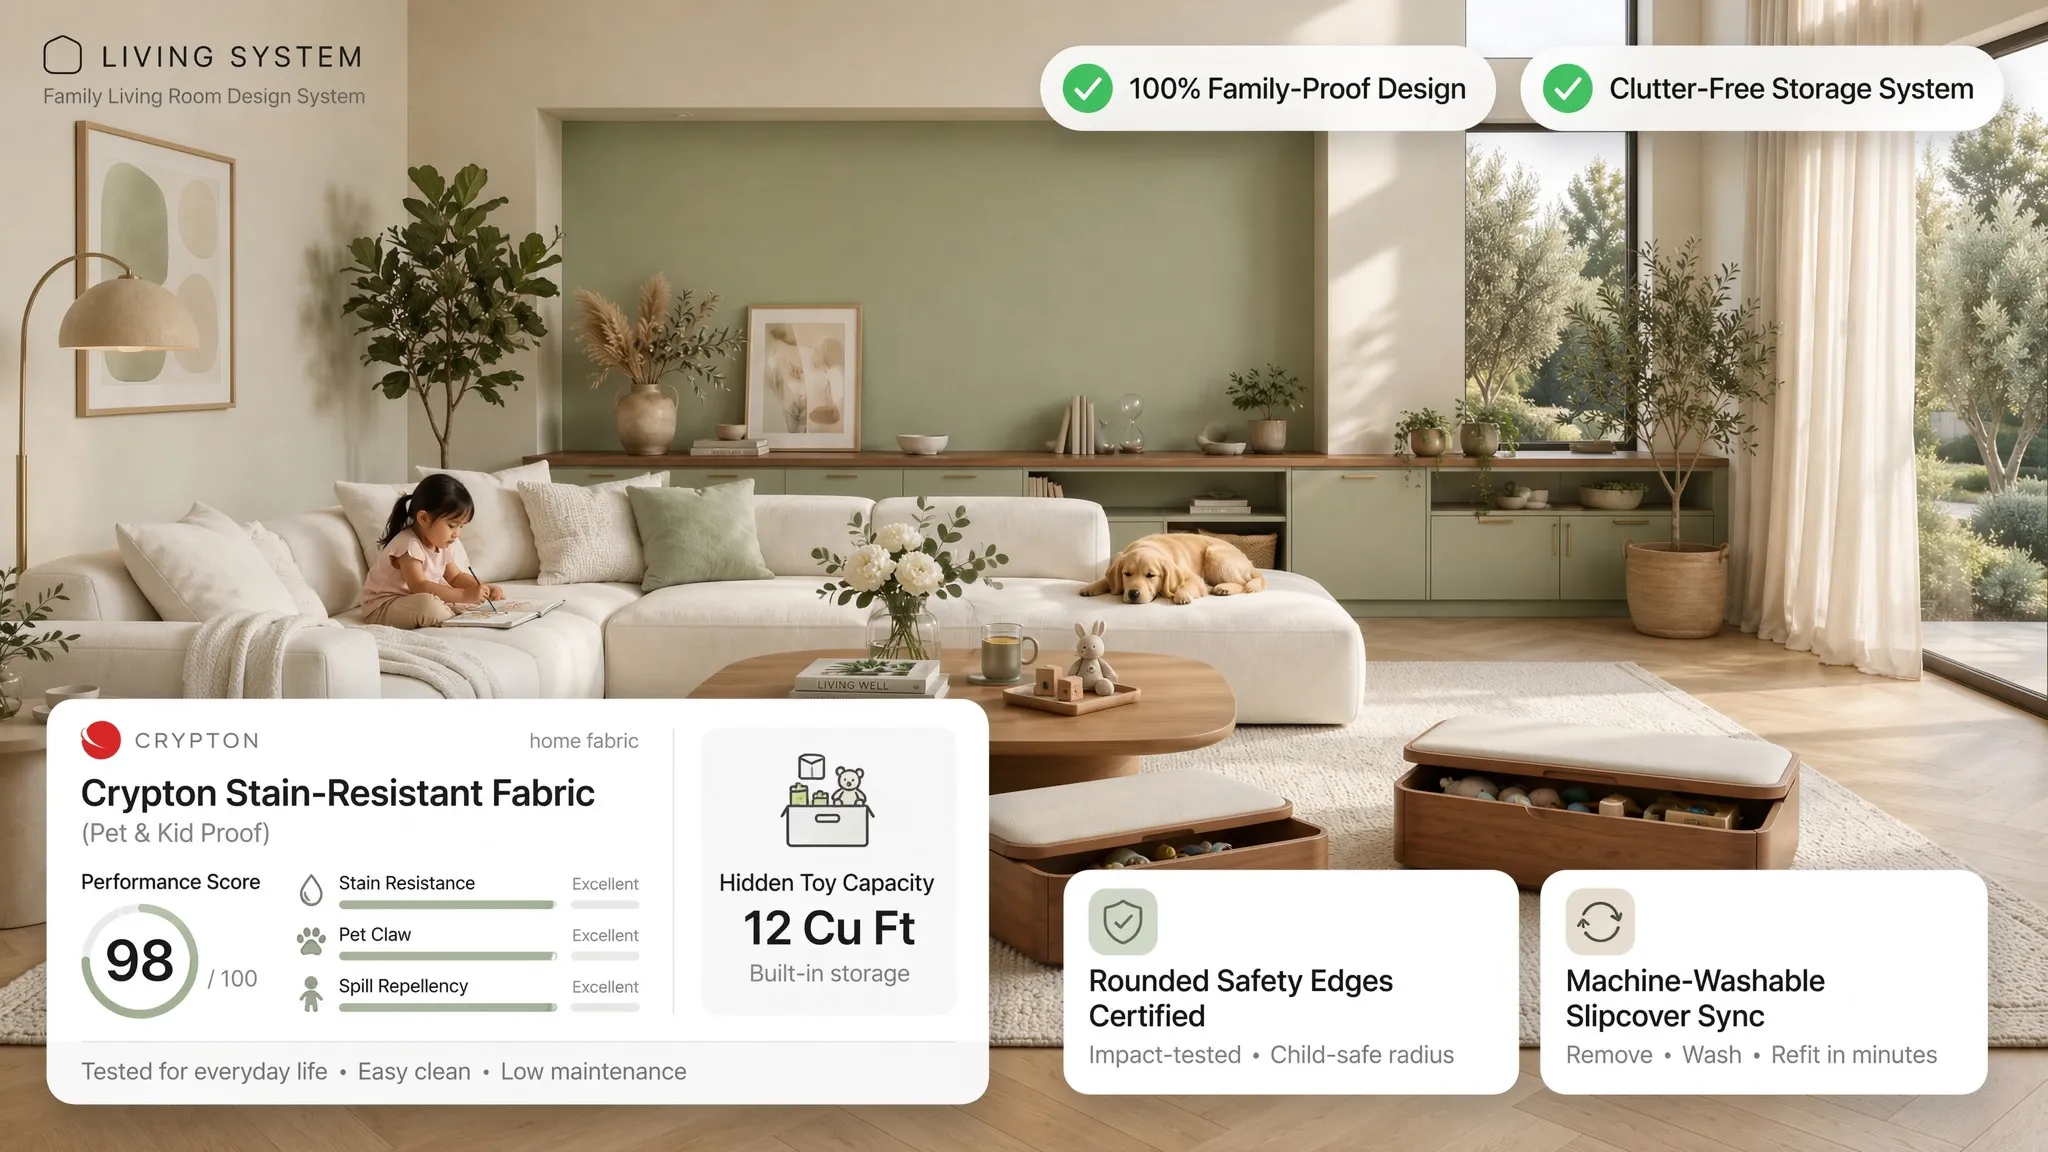
12. Add Storage Without Blocking the Room
Clutter builds up twice as fast in dual-purpose spaces because kitchen items, dinnerware, remotes, and daily mail all land on the same few surfaces.
Selecting multi-functional, low-profile storage furniture keeps your surfaces clear without cluttering your floor plan.
Smart storage solutions to incorporate:
- Place a Sideboard in the Dining Zone: A slender dining sideboard or credenza holds wine glasses, extra dinnerware, and table linens while providing a surface for serving food during parties.
- Use Storage Ottomans as Coffee Tables: Swap traditional wooden coffee tables for an upholstered lift-top storage ottoman to tuck away extra blankets, board games, and daily clutter.
- Incorporate Vertical Floating Shelves: Install vertical floating wall shelves above your sideboard or TV console to display decorative items without taking up valuable floor space.
13. Fix the Layout Mistakes That Make the Room Feel Cramped
If you have already arranged your open space but something still feels off, you are likely dealing with one of a few common spatial mistakes.
Diagnosing and correcting these spatial errors instantly restores balance to your layout.
| Common Spatial Mistake | The Easy Layout Fix |
|---|---|
| Pushing all furniture against walls | Pull sofa & chairs inward into a cozy rug circle |
| Using an undersized living rug | Upgrade to a rug that fits all front sofa legs |
| Placing dining table in main path | Shift table closer to kitchen; clear 36" runway |
| Using dark, heavy window drapes | Hang high-mounted, floor-length light linen drapes |
Quick layout fixes:
- Stop Wall-Hugging: Avoid pushing every couch and chair flat against perimeter walls. Pulling furniture inward into a central, floated conversation arrangement makes the room feel warmer and larger.
- Fix Undersized Rugs: An undersized rug acts like a tiny island, making your living room setup look fragmented. Ensure your rug extends at least 12 to 18 inches beyond the sides of your sofa.
- Clear the Kitchen Threshold: Ensure your dining table chairs don't flare out into the immediate kitchen entrance pathway.
14. Test Your Furniture Layout Before Buying Anything
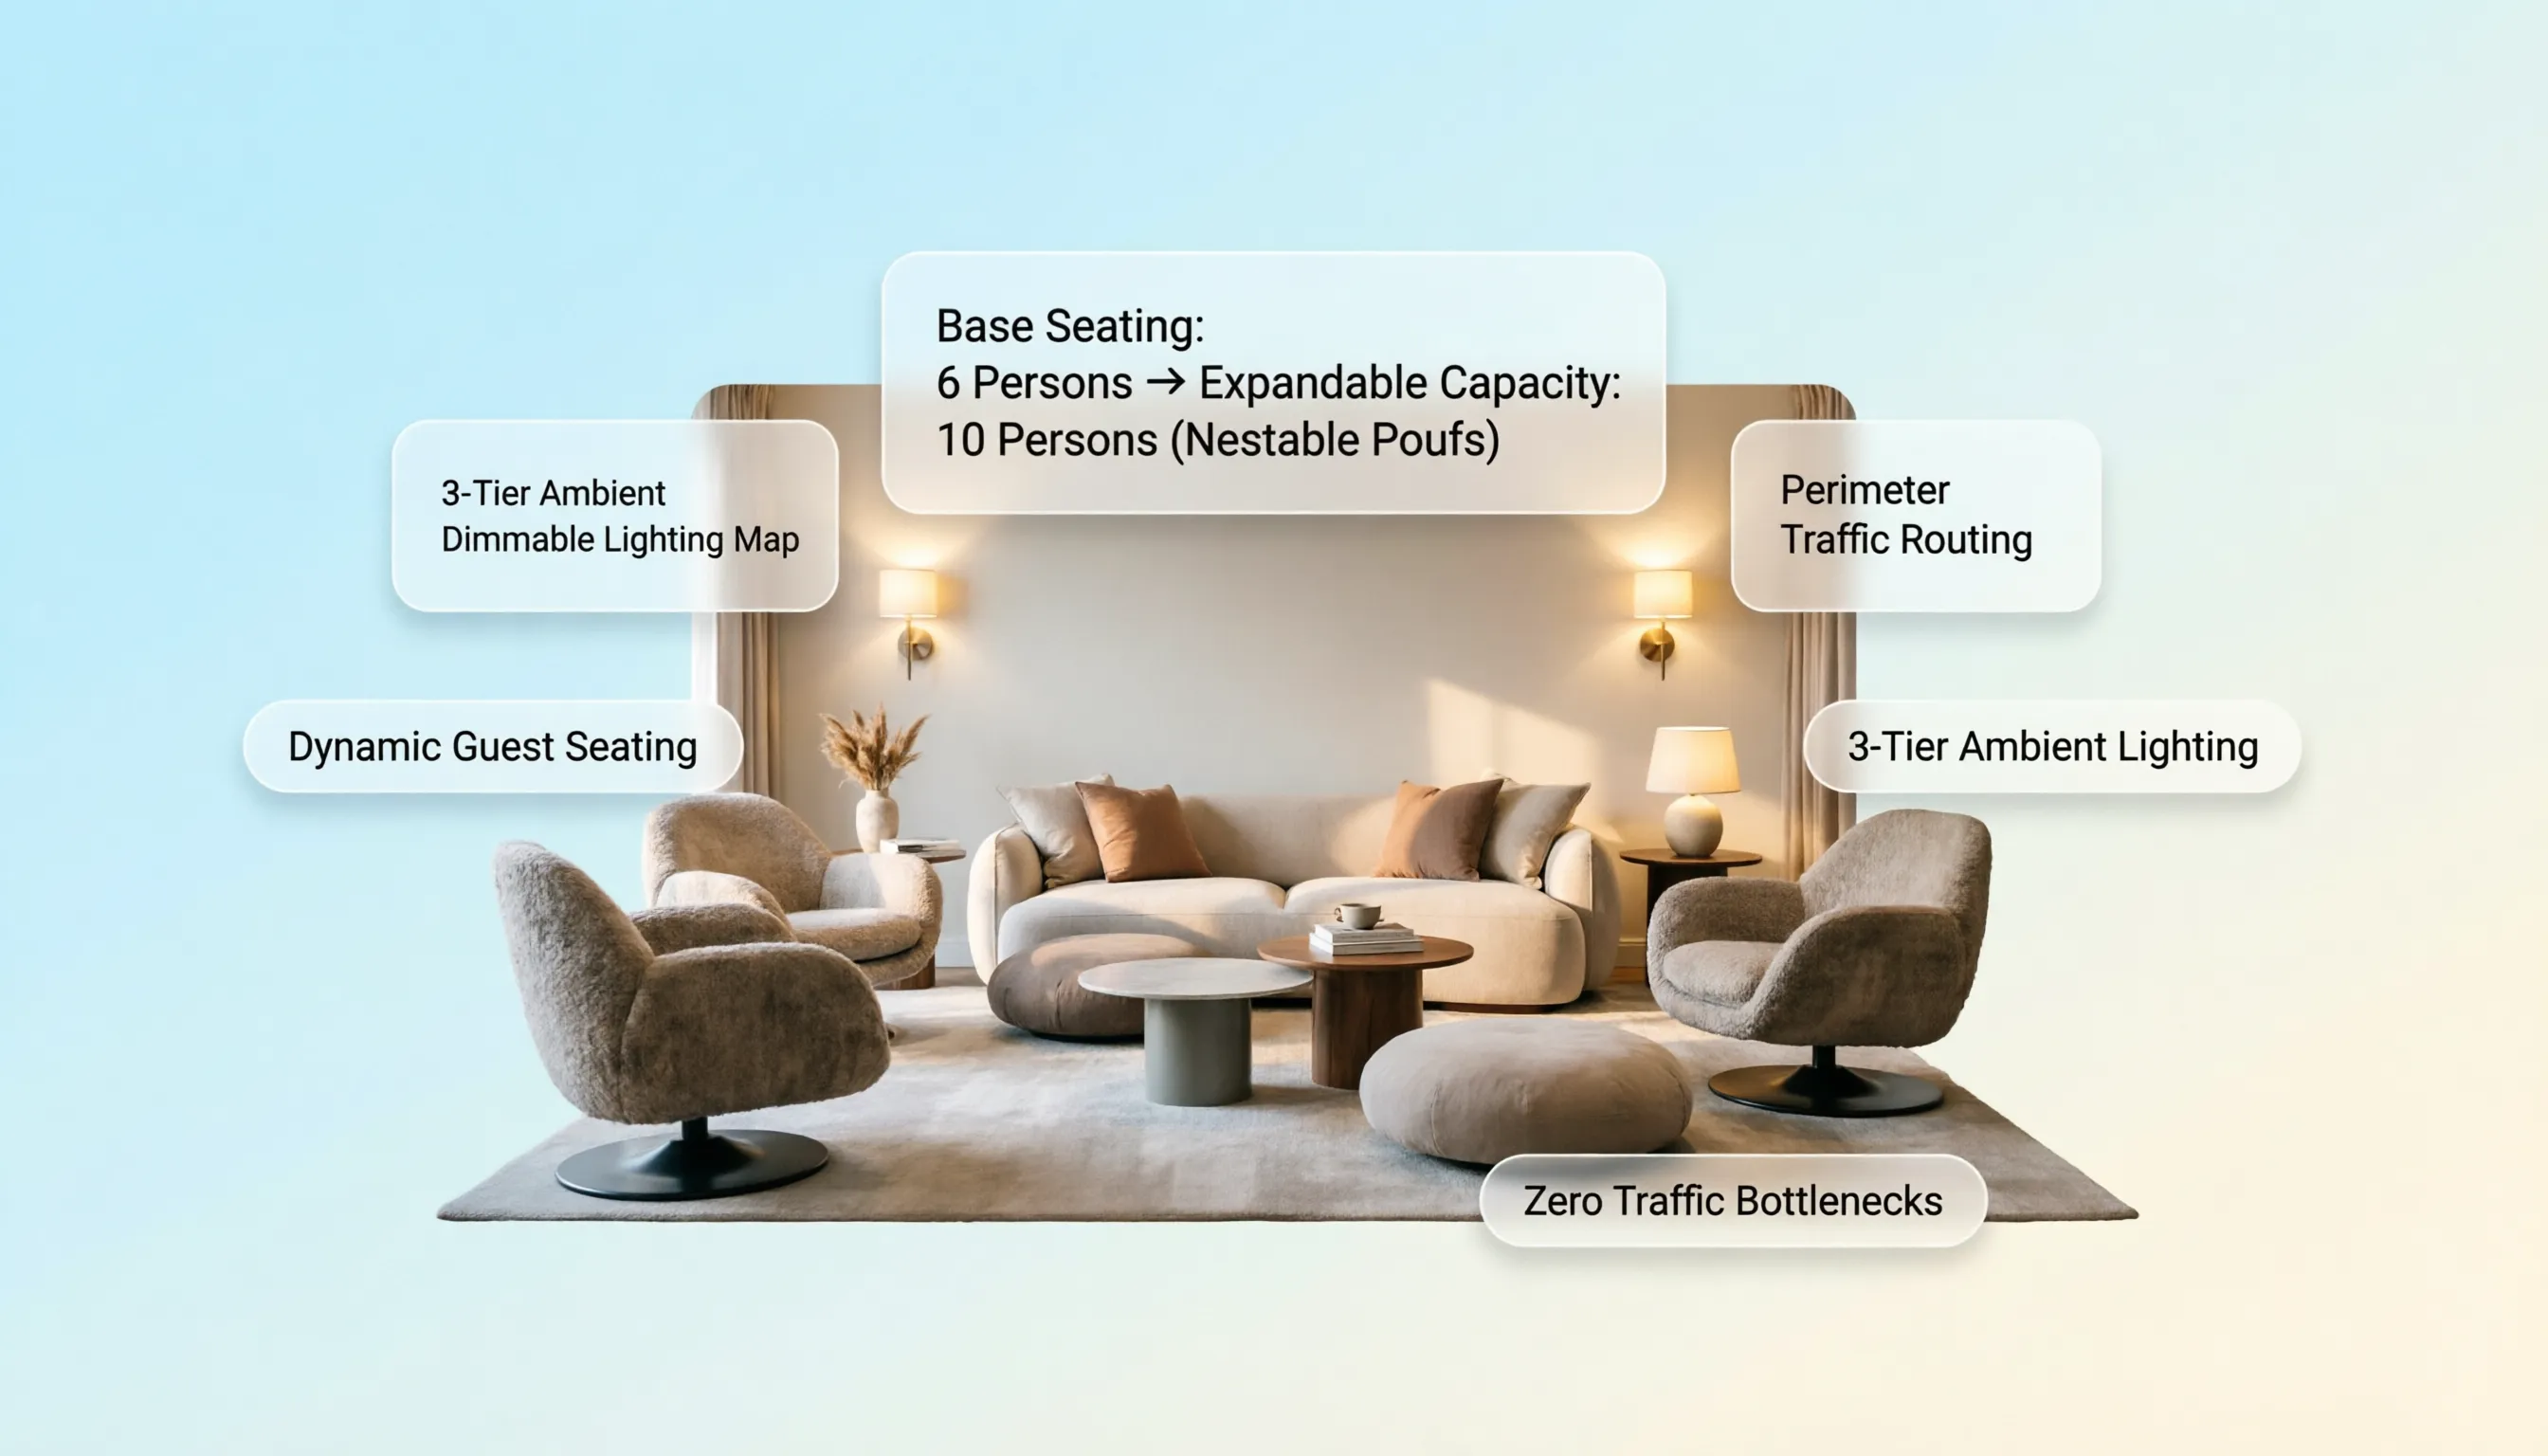
Buying a large sectional sofa or dining table only to discover it blocks your patio door or crowds your kitchen walkway is an expensive, frustrating mistake.
Taking time to measure your space, map out clearances, and test layout variations digitally protects your budget and saves physical effort.
Follow this step-by-step layout planning sequence:
- Measure Room Dimensions Accurately: Record wall lengths, window placements, ceiling heights, and doorway clearance gaps before shopping.
- Tape Footprints on the Floor: Use blue painter's tape to mark out the exact length and width of candidate sofas, dining tables, and sideboards on your bare floorboards.
- Walk the Space: Walk along your daily routes—from kitchen to dining area, entry to sofa—to ensure taped footprints don't restrict your movement.
15. Follow This Combined Living and Dining Room Planning Checklist
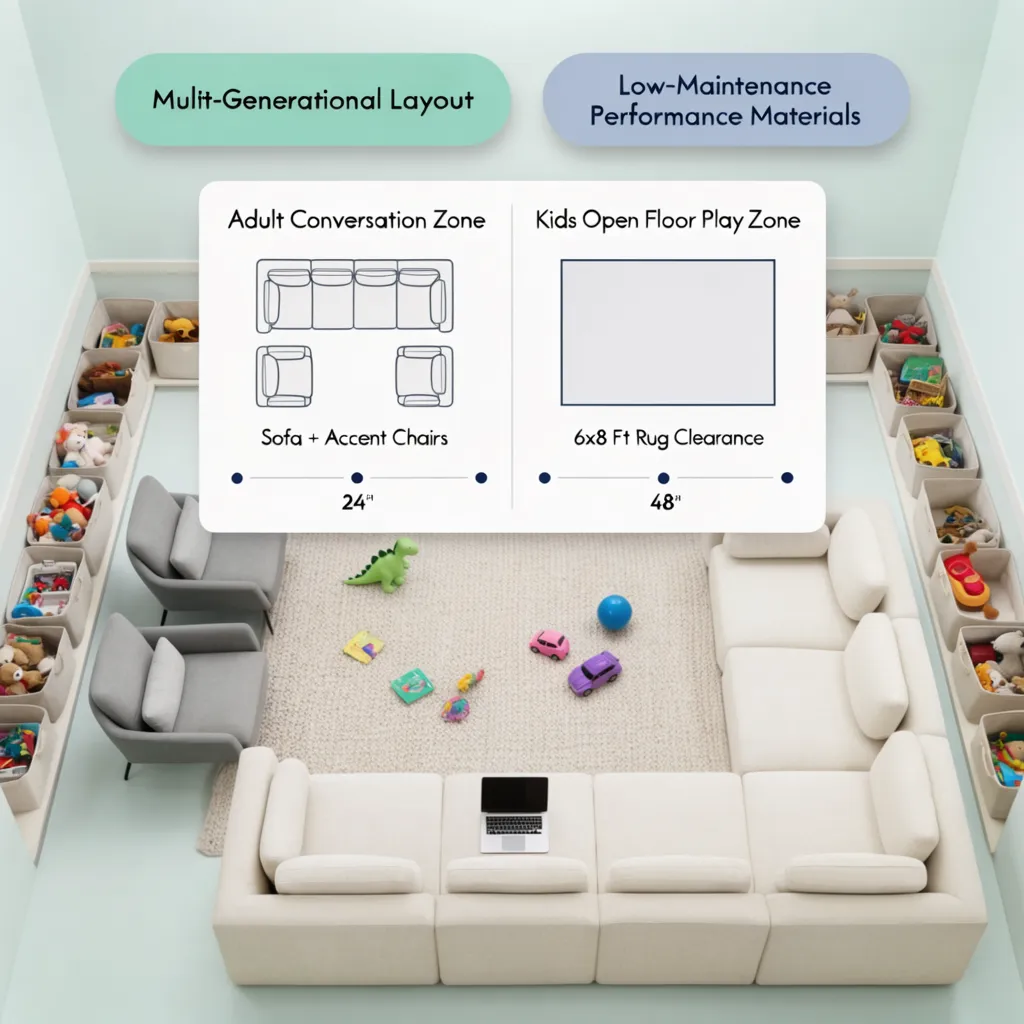
Don't rush into moving heavy furniture without a clear, step-by-step plan.
Follow this comprehensive planning checklist to make sure your combined living and dining layout is functional, comfortable, and completely optimized.
The Ultimate Combined Layout Checklist:
- [ ] Measure Total Dimensions: Record wall lengths, window positions, and door clearance gaps before purchasing furniture.
- [ ] Establish Main Walking Runway: Ensure primary pathways between kitchen, seating, and doors measure at least 36 inches wide.
- [ ] Position Dining Table Near Kitchen: Place your dining area closest to the kitchen threshold for convenient meal service.
- [ ] Check Chair Pull-Out Clearances: Allow 36 to 42 inches behind dining chairs so guests move comfortably without hitting walls or couches.
- [ ] Float the Main Sofa: Position the back of your primary couch toward the dining area to naturally divide eating and lounging zones.
- [ ] Anchor Lounge with a Rug: Place a large area rug under your living room setup to visually separate it from bare dining floors.
- [ ] Hang a Dedicated Dining Pendant: Center a dimmable chandelier 30 to 36 inches above your dining tabletop.
- [ ] Maintain Cohesive Colors: Use a shared 60-30-10 color palette and repeat wood or metal finishes across both areas.
Solve Your Open Floor Plan Puzzle
Tired of bumping into chairs and guessing whether that new sofa or dining table will fit your space?
With DesignHome, you can upload your exact room dimensions to map out customized living-dining floor plans. Test floating sofa dividers, experiment with round versus rectangular dining table footprints, and preview traffic flows in realistic detail before moving a single piece of heavy furniture.
External Resources & Industry Standards
To explore deeper insights into home space planning, lighting standards, and furniture safety, consult these authoritative industry resources:
- American Society of Interior Designers (ASID) – Professional standards for open-concept floor planning and traffic flow management.
- Illuminating Engineering Society (IES) – Residential lighting standards, color rendering indices, and dining pendant placement guidelines.
- American Home Furnishings Alliance (AHFA) – Safety standards, furniture anti-tip guidelines, and frame testing metrics.
- Sustainable Furnishings Council (SFC) – Information on non-toxic, low-VOC furniture finishes, natural woods, and eco-friendly upholstery.
- Paint Quality Institute – Expert advice on selecting wall paint sheens and connecting paint palettes across open spaces.
- National Association of Home Builders (NAHB) – Architectural guidelines for open-plan living, structural walls, and kitchen thresholds.
- U.S. Green Building Council (USGBC) – Standards for healthy indoor air quality, natural daylight optimization, and sustainable home design.
- U.S. Department of Energy – Efficient Home Lighting – Comprehensive standards for energy-efficient LED bulbs, Kelvin warmth ratings, and room dimmers.
Frequently Asked Questions About Combined Living and Dining Room Layouts
How much space should be left between a living area and a dining area?
Leave at least 36 to 48 inches of open floor space between the back of your living room sofa (or sofa console) and the nearest edge of your dining table or pulled-out dining chairs. This gap ensures smooth walking traffic between zones without making the room look crowded.
Should the dining table or living room sofa be closer to the kitchen?
The dining table should almost always sit closer to the kitchen. Placing the dining area near the kitchen threshold makes serving meals, clearing dirty plates, and entertaining guests significantly easier, while keeping food messes away from your living room rug and upholstery.
What is the best dining table shape for a small combined living and dining room?
A round or oval dining table is best for small combined spaces. Round tables lack sharp jutting corners, making them easier to walk around in tight footprints, and allow you to squeeze in an extra chair when hosting guests.
How can I make an open living and dining room feel like two separate spaces?
Anchor your living room seating group with a large area rug, float the back of your sofa toward the dining zone to act as a soft divider, hang a dedicated pendant light directly over the dining table, and use open bookcases or sideboards as subtle spatial boundaries.
What rug size do I need for a combined living and dining room?
In the living zone, choose a rug large enough that at least the front two legs of your sofa and accent chairs rest on top (typically an 8x10 or 9x12 ft rug). In the dining area, if you choose to use a rug, ensure it extends at least 24 inches beyond all sides of the table so chair legs don't catch on the rug edge when pulled out.
How do I arrange furniture in a long, narrow combined living and dining room?
Divide the room's length into three distinct transverse zones: dining area at one end, living lounge at the opposite end, and an open transition space in the middle. Keep your main 36-inch walking path running strictly along one long wall rather than zigzagging across the middle.
What lighting color temperature works best for an open-concept living and dining space?
Warm white lighting rated between 2700K and 3000K (Kelvin) works best. Using matching color temperatures across both living and dining zones ensures the entire room feels cohesive, warm, and inviting after dark without harsh color cast variations.
How can I test my combined living and dining room layout before buying furniture?
Using DesignHome, you can upload your room's exact dimensions, test different sofa orientations, experiment with round versus rectangular dining tables, and map out 36-inch walking traffic routes before buying or moving heavy furniture.


