

You stare down a narrow hallway filled with plastic dust sheets, tripping over power cords, paint cans, and drywall tape just to brush your teeth in the morning. Your kitchen counters are buried under power tools, dinner is microwave takeout for the third night in a row, and your budget is draining faster than you ever anticipated.
This nightmare is what happens when you try to renovate an entire house all at once without a massive budget or a team of contractors living in your home.
Renovating your home in deliberate phases isn't just a budget strategy—it is a sanity saver.
When you learn how to renovate one room at a time, you keep your living quarters functional, control your cash flow, and give every single square foot the focused design attention it deserves. Here is how to plan, sequence, and execute a room-by-room home renovation without turning your daily life into a chaotic construction zone.
1. Decide Whether Room-by-Room Renovation Fits Your Home
Before ripping up floorboards or placing deposits on custom cabinetry, you need to decide if phased remodeling matches your financial reality, lifestyle, and structural timeline.
Renovating in stages isn't always the cheapest path per square foot, but it completely eliminates the crippling cost of renting a temporary apartment during construction.
A phased room-by-room approach works best if:
- You want to avoid debt: You prefer paying cash for materials as your monthly savings allow rather than taking out heavy home equity loans.
- You must live on site: You need to keep primary bedrooms, bathrooms, and a functional kitchen running for your family throughout the project.
- You are doing DIY work: You plan to complete trade tasks like painting, tiling, and trim work during evenings and weekends.
If your home requires major structural leveling, a brand-new roof, or complete electrical rewiring from the main panel, tackling those core structural services across the entire house before cosmetically finishing individual rooms is essential.
2. Choose the First Room Based on Need, Not Appearance
When homeowners decide to renovate house in stages, their immediate instinct is usually to pick the fun room first—the master suite or a cozy living room lounge.
Starting with aesthetics often leads to expensive rework. If you remodel your living room first and then discover a slow plumbing leak from the upstairs bathroom three months later, you will end up tearing down your fresh drywall.
[ Tier 1: Emergency Mechanics ] ===> Leaks, Electrical Safety, Roof & Framing
                                     (Fix First Across Property)

[ Tier 2: High-Friction Daily Spaces ] ===> Kitchen & Primary Bathroom
                                     (Tackle Next for Maximum Life Impact)

[ Tier 3: Isolated Low-Impact Spaces ] ===> Bedrooms, Guest Rooms & Home Office
                                     (Save for Later Phases)
Use this decision hierarchy to pick your starting point:
- Water & Structural Integrity First: Address rooms with active leaks, mold, rotted subfloors, or outdated knob-and-tube electrical wiring before touching cosmetic surfaces.
- Daily Utility Impact: Tackle the space causing the most daily friction—usually an outdated kitchen or your primary bathroom.
- Ease of Isolation: If you need an easy win to build momentum, start with a spare bedroom or home office that can be locked shut to contain dust while you refine your workflow.
3. Plan the Whole House Before Starting the First Room
The single biggest danger when renovating one room at a time is creating a fragmented house where every room looks like it belongs to a different decade.
To prevent your home from looking like a patch-worked showroom, you must map your whole-house master plan before buying tiles or paint for Room #1.
Establish these universal specifications first:
- Select Universal Flooring: Decide on your main floor material (such as engineered oak, luxury vinyl plank, or tile) so that transitions across doorways line up seamlessly from room to room.
- Standardize Trim & Doors: Choose identical baseboard profiles, door casing widths, and hardware finishes across all phases.
- Pre-Route Mechanical Rough-Ins: If you plan to renovate an upstairs bathroom in Phase 3, run the necessary plumbing stack lines and electrical conduits during Phase 1 while main wall cavities are open.
4. Set a Budget for Each Room Without Losing Track of the Total
Budget creep is the ultimate killer of phased renovations. It is far too easy to overspend on custom fixtures in Room #1, leaving you with zero funds left for your kitchen or primary bath down the road.
Managing a room-by-room renovation budget requires strict mental accounting and separate contingency reserves for each individual space.
   [ Total Renovation Budget: $50,000 ]
                     |
                     +---> Phase 1: Kitchen ($25,000 + 15% Buffer)
                     +---> Phase 2: Primary Bath ($15,000 + 15% Buffer)
                     +---> Phase 3: Guest Bedrooms ($10,000 + 10% Buffer)
Build a bulletproof phased budget:
- Ring-Fence Room Funds: Lock in strict budget caps for each room phase based on total project reserves. Never borrow funds from Phase 2 to pay for decorative upgrades in Phase 1.
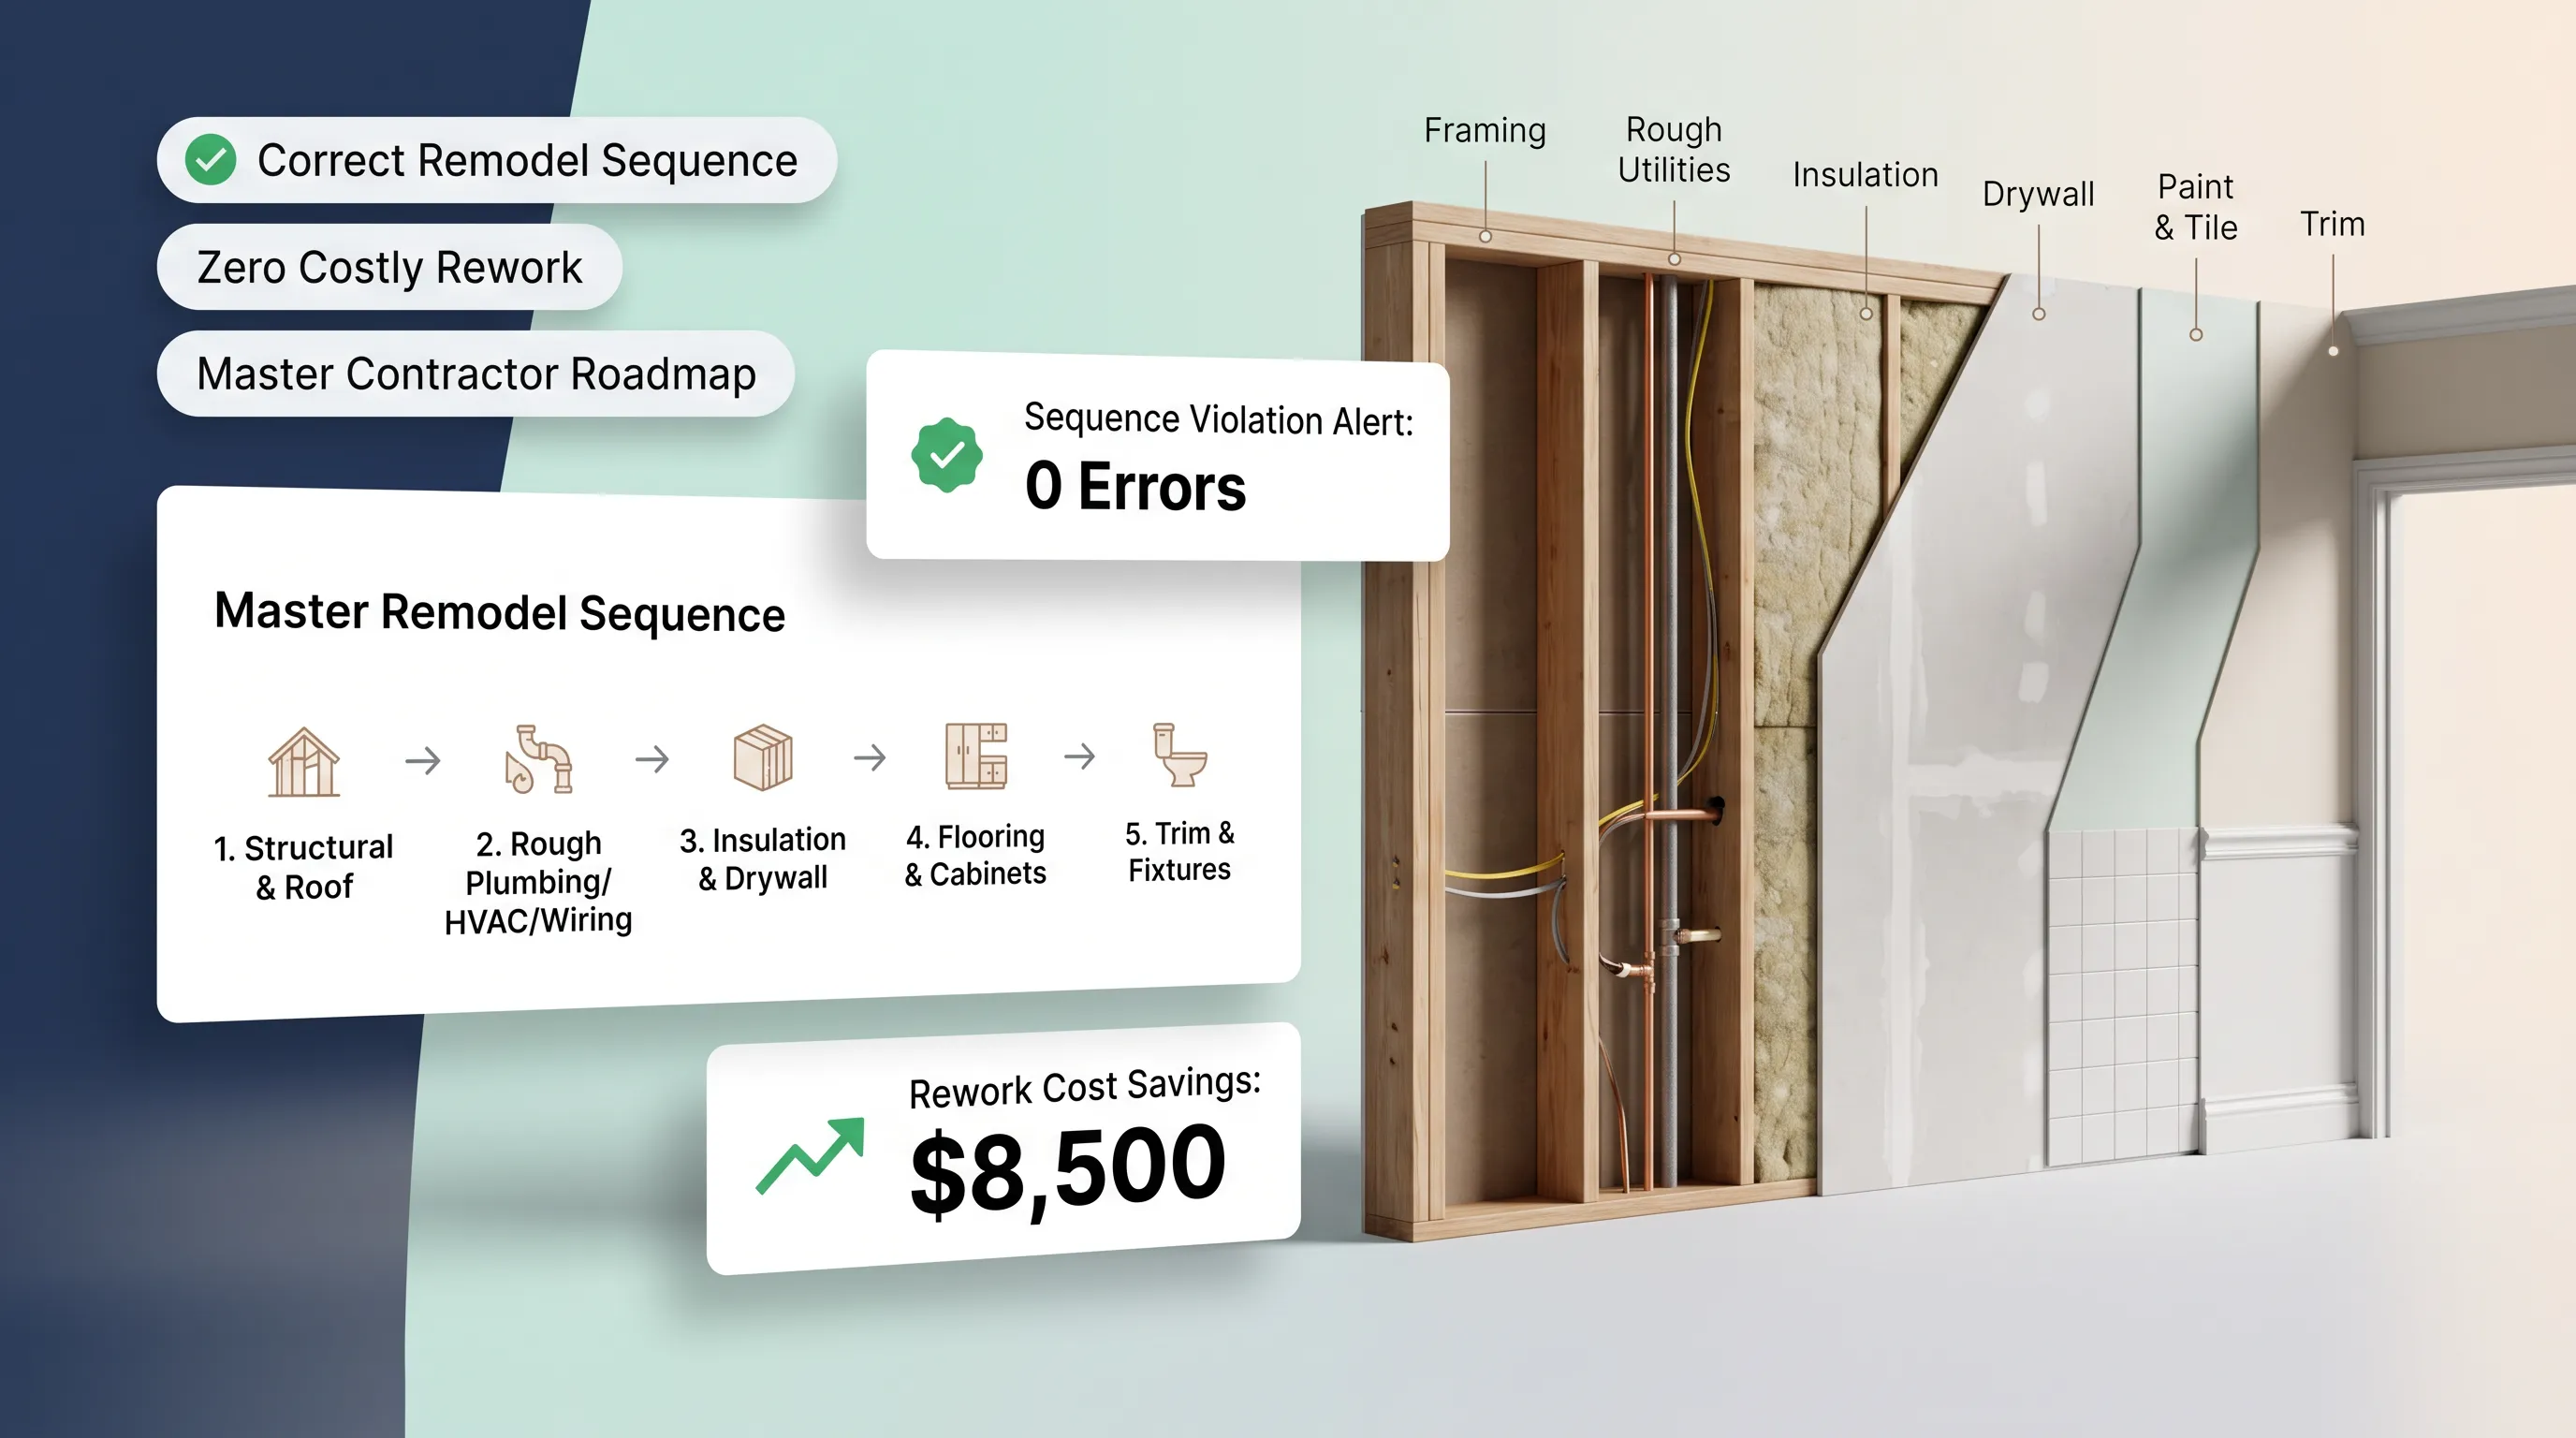
- Separate Structural Costs from Cosmetic Finishes: Divide every room quote into rough construction costs (plumbing, wiring, drywall, subfloors) versus finish materials (tile, fixtures, lighting, paint).
- Maintain a 15% Contingency per Phase: Old homes always hide surprises behind drywall. Keep a dedicated 15% cash buffer strictly for unexpected structural repairs in that specific room.
For official industry guidelines on construction cost estimating, trade labor benchmarks, and material quotes, consult the National Association of Home Builders (NAHB).
5. Work Out the Best Order for Renovating Multiple Rooms
If you are wondering about the exact room-by-room renovation order, there is a logical engineering sequence that prevents dust, heavy equipment, and trade traffic from damaging your hard work.
Always renovate from top to bottom and from back to front.
   ROOF & ATTIC MECH
         |
         v
   UPSTAIRS BATHROOMS & BEDROOMS
         |
         v
   GROUND-FLOOR KITCHEN & LIVING
         |
         v
   ENTRYWAY, HALLWAYS & STAIRS
Follow this optimal structural order:
- Step 1: Roof, Attic & Sub-Structure: Fix top-level leaks, structural framing, and main service panels before touching interior finishes.
- Step 2: Top Floor Rooms: Renovate upper-floor bedrooms and bathrooms first. Tradespeople carrying heavy tools, lumber, and drywall sheets will track dust down through lower levels.
- Step 3: Ground Floor Main Living: Renovate ground-floor kitchens, dining spaces, and family living rooms once upper-floor structural work is complete.
- Step 4: Hallways, Stairs & Entryways: Always renovate central hallways and entry doors last. These zones serve as primary construction corridors throughout earlier phases.
6. Renovate While Living in the House Without Losing Essential Spaces
The hardest part of living in house during renovation phases isn't the noise—it is the psychological fatigue of daily disruption.
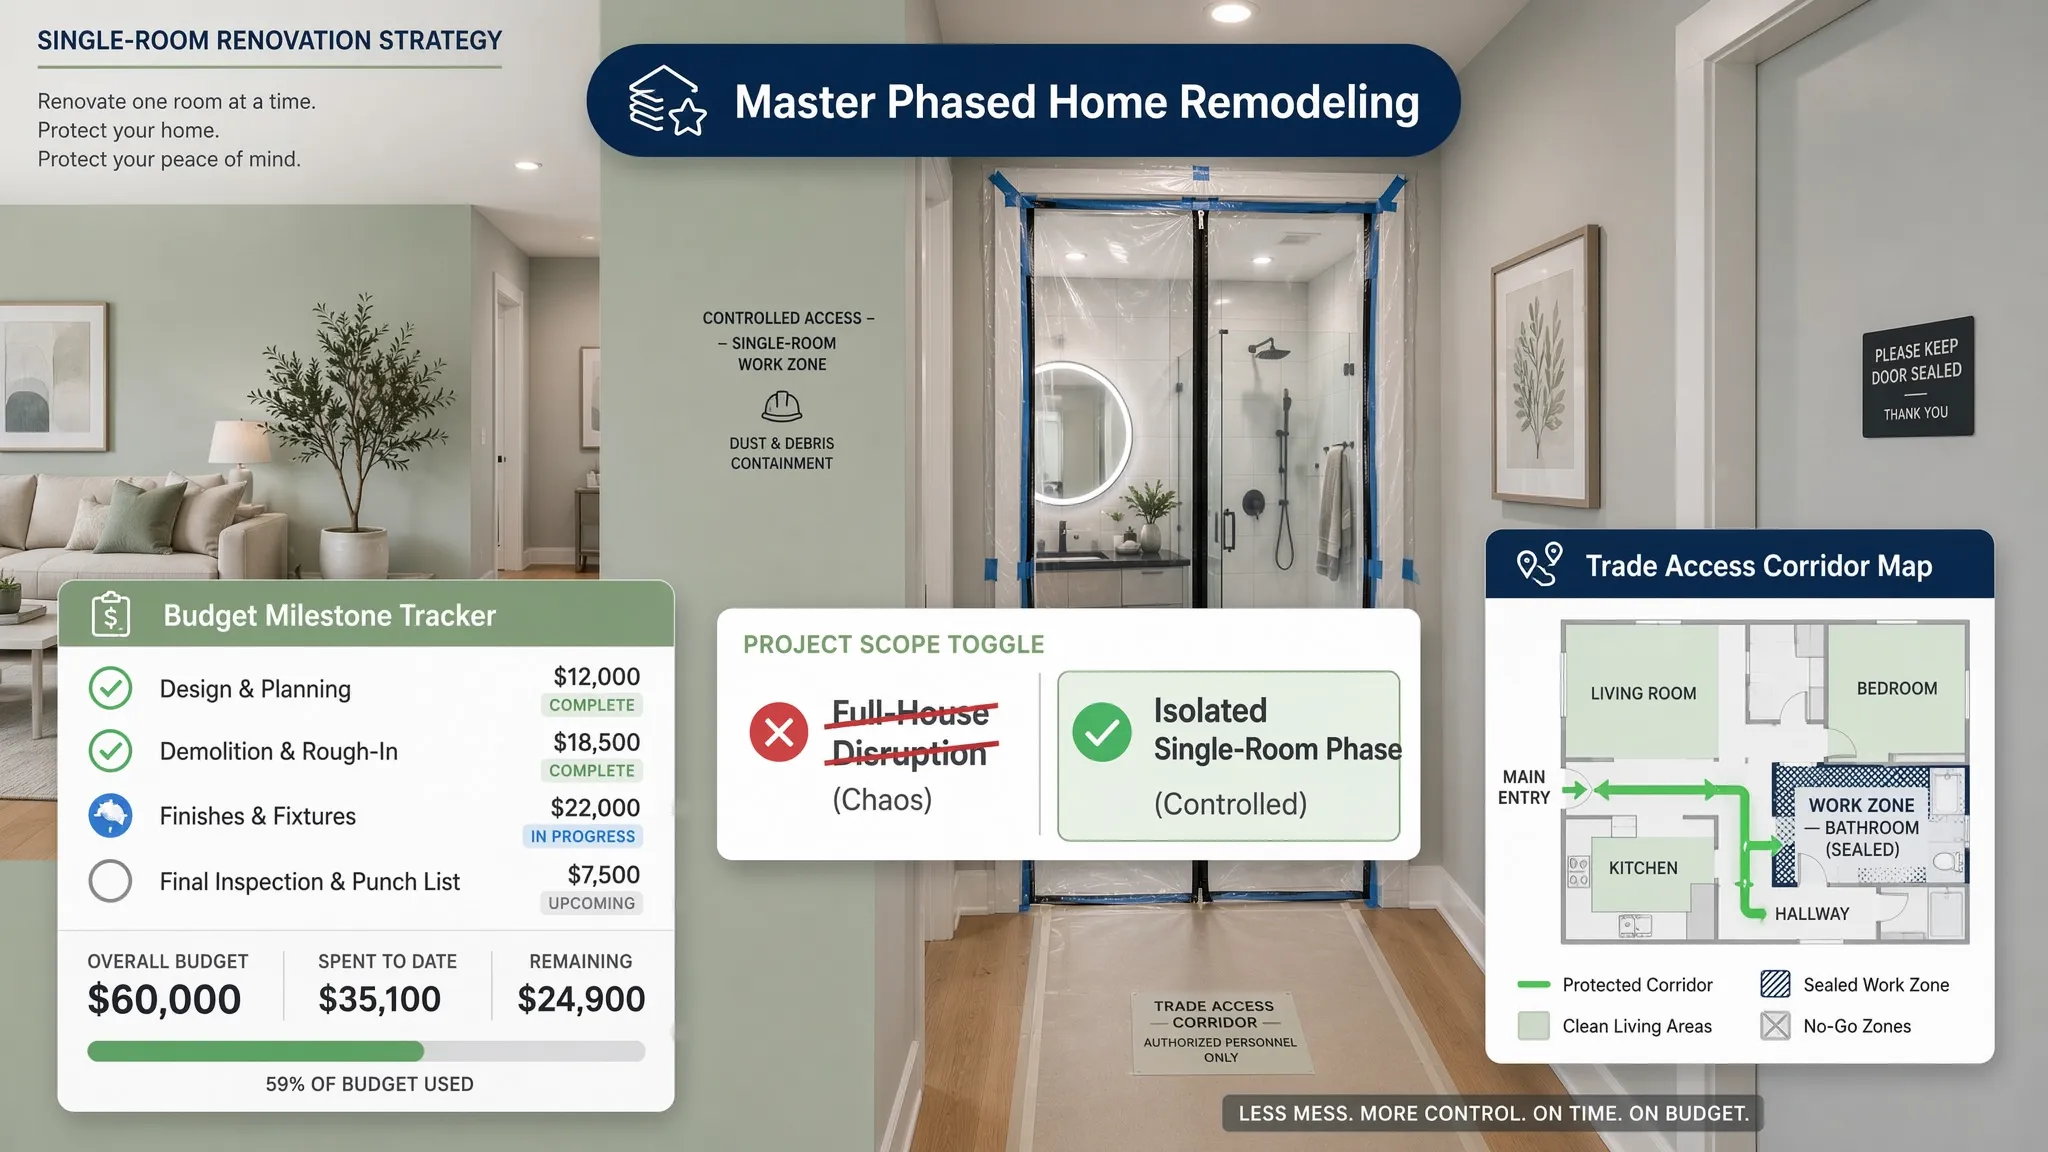
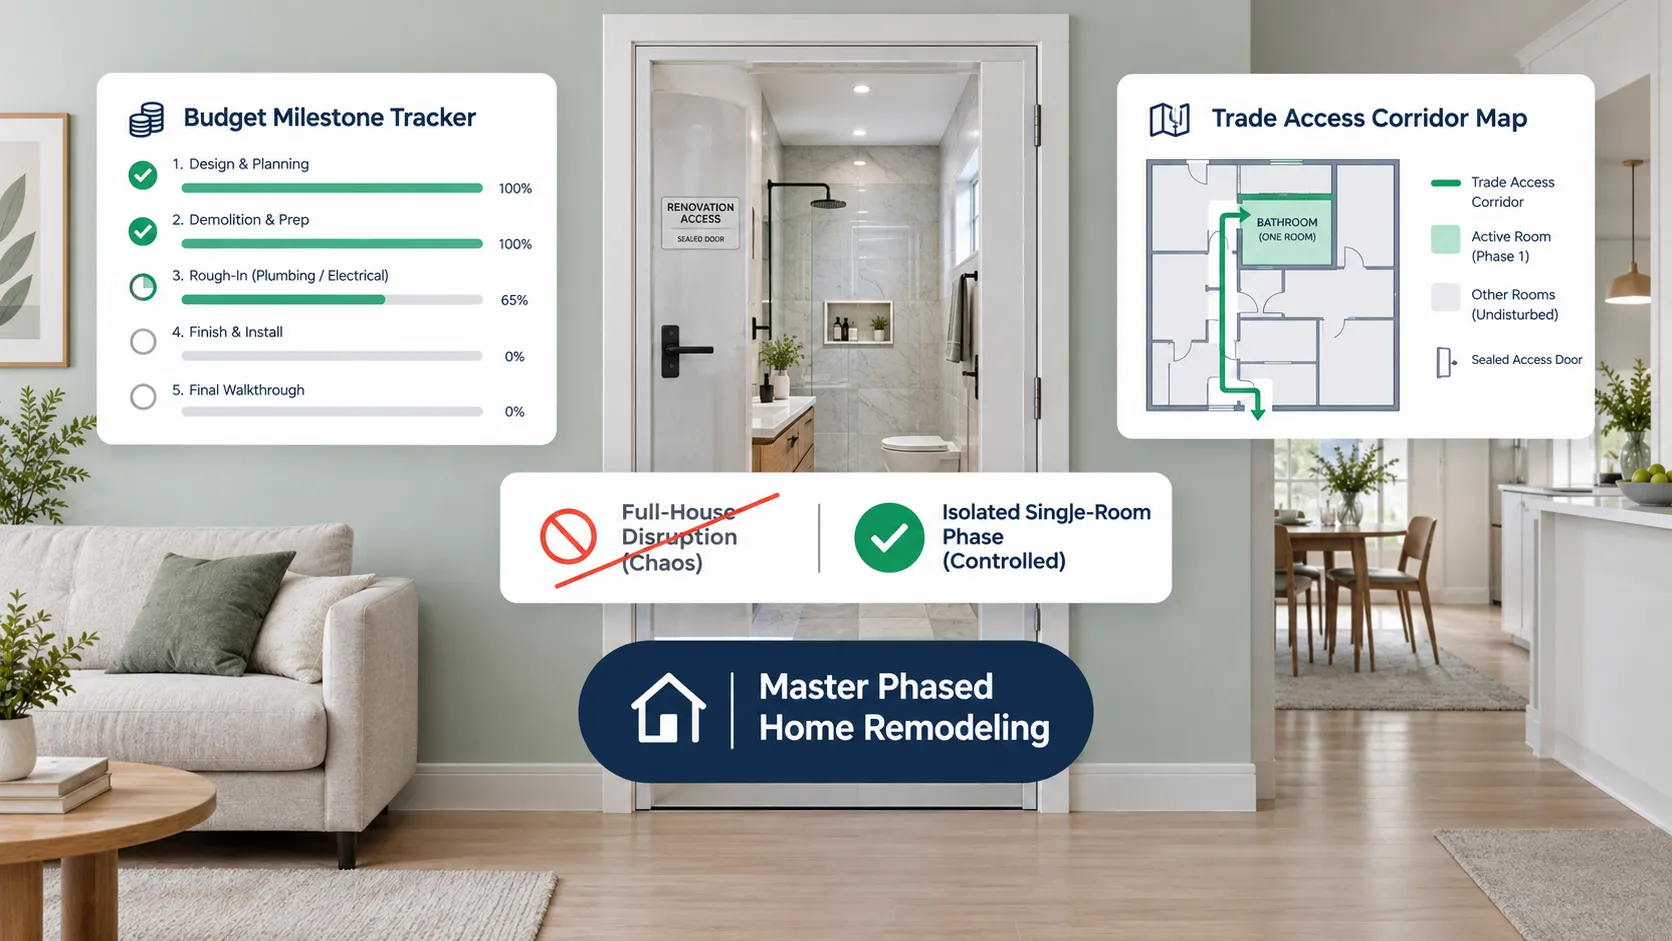
To survive phased remodeling, you must protect "clean sanctuaries" within your home where no construction materials, tools, or dust are allowed to cross the threshold.
[ Active Work Zone ] ===( ZipWall Plastic Barrier )===> [ Protected Clean Sanctuary ]
  - Heavy Tools & Dust                                    - Zero Dust / Clean Air
  - Closed Air Vents                                      - Comfortable Seating & Bed
  - Negative Pressure Fan                                 - HEPA Air Scrubber Running
Set up your living containment strategy:
- Build Heavy-Duty Dust Containment: Seal off active work zones using floor-to-ceiling zip-zipper plastic containment walls. Cover air HVAC vents inside the work zone so dust doesn't circulate through your home's ductwork.
- Establish a Functional Temporary Kitchen: If your kitchen is out of commission, set up a temporary cooking station in a dining room or guest bedroom equipped with a microwave, toaster oven, electric hot plate, and mini-fridge.
- Run HEPA Air Scrubbers: Keep portable HEPA air filters running 24/7 right outside the construction zone door to trap airborne dust particles before they settle on your furniture.
For official health and safety standards regarding indoor air quality, dust control, and non-toxic materials during remodeling, visit the U.S. Environmental Protection Agency (EPA).
7. Start With a Bedroom, Living Room, or Another Low-Dependency Space?
If you are feeling overwhelmed by the scope of your project, starting your room-by-room home renovation in a simple, low-dependency space is a brilliant strategy.
Starting with a bedroom or home office allows you to build trade confidence, test local subcontractors, refine your material ordering timeline, and secure a fast "small win" without disrupting essential plumbing or gas lines.
Low Friction (Bedrooms & Offices): Perfect for testing paint colors, practicing floor installation, and establishing working relationships with local trade workers.
High Friction (Kitchens & Bathrooms): Involves complex trade coordination between plumbers, electricians, tile setters, and cabinet installers.
8. Plan Kitchen and Bathroom Renovations Around Essential Facilities
Kitchens and bathrooms are the engine rooms of your daily life. Taking a primary bathroom or main kitchen offline requires precise logistical planning to avoid total household breakdown.
When tackling a kitchen renovation sequence or bathroom overhaul in stages:
[ Primary Bath Offline ] ===> Activate Secondary Half-Bath or Basement Shower
[ Main Kitchen Offline ] ===> Set Up Mini-Fridge, Induction Cooktop & Water Station
Follow these critical protective rules:
- Never Demo Before Materials Arrive: Do not allow a contractor to tear down drywall or pull out a toilet until custom tile, vanity cabinets, faucets, and valves are physically sitting inside your garage. Material shipping delays can leave you without a functioning space for months.
- Sequence Plumbing Inspections Early: Ensure rough-in plumbing and electrical inspections are scheduled back-to-back so walls can be closed up quickly.
- Stagger Multi-Bathroom Projects: If your house has two bathrooms, complete Bathroom #1 entirely before touching a single tile in Bathroom #2.
To review official home plumbing maintenance guides, pipe sizing codes, and fixture safety standards, consult the International Code Council (ICC).
9. Finish Each Room in the Right Order
Whether you are remodeling a tiny powder room or a sprawling living space, following a correct room renovation checklist prevents you from ruining brand-new surfaces during later trade steps.
Never install finish materials until heavy mechanical overhead work is 100% complete.
  [ Phase A: Demolition & Structural Framing ]
                       |
  [ Phase B: Rough-In Mechanics (Plumbing, Electrical, HVAC) ]
                       |
  [ Phase C: Drywall Boarding, Taping & Sanding ]
                       |
  [ Phase D: Priming & First Paint Coat ]
                       |
  [ Phase E: Tile, Cabinetry & Hard Flooring Installation ]
                       |
  [ Phase F: Trim, Baseboards, Final Paint & Light Fixtures ]
Why this sequence matters:
- Drying Work Before Wood: Drywall taping, mudding, and painting release massive amounts of humidity into the room. Completing wet drywall work before installing solid wood floors or custom cabinetry prevents wood warping and buckling.
- Baseboards After Floors: Installing baseboards after hardwood or tile flooring is laid down allows trim carpenter work to sit flush over raw floor edges without unsightly gaps.
10. Protect Finished Rooms From the Next Renovation Phase
There is nothing more heartbreaking than finishing a stunning new living room in Phase 1, only to have contractors scratch your new flooring and stain your painted walls while working on the kitchen in Phase 2.
Applying heavy-duty protective barriers to completed zones is essential when you renovate house in stages.
[ Newly Finished Wood Floor ]
              |
              +---> Layer 1: Breathable Felt Floor Guard
              +---> Layer 2: Heavy Duty Ram Board Protective Sheets
              +---> Layer 3: Heavy Duty Blue Painter's Tape Seams
Protect your completed investments:
- Lay Ram Board Floor Protection: Cover finished hardwood and tile floors along main contractor walking routes with heavy-duty cardboard Ram Board sheets taped down at every seam.
- Wrap Door Frames & Jambs: Install plastic snap-on door jamb protectors around finished interior doorways to prevent ladders, toolboxes, and lumber from gouging door trim.
- Isolate HVAC Returns: Cap off return air vents inside completed rooms so drywall dust from future phases isn't sucked into clean spaces.
11. Keep the Whole House Looking Cohesive as Each Room Changes
When you renovate across multiple months or years, visual drift is a real danger. Trendy tile choices or paint shades popular during Phase 1 might feel outdated or out of place by the time you reach Phase 4.
Achieving a high-end cohesive home renovation relies on repeating core architectural finishes throughout every room.
Maintain visual unity:
- Stick to Your Master Board: Keep a physical material sample board (containing your floor plank, baseboard profile, wall paint chip, and metal hardware) in your workspace. Bring it to supplier showrooms before buying items for future rooms.
- Use the Same Door Hardware: Install identical door levers, hinges, and stop plates across every renovated space.
- Connect Adjoining Wall Colors: Ensure paint palettes transition smoothly through open archways and hallways.
If you are picking paint schemes for connected spaces, explore our guide on choosing paint palettes for adjoining rooms.

12. Know When to Pause Before Starting the Next Room
One of the biggest mistakes DIYers and homeowners make is rushing directly from one finished room straight into demolishing the next without taking a strategic pause.
Taking a deliberate 2-to-4-week pause between phases protects your mental health, lets your savings recover, and allows you to catch minor workmanship flaws before moving on.
  [ Complete Room Phase ]
             |
             v
  [ Conduct Punch-List Inspection (Check Leaks, Grout, Trim) ]
             |
             v
  [ Take a 3-Week Living Pause (Enjoy the Space & Recover Funds) ]
             |
             v
  [ Begin Demolition on Next Room Phase ]
Your post-renovation pause checklist:
- Test Fixtures Under Real Use: Live in the finished room for at least two weeks. Test shower drainage, check cabinet door alignments, and inspect paint under evening lighting to spot minor defects.
- Settle Phase Accounts: Pay off all material invoices and trade bills for Phase 1 so your financial baseline is crystal clear before committing to Phase 2 deposits.
- Clean & Reclaim Household Space: Remove all construction tools and plastic containment from your home to restore a calm, clean living environment before starting the next mess.
13. Create a Room-by-Room Renovation Timeline You Can Follow
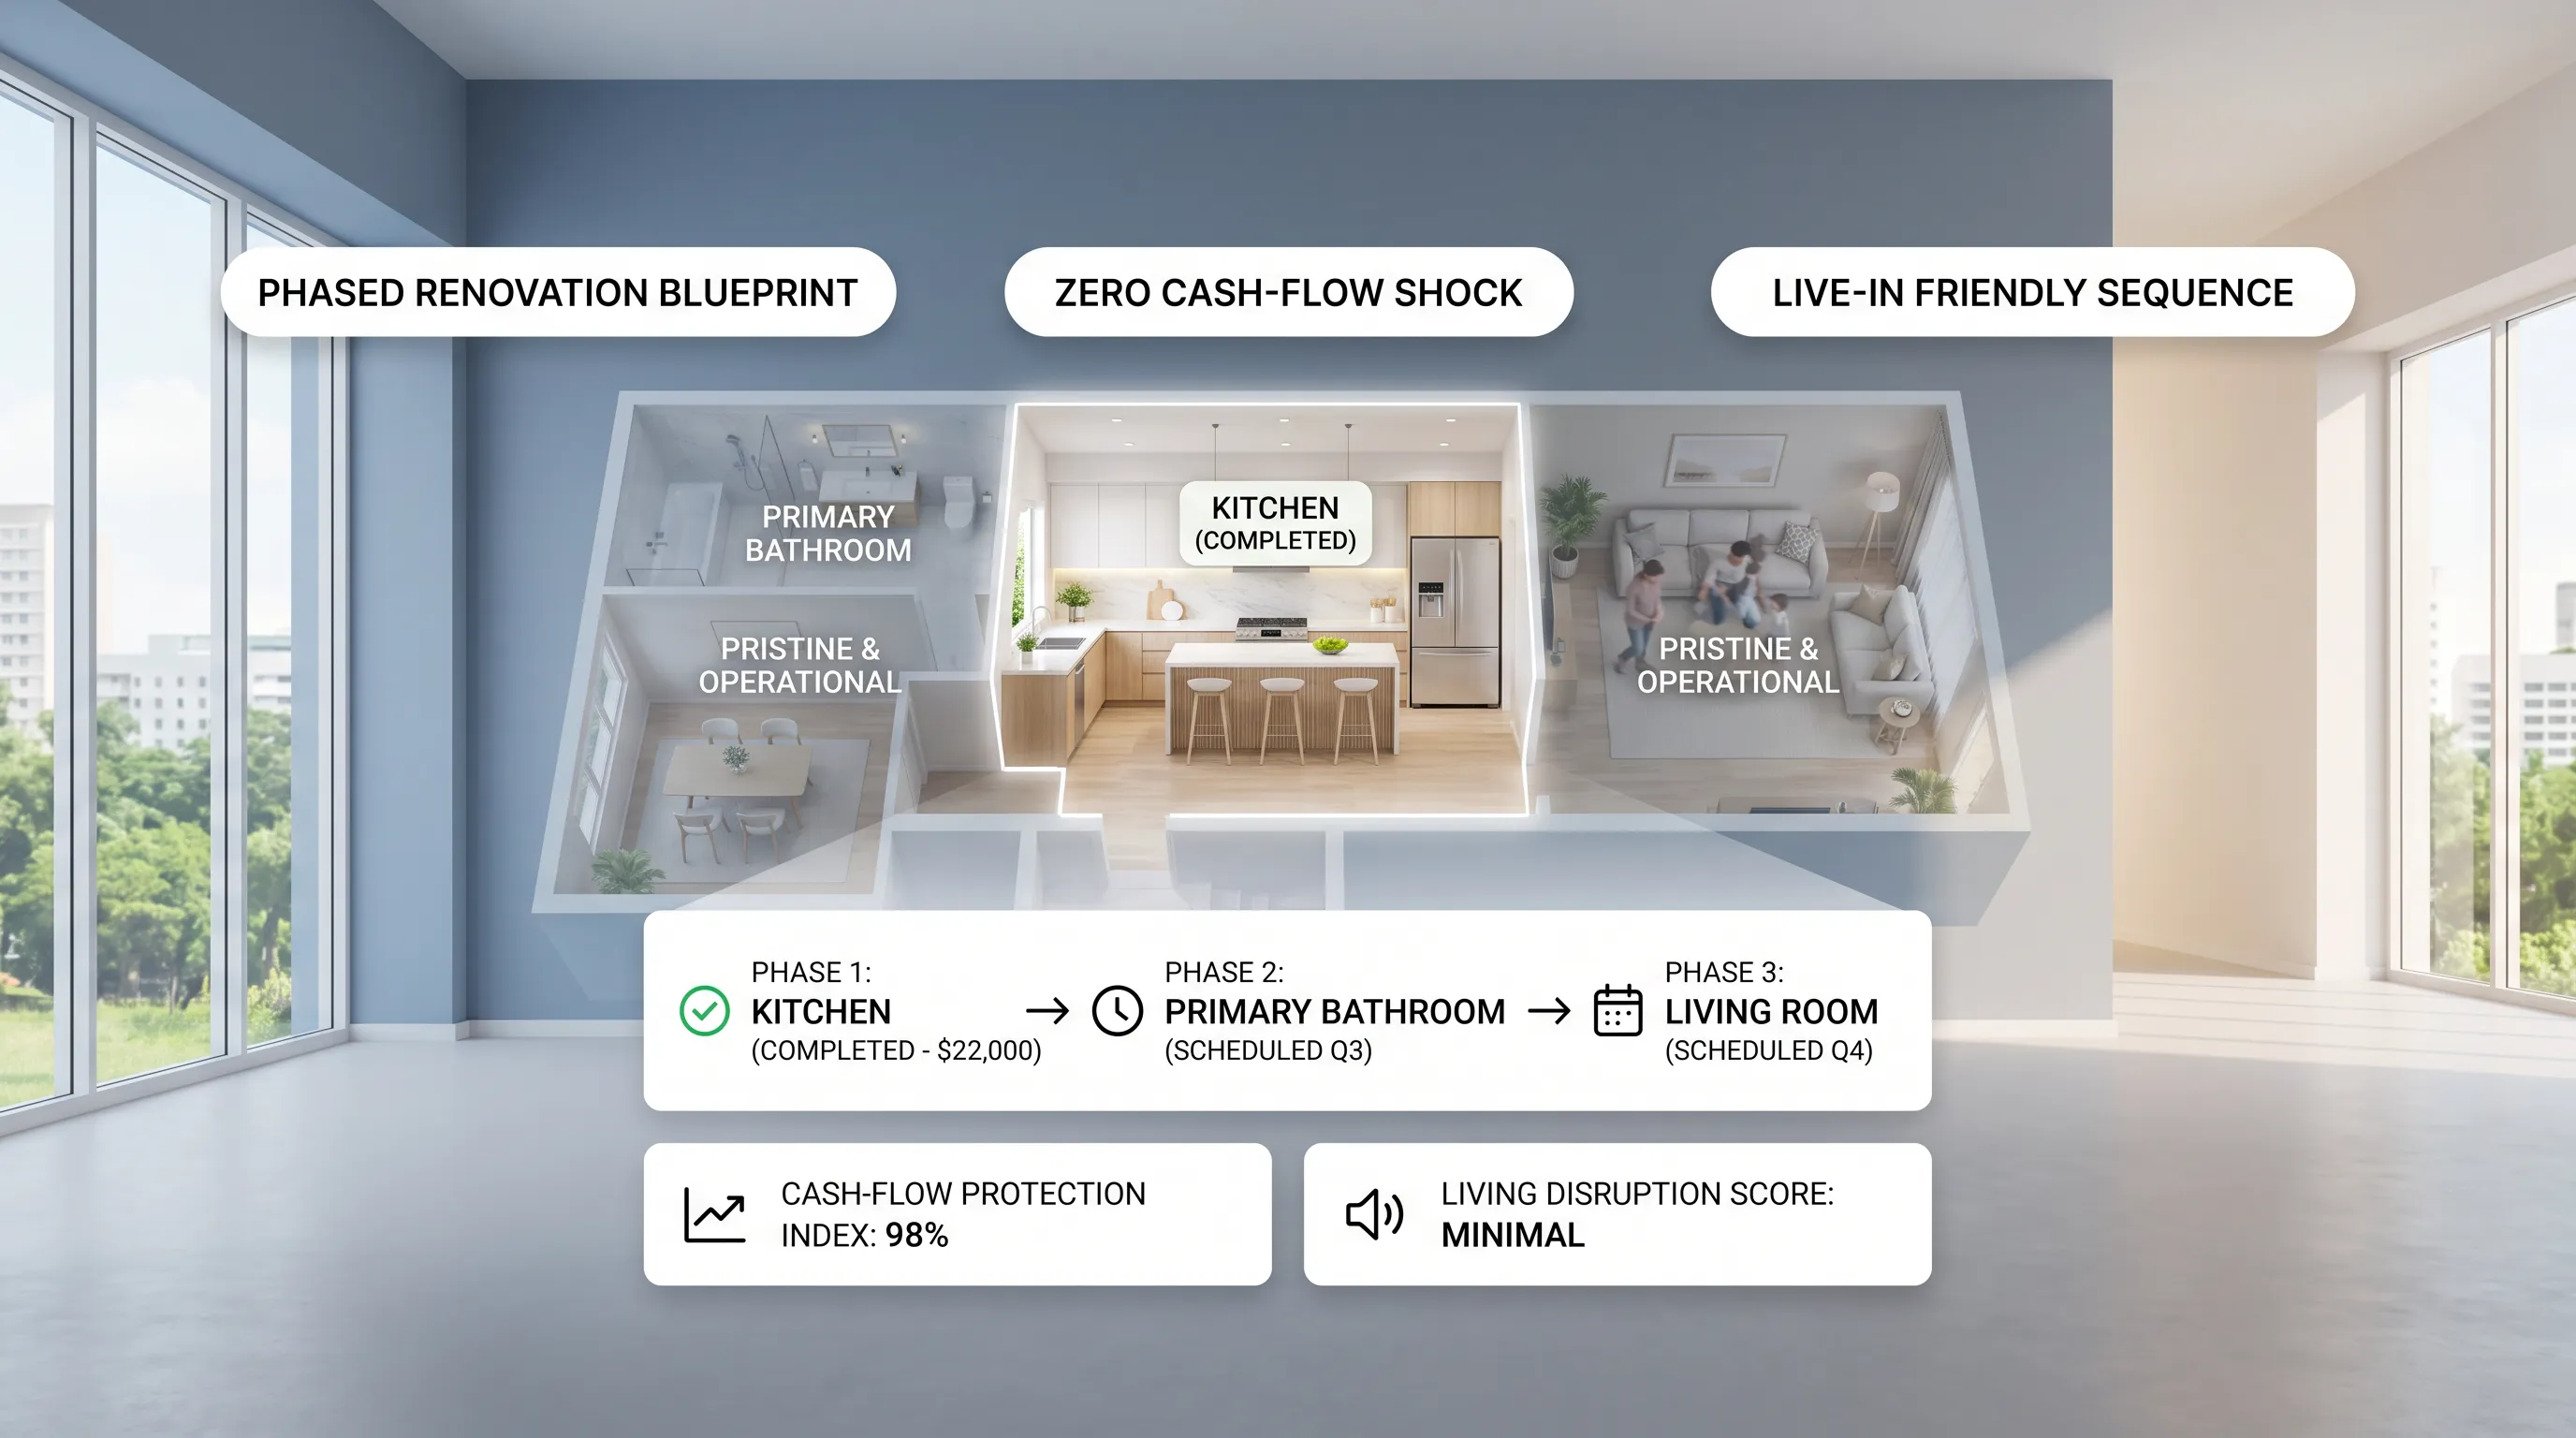
Building a realistic room-by-room renovation schedule keeps your project moving forward without overwhelming your personal schedule.
Always build product lead times and contractor buffer windows into your timeline.
Timeline management rules:
- Order Custom Items Months Ahead: Custom kitchen cabinets, imported tile, and high-end plumbing fixtures often carry 6-to-12-week shipping lead times. Order them long before demo day.
- Double Trade Work Estimates: If a contractor estimates three weeks for a bathroom remodel, block out five weeks on your personal family calendar to absorb inevitable trade scheduling delays.
For broader advice on negotiating trade contracts and managing contractor milestones, explore our guide on how to compare home renovation quotes.
14. Use This Room-by-Room Renovation Checklist Before You Begin
Ready to launch your phased home remodel with total confidence?
Run through this comprehensive checklist before spending a single dollar or lifting a demolition hammer.
  [ Step 1: Establish Whole-House Master Design Board ]
                          |
  [ Step 2: Set Strict Phase Budgets + 15% Cash Buffer ]
                          |
  [ Step 3: Verify All Materials are On-Site Before Demo ]
                          |
  [ Step 4: Install Plastic Zip Containment & Floor Board ]
                          |
  [ Step 5: Execute Room Phase Top-to-Bottom Sequence ]
The Ultimate Room-by-Room Renovation Checklist:
Step Into Your Future Room Before Moving a Single Wall
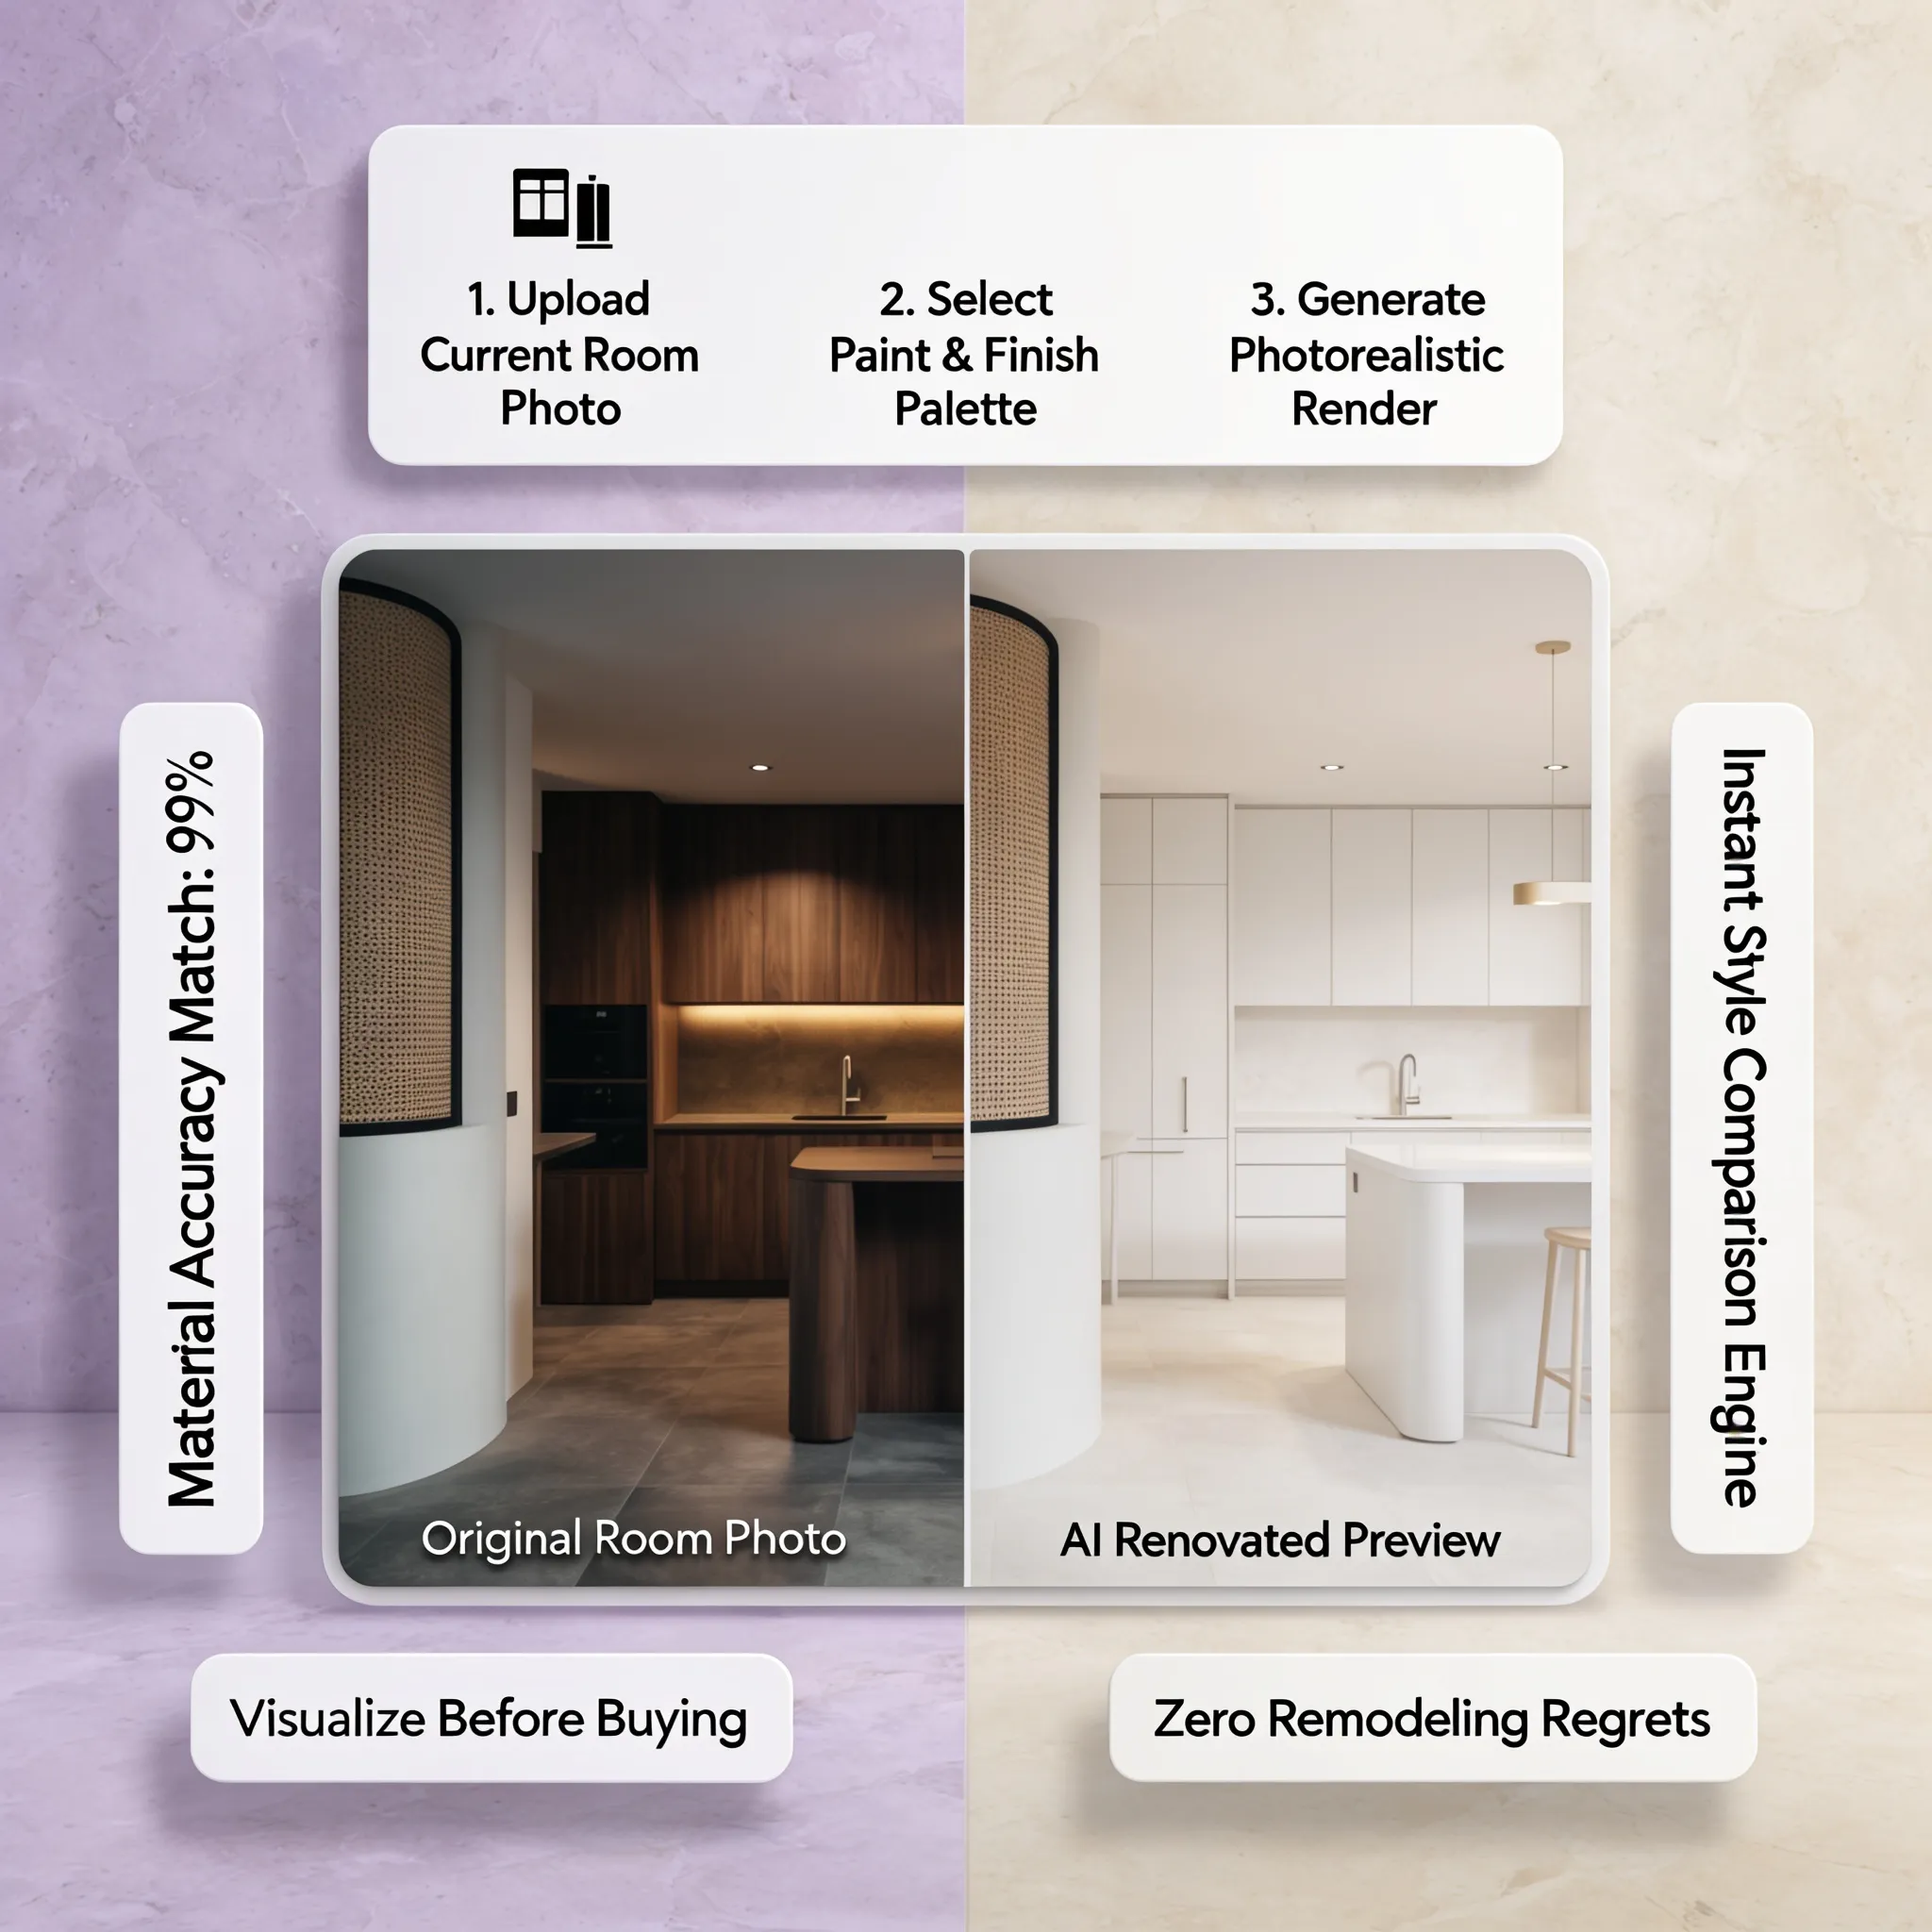
What if you could see exactly how your whole-house design palette will flow from room to room before spending thousands of dollars on tiles, flooring, or custom cabinets?
When you are trying to figure out how to update your home space by space, guessing how colors and materials will transition across doorways is a massive gamble.
With DesignHome, you don't need to learn complicated CAD design software or deal with steep technical learning curves. You can simply upload a picture or floor plan of your room to instantly visualize different layout configurations, test floor transitions, compare cabinet finishes, and unlock endless design possibilities tailored to your exact space.
Stop worrying about costly remodeling mistakes—preview your complete room-by-room vision with total confidence before you ever touch a demolition hammer.
External Resources & Industry Standards
To explore deeper insights into home space planning, trade standards, and building safety, consult these authoritative industry resources:
- National Association of Home Builders (NAHB) – Official guidelines for home remodeling, trade scheduling, and project cost estimating.
- American Society of Interior Designers (ASID) – Professional standards for residential space planning, material continuity, and interior design.
- U.S. Environmental Protection Agency (EPA) – Indoor Air Quality – Safety standards for containment of dust, mold, and volatile organic compounds (VOCs) during remodeling.
- International Code Council (ICC) – Residential building codes, plumbing rough-in standards, and electrical safety regulations.
- Illuminating Engineering Society (IES) – Residential lighting standards, bulb warmth ratings, and task lighting guidelines.
- Paint Quality Institute – Expert advice on wall surface preparation, washable paint sheens, and moisture-resistant finishes.
- National Kitchen & Bath Association (NKBA) – Planning guidelines, appliance clearances, and ergonomic standards for kitchens and bathrooms.
- U.S. Department of Energy – Home Building Envelope – Guidelines for insulation, duct sealing, and energy-efficient window replacements during home renovations.
Frequently Asked Questions About Renovating One Room at a Time
What is the best room to renovate first in an old house?
Start by resolving any urgent water leaks, structural damage, or unsafe electrical wiring across the property. Once safety issues are fixed, start with a low-dependency space like a guest bedroom or home office to build trade momentum, or tackle the kitchen if daily utility friction is your biggest priority.
How do I stop dust from spreading to finished rooms during phased remodeling?
Install floor-to-ceiling plastic zip-zipper containment walls around the active work area, cover all HVAC return vents inside the construction zone so dust doesn't enter ductwork, and run a portable HEPA air scrubber 24/7 near the work zone entrance.
Is it more expensive to renovate one room at a time versus the whole house?
Phased remodeling can carry slightly higher trade labor fees because contractors make multiple site visits over time. However, it completely eliminates the massive cost of renting temporary housing, allows you to pay cash as you save, and prevents heavy loan interest payments.
How can I make sure my house looks cohesive when renovating in stages?
Establish a whole-house master plan before touching Room #1. Select a universal flooring plank, standardize baseboard profiles and door hardware, and pick a core neutral paint palette to use across all future phases.
How do I protect finished hardwood floors during the next renovation phase?
Lay breathable felt floor guards directly over the finished wood, cover high-traffic walking corridors with heavy-duty Ram Board cardboard protective sheets, and seal every seam with heavy-duty painter's tape.
How long should I wait between renovation phases?
Take a deliberate 2-to-4-week pause between completed phases. This gives you time to test new fixtures under real use, settle all trade invoices, clean construction dust out of your living area, and let your savings recover before launching the next demolition phase.
What is the correct order of work when remodeling a single room?
The standard sequence is: demolition and framing, rough-in mechanics (plumbing, wiring, HVAC), drywall installation and sanding, priming and first paint coat, tile and cabinet installation, hard flooring installation, and finally trim baseboards, final paint touch-ups, and light fixtures.
Can I renovate my only kitchen while living in the house?
Yes. Set up a temporary cooking station in an adjacent clean room equipped with a microwave, toaster oven, electric hot plate, mini-fridge, and water jug station. Never allow demolition on your main kitchen until all custom cabinets and appliances are physically delivered to your home.


