

You are standing at your stovetop, flipping appetizers while trying to stir a simmering sauce. Across the counter, three guests are squeezing into your prep workspace to reach the refrigerator for ice, while another guest sets their glass down directly on your main chopping board. You feel hot, crowded, and completely isolated from the laughter happening in the next room.
When dinner is served, you realize you haven't enjoyed a single conversation—you've spent the entire evening dodging foot traffic and playing bartender.
A great home isn't built just for daily chores—it is built for connection.
Designing a kitchen design for entertaining isn't about buying expensive catering gear or showing off a massive footprint. It is about organizing your floor plan so food prep flows naturally, guests help themselves to drinks effortlessly, and you stay centered in the party without feeling overwhelmed. Here is how to plan, zone, and style a hosting-friendly kitchen that makes entertaining a joy.
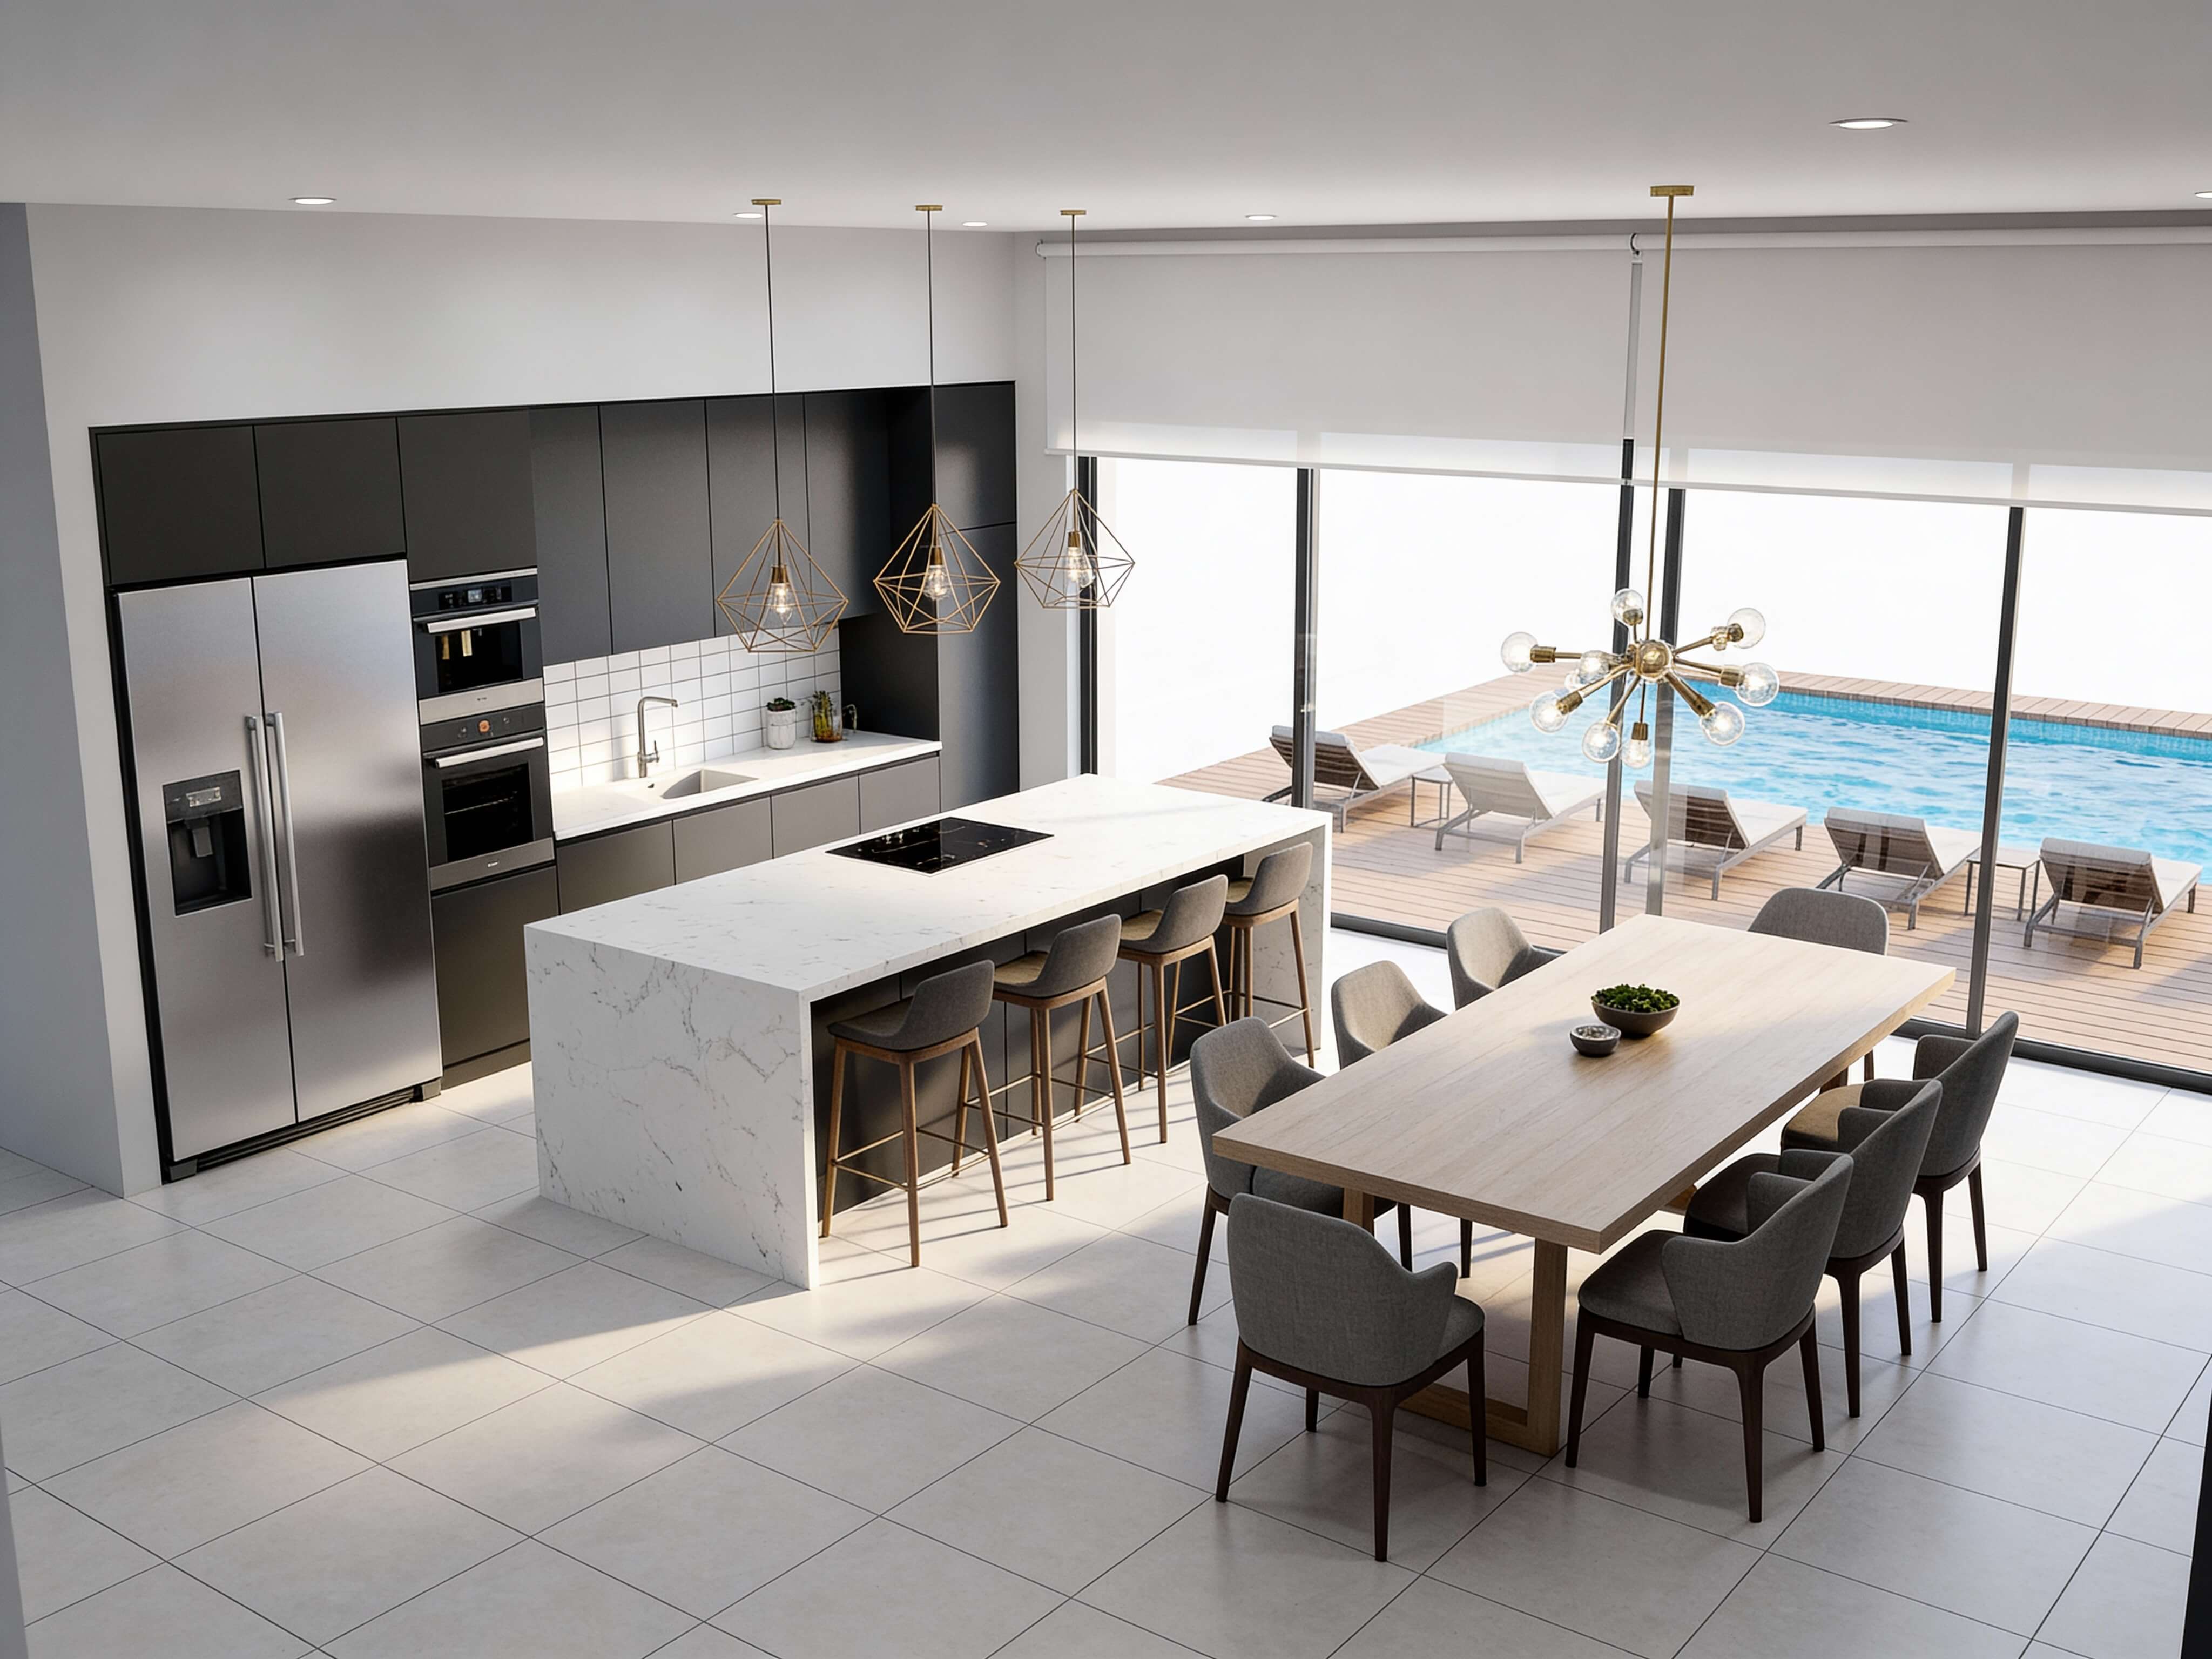
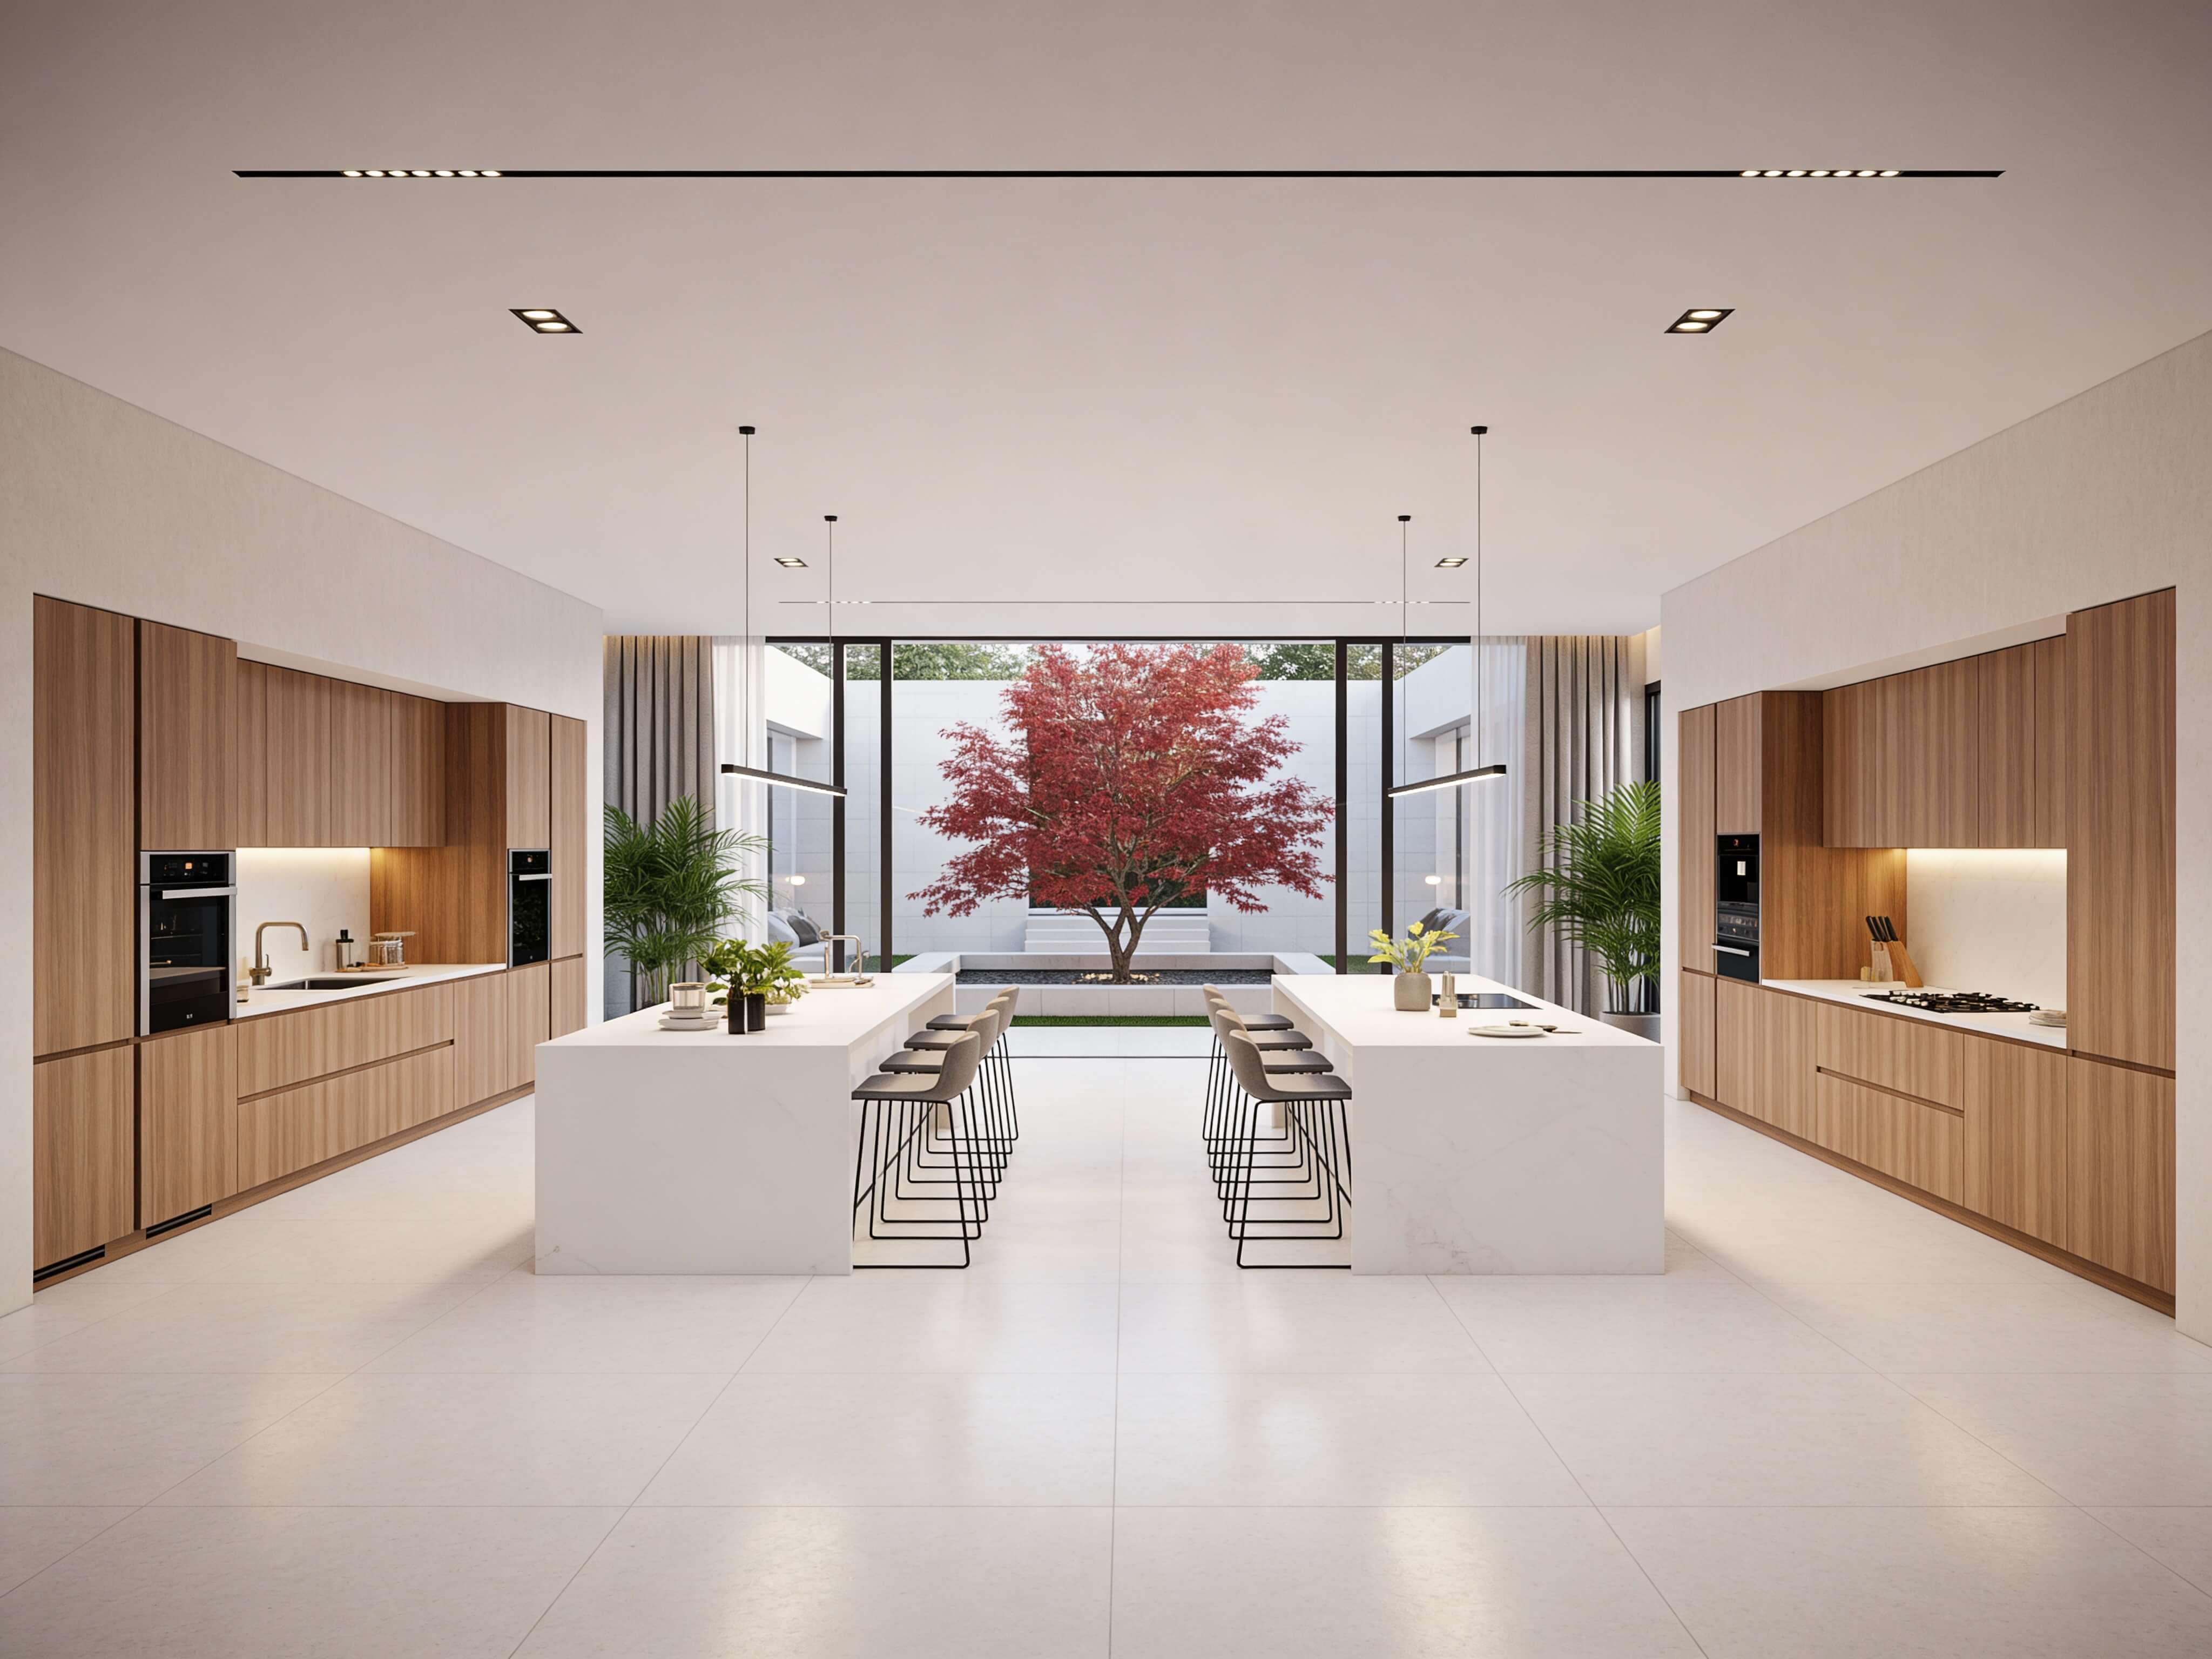
1. Kitchen Design for Entertaining: Make Hosting Feel Effortless
Before choosing cabinet doors or quartzite slabs, step back and examine how people naturally gather inside your home.
When guests enter a home, they naturally gravitate toward the kitchen—the heat, smell of fresh food, and bright lighting draw people in like a magnet.
Guests Block Prep Zones
= Chaotic Party
Self-Serve Island
= Effortless Entertaining
Achieving an effortless hosting environment relies on three non-negotiable design goals:
- Host Integration: Position your primary prep surfaces so you face your guests while cooking, rather than staring blankly at a dark perimeter wall.
- Intuitive Guest Zoning: Guide guests naturally toward dedicated seating and beverage stations away from hot stoves, open oven doors, and sharp prep knives.
- Buffer Clearance: Maintain wide walking corridors between cooking zones and dining tables so serving platters moves effortlessly without bumping chairs.
2. Plan Where Guests Will Gather Before Choosing the Kitchen Layout
The single biggest mistake homeowners make when designing an entertaining kitchen ideas layout is assuming guests will stay seated in the living room while the host cooks.
Without a clear, designated gathering spot, guests naturally end up leaning against your primary prep counter, right where you need to slice bread or plate appetizers.
[ Refrigerator ] <--- Guest Block!
[ Main Sink ] <--- Guest Block!
---------------------------------
[ Guest Island Seating & Drinks ]
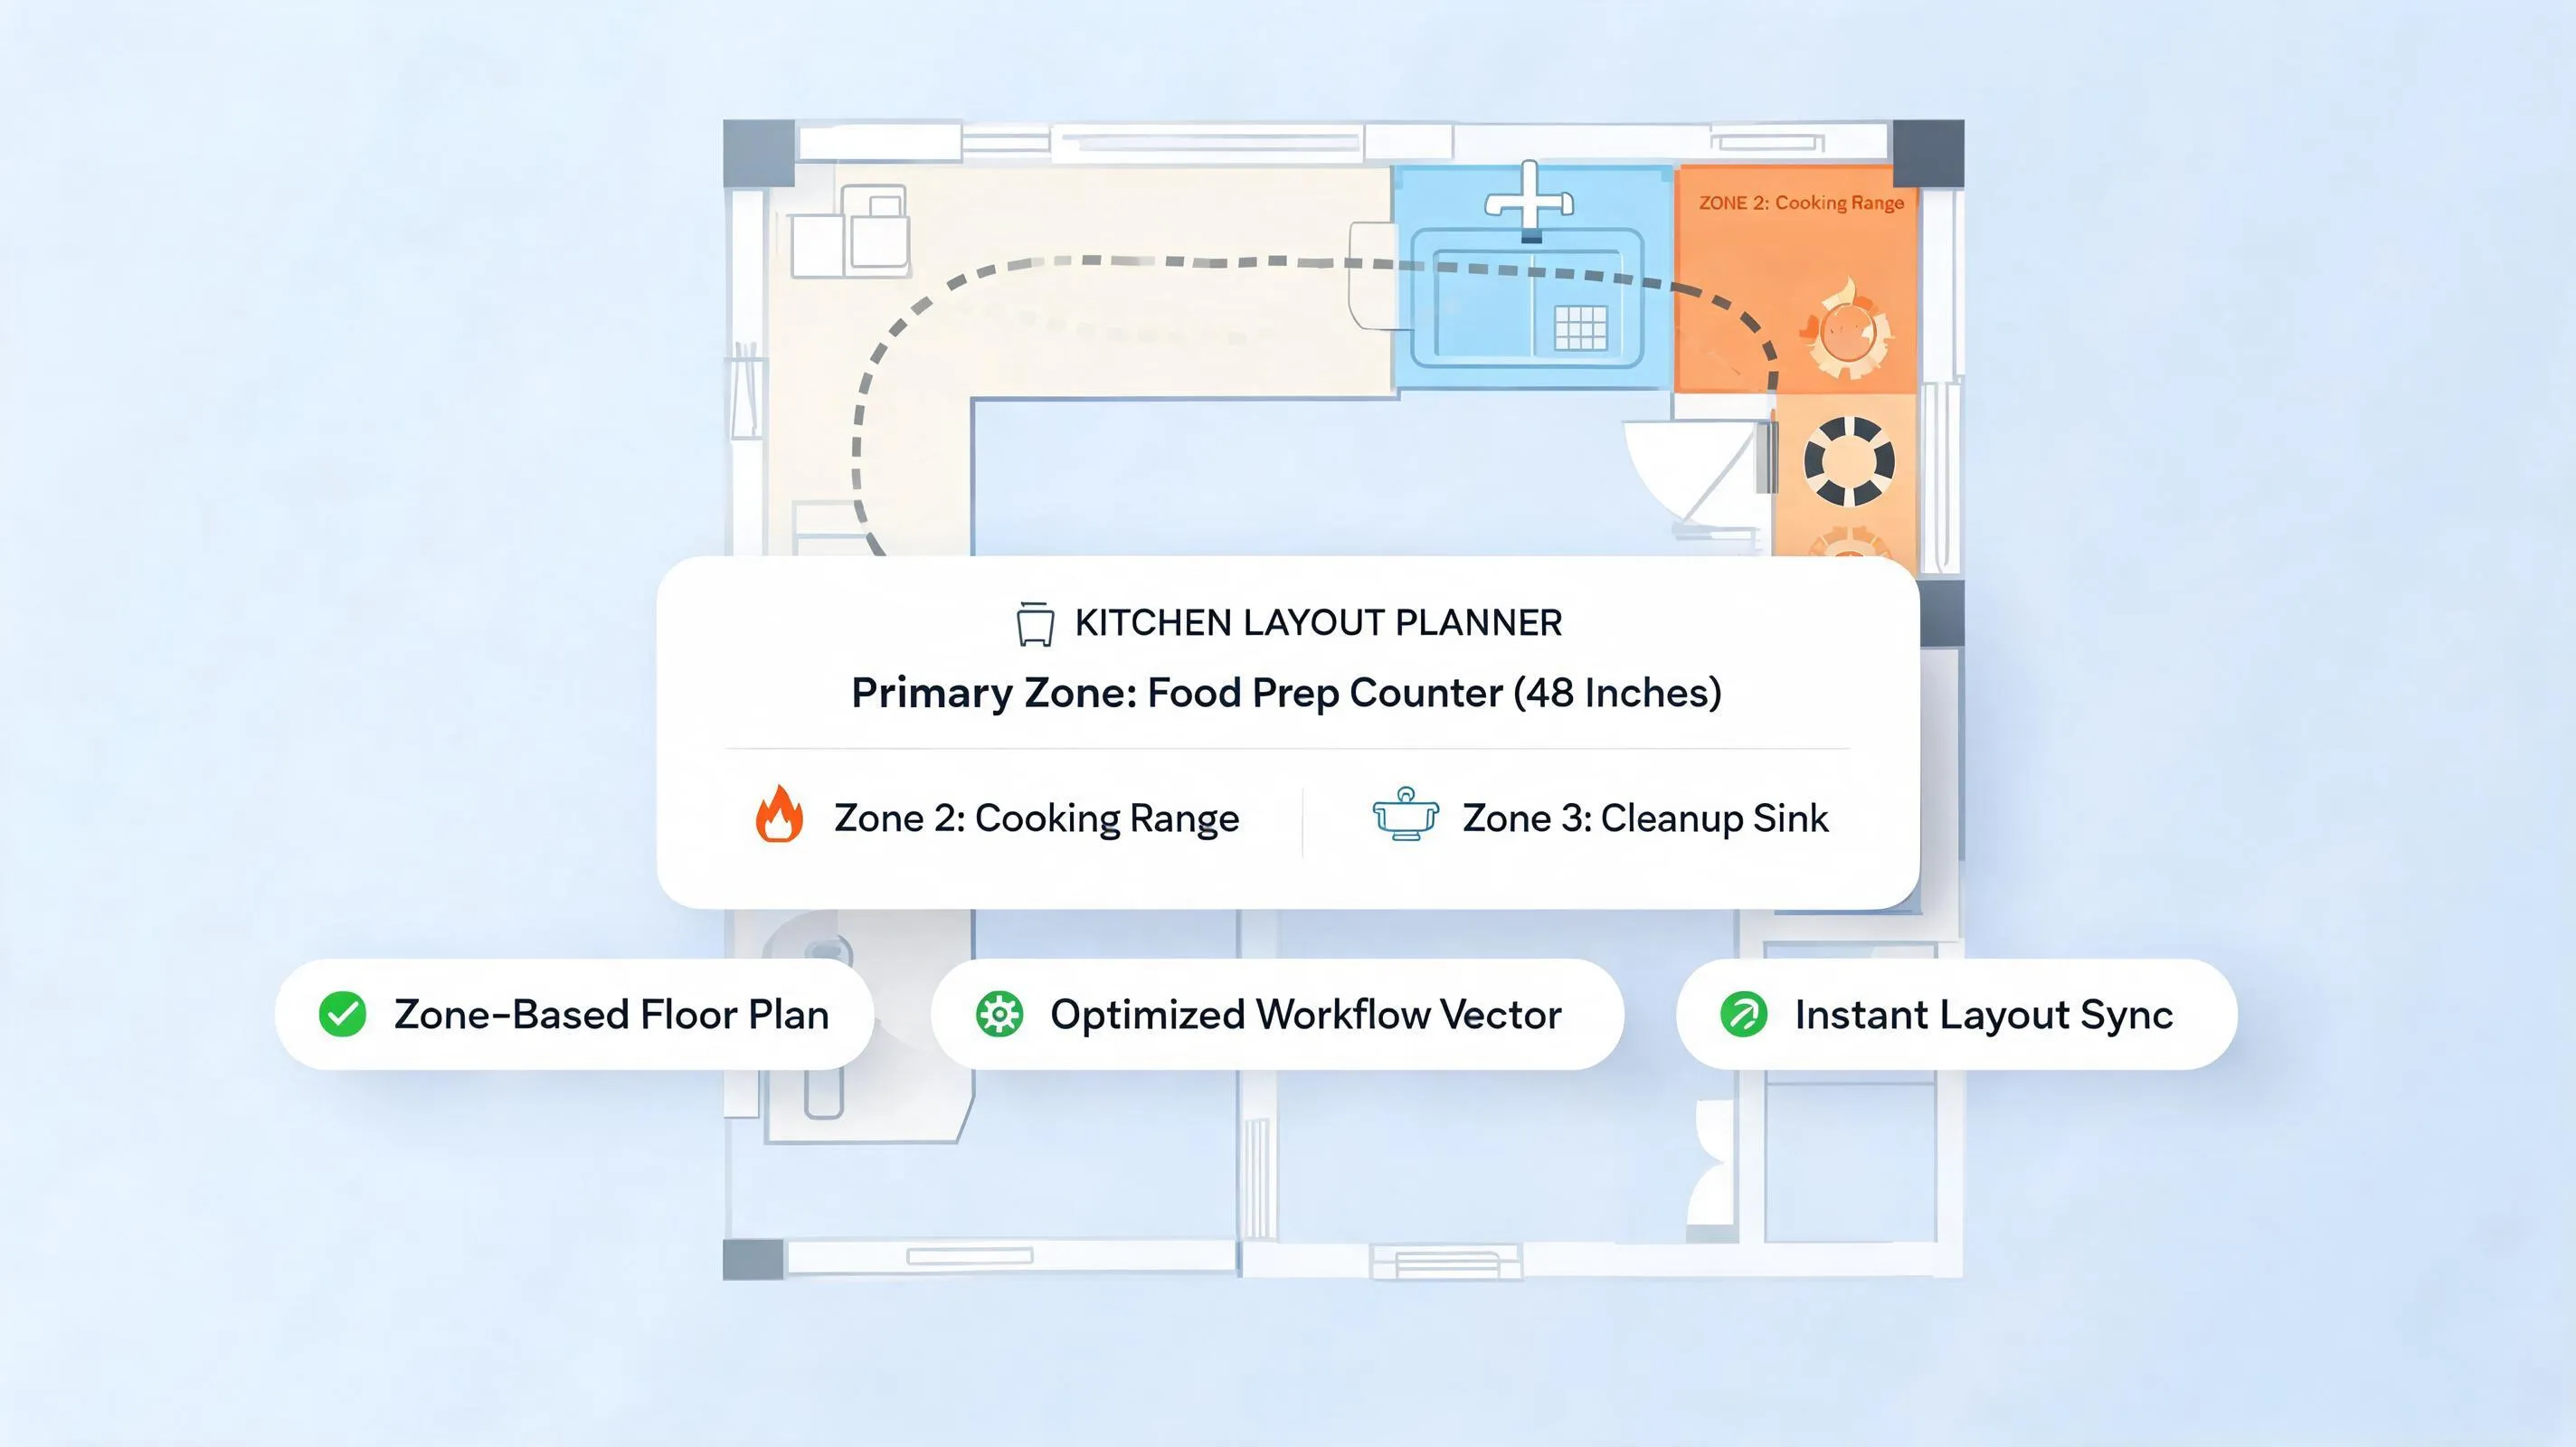
Prevent spatial bottlenecks with these layout strategies:
- Establish a Safe Gathering Zone: Create a dedicated perimeter counter or island overhang located at least 48 inches away from your main cooktop.
- Separate the Refrigerator from the Work Triangle: Position your primary refrigerator (or a secondary drink drawer) at the outer edge of your layout so guests can grab cold mixers without crossing your primary prep path.
- Provide Perch Spots: Give guests an intuitive place to lean or sit—such as a raised counter ledge or padded barstools—so they feel welcomed without invading your work area.
To explore deeper spatial clearance principles for open-plan living, review our complete guide on flowing open-plan layouts that connect cooking and gathering zones.
3. Design a Kitchen Island That Brings People Together
A well-proportioned island serves as the ultimate social magnet. It acts as a prep counter, a casual dining table, a buffet serving line, and a cocktail bar all in one.
However, an improperly planned kitchen island for entertaining can easily turn into an obstacle that blocks room circulation.
Smart island hosting rules:
- Avoid Placing the Main Sink in the Center: If your island is your primary guest seating area, avoid placing your dirty dish sink right in the middle. If a sink is required, shift it to one side or opt for a secondary prep sink.
- Incorporate Dual-Level Counters: Consider a stepped island layout—a standard 36-inch high counter for food prep on the cook's side, paired with a raised 42-inch high bar ledge on the guest side. The raised ledge hides prep mess from view while creating a natural bar atmosphere.
- Add Power Outlets at the Ends: Install pop-up or end-panel electrical outlets so you can plug in warming trays or slow cookers during large buffet gatherings.
4. Keep Food Preparation Out of the Main Guest Traffic
When you are carrying a heavy roasting pan filled with hot juices, the last thing you want is a guest stepping backward into your path.
Protecting your kitchen traffic flow relies on creating clear physical boundaries between your primary cooking zone and guest walkways.
[ Active Hot Zone: Stove & Oven ]
               |
               +---> 48" Clear Unobstructed Cooking Runway
               |
[ Guest Traffic Zone: Island Bar, Drink Station & Terrace Doors ]
Execute these zoning strategies:
- Protect the Cooking Apex: Keep your stove, primary sink, and trash pull-out grouped within a compact, protected triangle that bypasses main entry pathways.
- Position Trash Access at the Edge: Use a dual-access pull-out trash drawer located on an outer island end so guests can throw away cocktail napkins without stepping into your prep zone.
- Keep Microwave/Warming Drawers Outer-Facing: Place warming drawers and guest-accessible microwaves on outer lower cabinet corners away from the main range.
If you are optimizing appliance distances for efficient meal prep, read our complete appliance distance workflow for protected cooking paths.
5. Create a Drinks Station Guests Can Use Themselves
Nothing disrupts a host's momentum faster than having to stop every ten minutes to pour wine, look for bottle openers, or scoop ice for guests.
Setting up an independent kitchen beverage station grants guests complete autonomy while keeping them out of your main cooking zone.
Beverage station rules:
- Locate Away from the Range: Position your bar area near the dining table or living room entry, far removed from the main stove.
- Include an Undercounter Refrigerator: Install a dual-zone beverage center to hold wine bottles, craft beers, and sodas at ideal serving temperatures.
- Store Barware Locally: Keep corkscrews, cocktail shakers, ice buckets, and glassware directly in drawers and upper shelves at the drink station.
6. Make Serving Food Easy From Counter to Table
A chaotic serving routine—where hot platters have nowhere to sit and guests squeeze past each other to reach serving spoons—ruins the flow of a dinner party.
Planning a dedicated kitchen serving area creates a smooth, logical transition from cooking to dining.
  [ Step 1: Plating Station on Island ] ===> Wide open counter for hot platters & trays
                                                    |
  [ Step 2: Clear 48" Serving Corridor ] ==> Direct pathway to dining table
                                                    |
  [ Step 3: Dining Table & Buffet Nook ] => Staging zone for side dishes & refills
Serving area guidelines:
- Clear an Uninterrupted Buffet Surface: Keep at least 4 to 5 continuous feet of island or sideboard counter clear of everyday clutter to act as a self-serve buffet line.
- Maintain Wide Dining Corridors: Ensure there is a 48-inch clearance between dining table chairs and adjacent kitchen counters so guests can pull out chairs without blocking servers.
- Install Heat-Resistant Counters: Use heat-safe quartz or granite surfaces near serving zones so trivets and hot casseroles can be set down safely.
7. Connect the Kitchen to the Dining and Living Areas
Hosting isn't about keeping everyone crammed inside one room—it's about creating smooth, visual transitions between cooking, dining, and lounging spaces.
Executing a connected kitchen dining living layout ensures you stay part of the party conversation even while tending to the oven.
Connection tactics:
- Align Sightlines Toward Living Spaces: Position your main cooktop or island prep space facing toward the living room television, fireplace, or patio doors.
- Eliminate Threshold Steps: Keep floor levels continuous between kitchen, dining, and outdoor patio spaces to prevent trip hazards when carrying serving trays.
If you are evaluating open spatial flow across adjacent rooms, read our guide on arranging lounge seating that keeps the conversation going during dinner prep.
8. Choose Seating That Works for Quick Chats and Longer Gatherings
Not all party visits are the same. Some guests want to perch for five minutes with a drink, while others want to sit comfortably for hours during a multi-course meal.
Providing varied kitchen seating ideas for entertaining accommodates different socializing styles.
- Tucks under island overhang
- Easy 360-degree conversation swivel
- Built-in breakfast nook banquettes
- Deeply cushioned dining armchairs
Seating selection rules:
- Choose Swivel Barstools: Opt for counter-height stools with 360-degree swivel bases. Swivel stools allow guests to rotate effortlessly between talking to the cook and watching the TV in the living room.
- Incorporate a Built-In Banquette: Consider a padded corner banquette bench near a kitchen window. Banquettes offer cozy, space-saving seating that accommodates extra guests easily.
- Ensure Wipeable Fabrics: Upholster island stools in stain-resistant performance velvet, faux leather, or treated linen that wipes clean after wine or food spills.
For official guidance on non-toxic fabric safety, sustainable wood certifications, and upholstery standards, visit the Sustainable Furnishings Council (SFC).
9. Use Lighting to Shift From Cooking Mode to Evening Atmosphere
Bright overhead lighting is essential when chopping vegetables, but leaving high-intensity task lights on during dinner ruins the cozy evening mood.
Building a flexible kitchen lighting for entertaining scheme requires layering independent, dimmable circuits.
  [ Cooking Mode: Bright 3000K Task Lights ON ]
                       |
  [ Transition: Dim Overhead Recessed Cans ]
                       |
  [ Party Mode: Low Warm 2200K Pendant & Cabinet LED Glow ]
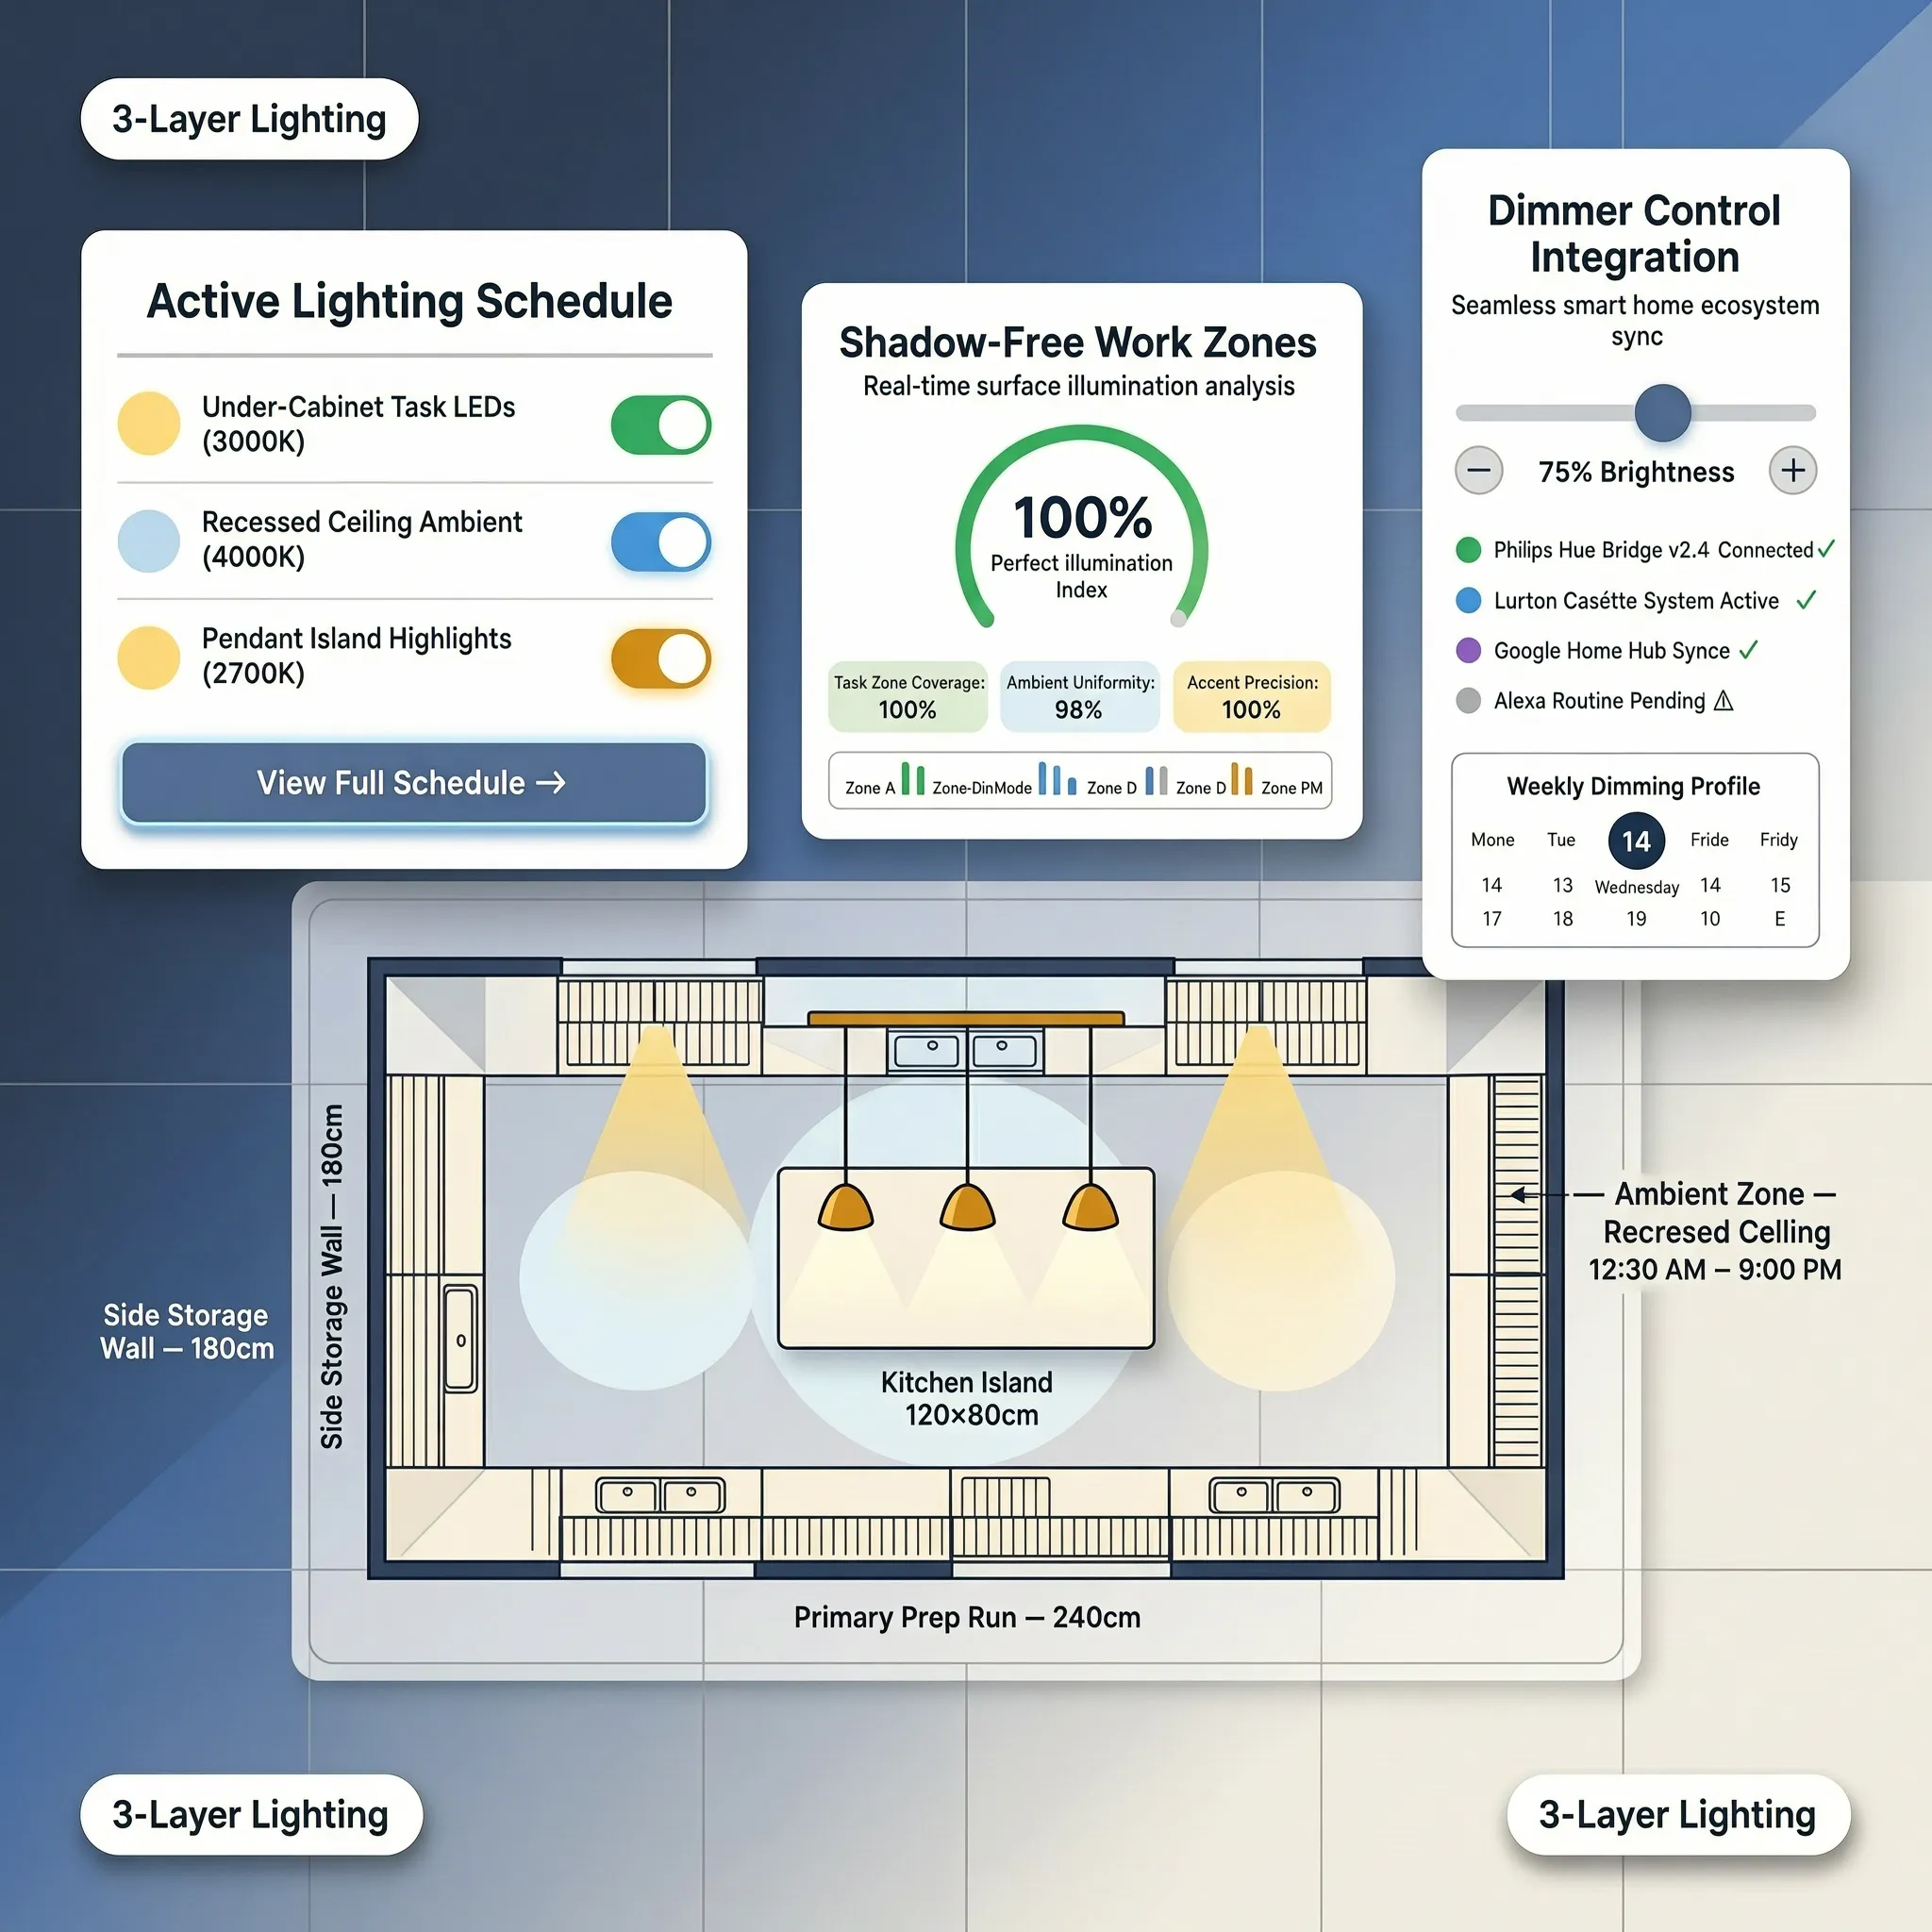
Lighting transition rules:
- Put Every Circuit on a Dimmer: Ensure recessed ceiling cans, island pendants, under-cabinet LED tapes, and glass cabinet lights are on separate, dimmable switches.
- Use Warm Kelvin Bulbs: Equip fixtures with warm white LED bulbs strictly rated between 2200K and 2700K (Kelvin) for evening entertaining. Warm lighting softens skin tones and creates a restaurant-like ambiance.
- Add In-Cabinet Accent Glow: Install low-voltage LED strip lights inside glass-front upper cabinets to display glassware with a soft, glowing accent light at night.
For technical guidelines on residential lighting standards, glare prevention, and color rendering metrics, consult the Illuminating Engineering Society (IES).
10. Choose Countertops and Finishes That Look Good Under Pressure
When hosting large gatherings, red wine spills, lemon juice drops, and hot platter plates are inevitable.
Selecting durable easy-clean kitchen finishes ensures you spend your party enjoying your guests rather than worrying about permanent countertop stains.
Durable finish selection rules:
- Choose Non-Porous Engineered Quartz: High-quality quartz countertops offer the elegant look of natural marble without the risk of red wine stains or citrus etching.
- Select Matte or Satin Cabinet Finishes: Matte and satin cabinet paint finishes resist fingerprints and smudges better than high-gloss or dark flat surfaces under party lighting.
- Opt for Large-Format Floor Tiles or Wood: Choose wide-plank hardwood or large-format luxury vinyl tile with minimal grout lines to make post-party cleaning fast and effortless.
For official technical specifications on residential material durability, building codes, and safety standards, consult the International Code Council (ICC).
11. Plan Storage for Dinnerware, Glassware, and Hosting Essentials
Searching through deep, dark cabinets for serving platters or salad bowls while guests are waiting adds unnecessary stress to your hosting preparation.
Organizing dedicated kitchen storage for entertaining keeps serving essentials ready for immediate use.
[ Specialty Hosting Storage Zone ]
               |
               +---> Deep Base Drawers: Large platters, roasting pans & trivets
               +---> Glass Upper Cabinets: Wine glasses, champagne flutes & bowls
               +---> Pull-Out Wine Rack: Stored bottles at horizontal angle

Hosting storage tactics:
- Store Platters in Deep Drawers: Replace traditional lower cabinets with deep full-extension drawers fitted with adjustable wooden pegs to file large serving platters vertically.
- Dedicate a Hosting Pantry Shelf: Reserve a specific shelf in your pantry or sideboard strictly for linen napkins, candles, serving tongs, and tablecloths.
- Incorporate Stemware Hanging Rails: Mount under-cabinet stainless steel wire rails to hold wine glasses securely by their stems, saving shelf space.
If you want to maximize cabinet storage and eliminate counter clutter, explore our complete guide on retrofitting cabinets with roll-out hardware for serving essentials.
12. Test Your Entertaining Kitchen Layout Before Committing to It
Ready to transform your home into an effortless, welcoming hosting destination?
Before finalizing cabinet orders, ordering furniture, or knocking down walls, test your complete kitchen layout planner strategy using real measurements to ensure an unforgettable hosting experience.
  [ Step 1: Measure Room Dimensions & Door Swing Clearance Arcs ]
                                 |
  [ Step 2: Establish Protected Work Triangle & 48" Walkway Aisles ]
                                 |
  [ Step 3: Position Self-Serve Beverage Station Away from Cooking Zone ]
                                 |
  [ Step 4: Preview Layout in Digital 3D Room Software ]
                                 |
  [ Step 5: Execute Remodel Plan with Complete Hosting Confidence ]
The Ultimate Hosting Kitchen Sign-Off Checklist:
- [ ] Validate Walkway Clearances: Confirm 42 to 48-inch walkways around islands and 48 inches between dining tables and counters.
- [ ] Isolate the Beverage Station: Position wine fridges and glasses outside the main cooking work triangle.
- [ ] Check Island Seating: Ensure 12 to 15 inches of knee overhang and 24 inches of horizontal width per barstool.
- [ ] Layer Dimmable Lighting: Put overhead cans, island pendants, and task lights on separate dimmer switches.
- [ ] Select Non-Porous Counters: Choose stain-resistant quartz or sealed granite to handle red wine and food spills effortlessly.
- [ ] Clear the Serving Buffer: Reserve a continuous 4 to 5-foot counter span for self-serve buffet plating.
Visualize Your Complete Entertaining Kitchen Today
Why risk spending thousands of dollars on kitchen renovations or furniture sets without knowing if your layout will actually support great dinner parties and family gatherings?
Designing a host-friendly, beautifully connected space should be an exciting and rewarding process. You don't need to spend thousands of dollars on professional design fees or struggle with complicated CAD software to build a layout that brings people together.
With DesignHome, you can simply upload a picture or floor plan of your room to test layout ideas, experiment with island seating, check appliance clearances, and unlock custom spatial possibilities tailored to your exact floor plan.
Eliminate design guesswork—visualize, refine, and bring your complete entertaining kitchen vision to life with total confidence using DesignHome today!
External Resources & Industry Standards
To explore deeper technical insights into residential kitchen design, trade safety, and building codes, consult these authoritative industry resources:
- National Kitchen & Bath Association (NKBA) – Official guidelines for kitchen planning standards, ergonomic work triangle rules, and spatial clearances.
- International Code Council (ICC) – Residential building codes, electrical permit guidelines, and plumbing installation safety standards.
- Illuminating Engineering Society (IES) – Residential lighting standards, bulb warmth ratings, and task lighting guidelines.
- Sustainable Furnishings Council (SFC) – Official guidelines for eco-friendly, non-toxic natural textiles, low-VOC paint finishes, and sustainable wood.
Frequently Asked Questions About Kitchen Design for Entertaining
What is the most important feature in a kitchen designed for entertaining?
The most important feature is a dedicated self-serve beverage station located outside the main cooking area. Separating beverage access from the primary food prep zone grants guests independence while keeping your active cooking triangle clear of foot traffic.
How much space is needed around a kitchen island for hosting guests?
Maintain a clearance aisle of at least 48 inches (4 feet) on all sides of a central island. This clearance allows guests to sit comfortably on barstools while enabling the host and other guests to walk past without squeezing or bumping chairs.
How do I hide food prep mess from guests in an open-concept kitchen?
Incorporate a two-level island featuring a raised 42-inch high bar ledge on the guest side to hide prep counters, place primary sinks on side perimeters rather than the island center, and use a hidden pantry or appliance garage to store small appliances out of sight.
What lighting is best for a dinner party in the kitchen?
Use a layered lighting scheme with warm 2200K to 2700K LED bulbs on independent dimmer switches. Dim the overhead recessed task lights after cooking finishes, and rely on warm pendant lights over the island and soft under-cabinet LED strips to create an inviting evening atmosphere.
Is quartz or marble better for an entertaining kitchen?
Engineered quartz is significantly better for hosting. Unlike natural marble—which is porous and easily stained or etched by red wine, lemon juice, and oil—quartz is non-porous, highly stain-resistant, and requires zero sealing maintenance.


